Hi guys!! Today I’m sharing a little bit of what I’ve been working on the past few weeks and the reason I haven’t blogged in a while. In between daily activities and mostly during nap times, I prepped, patched, sanded, scraped and painted (with some help from J, my mom and my dad too!) until our kids’ room, hallway and bathroom were almost completely redone. I have some touch-ups to do including rectifying a horrible painter’s tape-related incident involving the bathroom ceiling but other than a few minor tasks, things are finished up as far as painting goes. In terms of decor, we still have quite a bit of work to do which is why this post is simply a diet Before and After/Sneak Peek sorta deal. I’ll be sure to dedicate a future post to the completed project once everything is said and done.
If you’re new to my blog, I have three kids who’ve recently moved into one room as we’re now all living in my childhood home with my mom and dad. We’re renovating little by little, room by room with the first rooms being the kids’ room as well as the hallway and half bathroom nearest their room. Ideally, Ella, being the eldest, will have her own room sooner rather than later but for now we’re working with what we’ve got. I have so many ideas for their room beyond what’s already been done including a barn door which I may DIY in the near future, additional shelving/storage solutions, a mini command center for Ella with a white board, cork board and place for her papers/keys/etc and – further into the future – new flooring as the carpet in their room is nearing 20 years of age and, also and more importantly, I hate carpet.
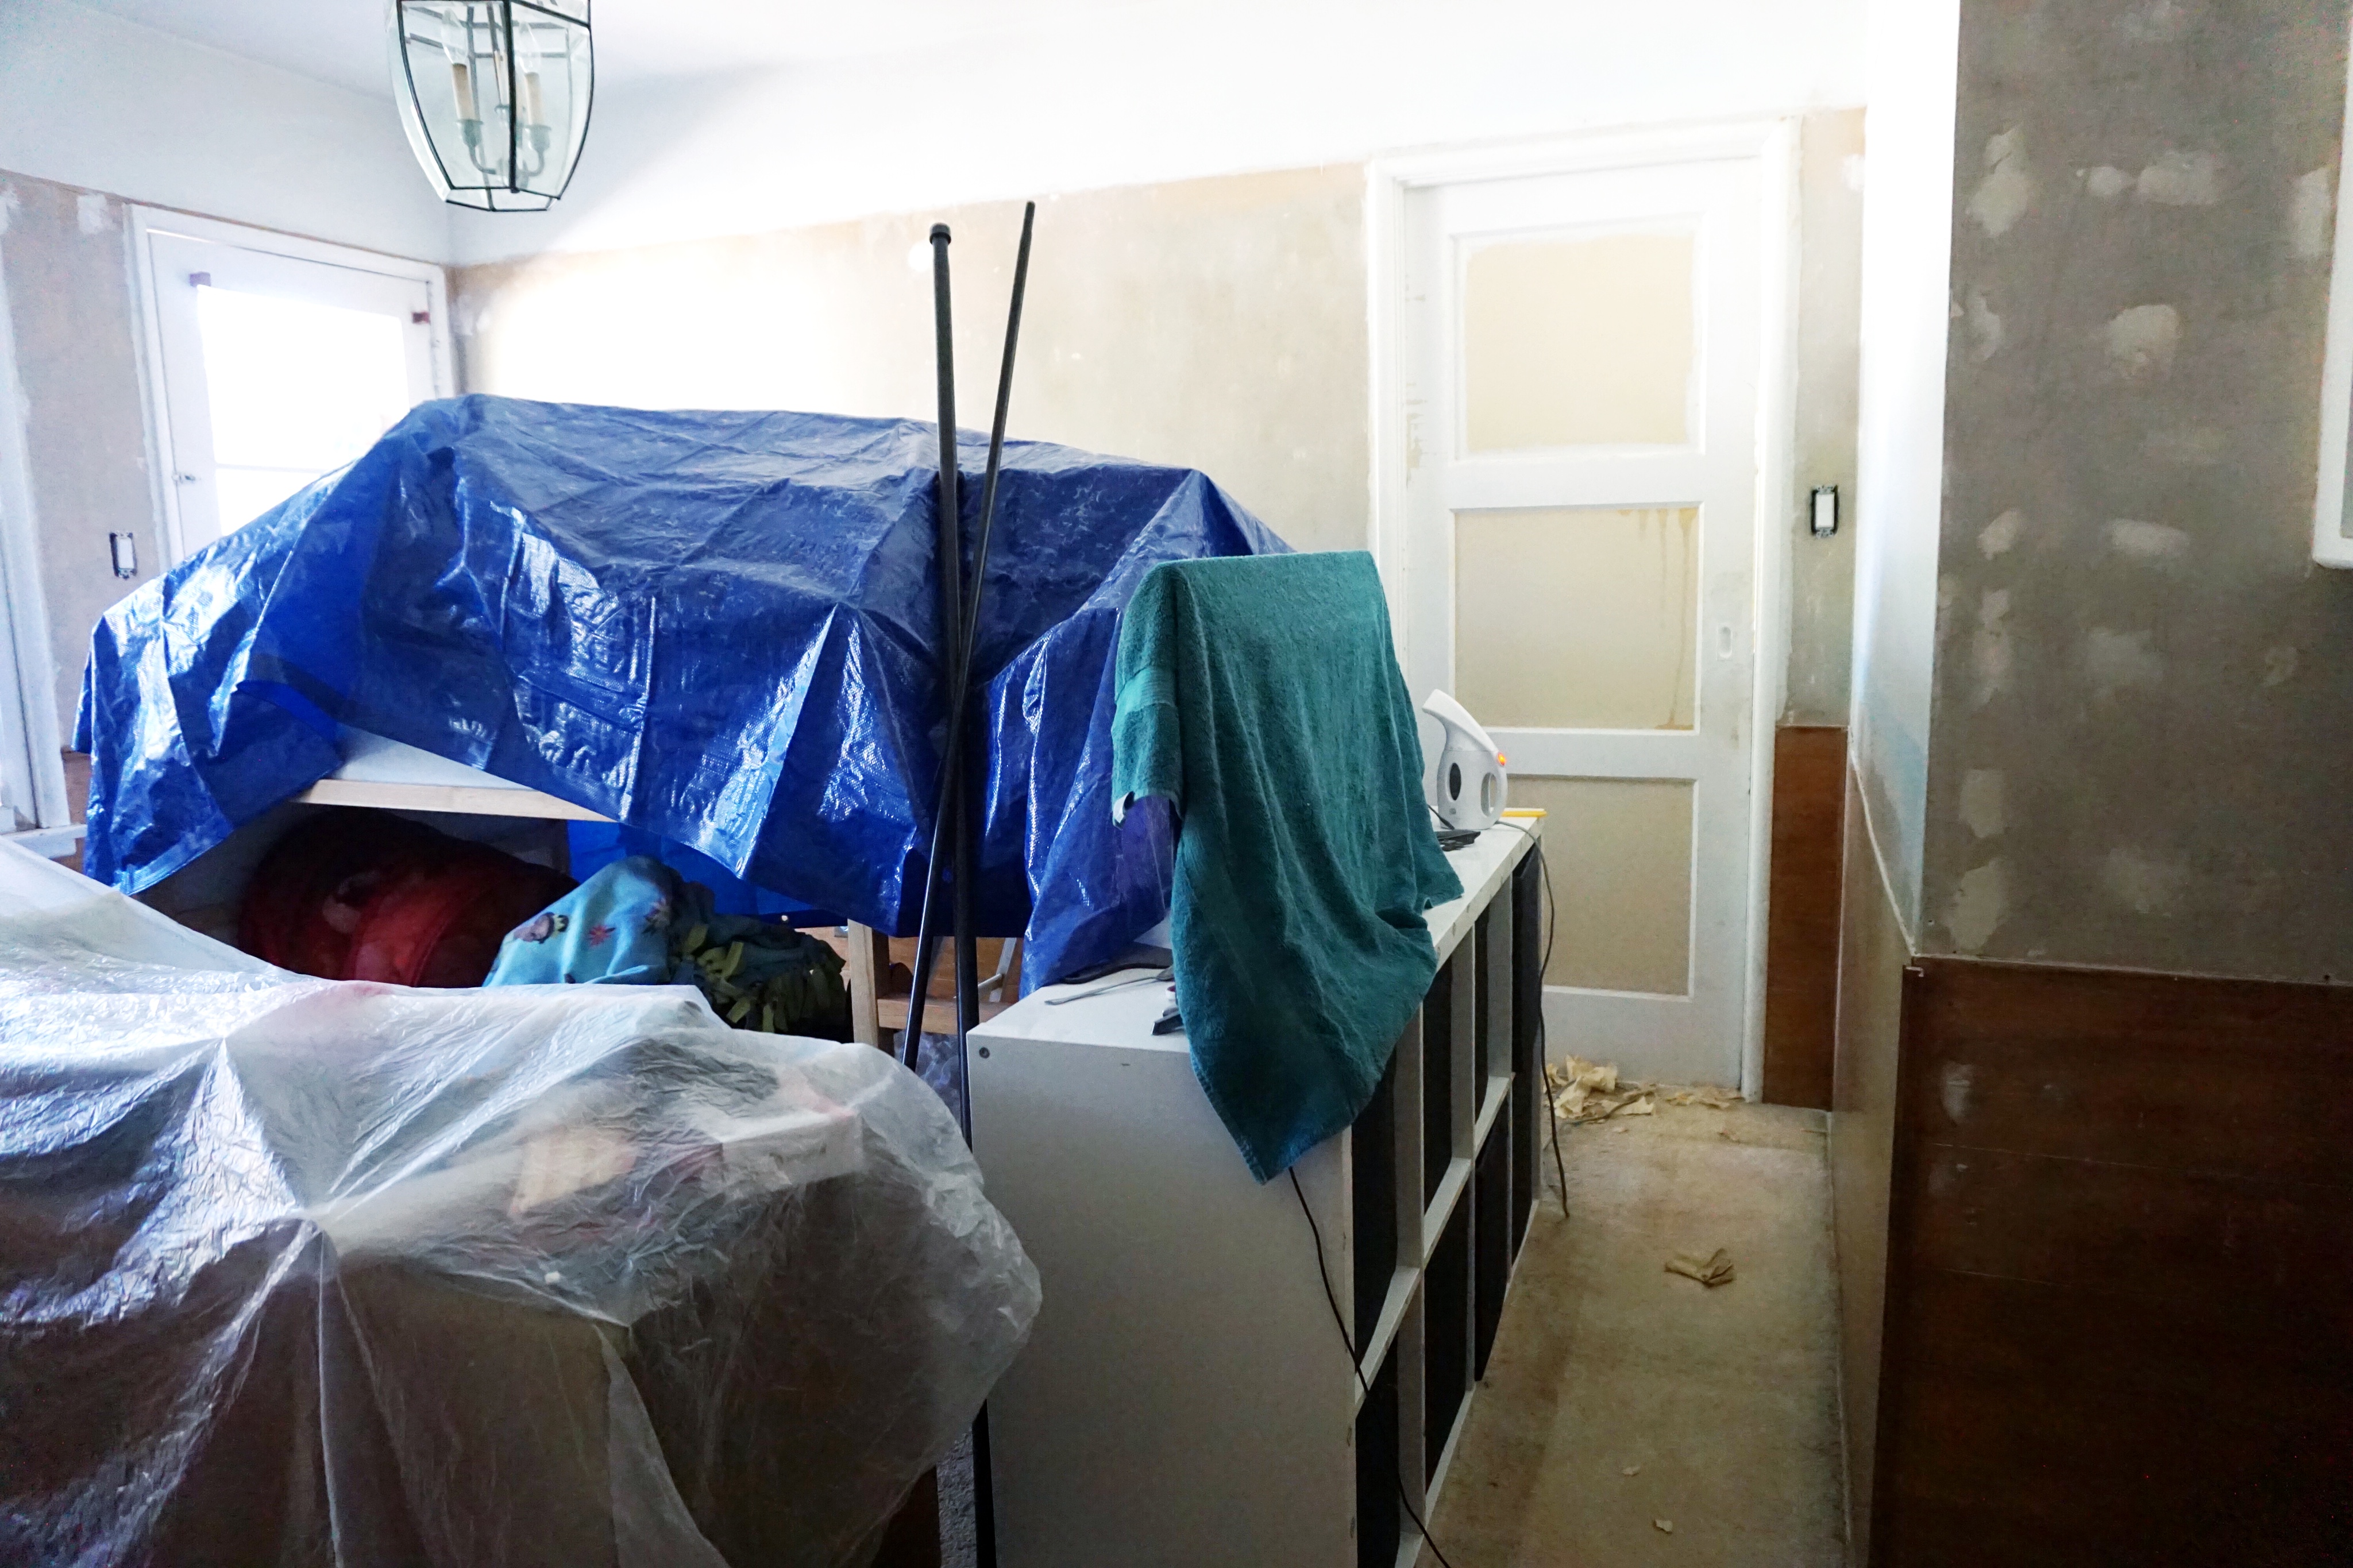
This is going to be a super photo-heavy post so feel free to prepare yourself with a beverage of your choice. I tried to be extremely selective but I’ve got so much to show you even with the room not being completely redecorated yet. That’s me for ya! Anyway, before we dive into the current state of the room, let’s take a look at the way things were prior to as well as during the prep and paint process…
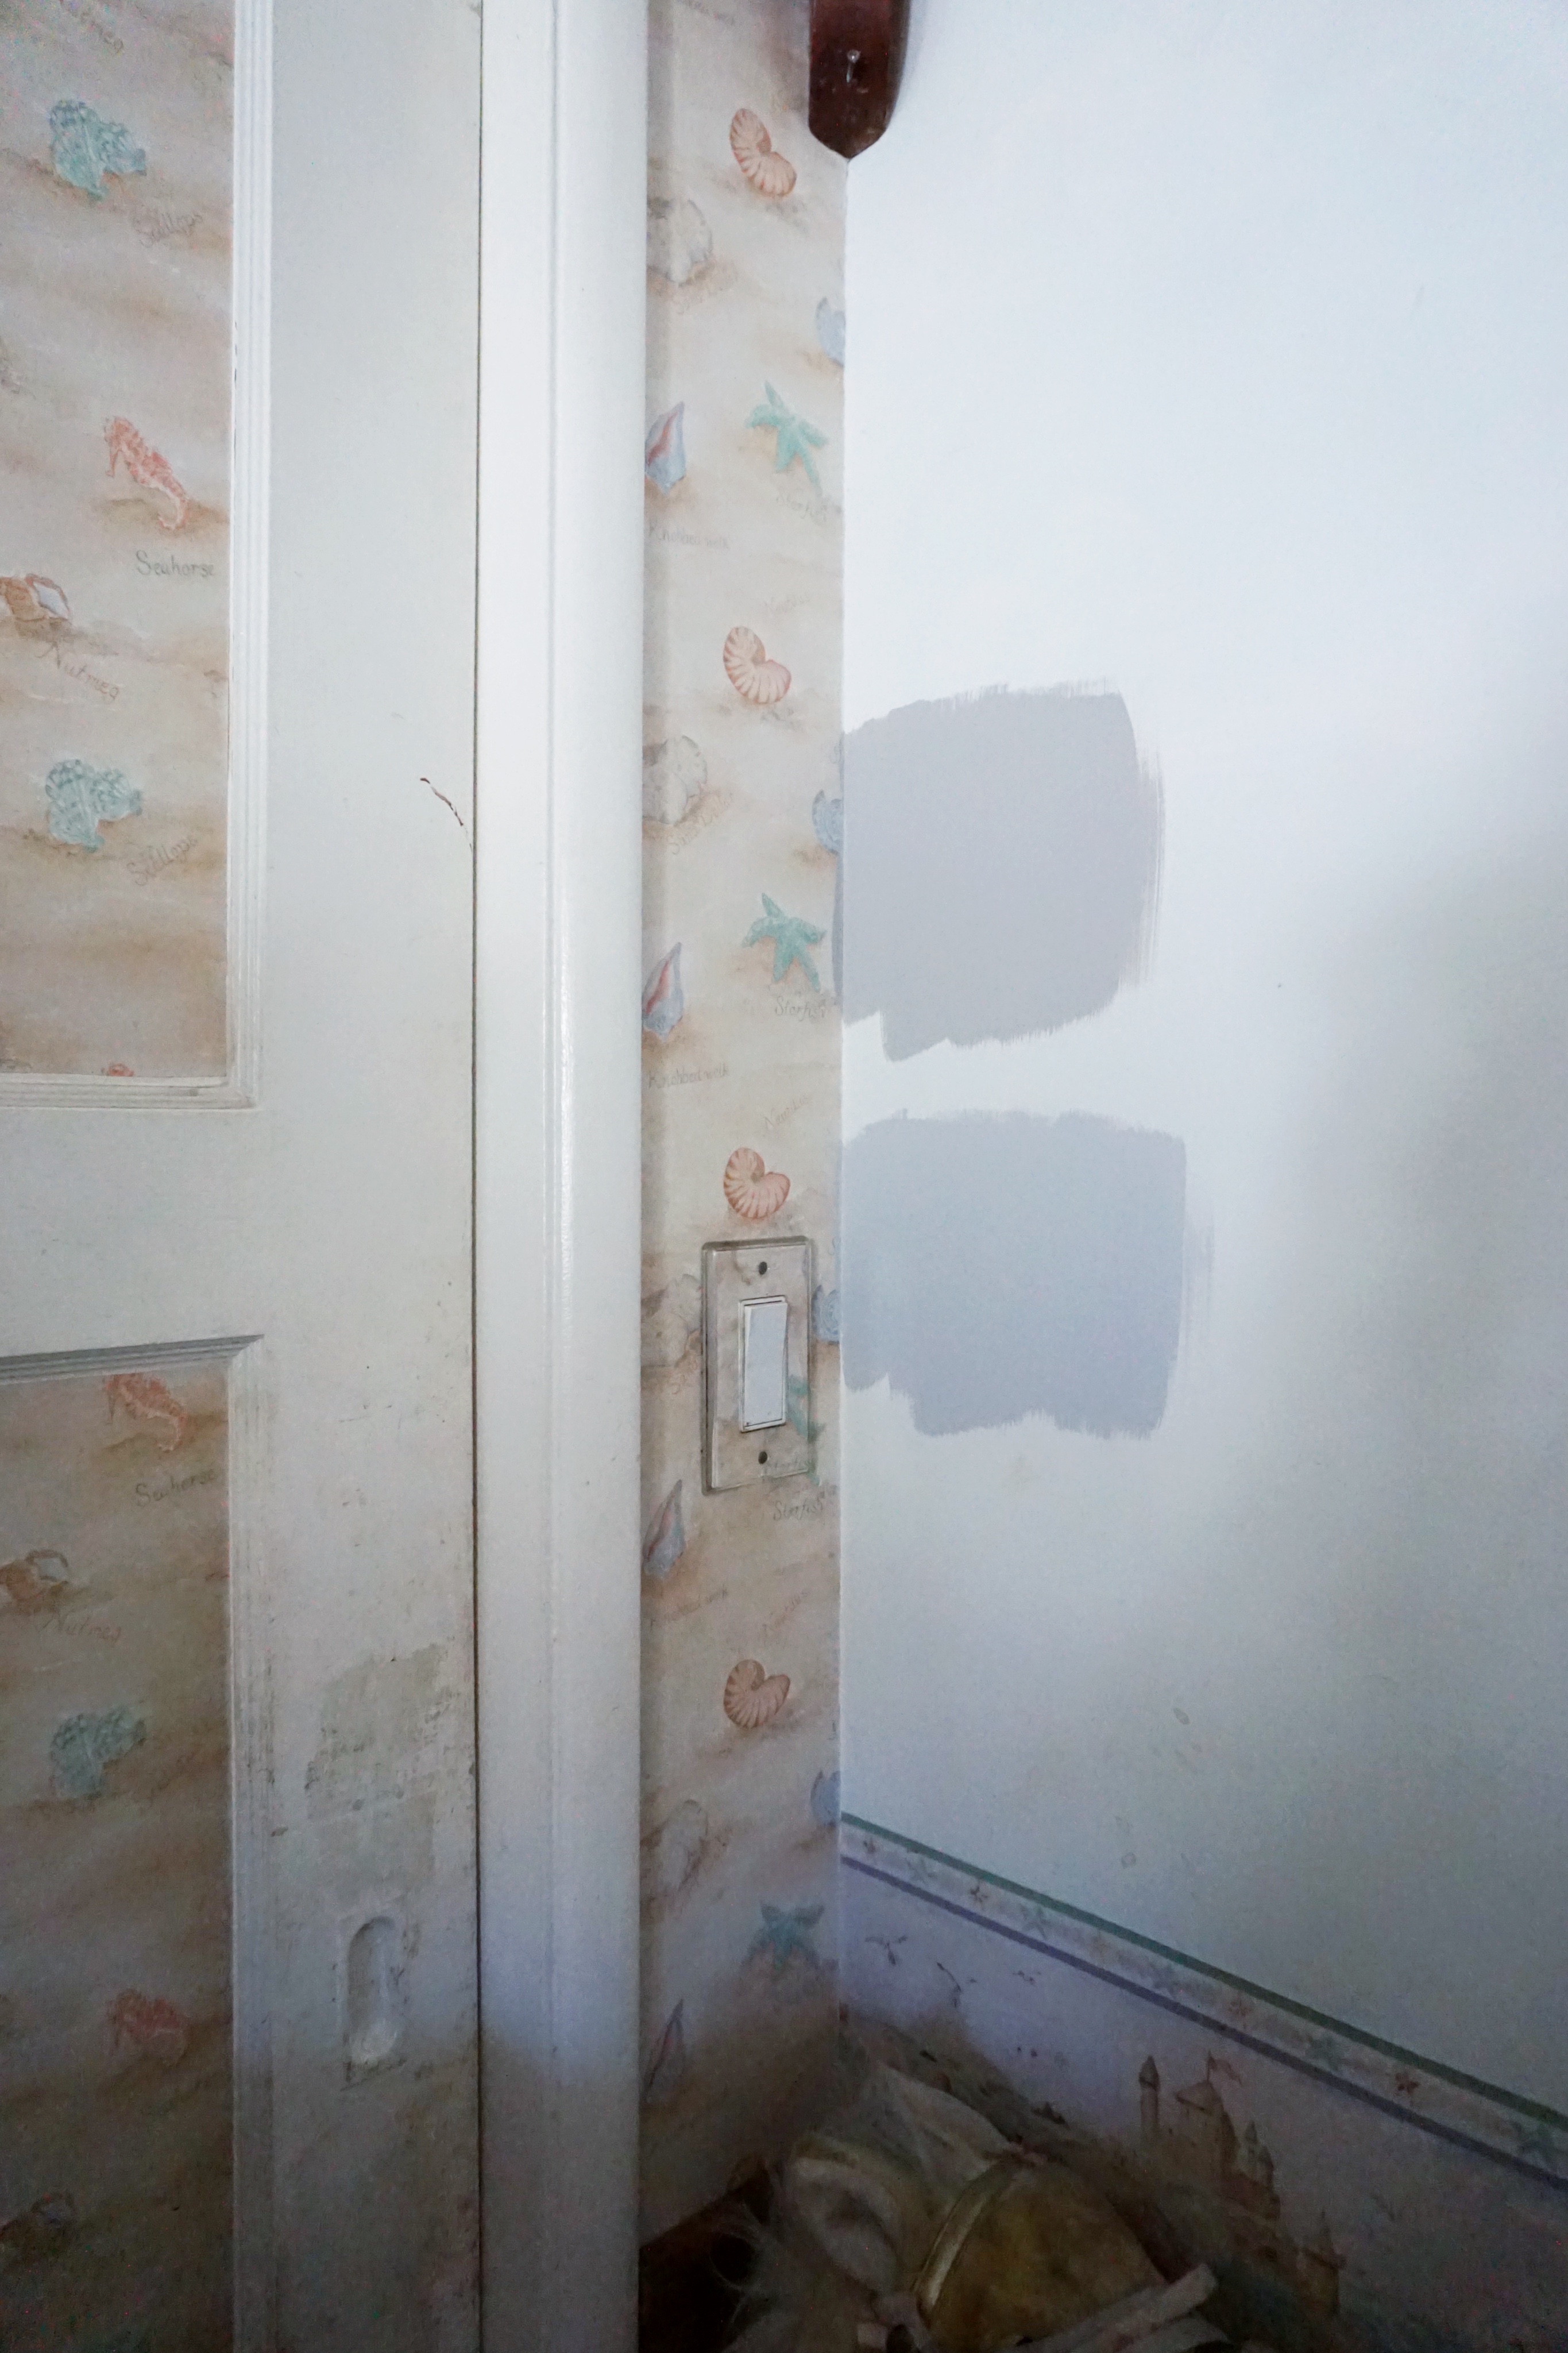
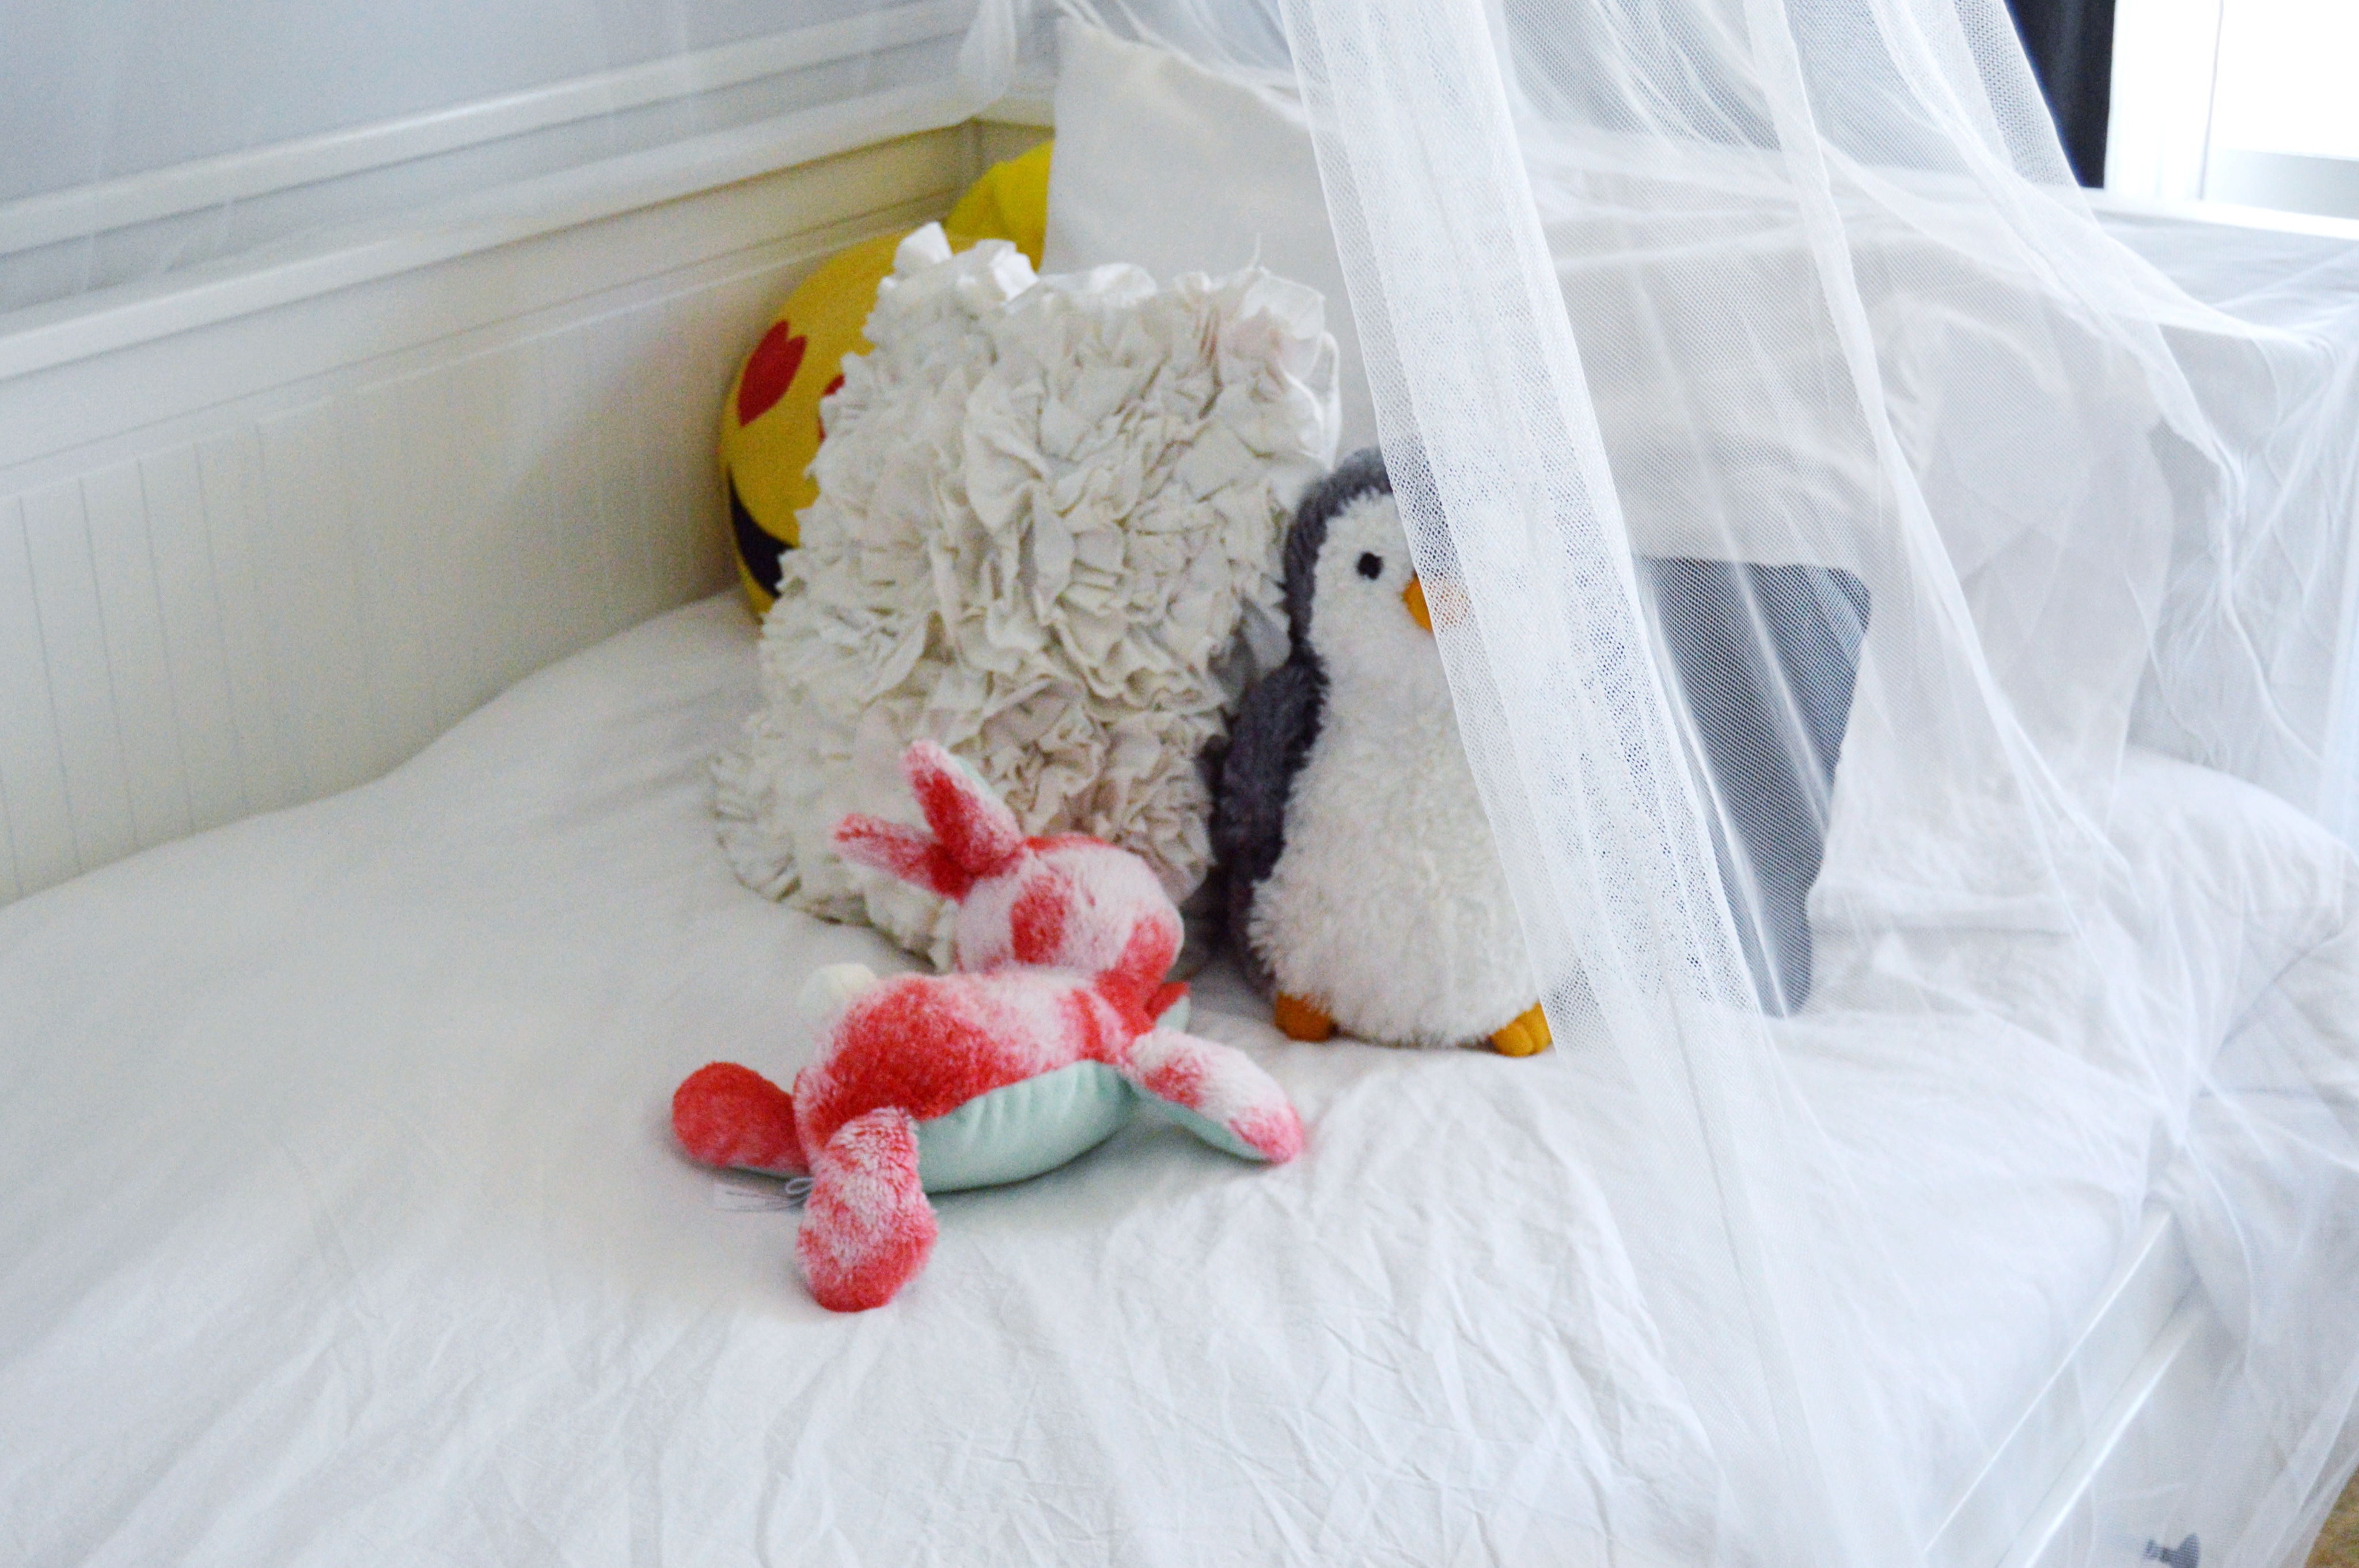
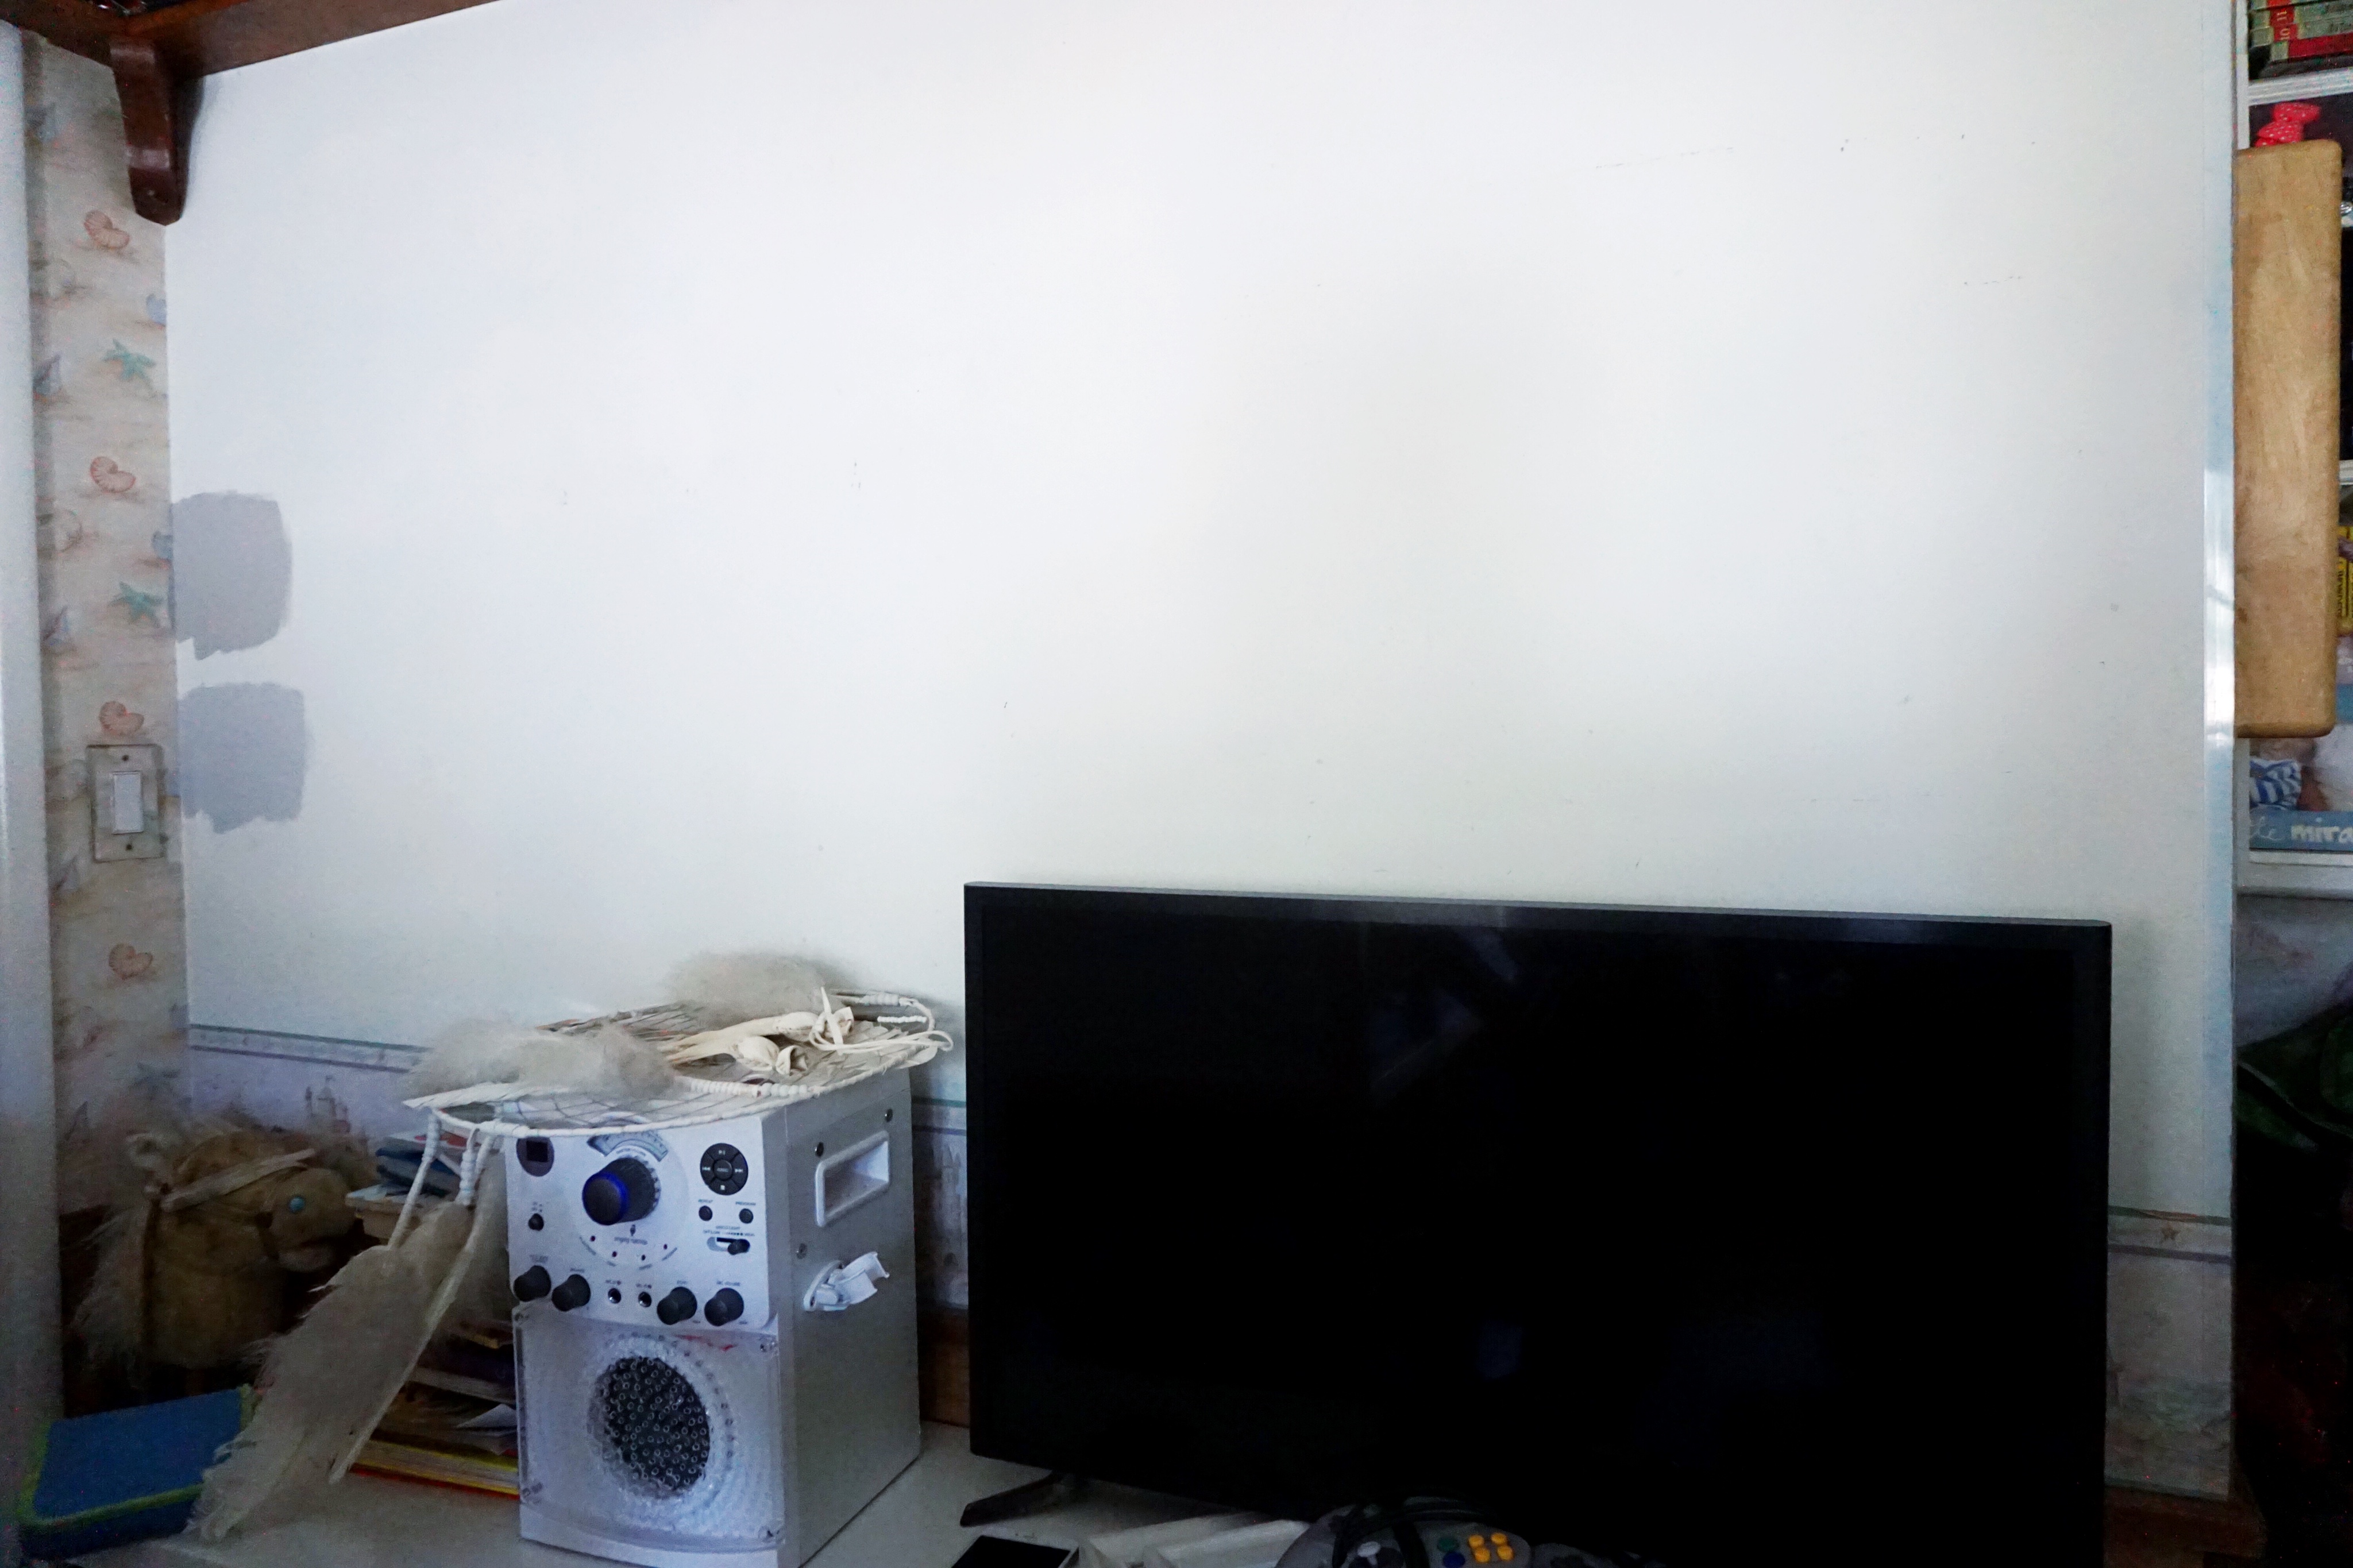
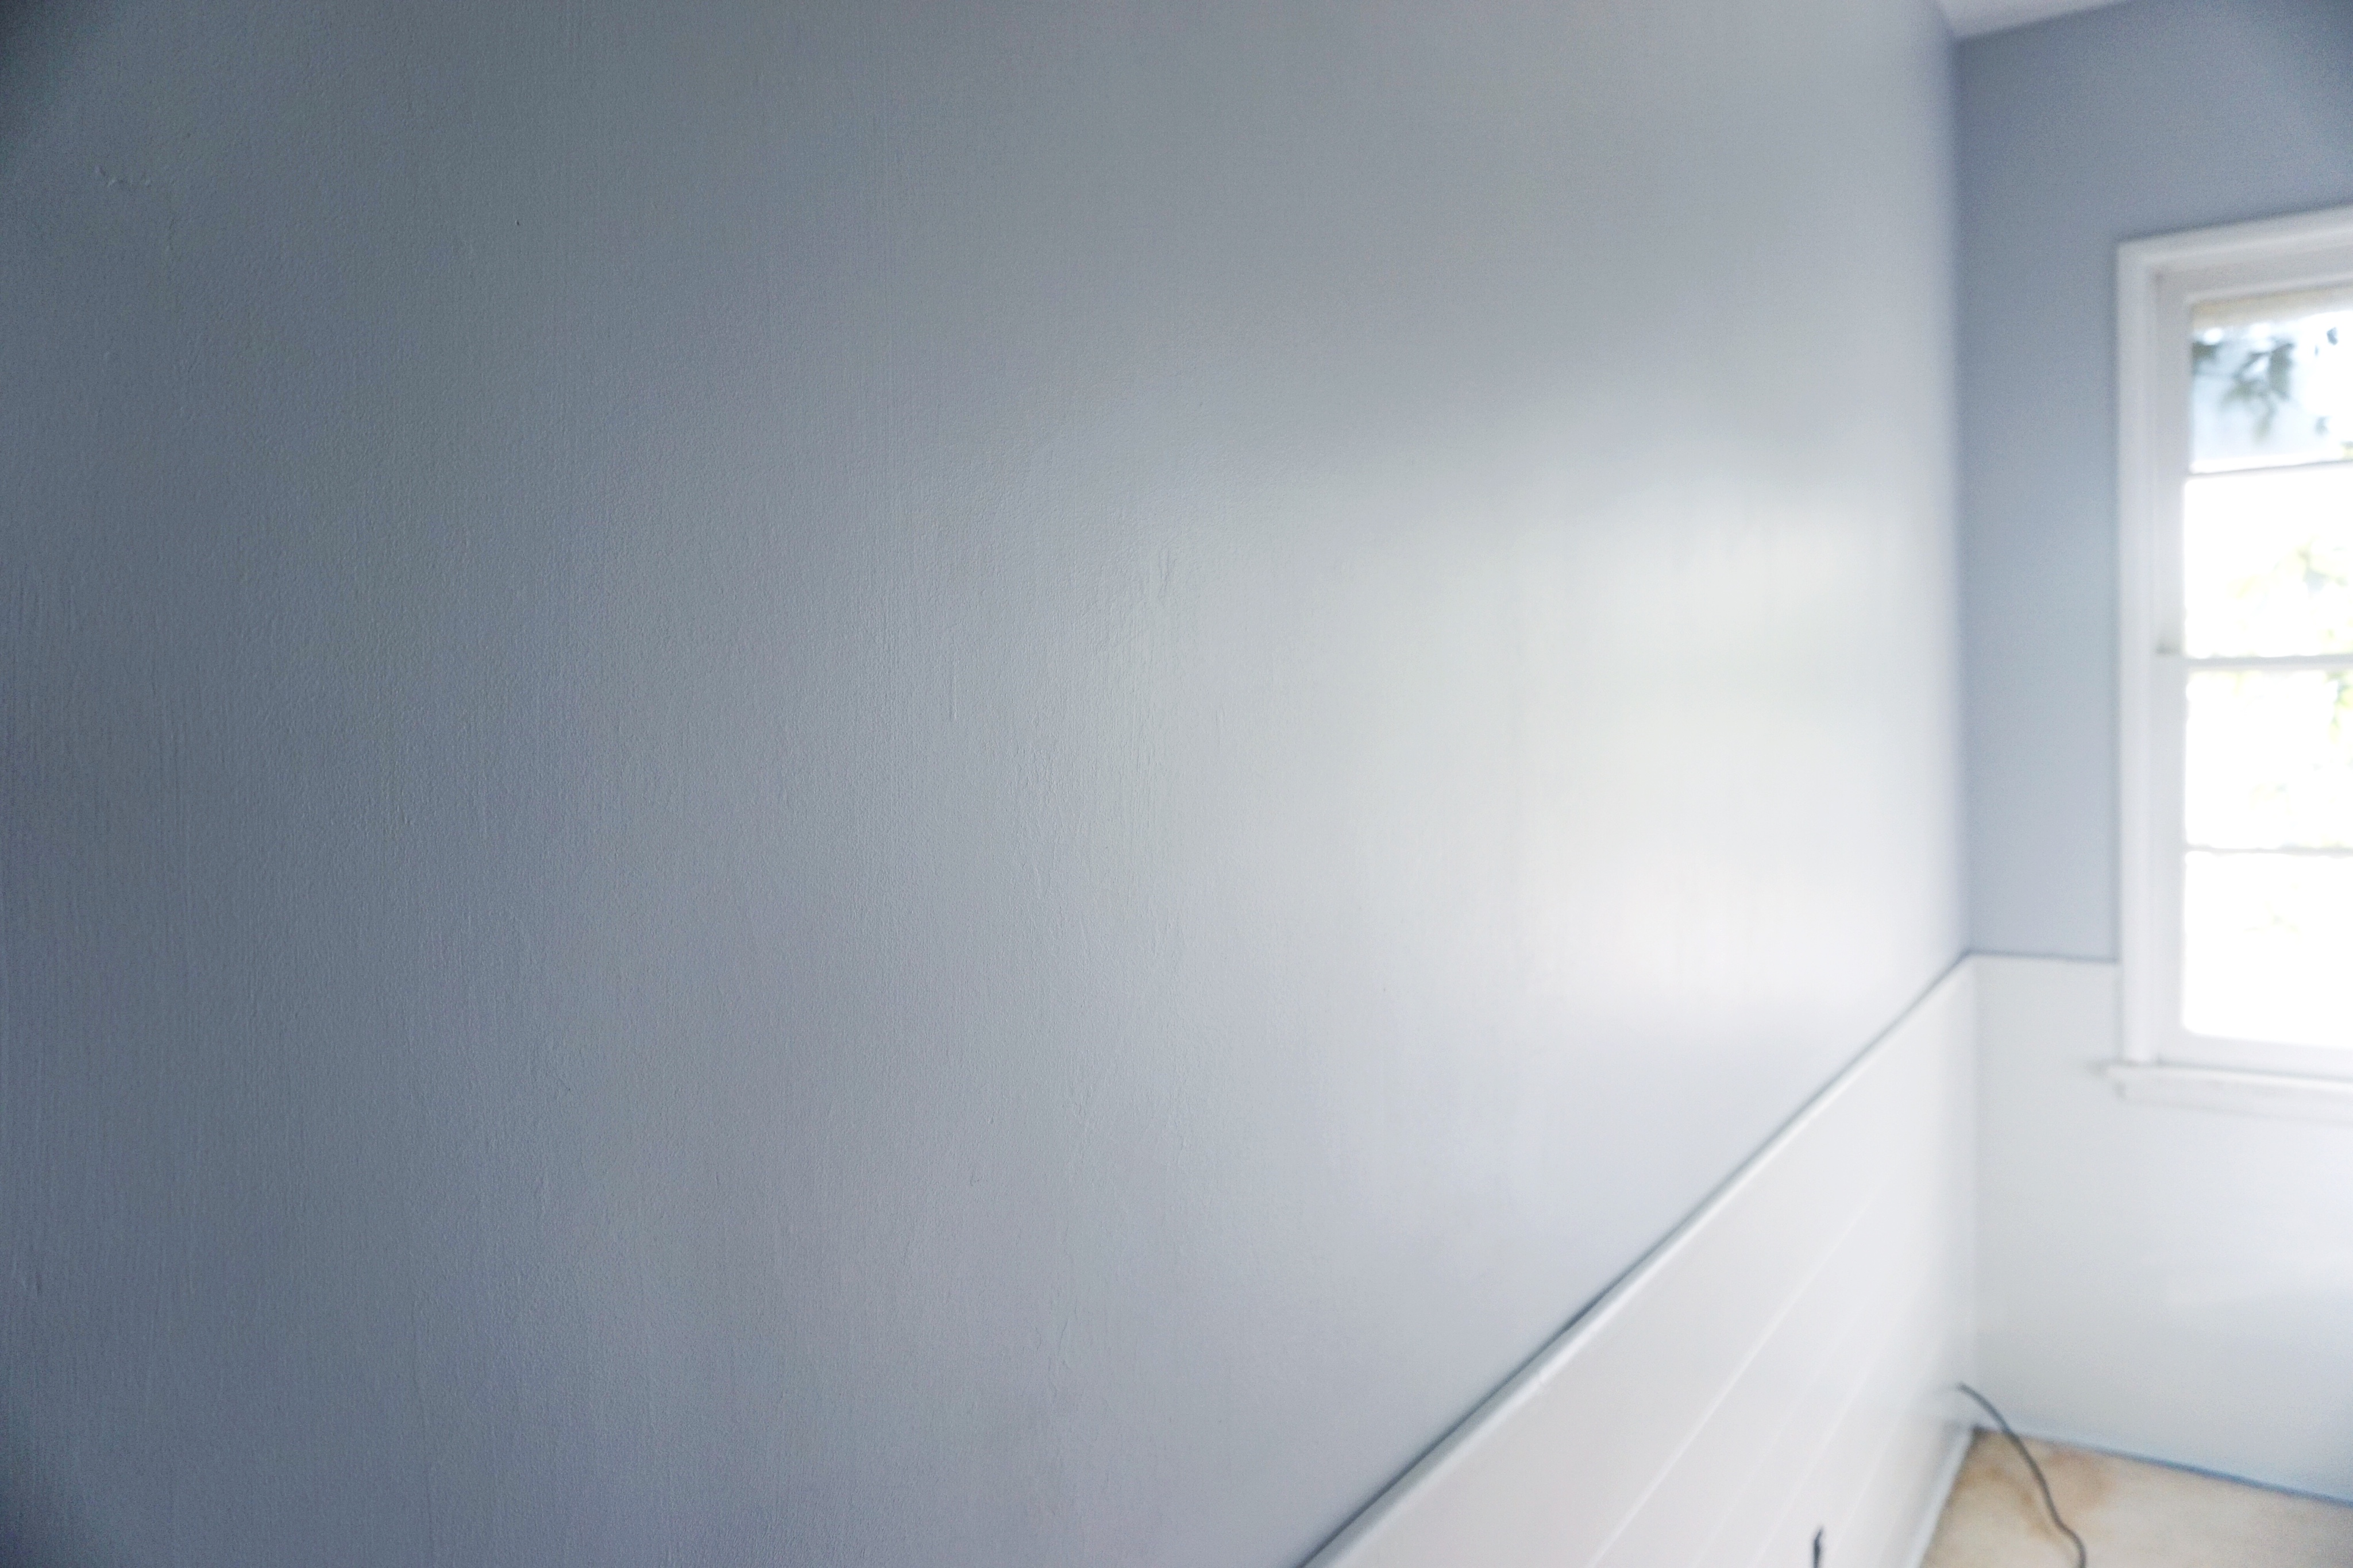
My seashell wallpaper from circa 1999 and our color options from which we chose the bottom, bluer grey.
The future chalkboard wall!
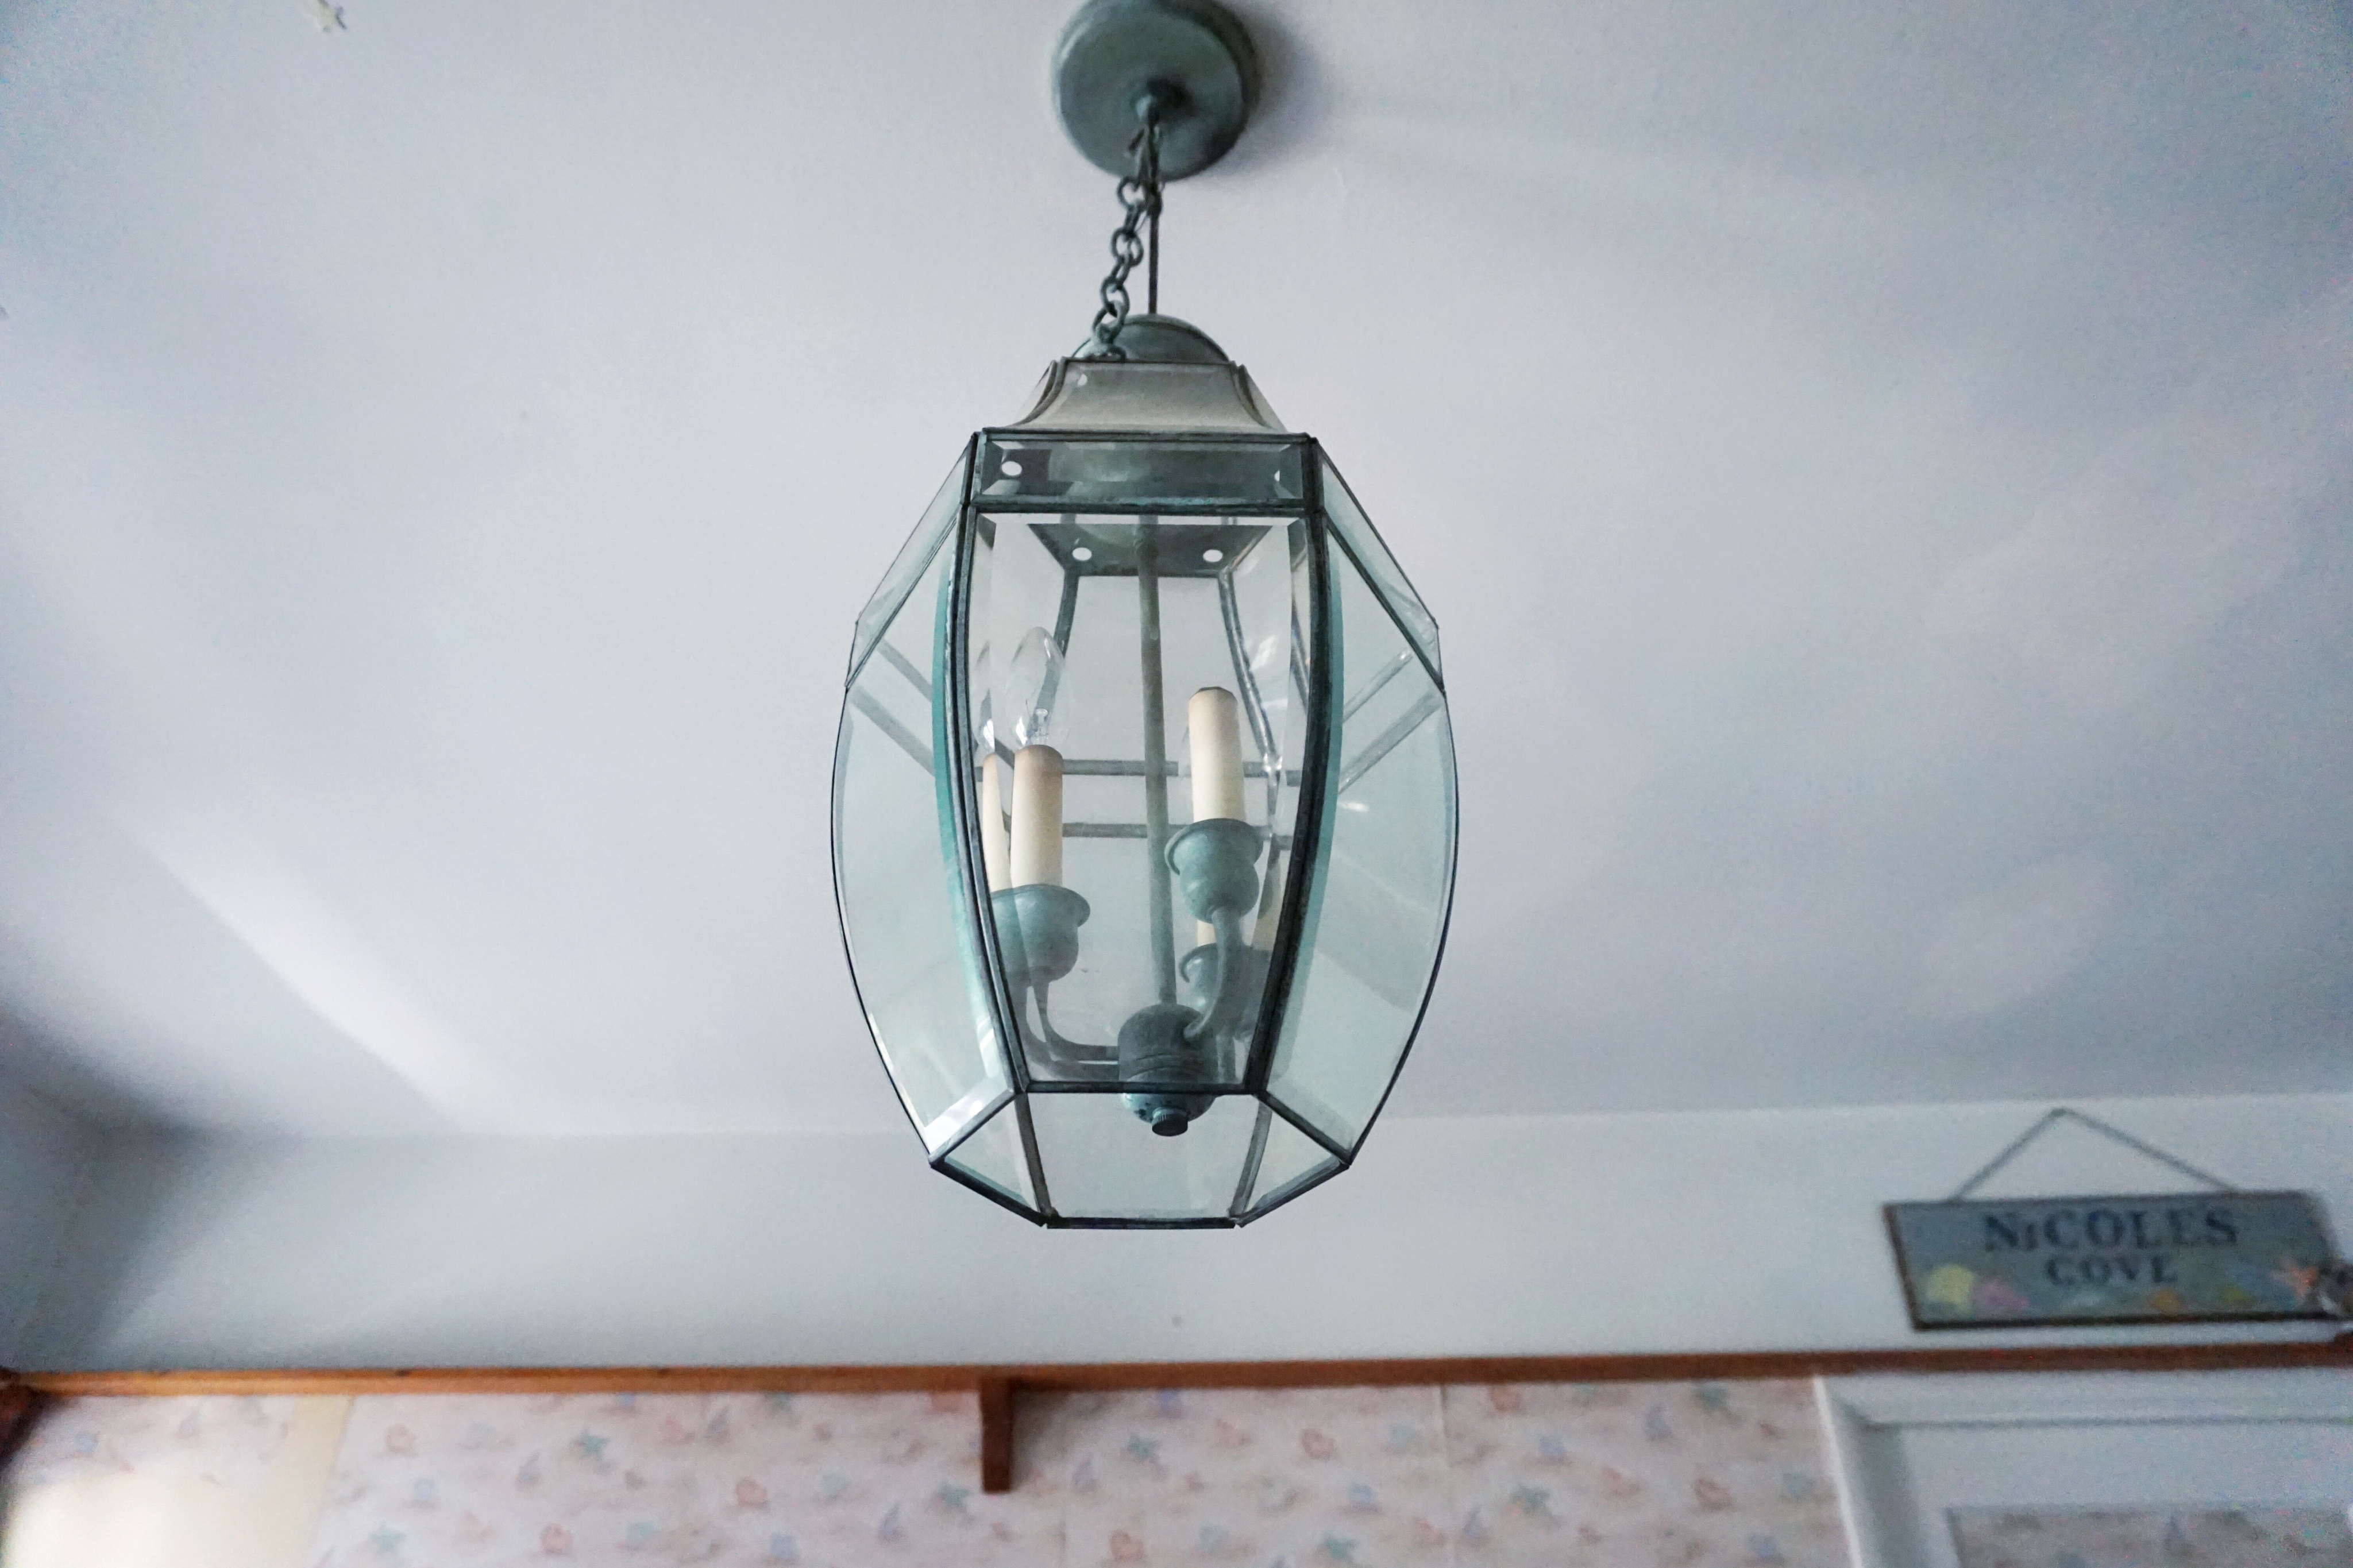
We’ll be replacing this ceiling lamp with (probably) this one from IKEA soon.
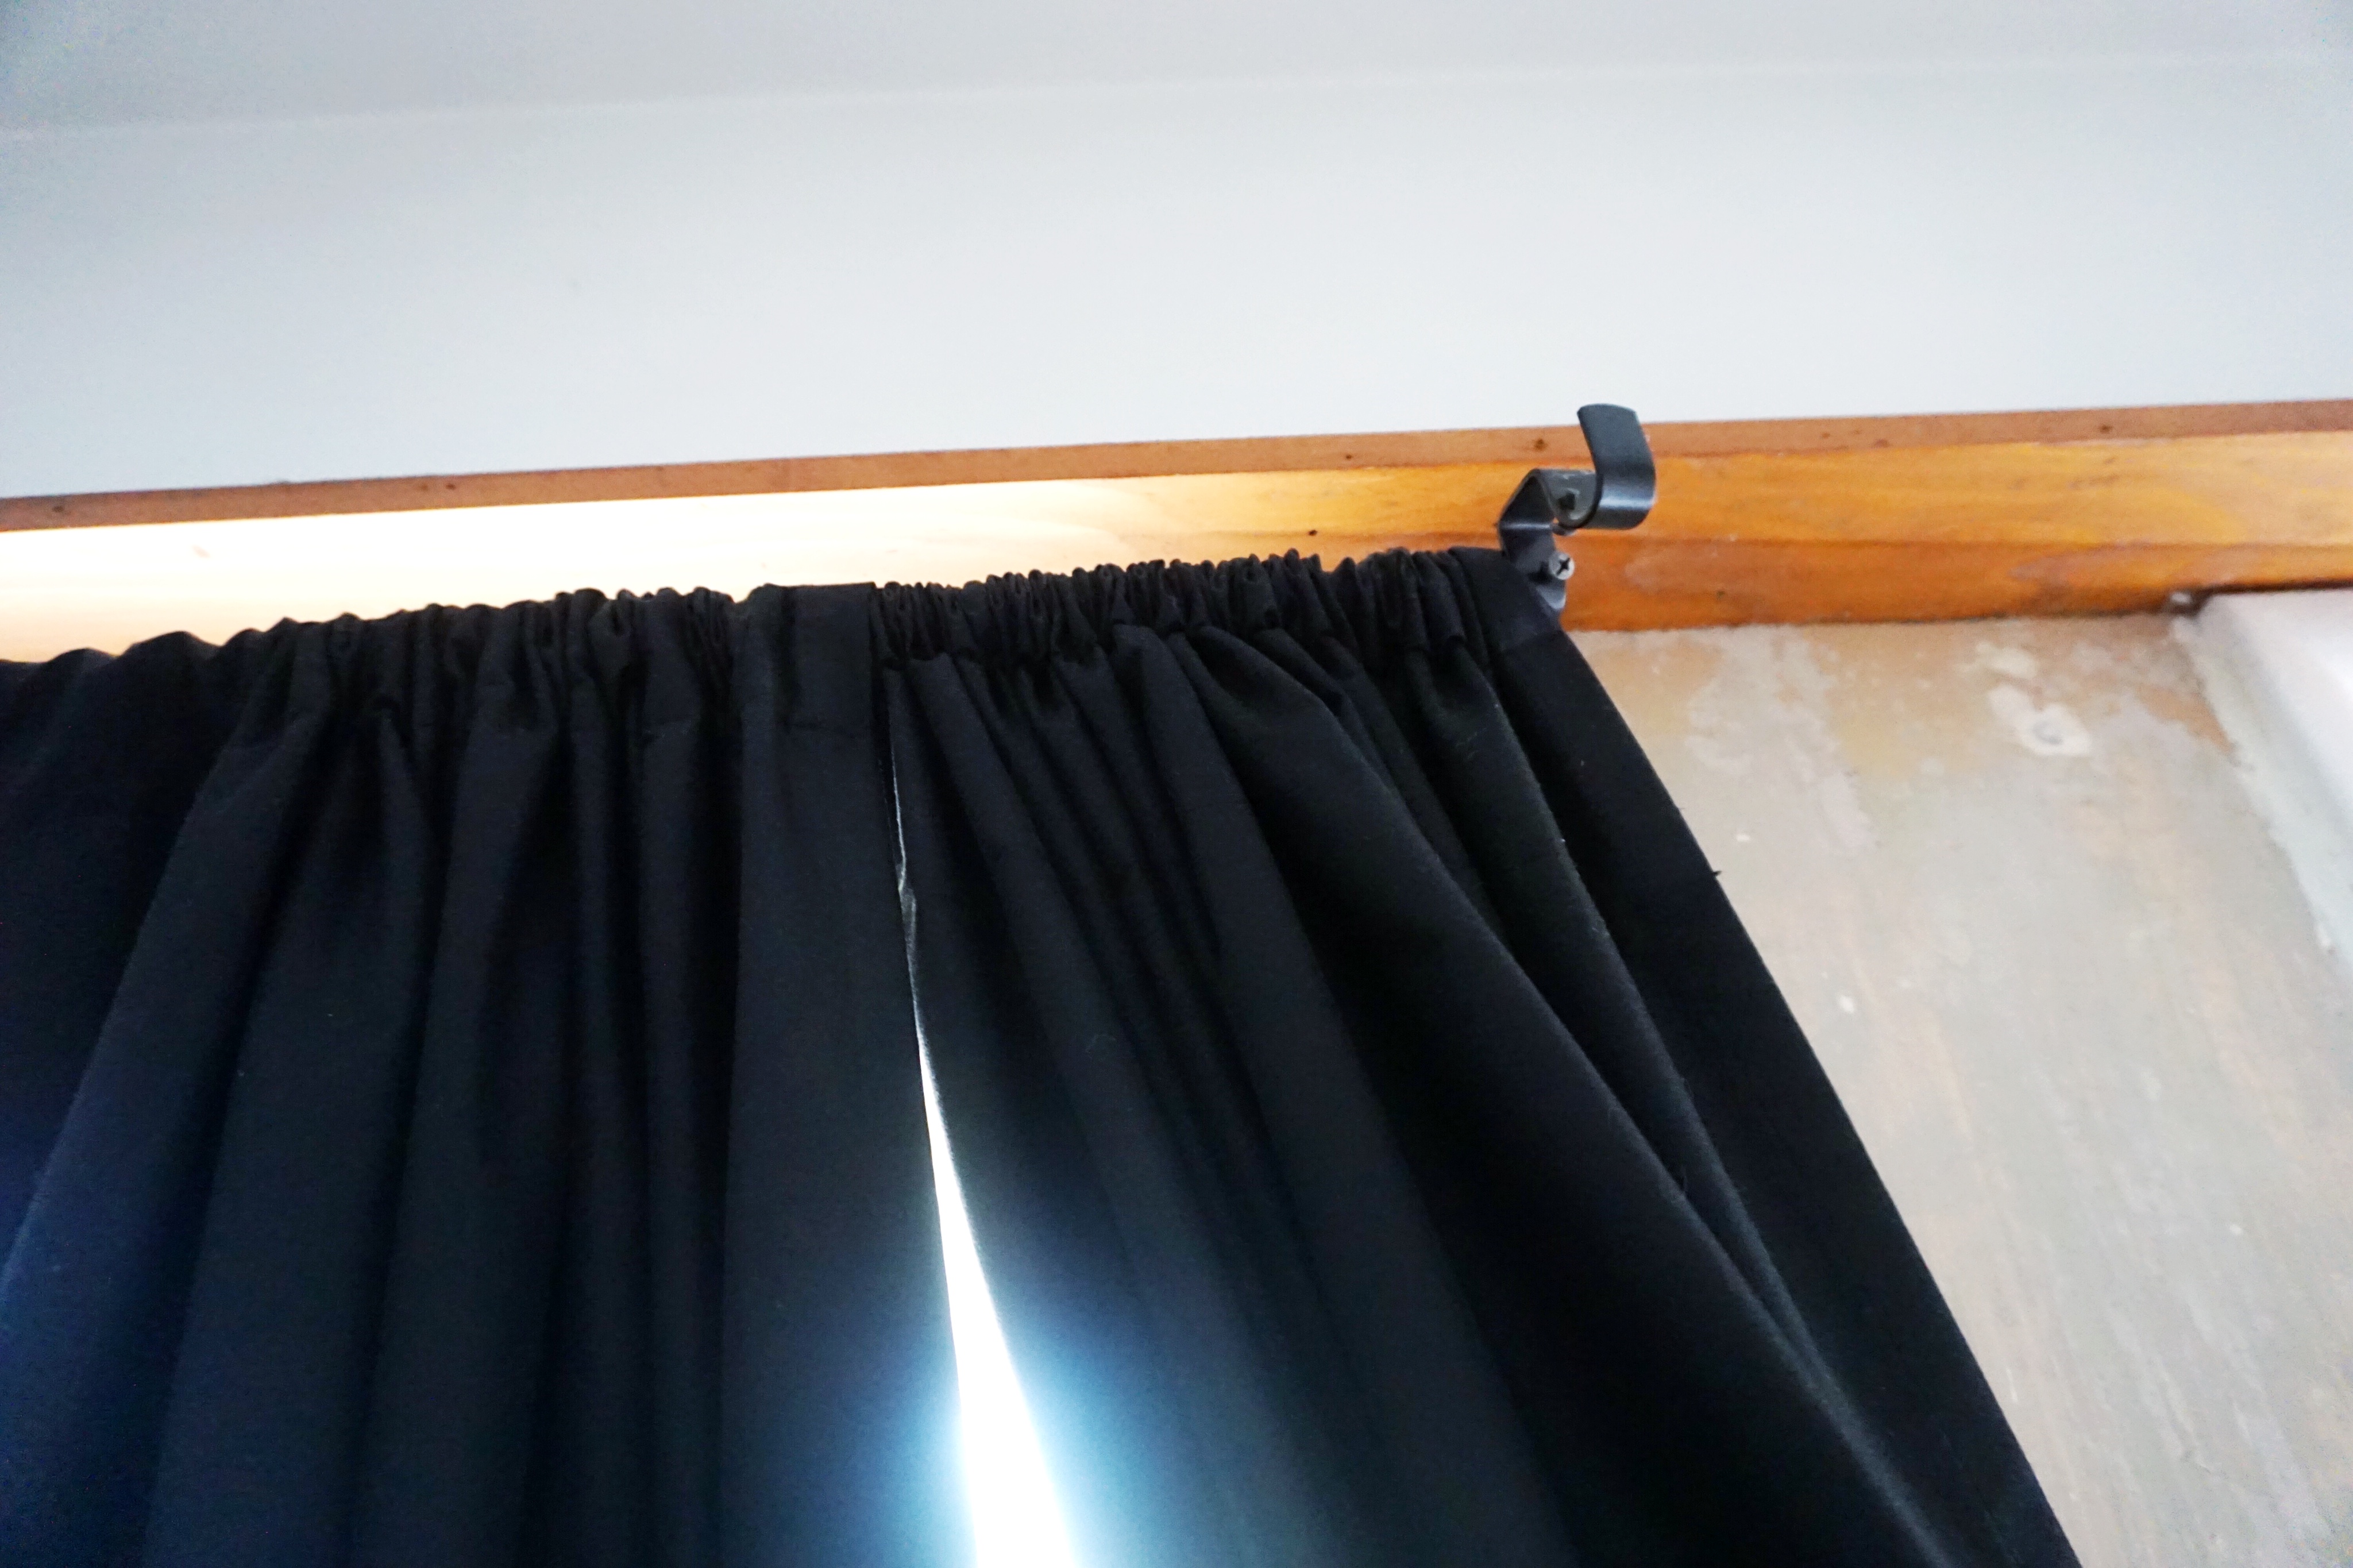
It’s definitely time for these black curtains and old rods to go…
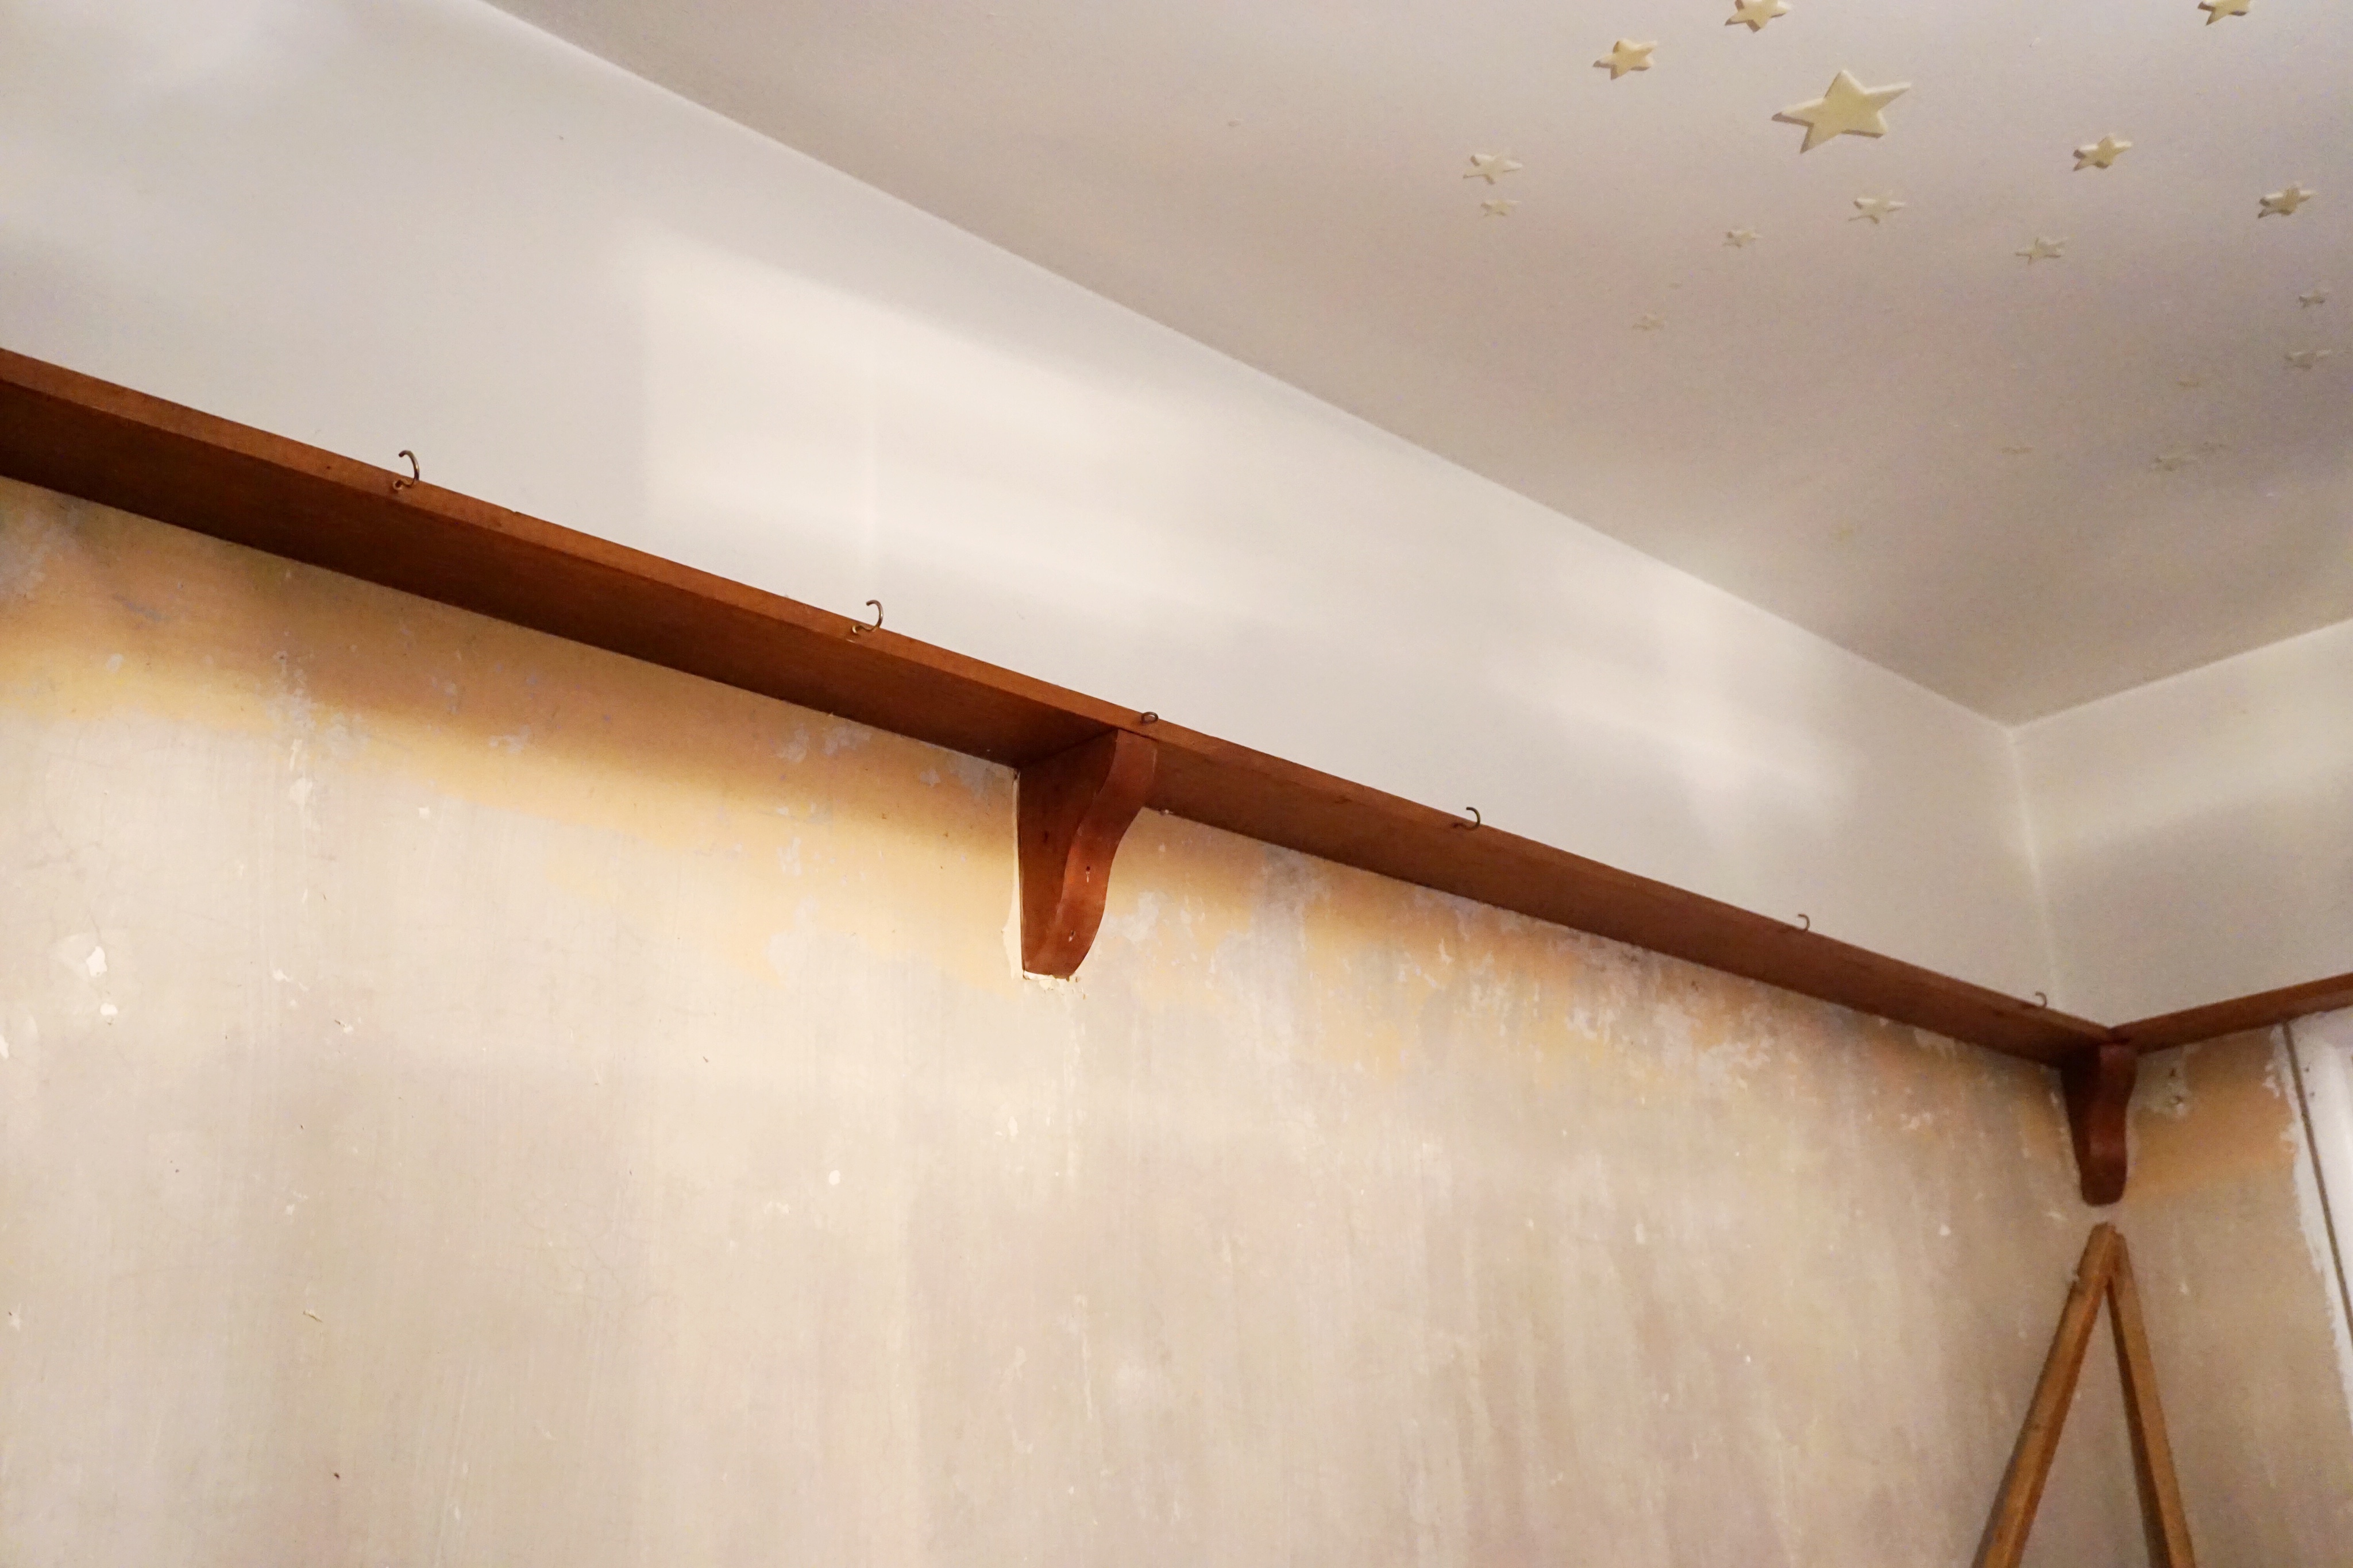
And although I loved this shelving for building forts (yarn strung across the room with sheets draped over it), it’s also gotta go!
From left to right: bare wall, wallpaper backing and the outgoing seashell wallpaper.
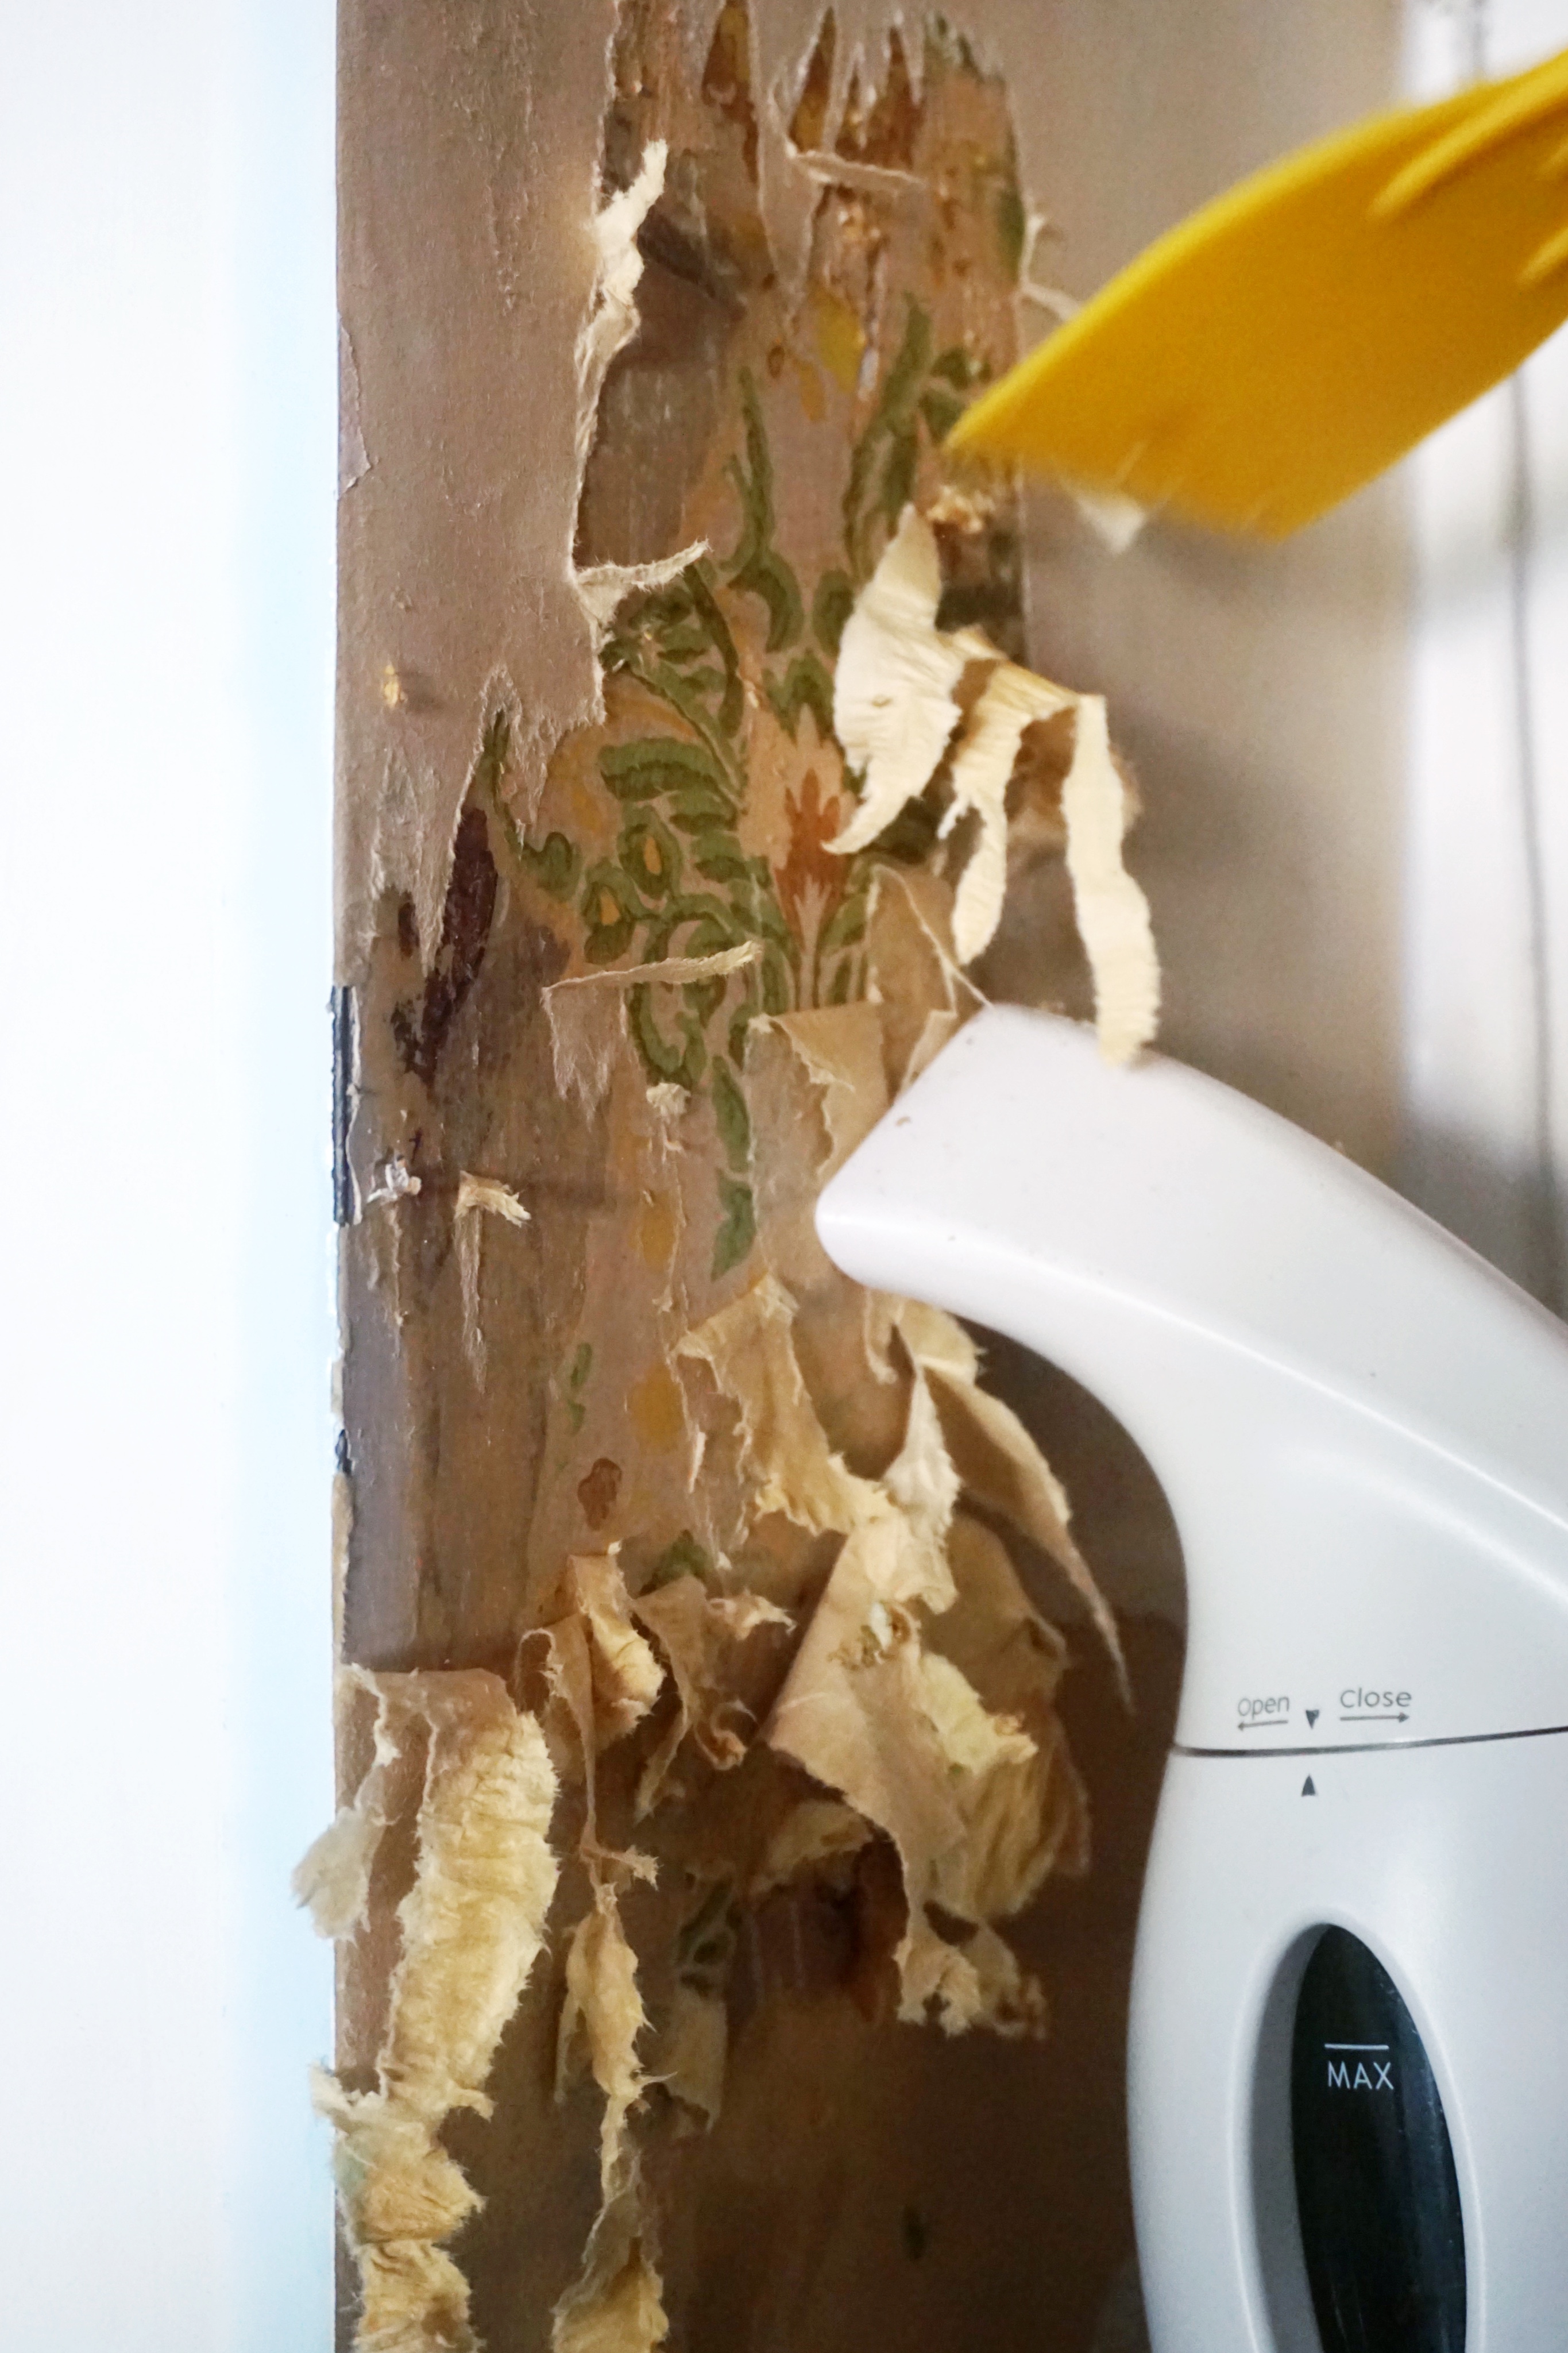
Removing the wallpaper wasn’t easy especially since we chose to use a portable fabric steamer…
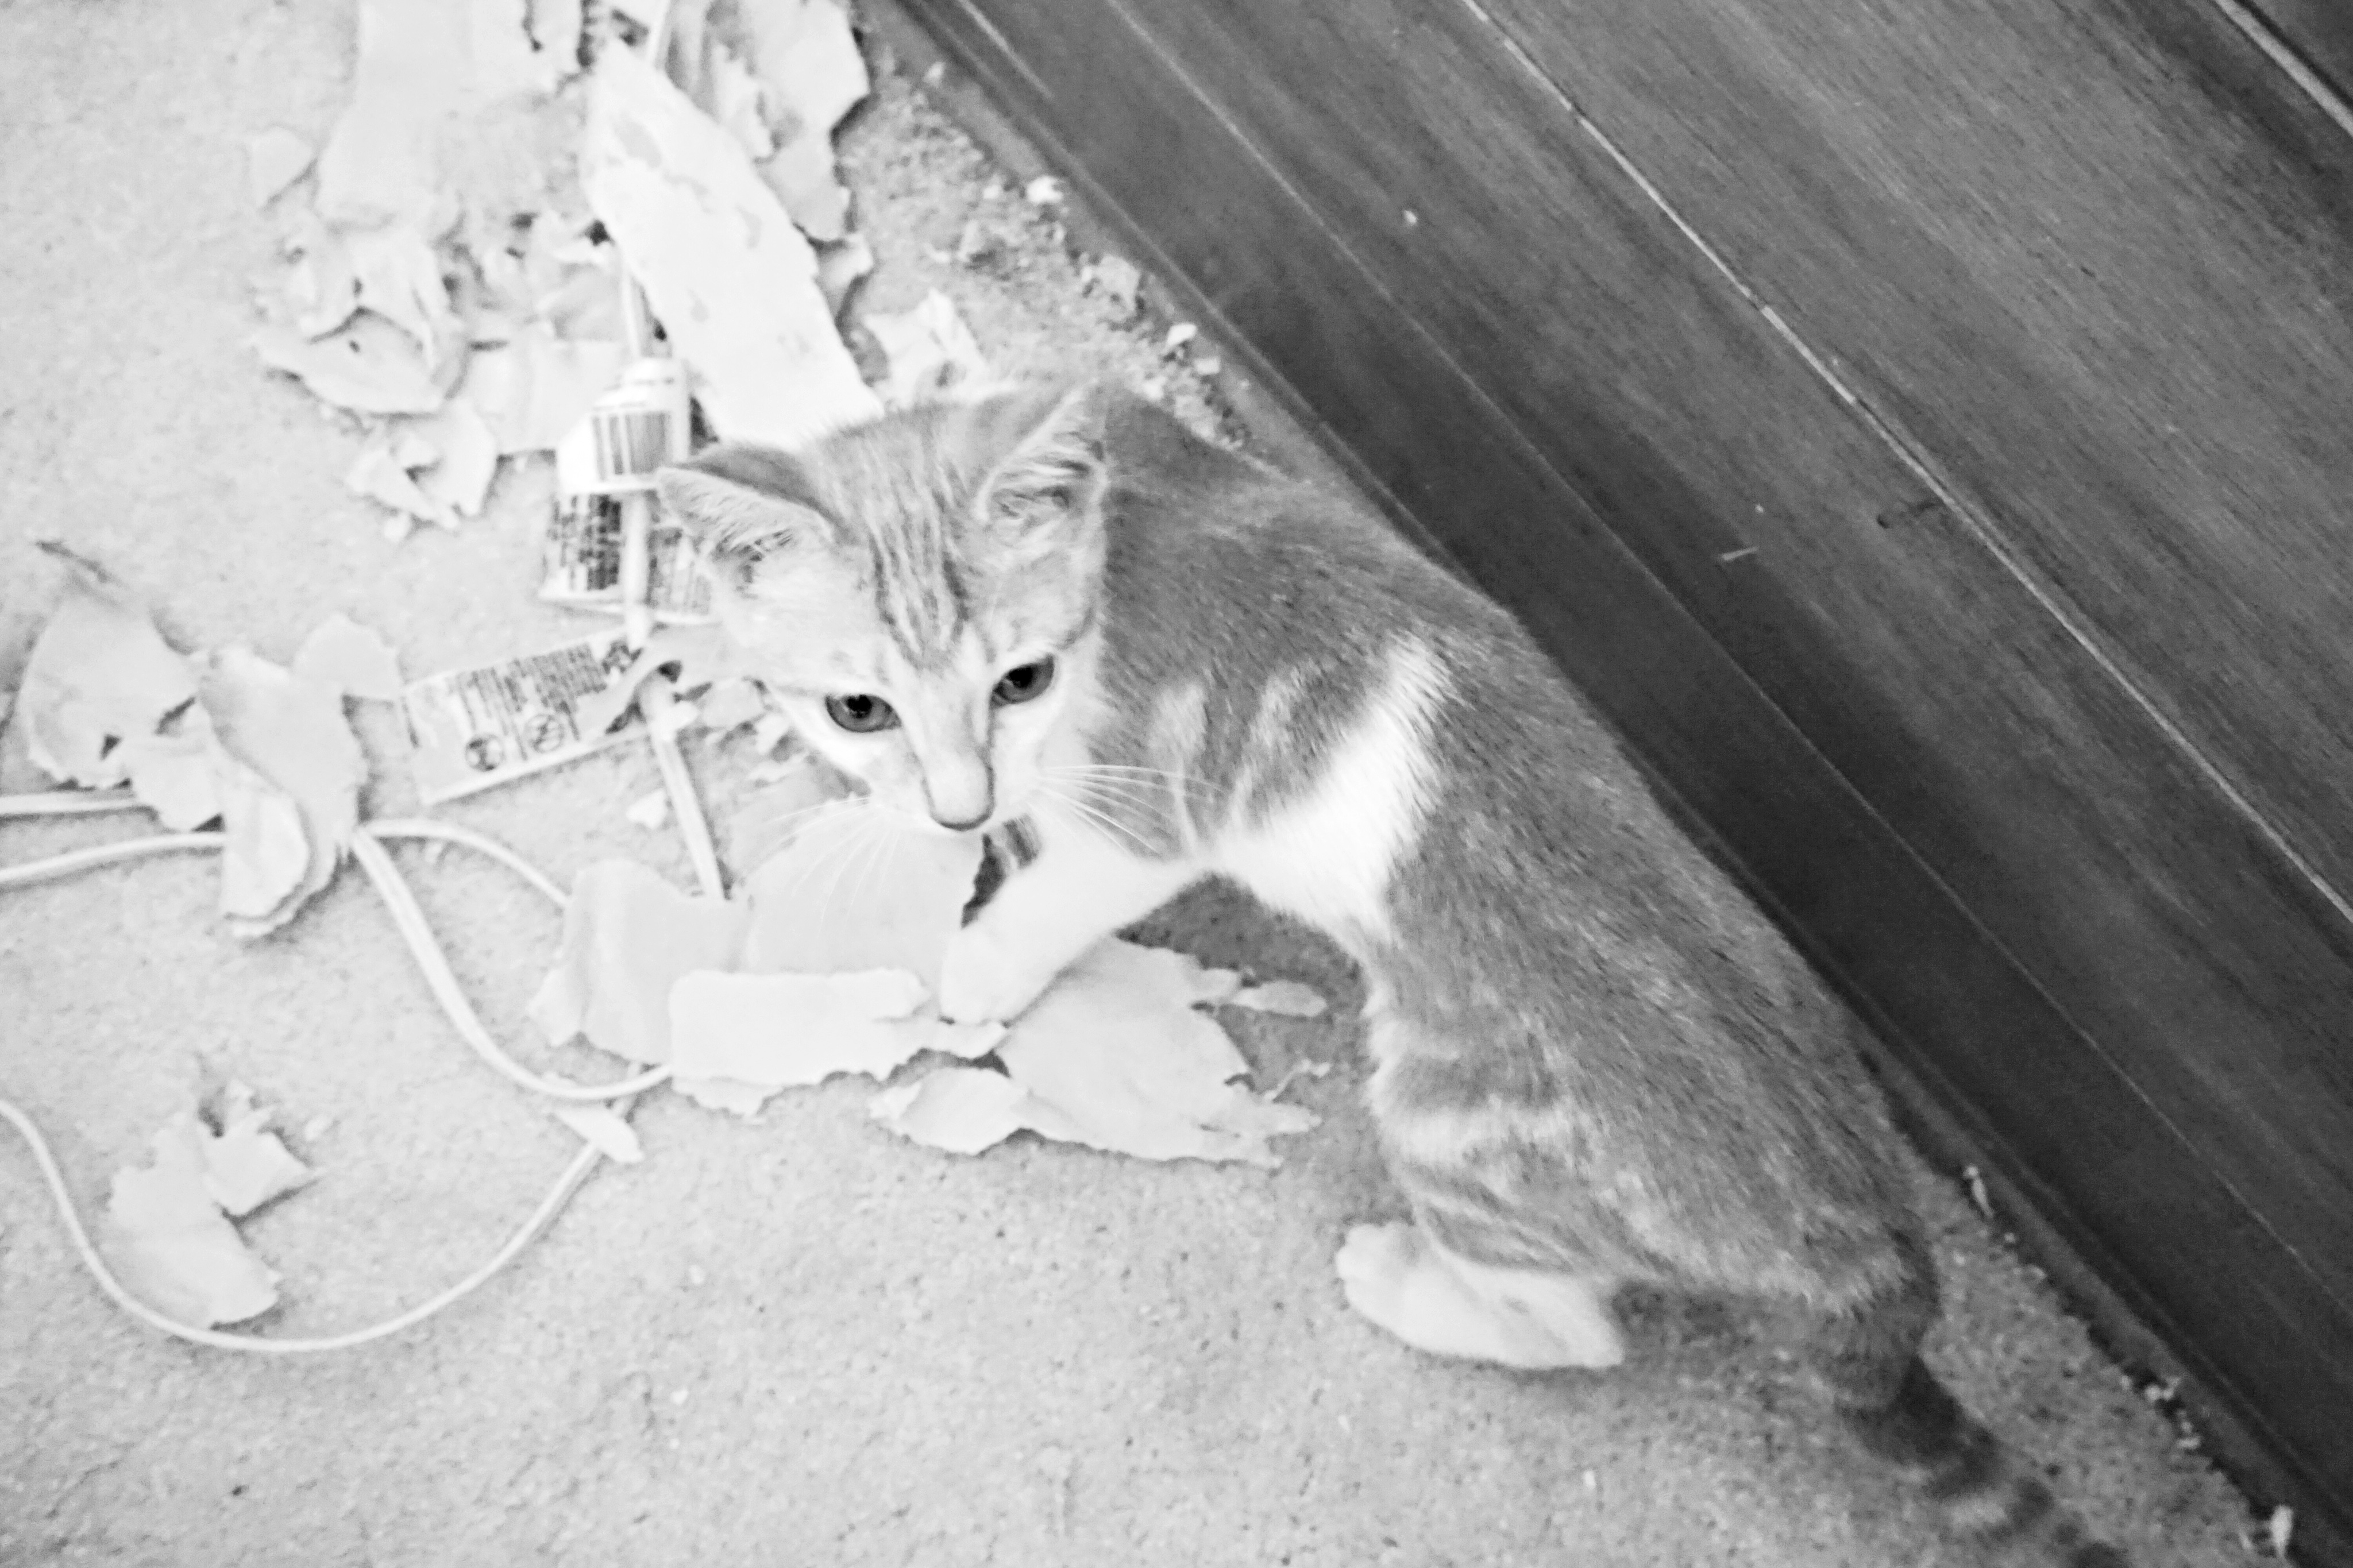
Luckily, little London was an amazing helper!
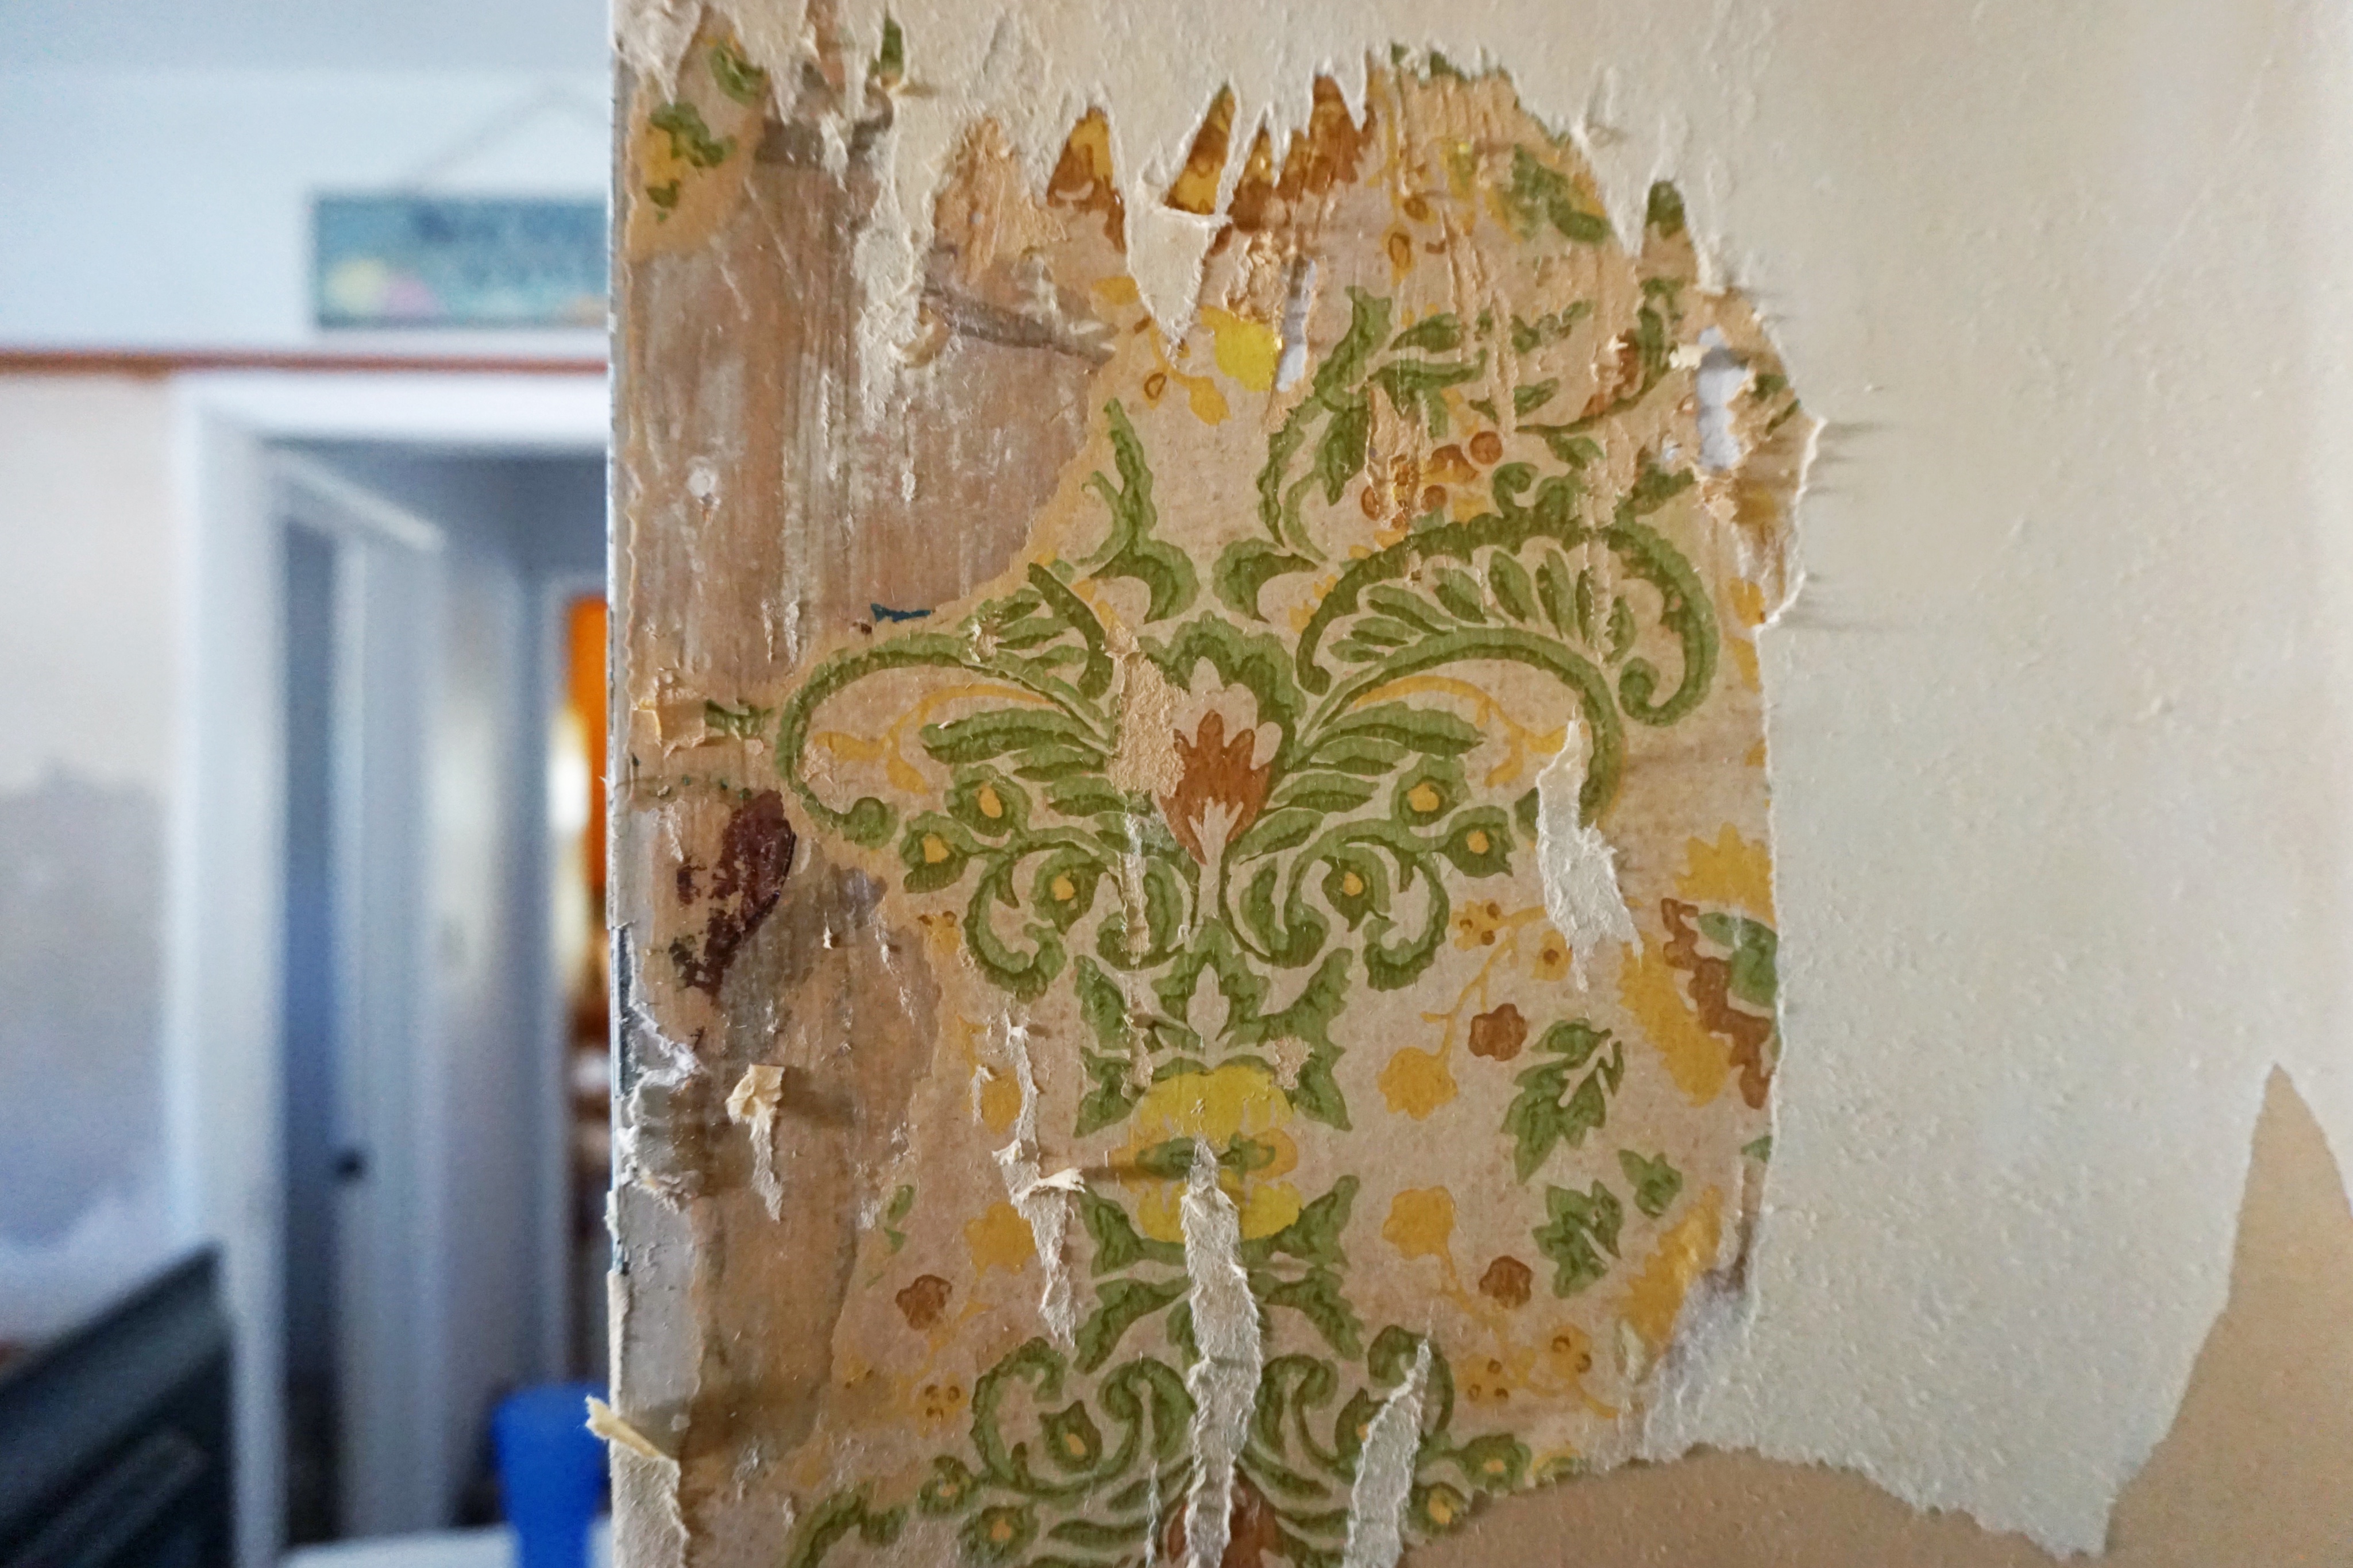
Underneath the seashell wallpaper…
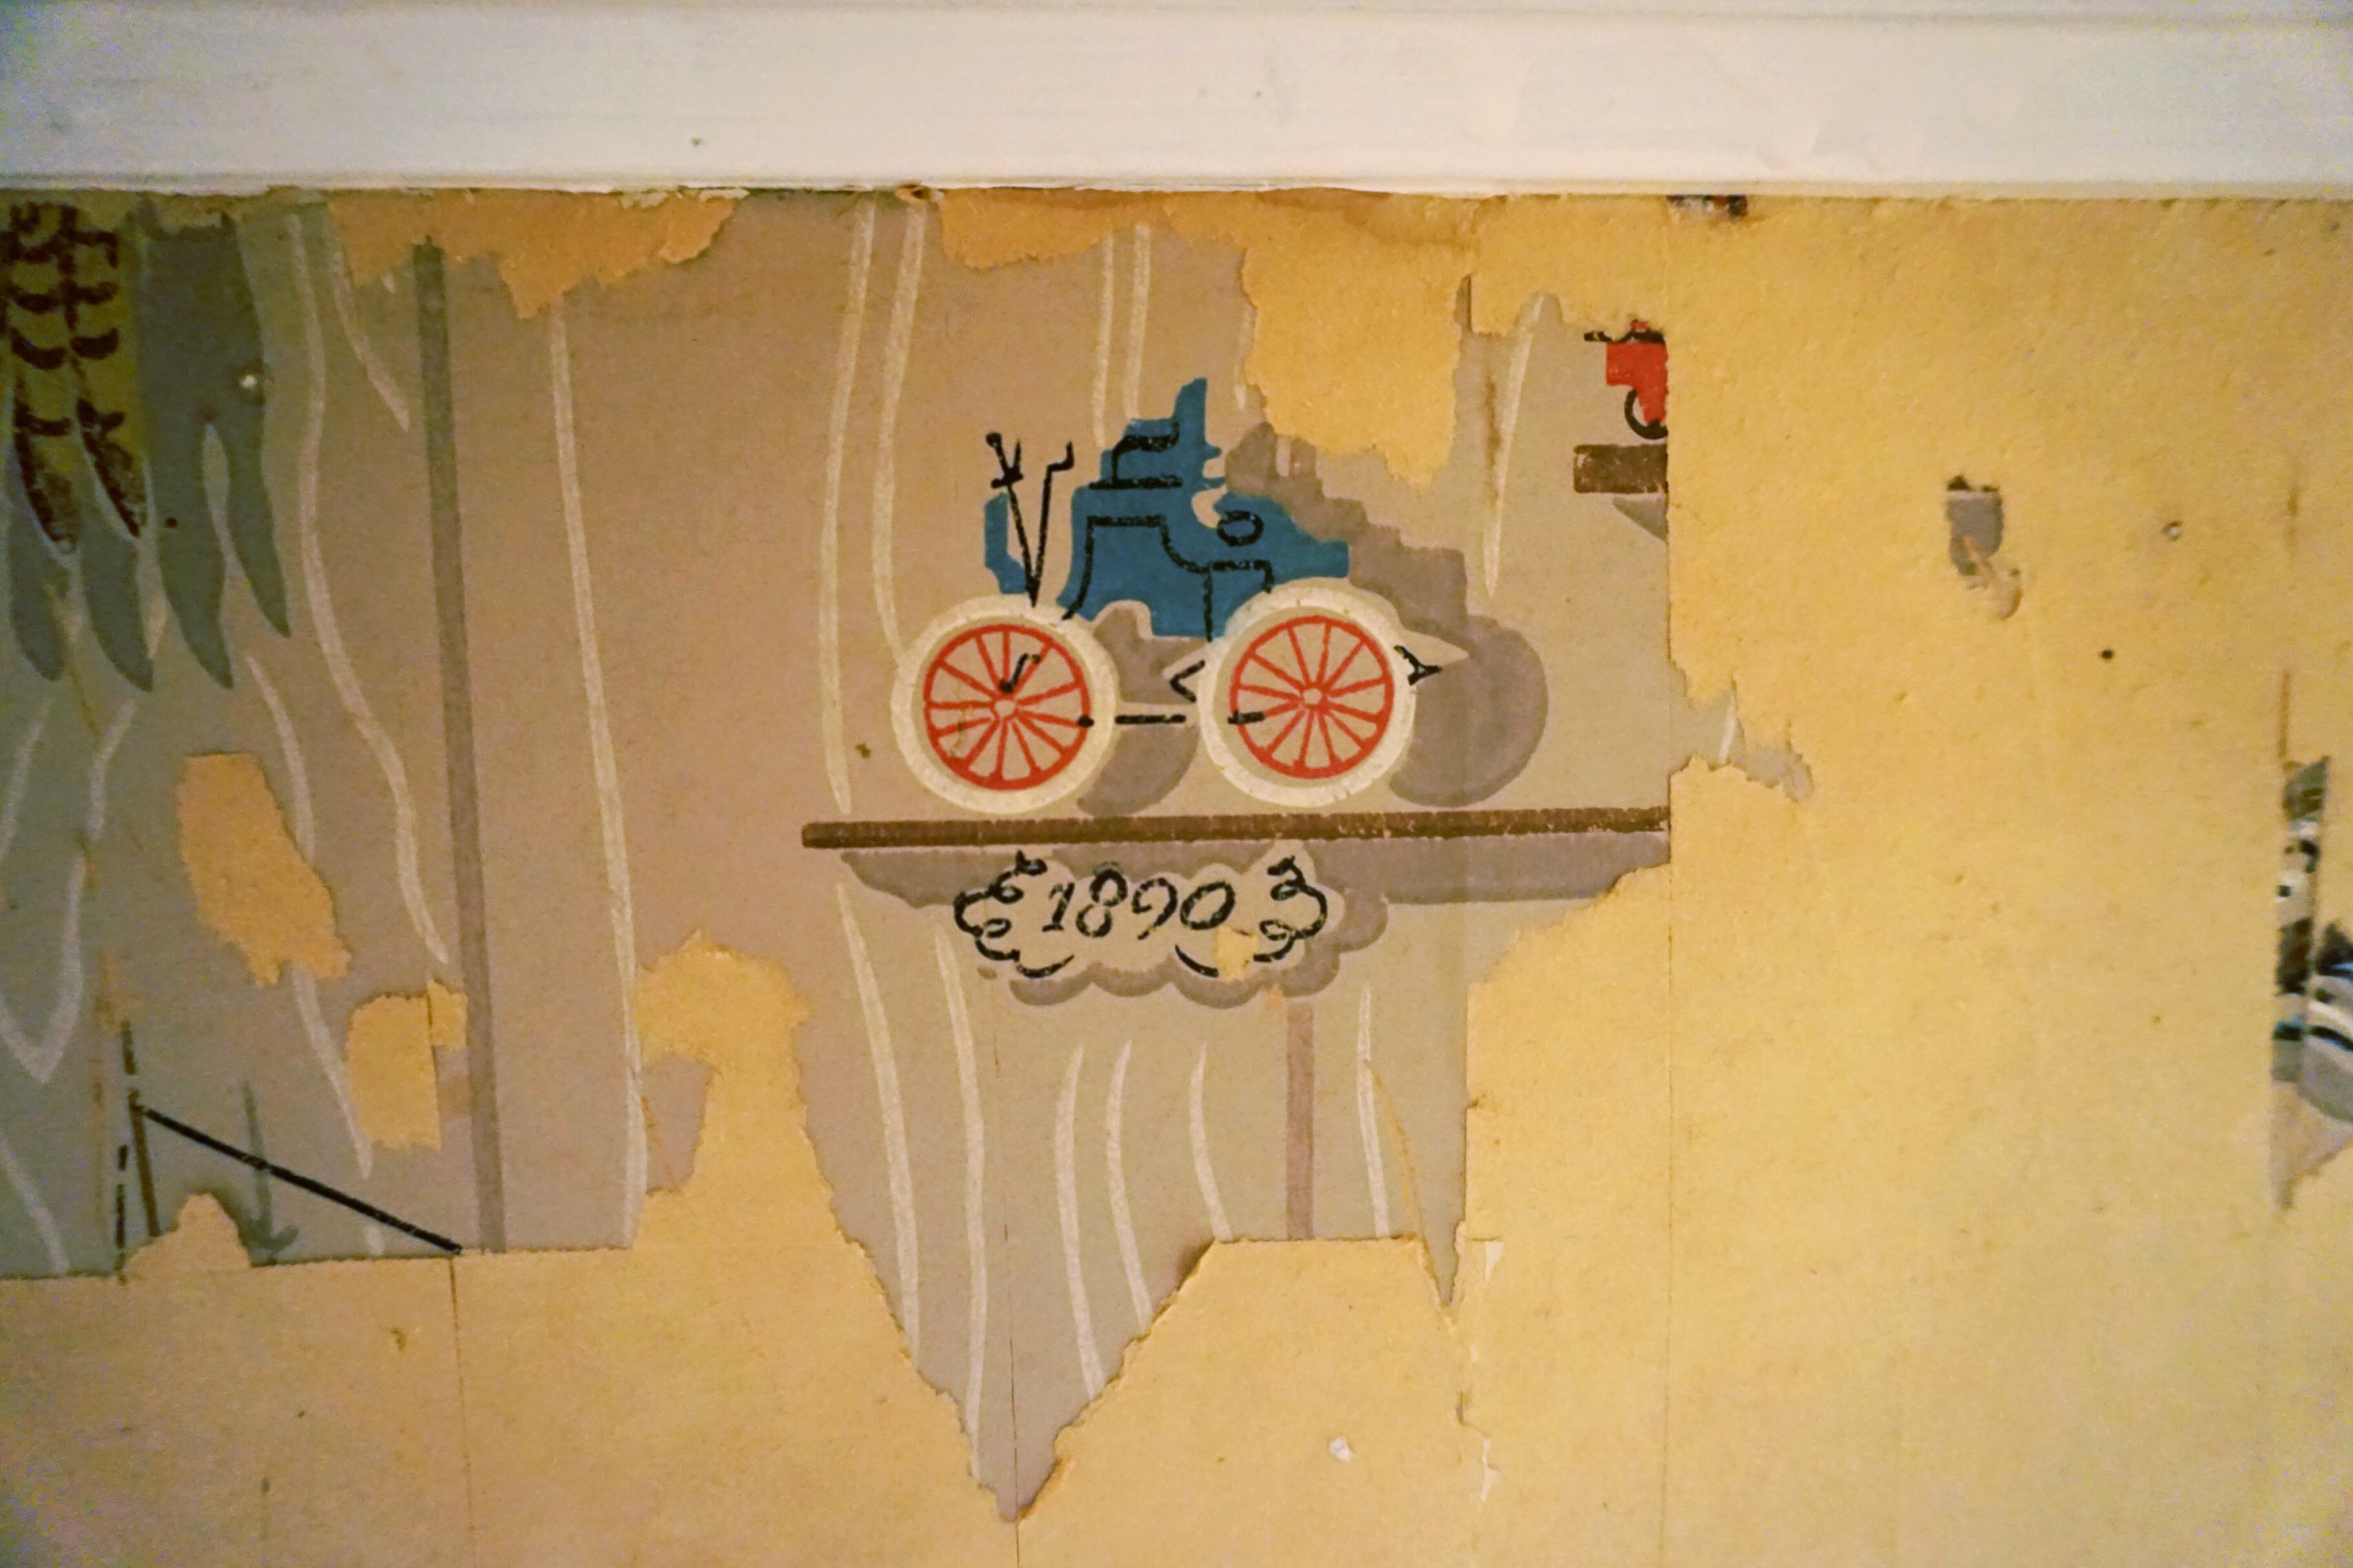
Underneath the floral wallpaper…
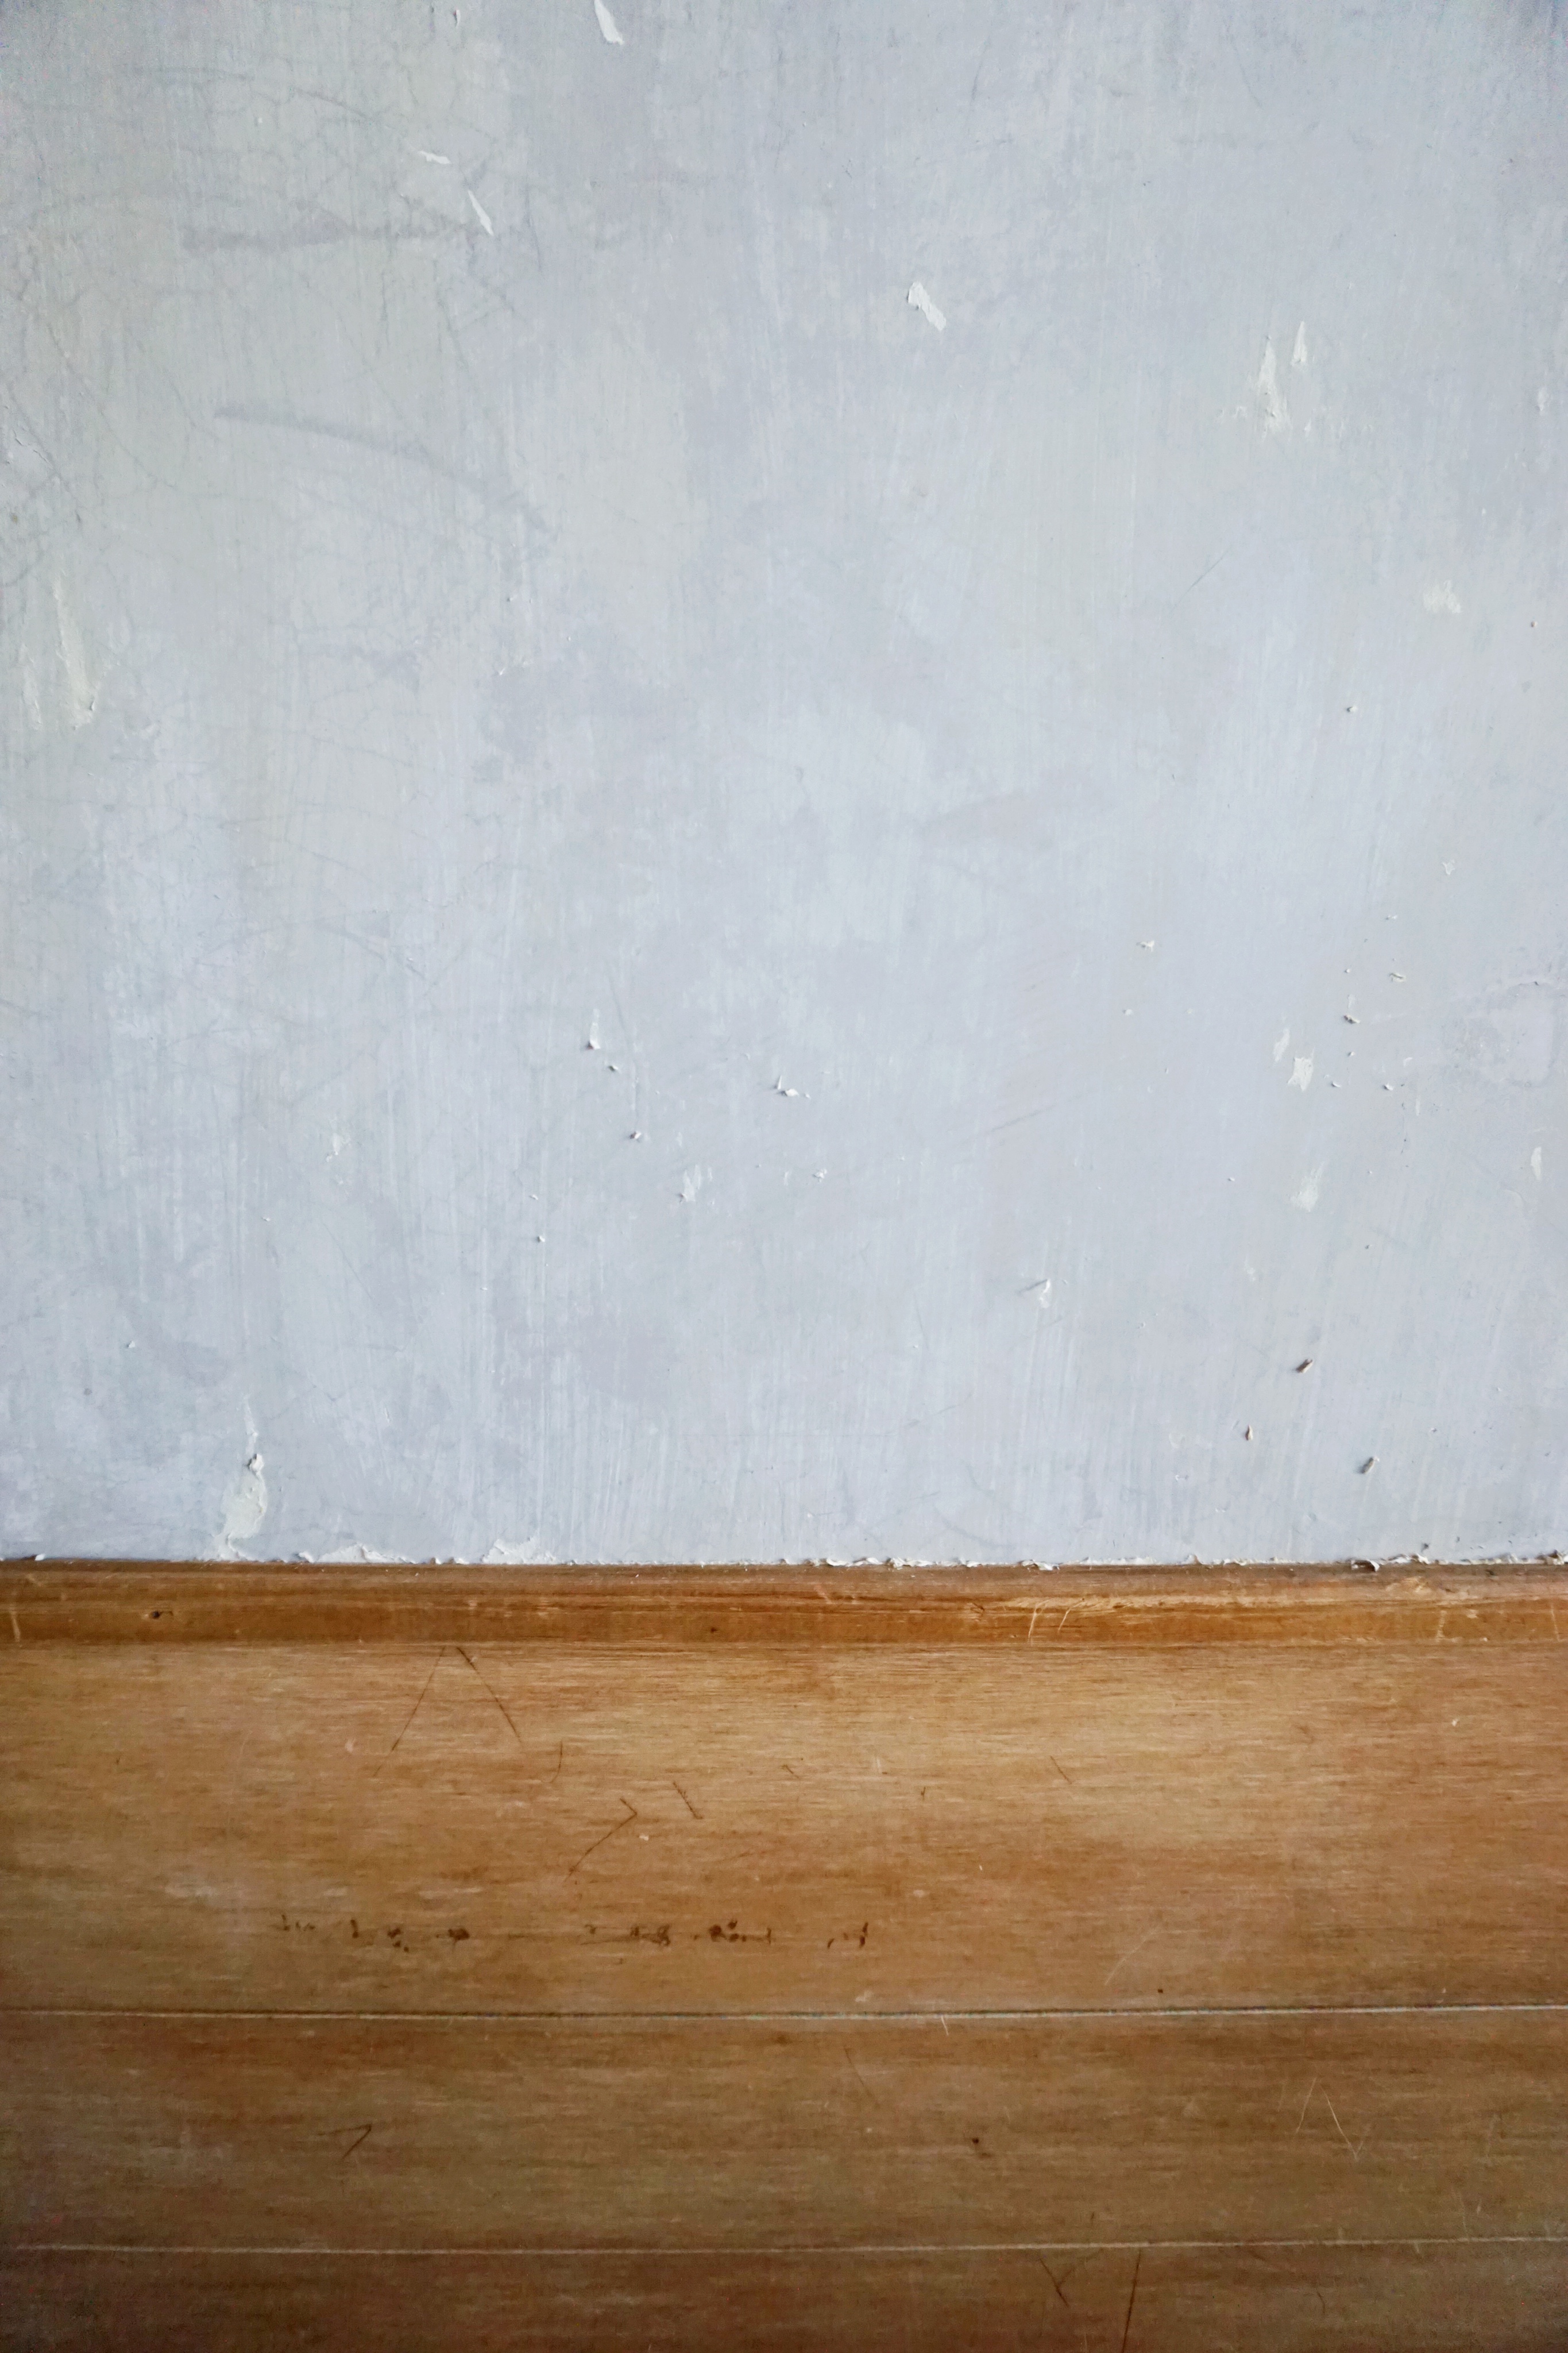
And underneath it all (finally!!) the bare wall along with the original wood paneling.
Wallpaper free, prepped and ready to paint!
The pre-paint job primer layer for which we used Zinsser Bulls Eye 1-2-3 Primer.
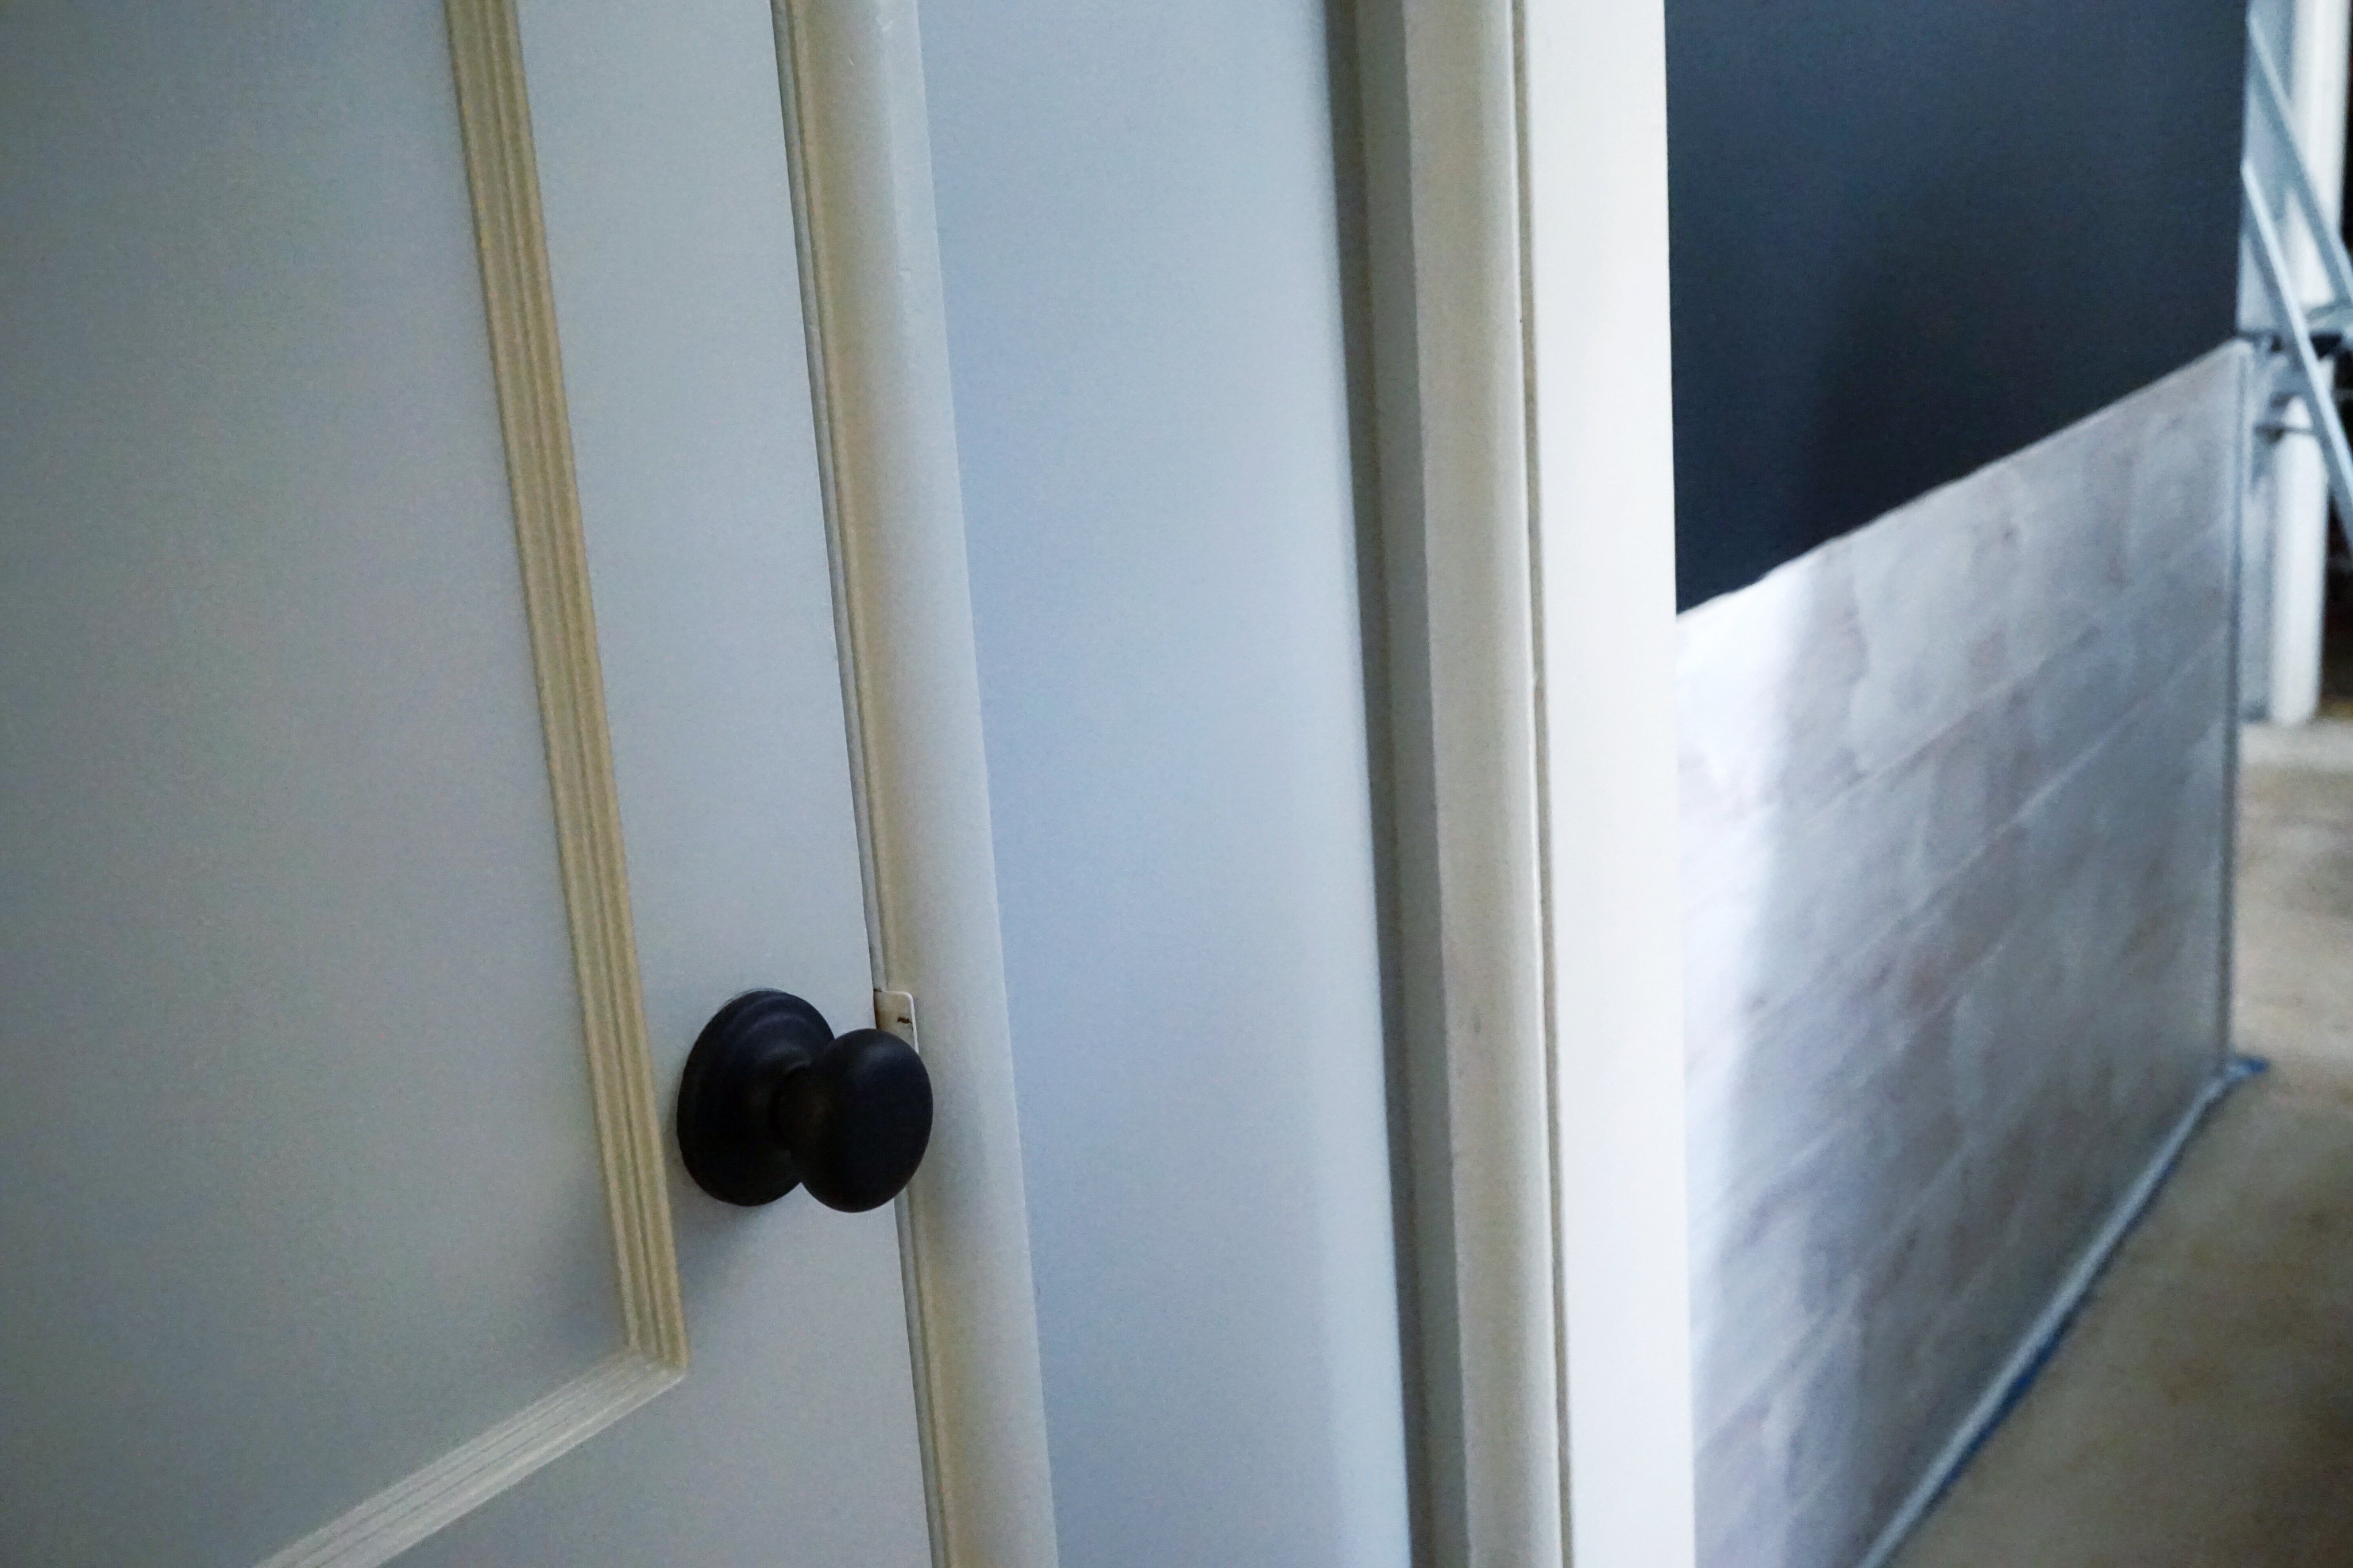
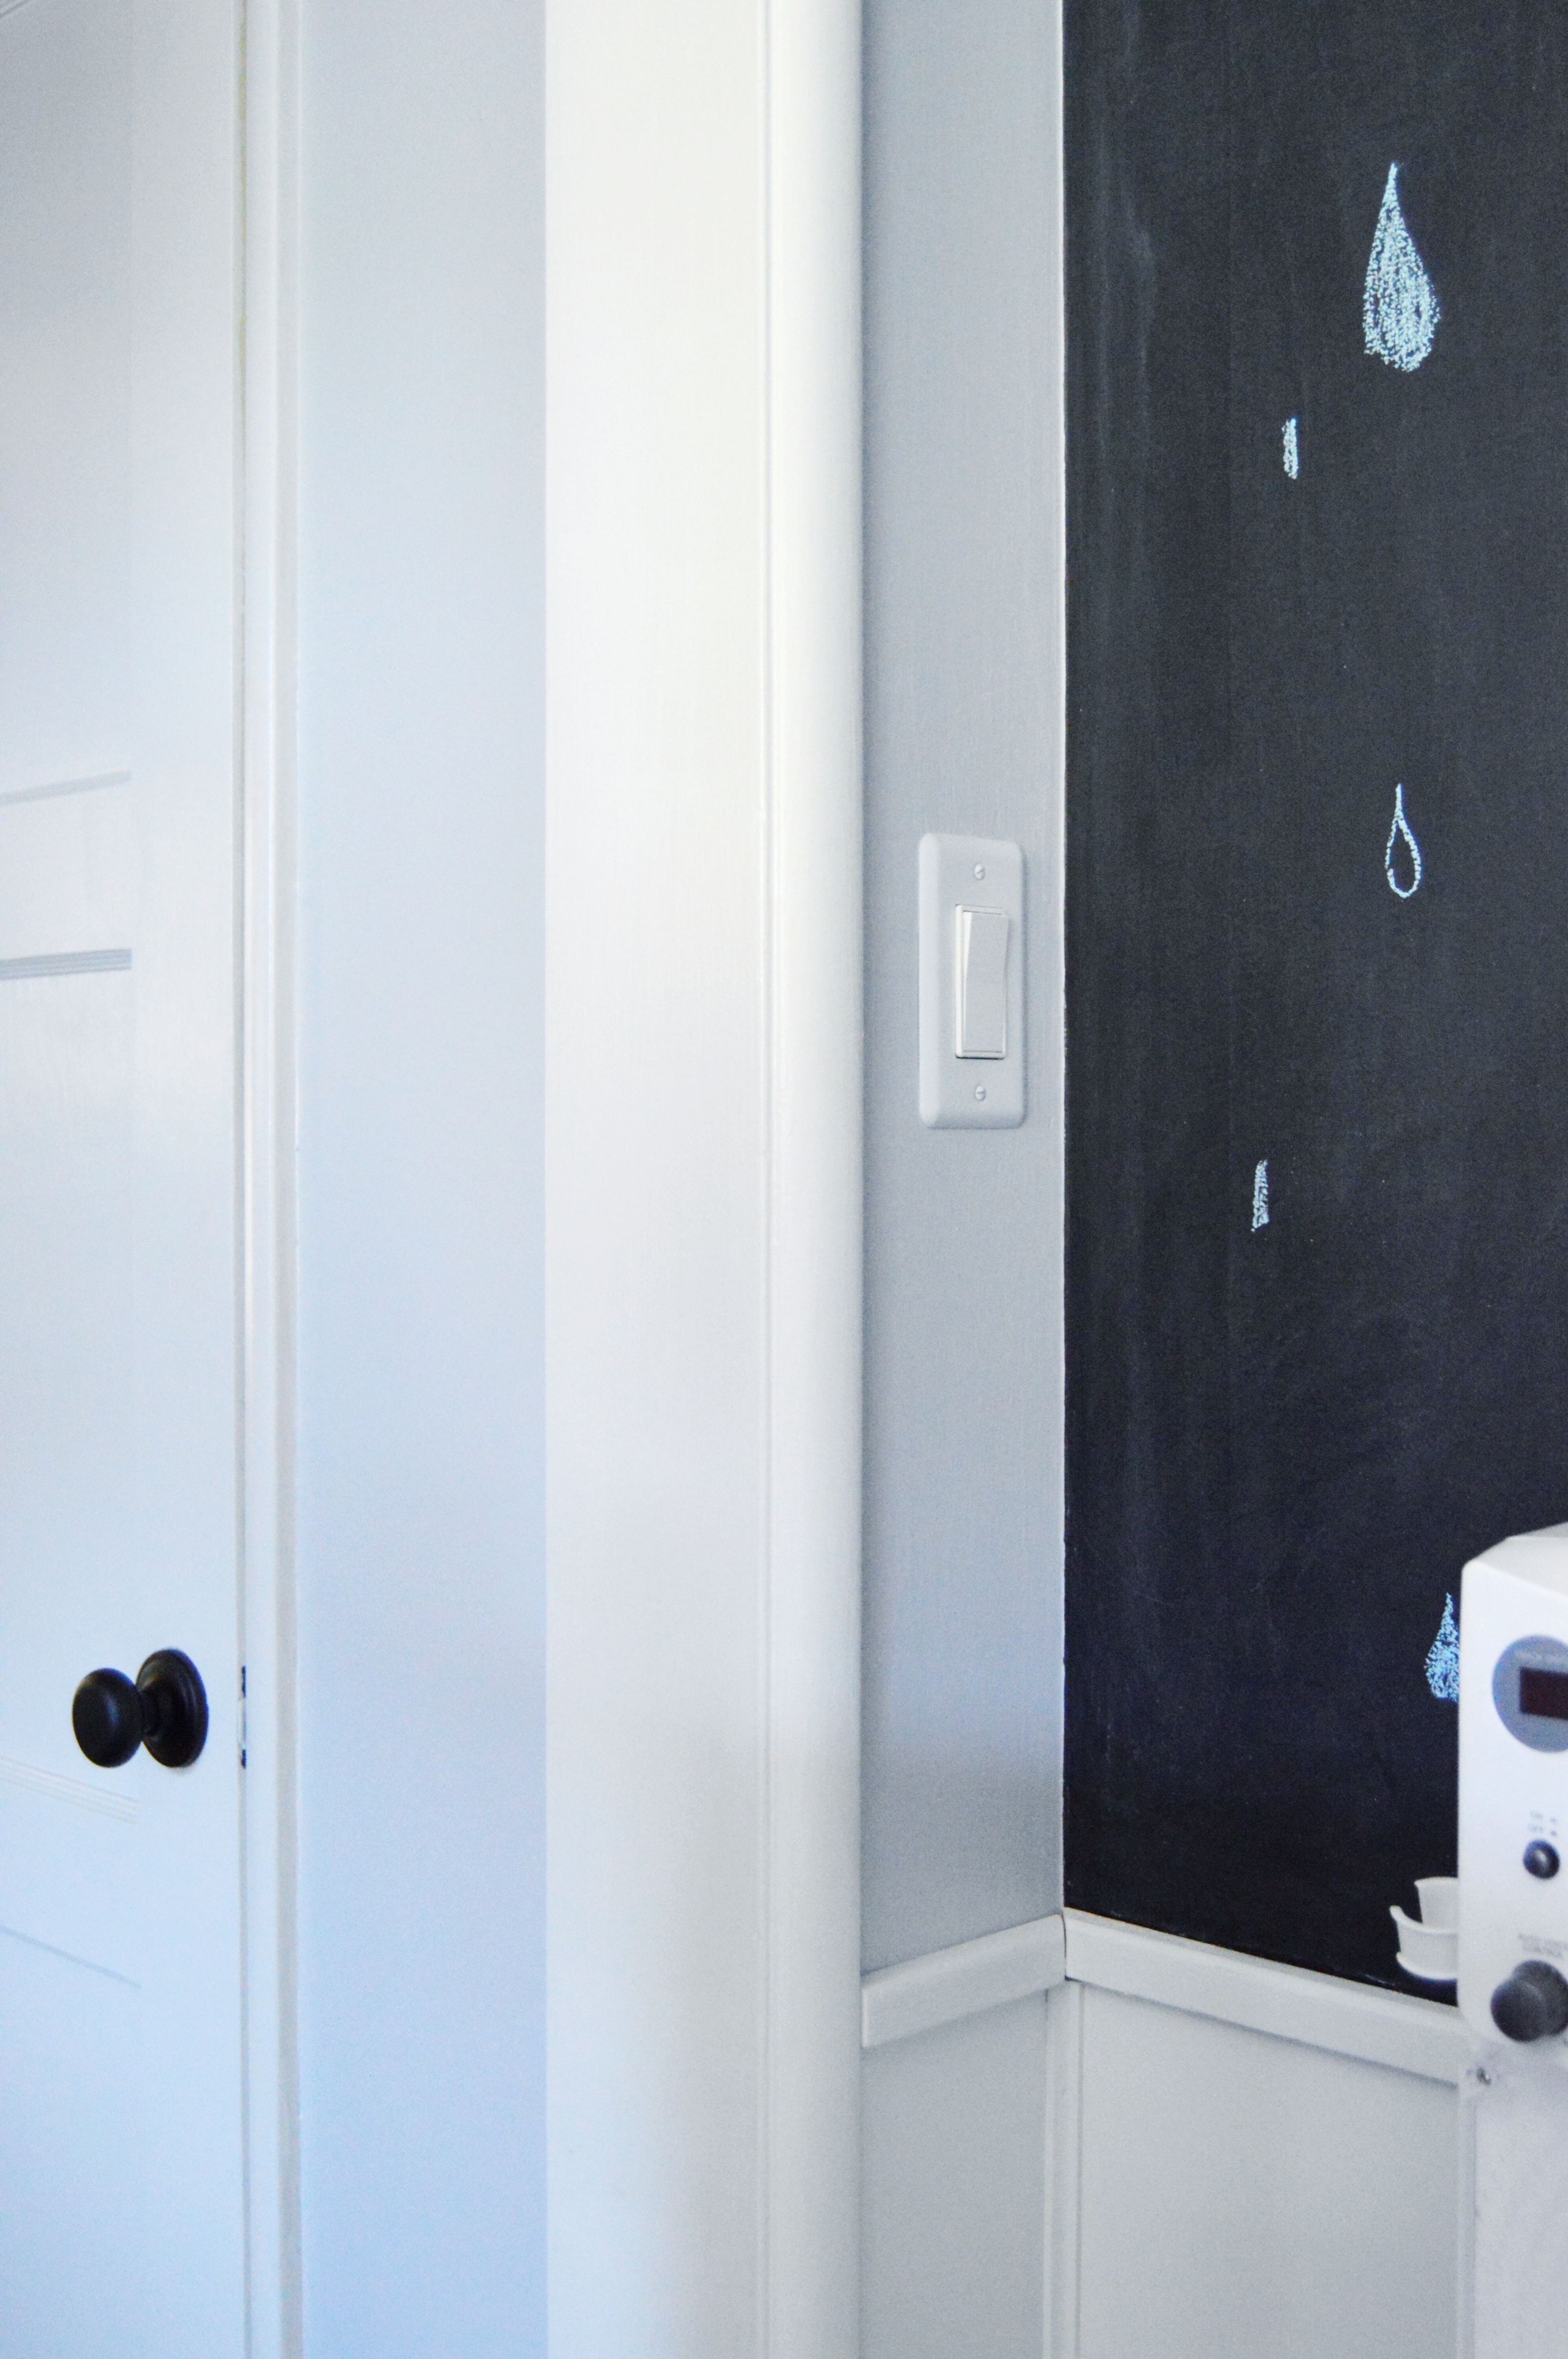
A peek at the chalkboard wall from the hallway. Do you love this black doorknob as much as I do?!
Painting the wall black was a little intimidating but Rust-Oleum’s Flat Black Chalkboard Paint performed really well!
A single coat of Behr Marquee Paint & Primer in Hush and THREE coats of white semi-gloss PLUS primer on that semi-evil wood paneling…
The most challenging part of the whole process was definitely removing the wallpaper with all the steaming, scraping, adhesive removal and cleanup it required. Not to mention the random layer of paint in between the layers of wallpaper that I had to score and peel off. Ugh! Painting the room was pretty easy as I’d already done a bit of trial-and-error in the bathroom and hallway. Helpful Hint: This Shur-Line Paint Edger is amazing for cutting in and painting super straight lines and it made working with all the awkward corners and paneling a breeze. I wish I’d purchased it before I trusted painter’s tape to not peel away all my hard work on the bathroom ceiling which it totally did. Complaints aside, redoing the room was far more therapeutic than it was exhausting and I’m feeling pretty confident about our upcoming projects. And now, here is the semi-final outcome of our kids’ room redo…
Let’s start with Ella’s bed…
We purchased a HEMNES Daybed from IKEA for her which goes from a twin to a double bed in no time!
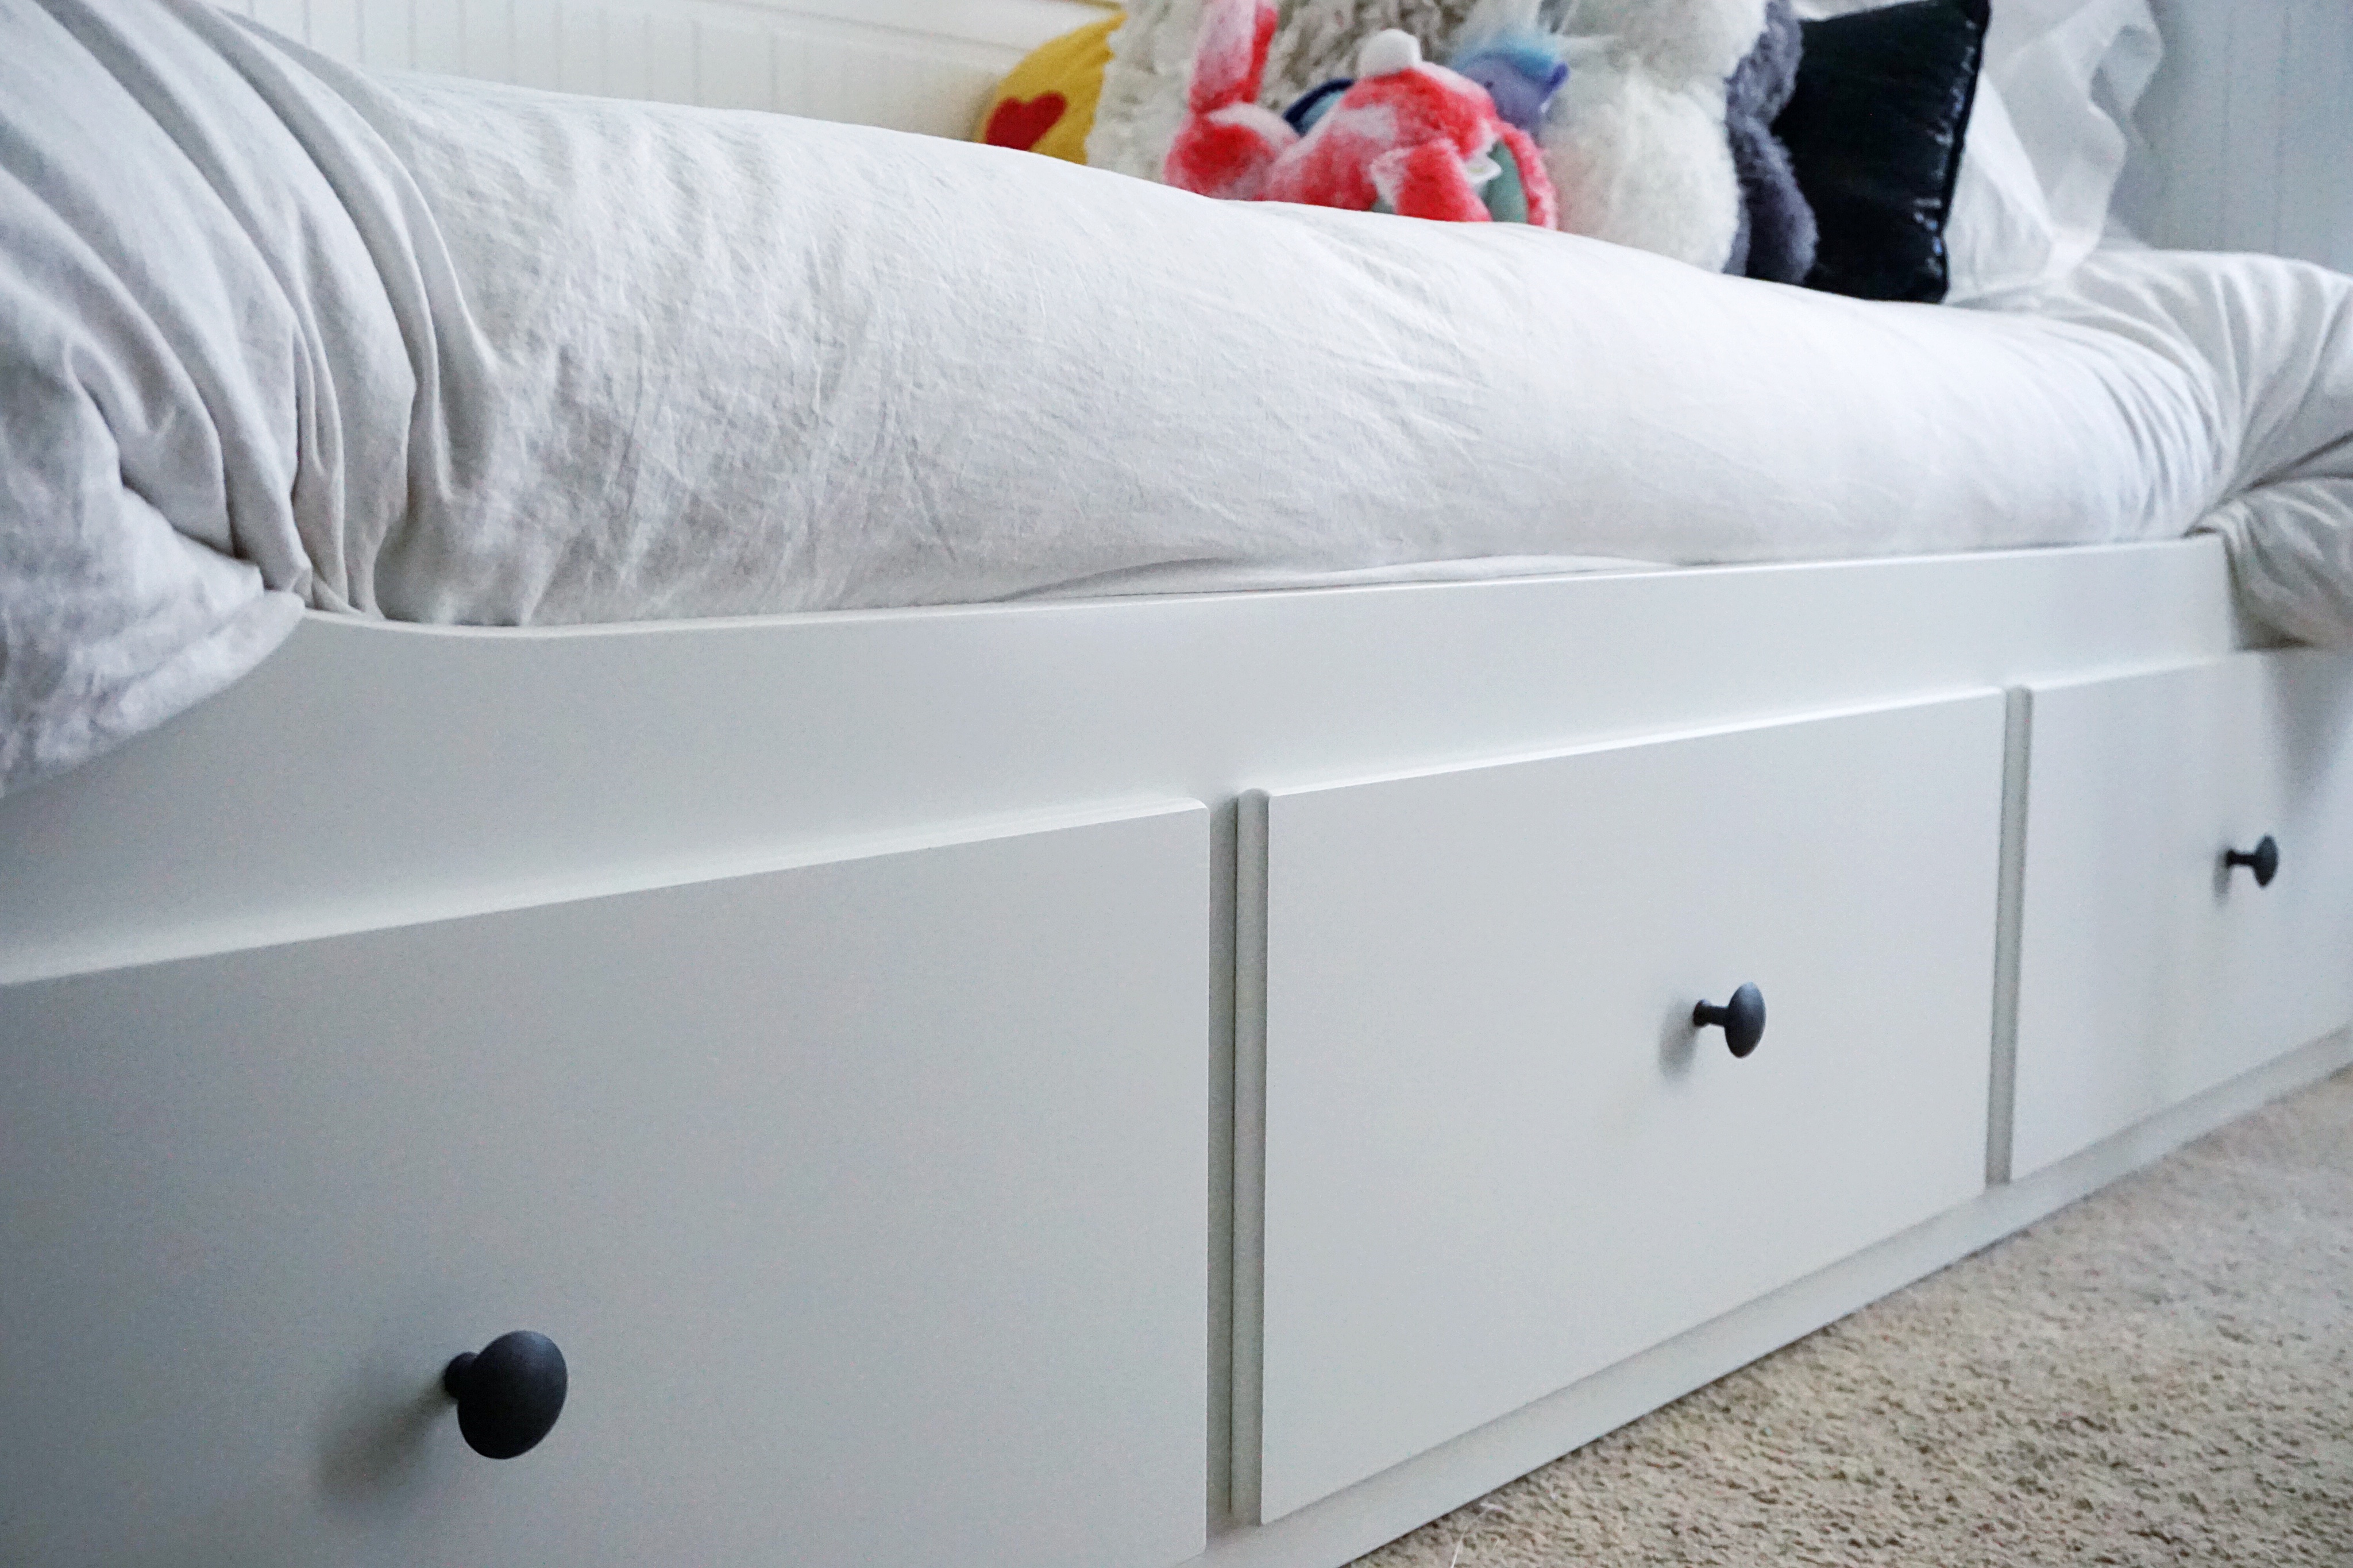
Three drawers = storage, storage and more storage which is ALWAYS a plus.
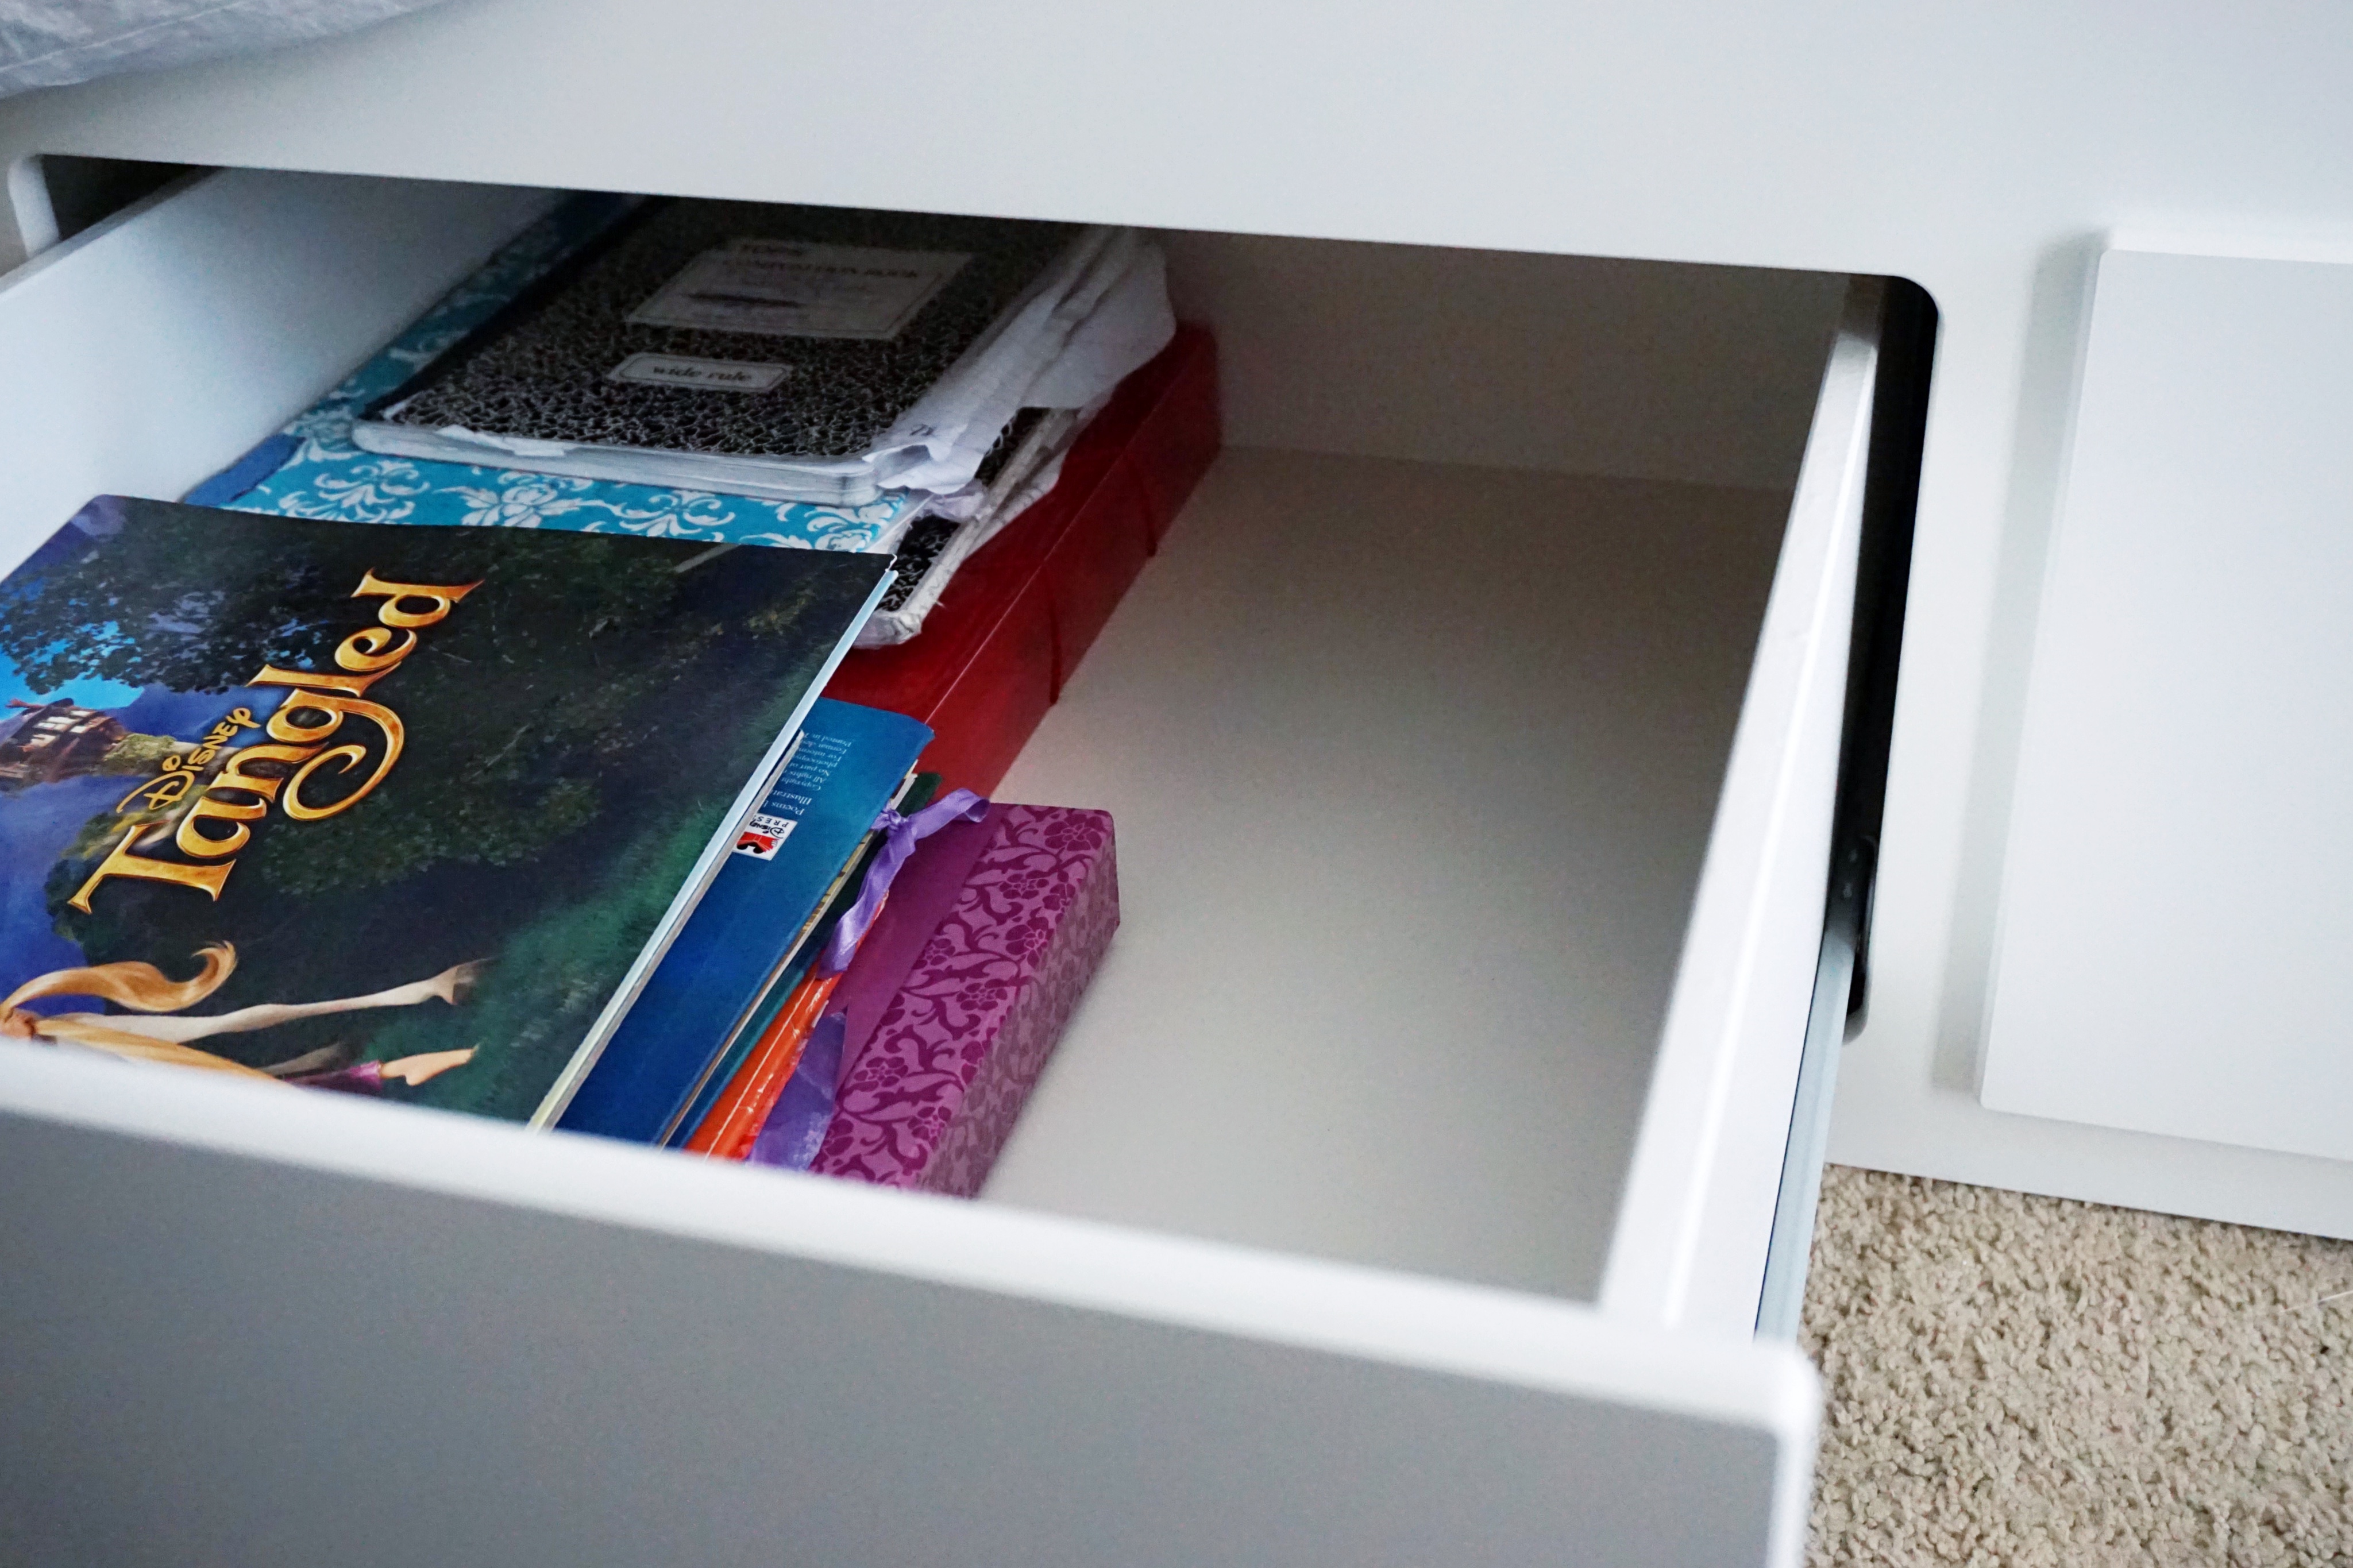
Each drawer is really deep so there’s plenty of room for lots of Ella’s things.
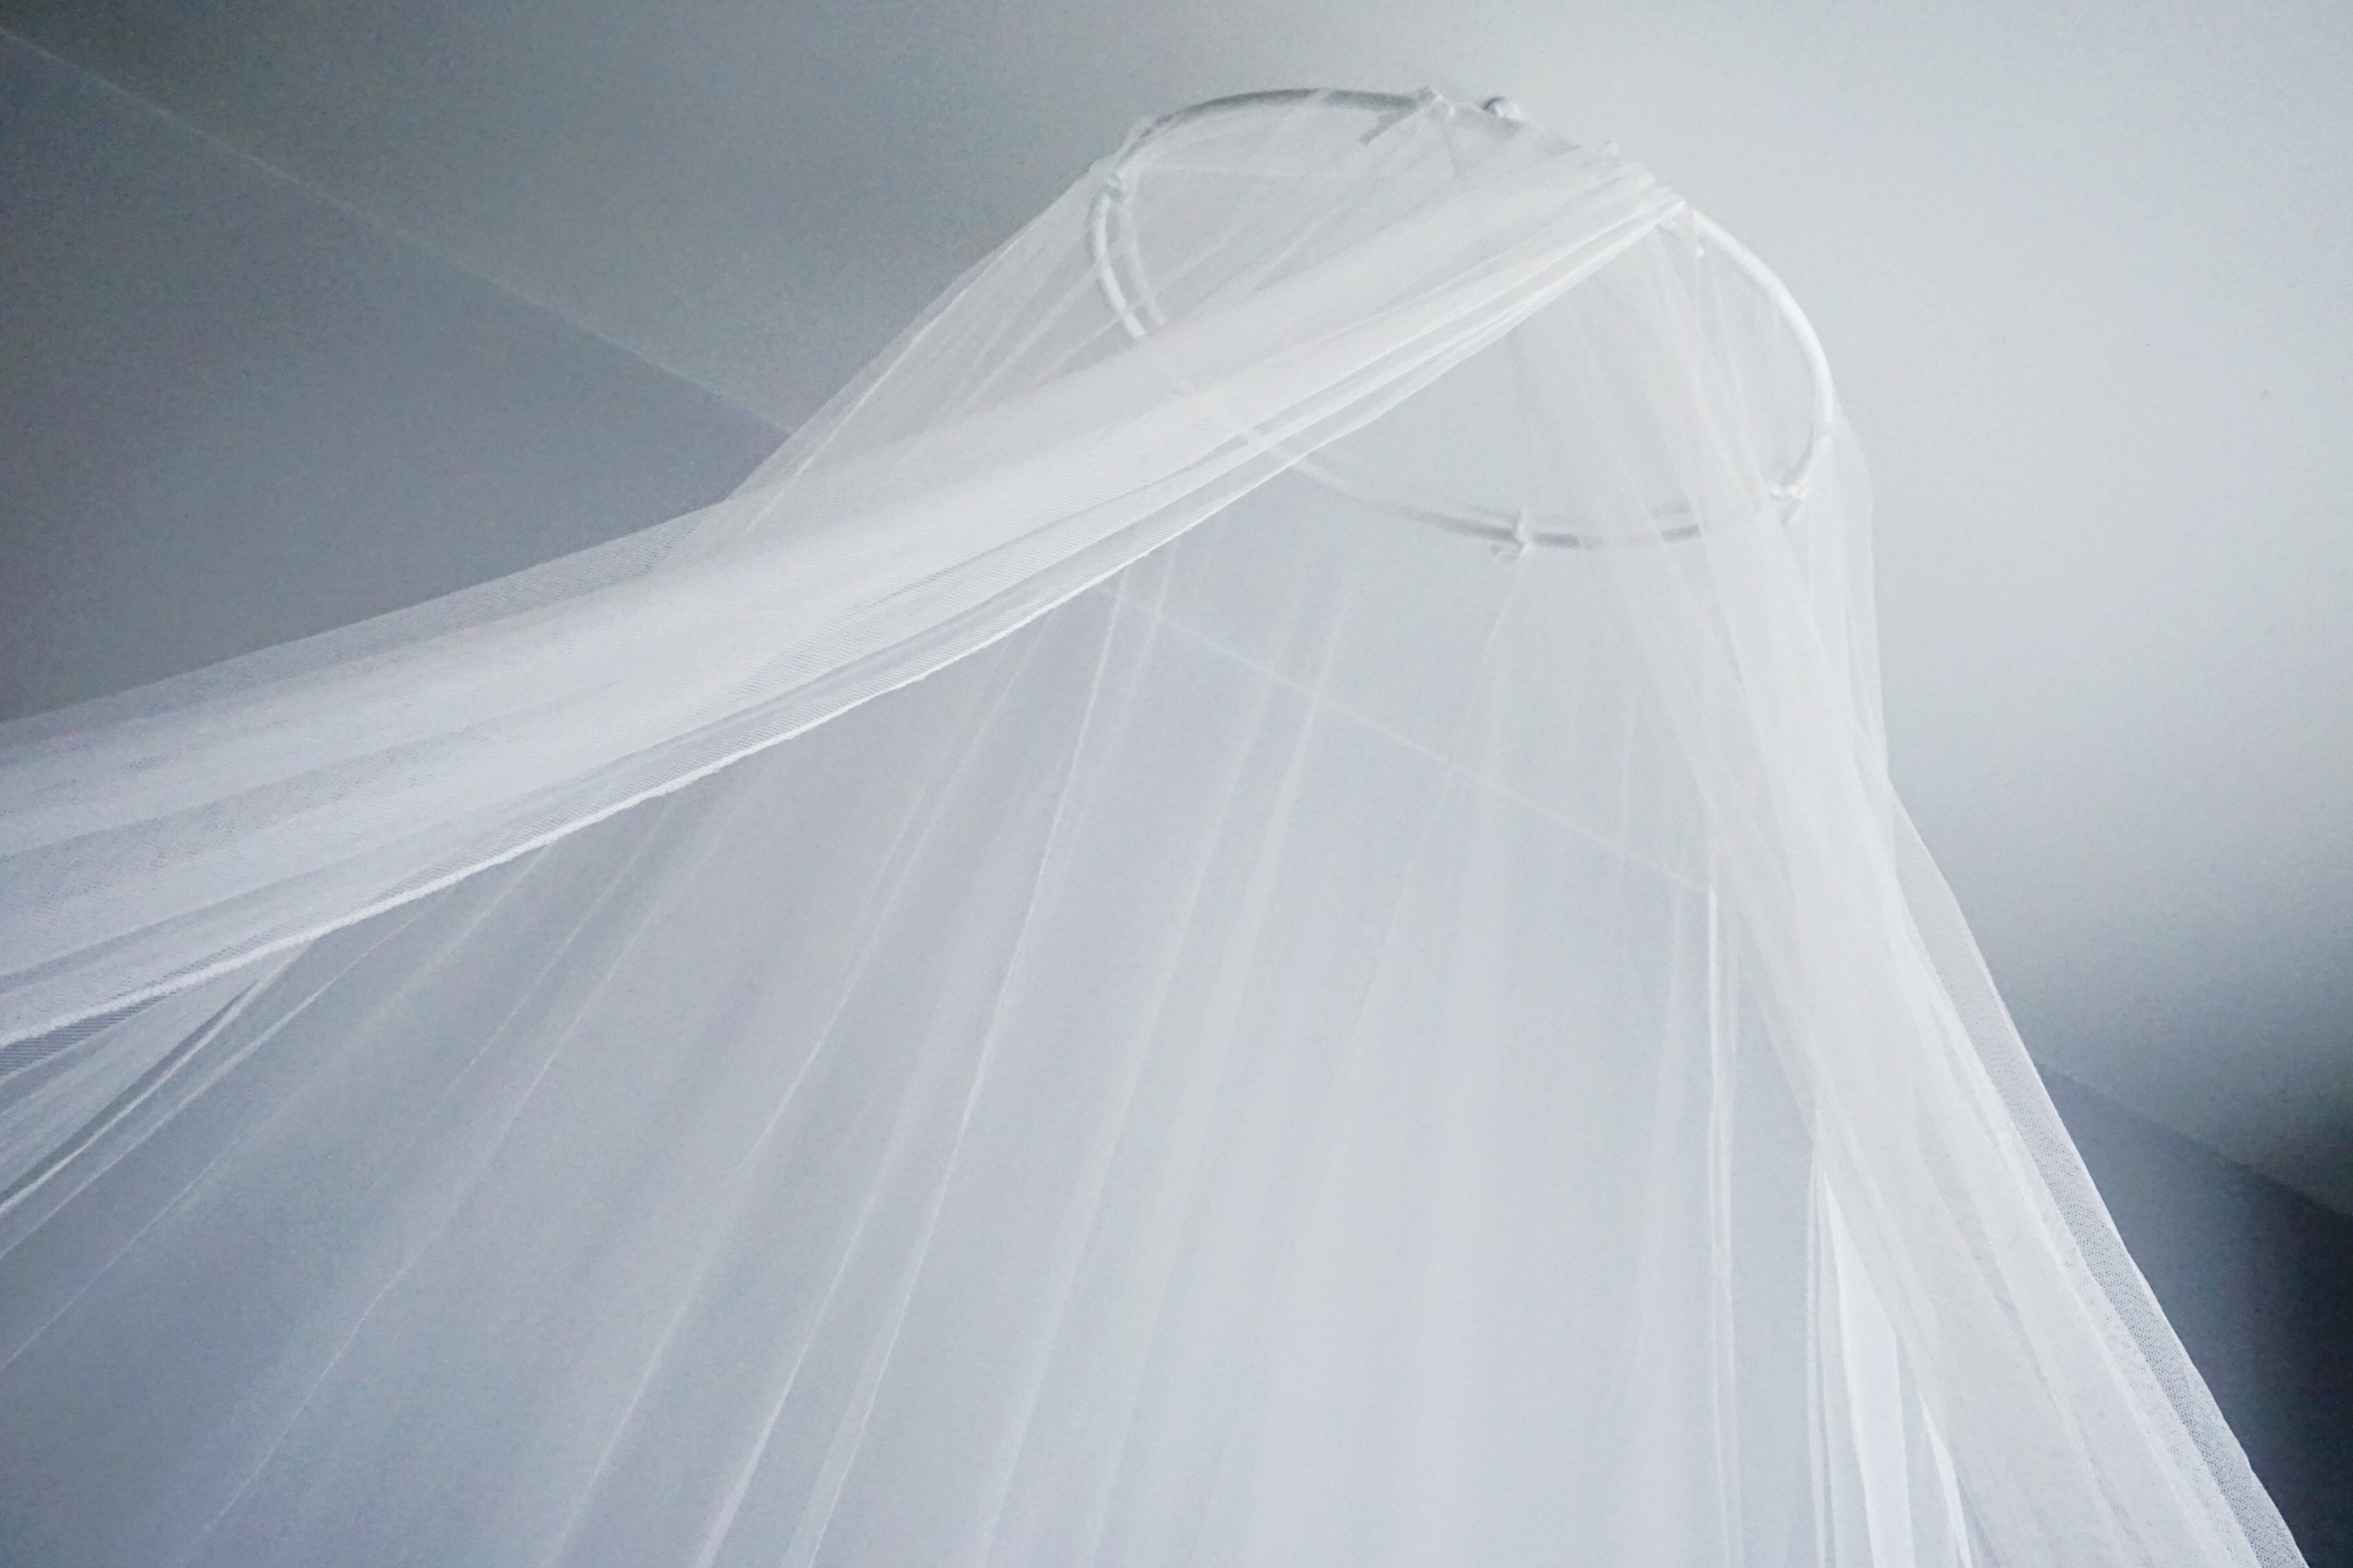
Above Ella’s bed is this net/canopy – also from IKEA.
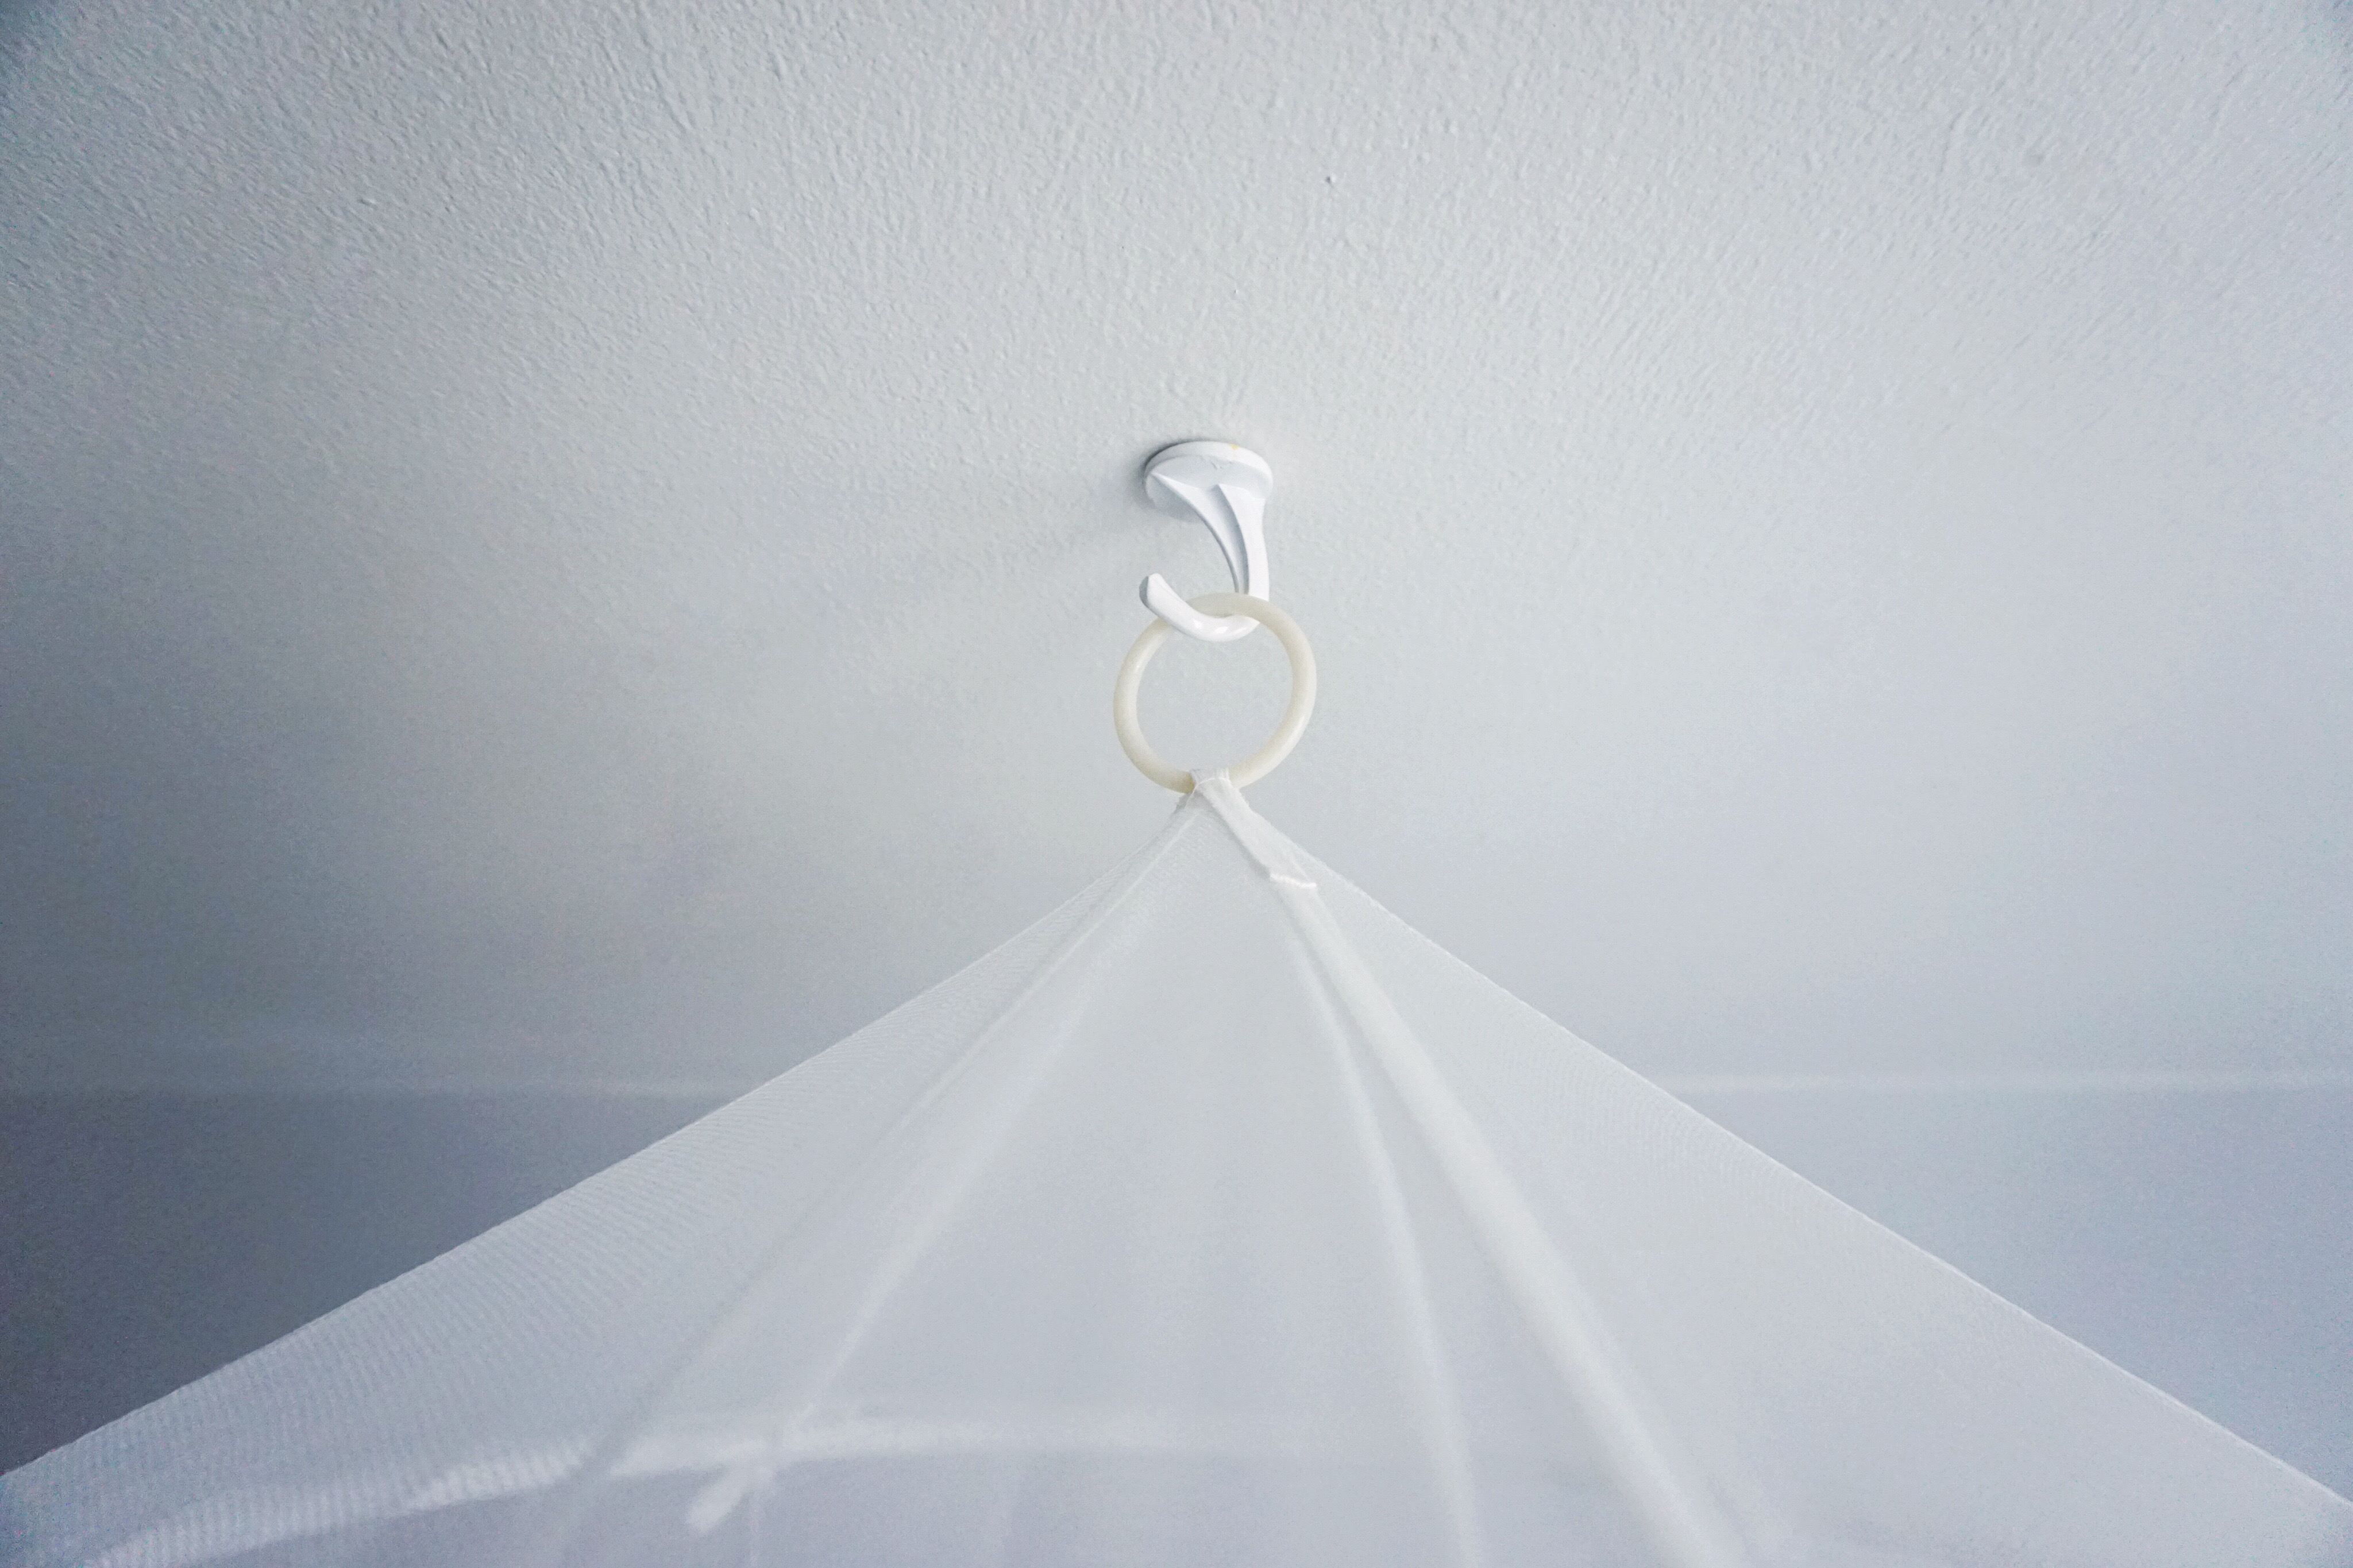
To secure it to the ceiling, I used a VersaHook ceiling hook which holds up to 24 lbs.
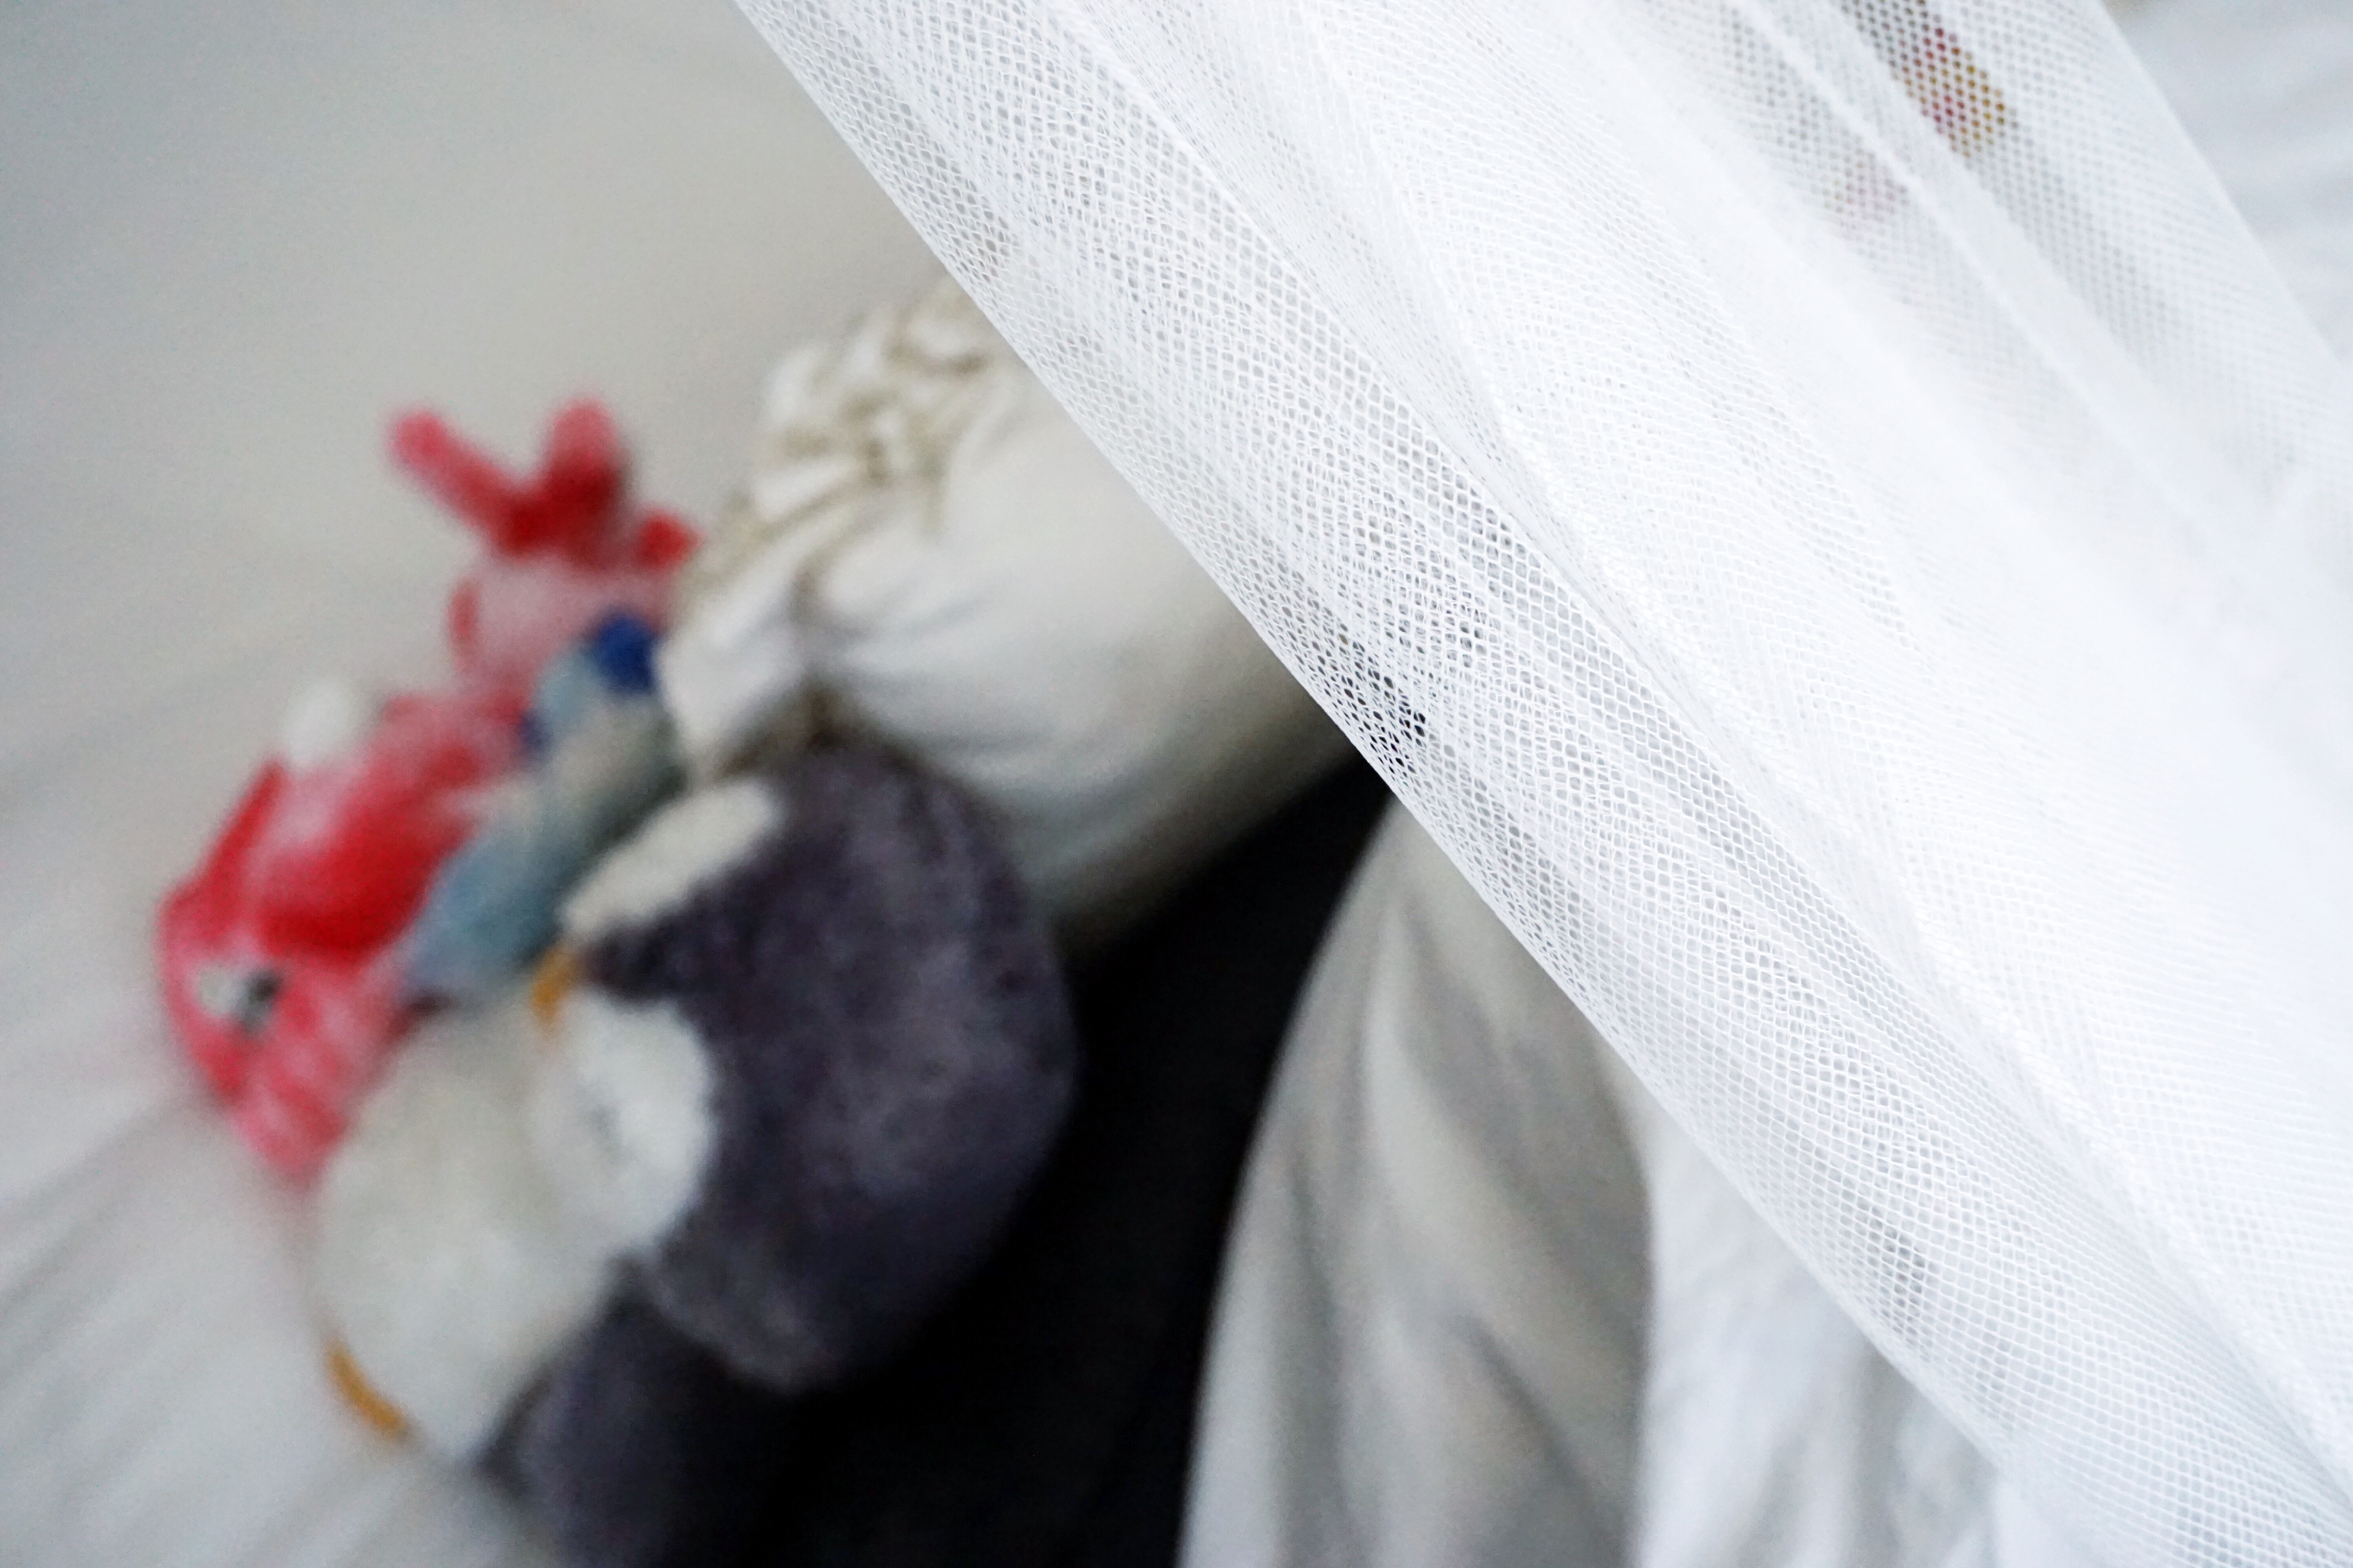
The delicate net fabric makes for an awesome semi-private space.
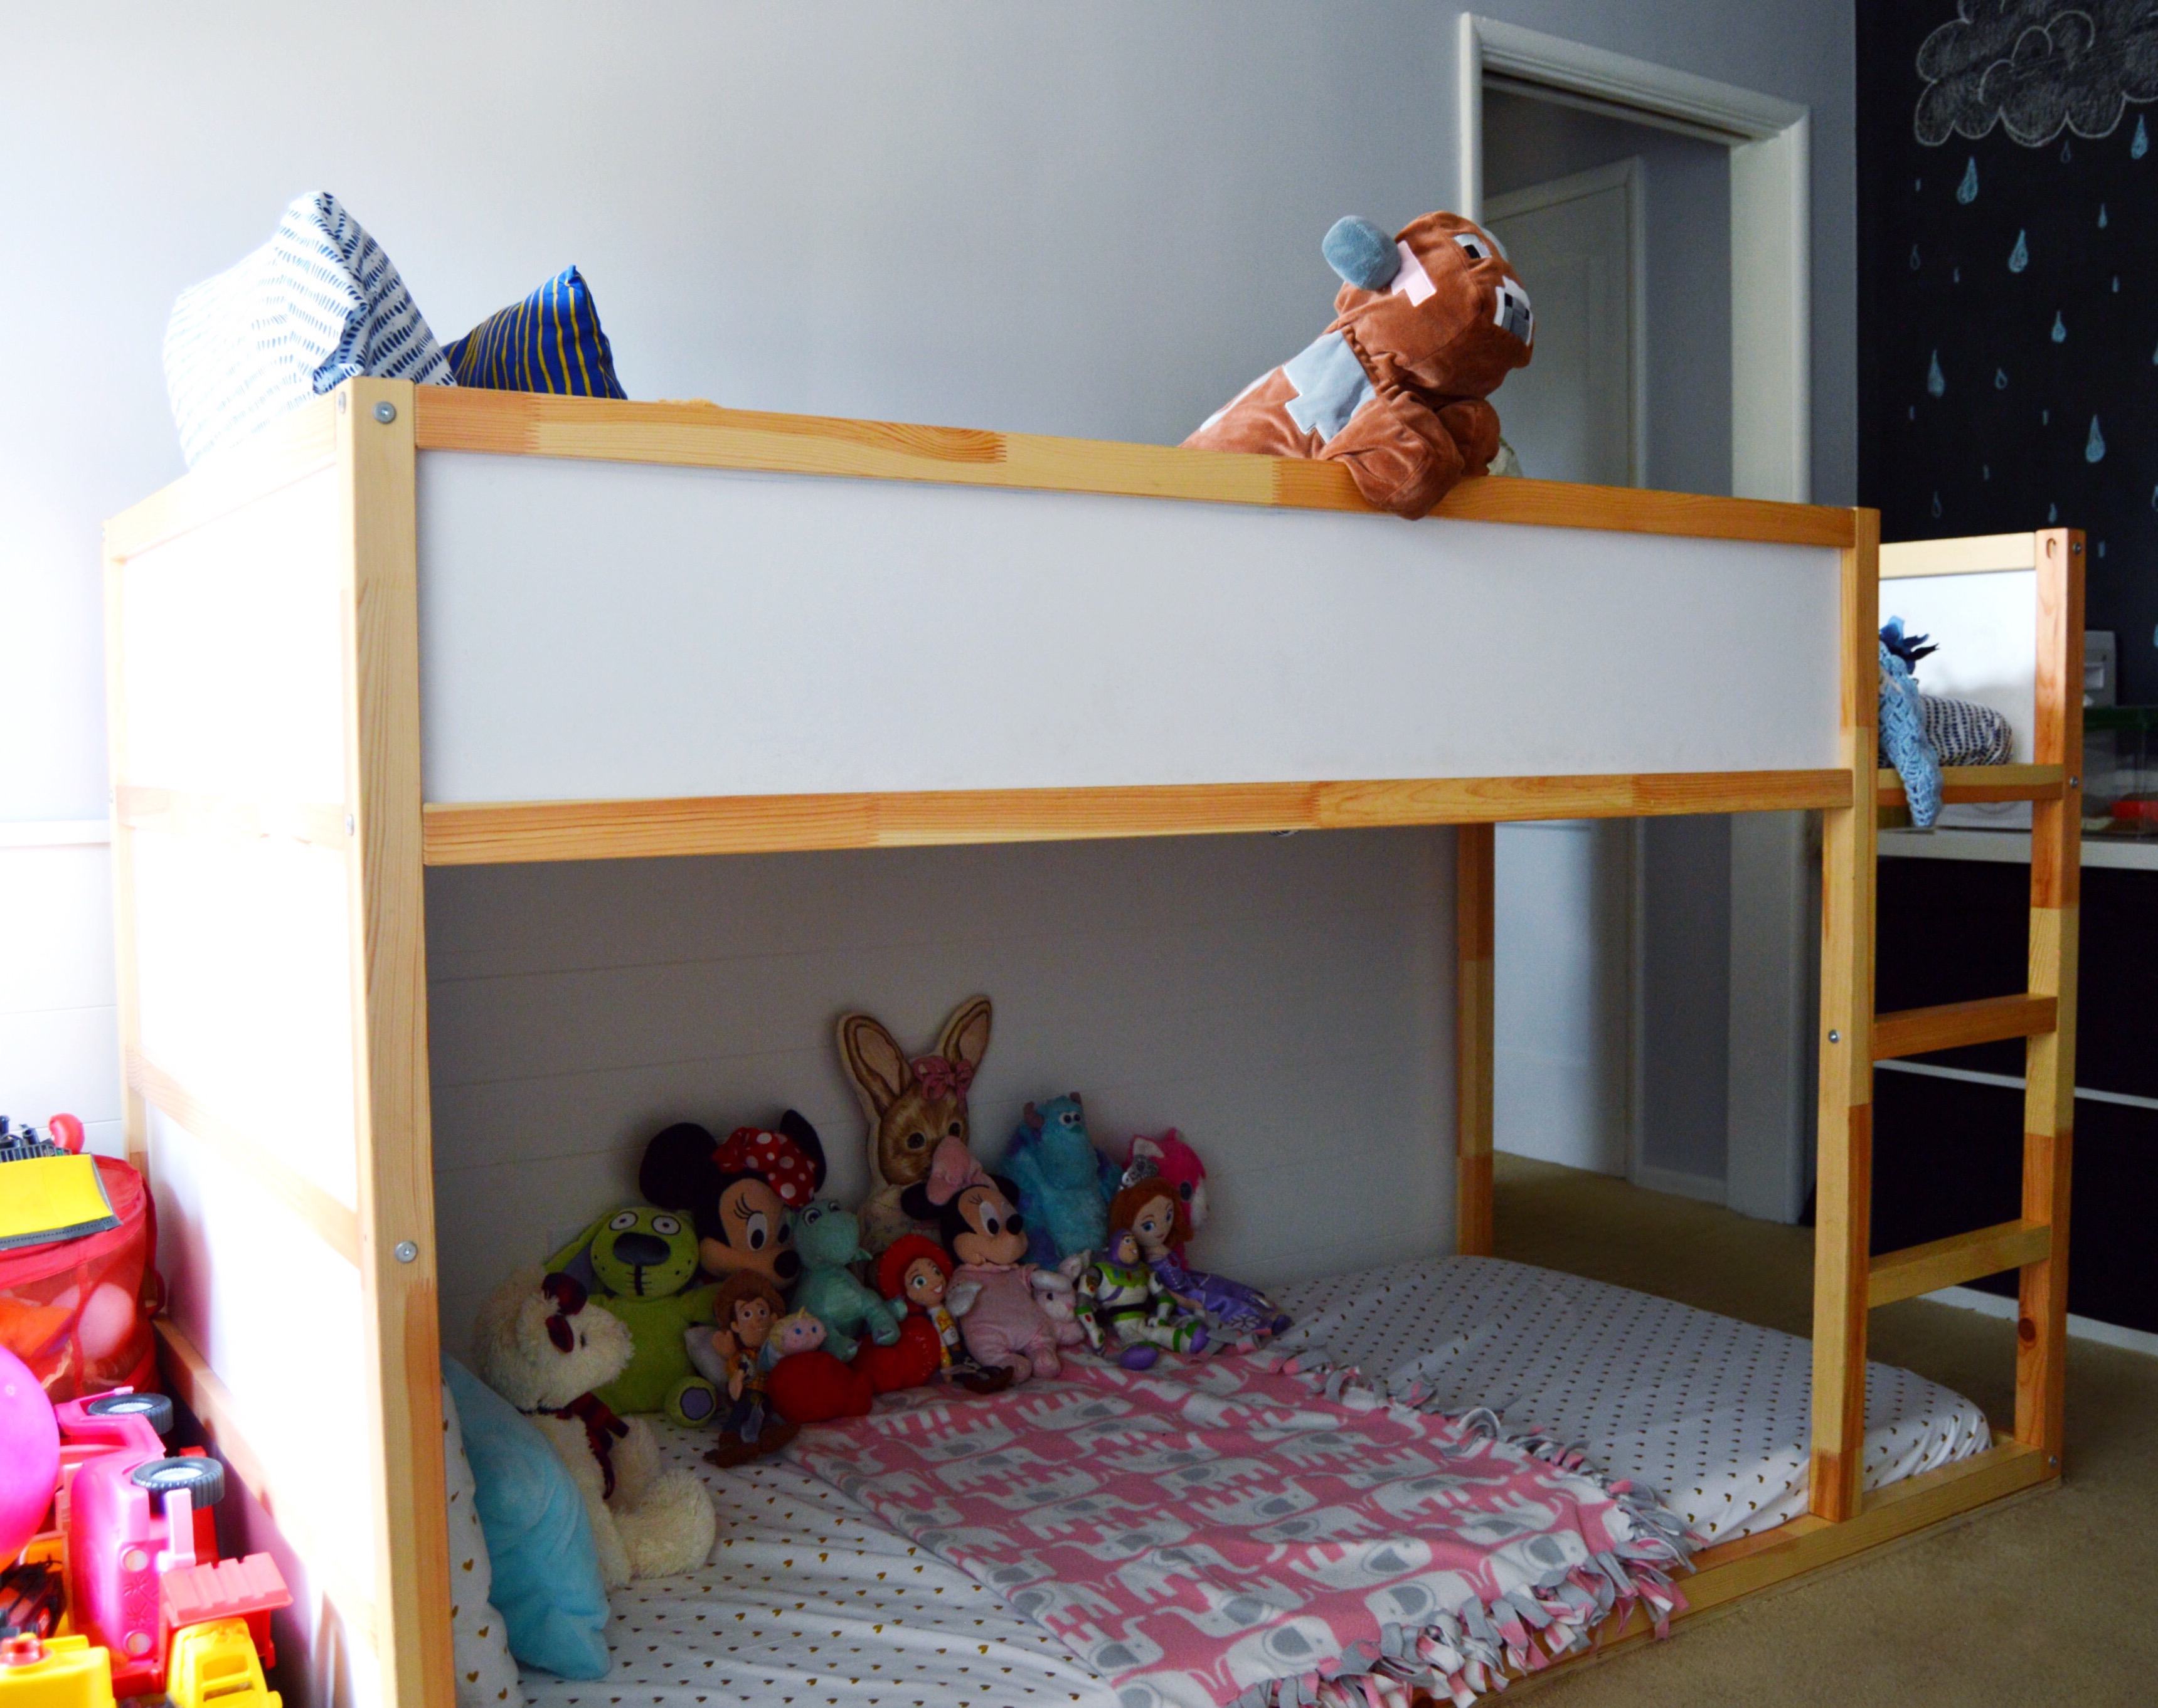
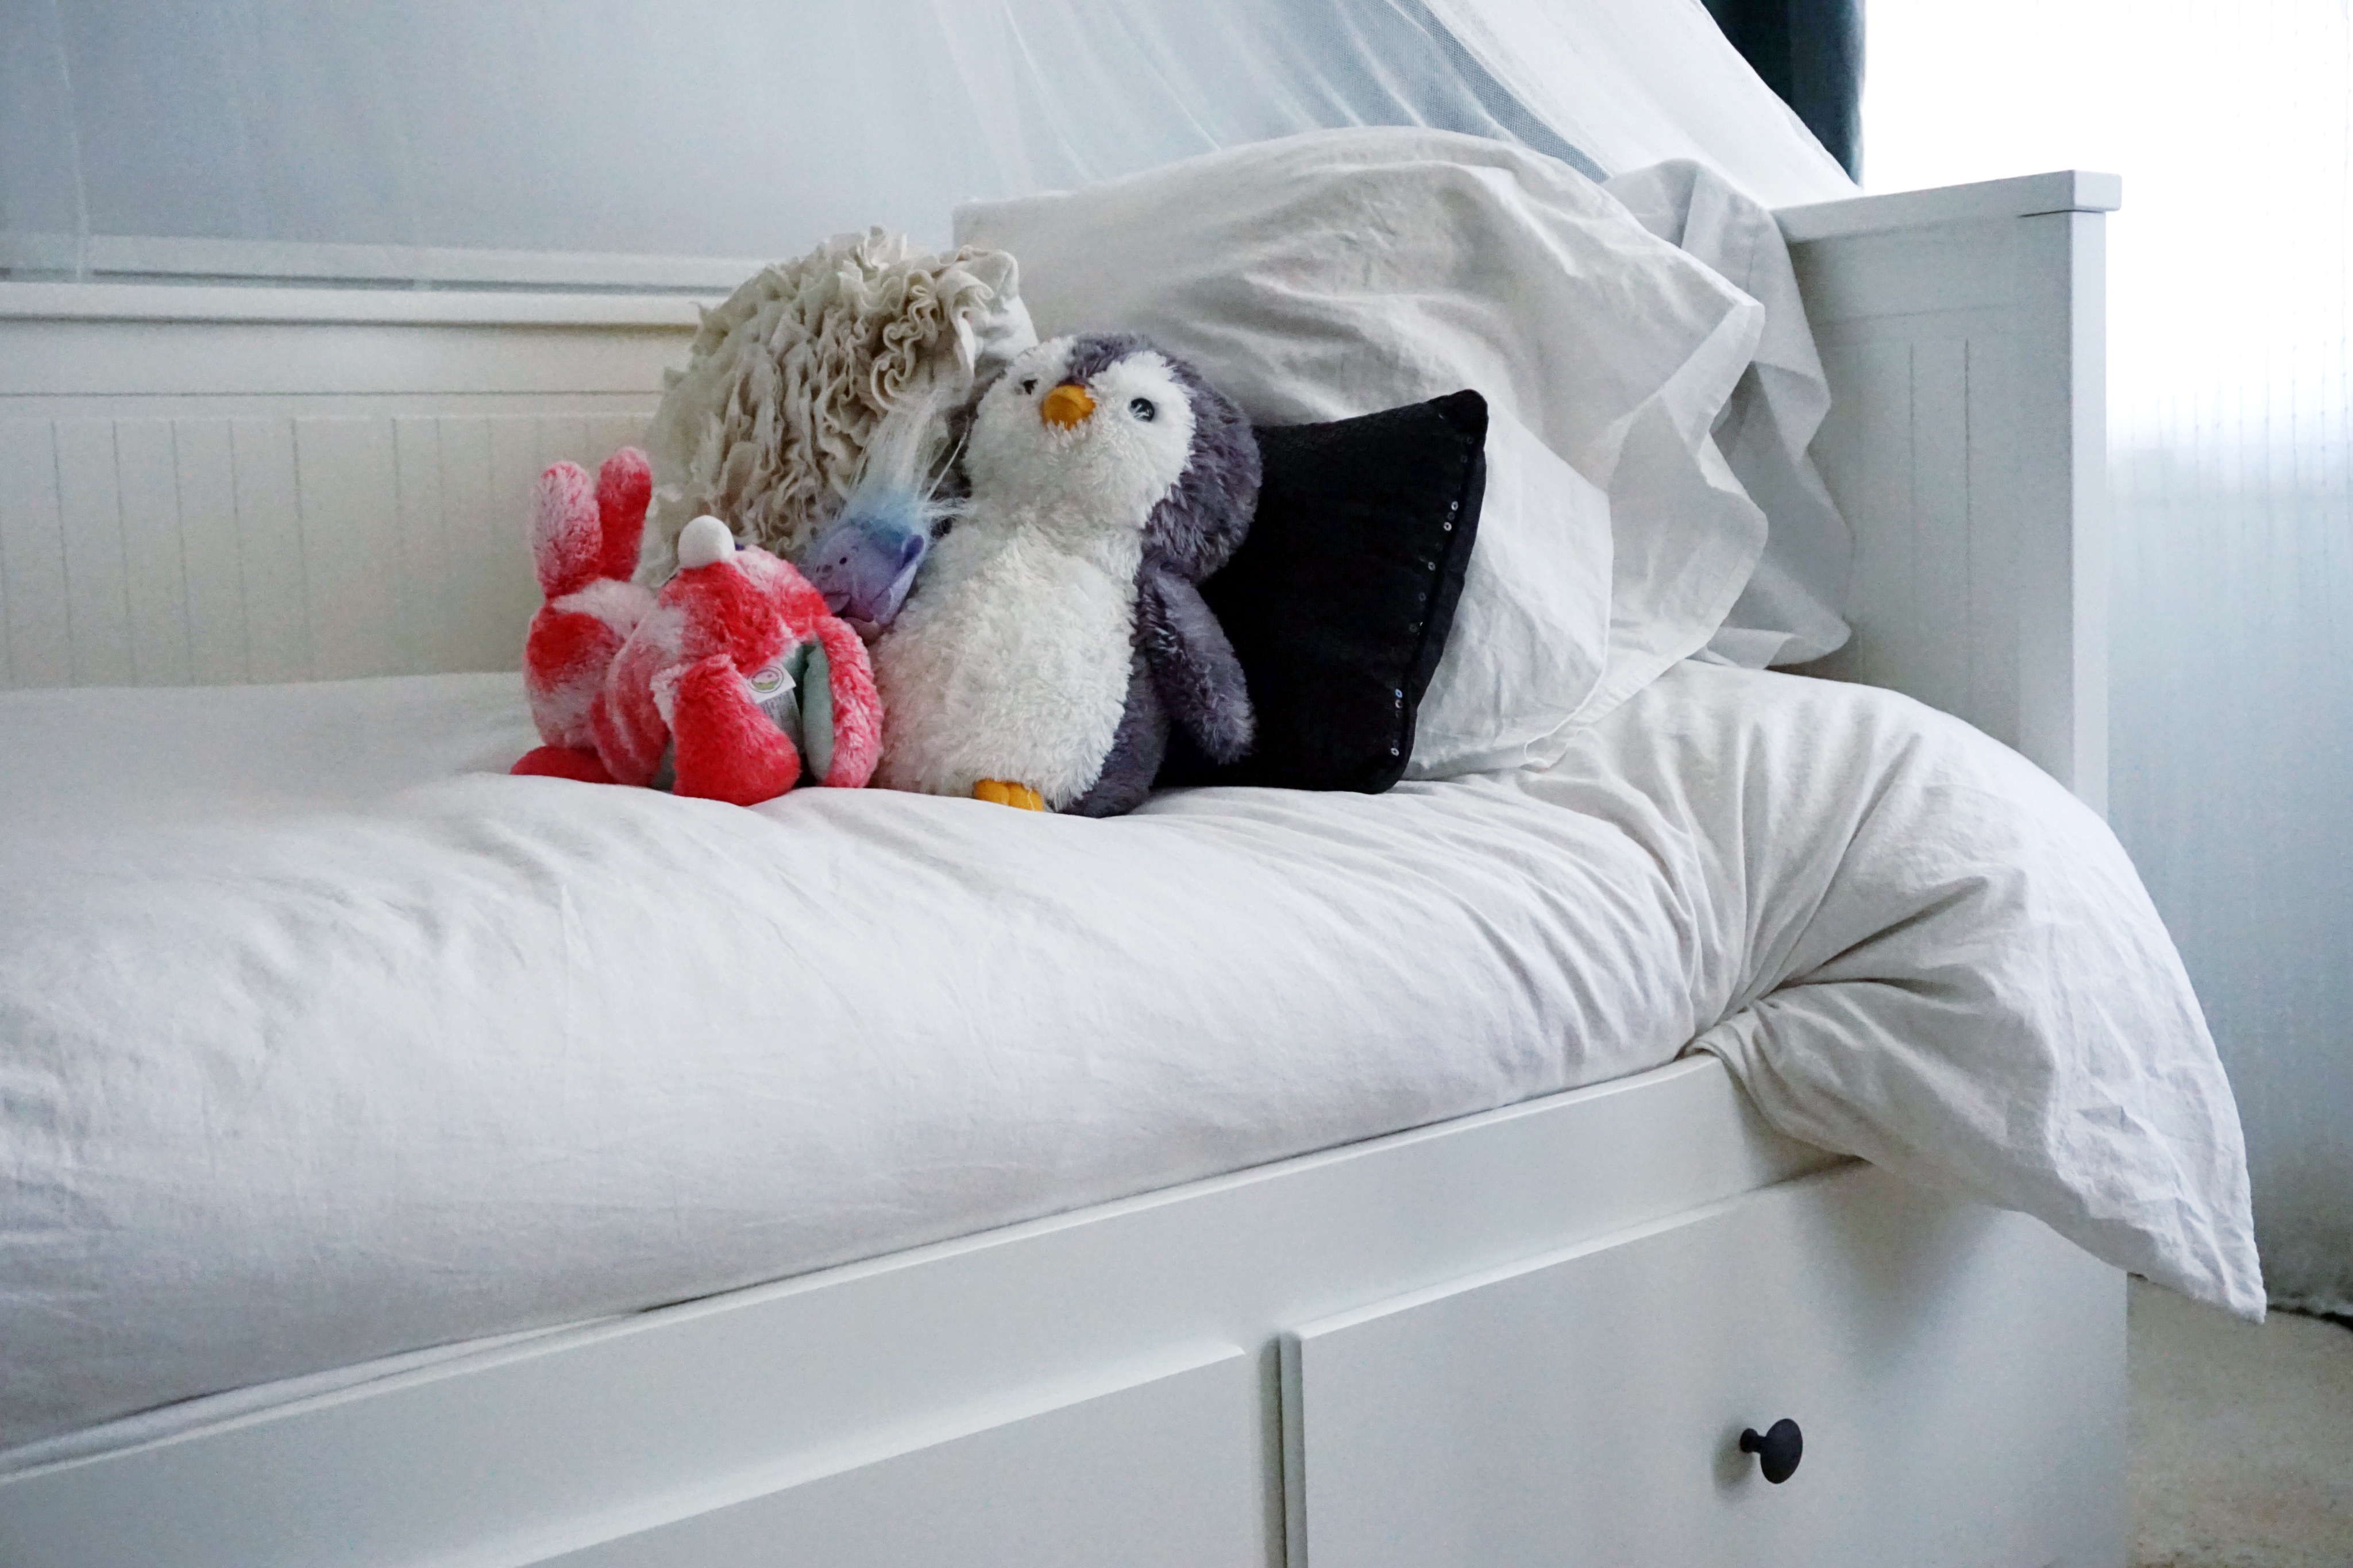
Moving onto Hendrix and Sadie’s space, this is their hacked KURA bed from IKEA.
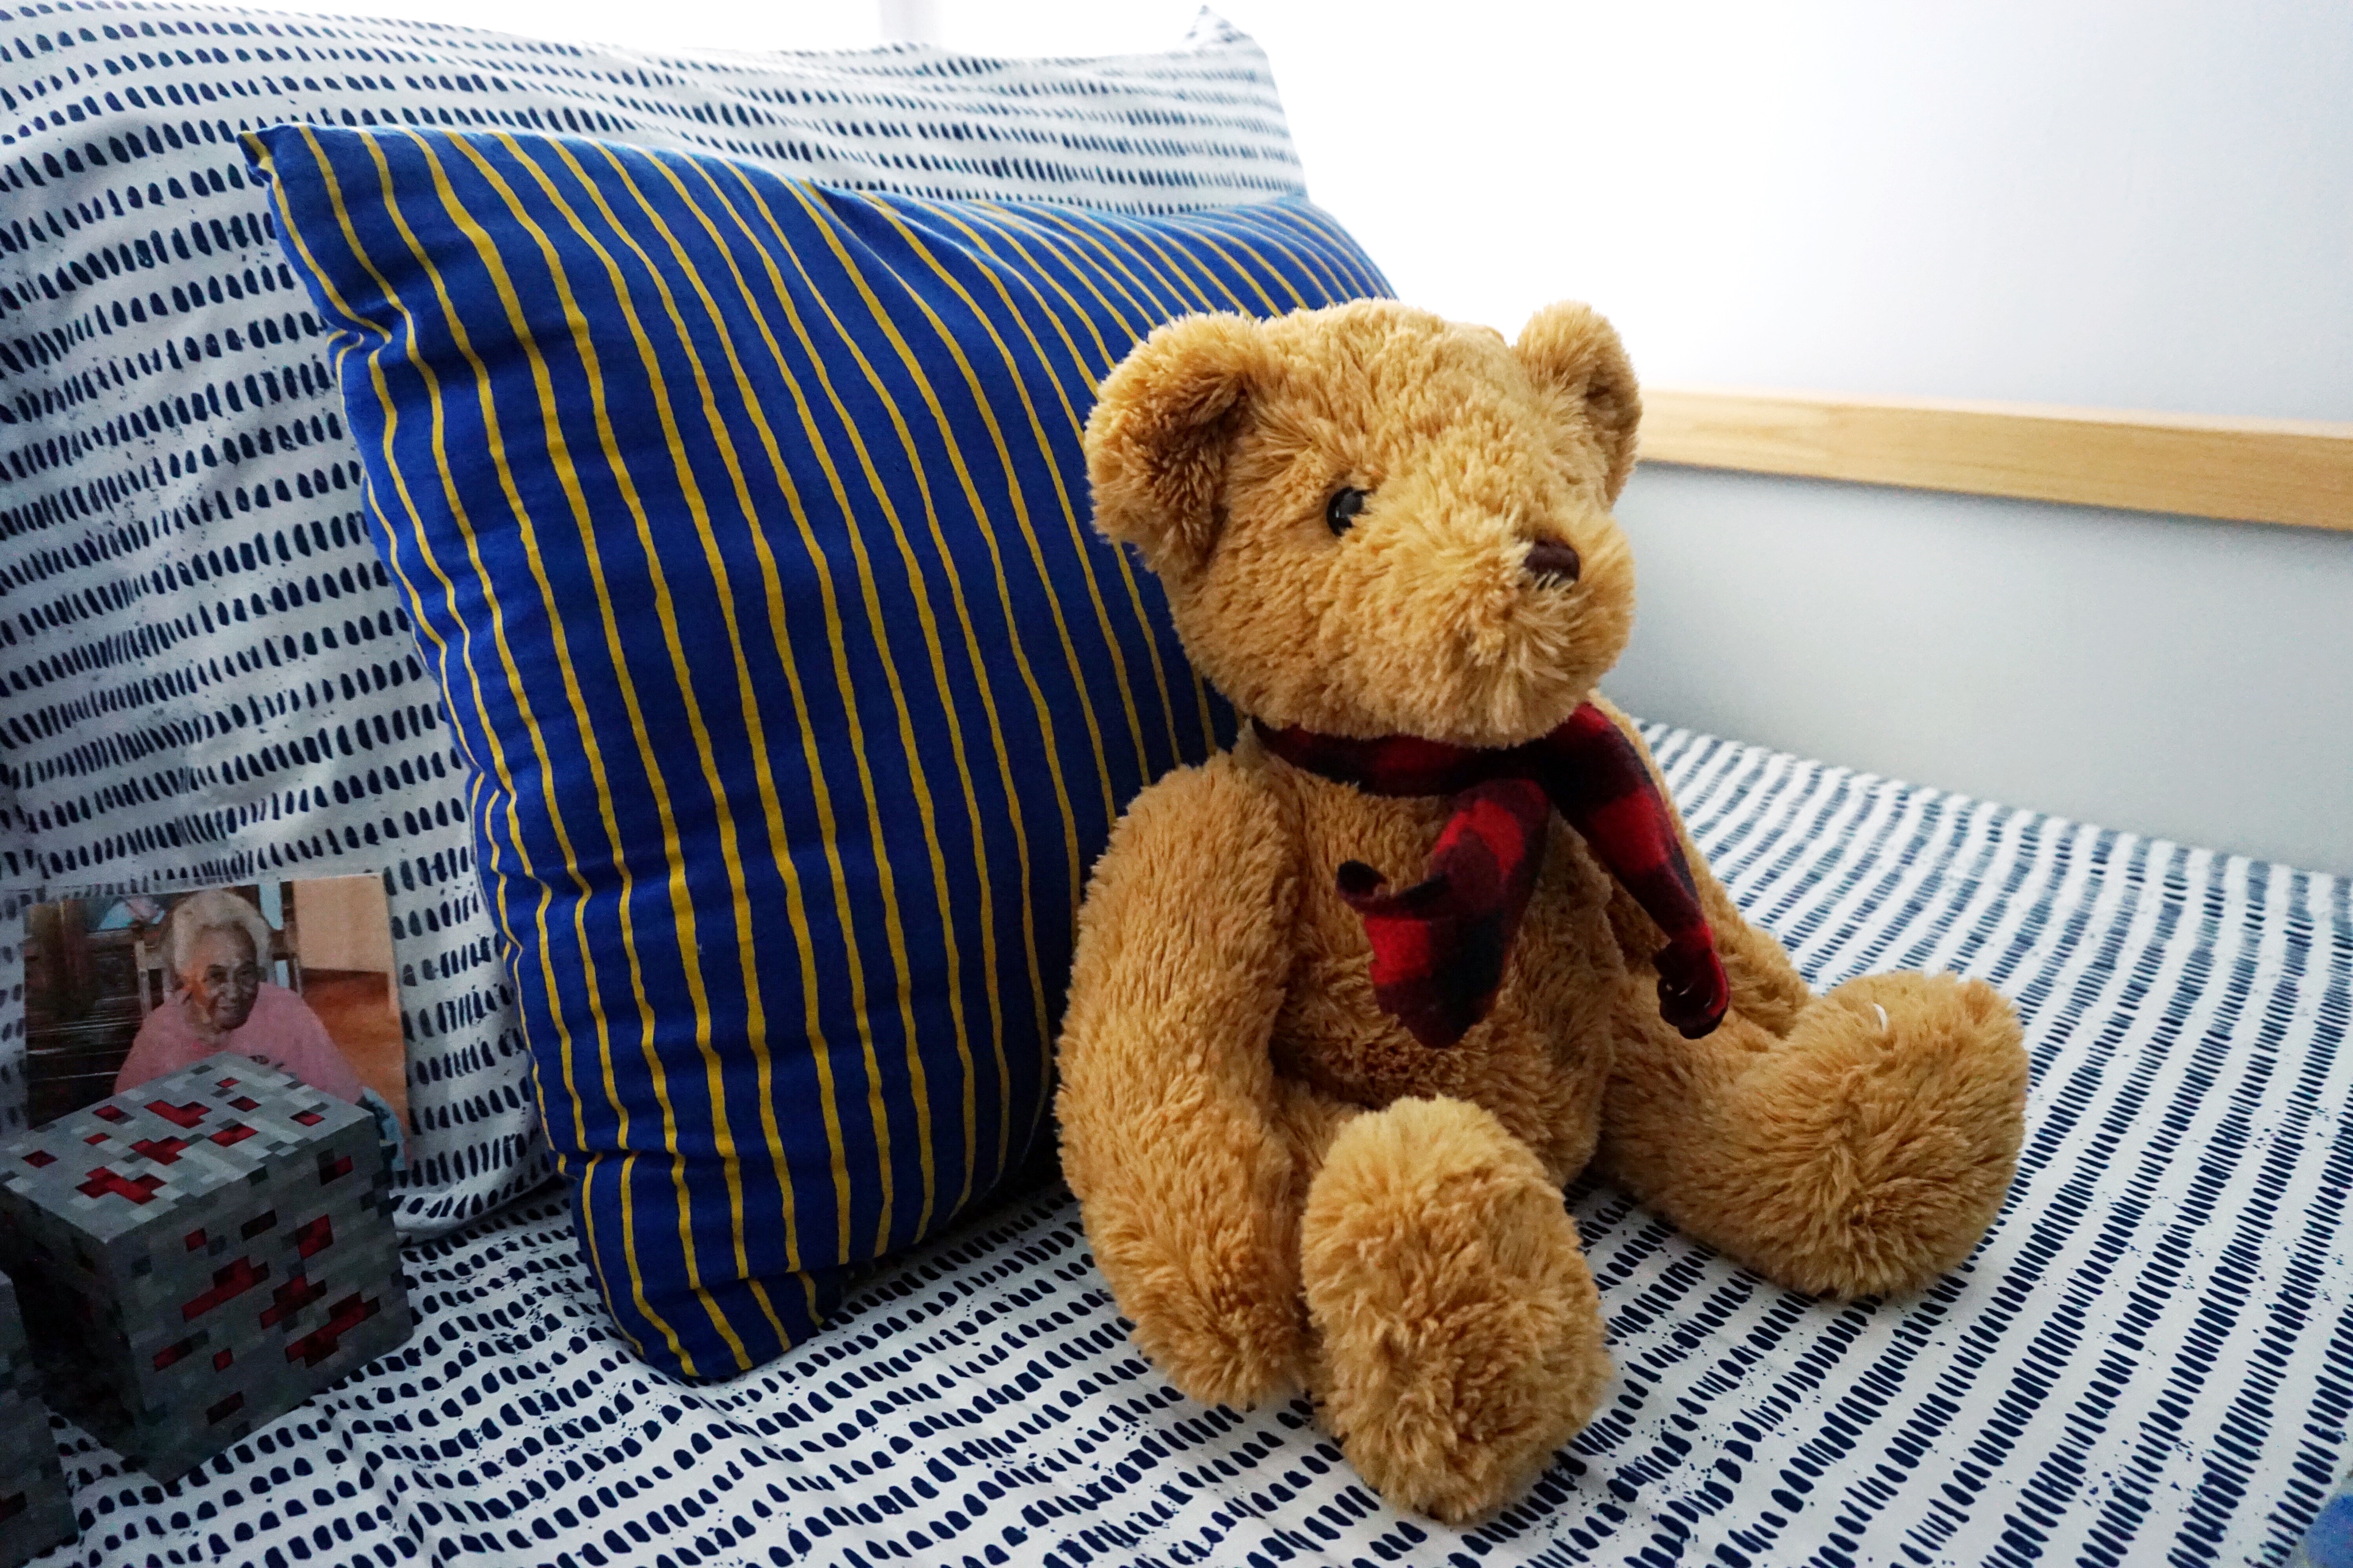
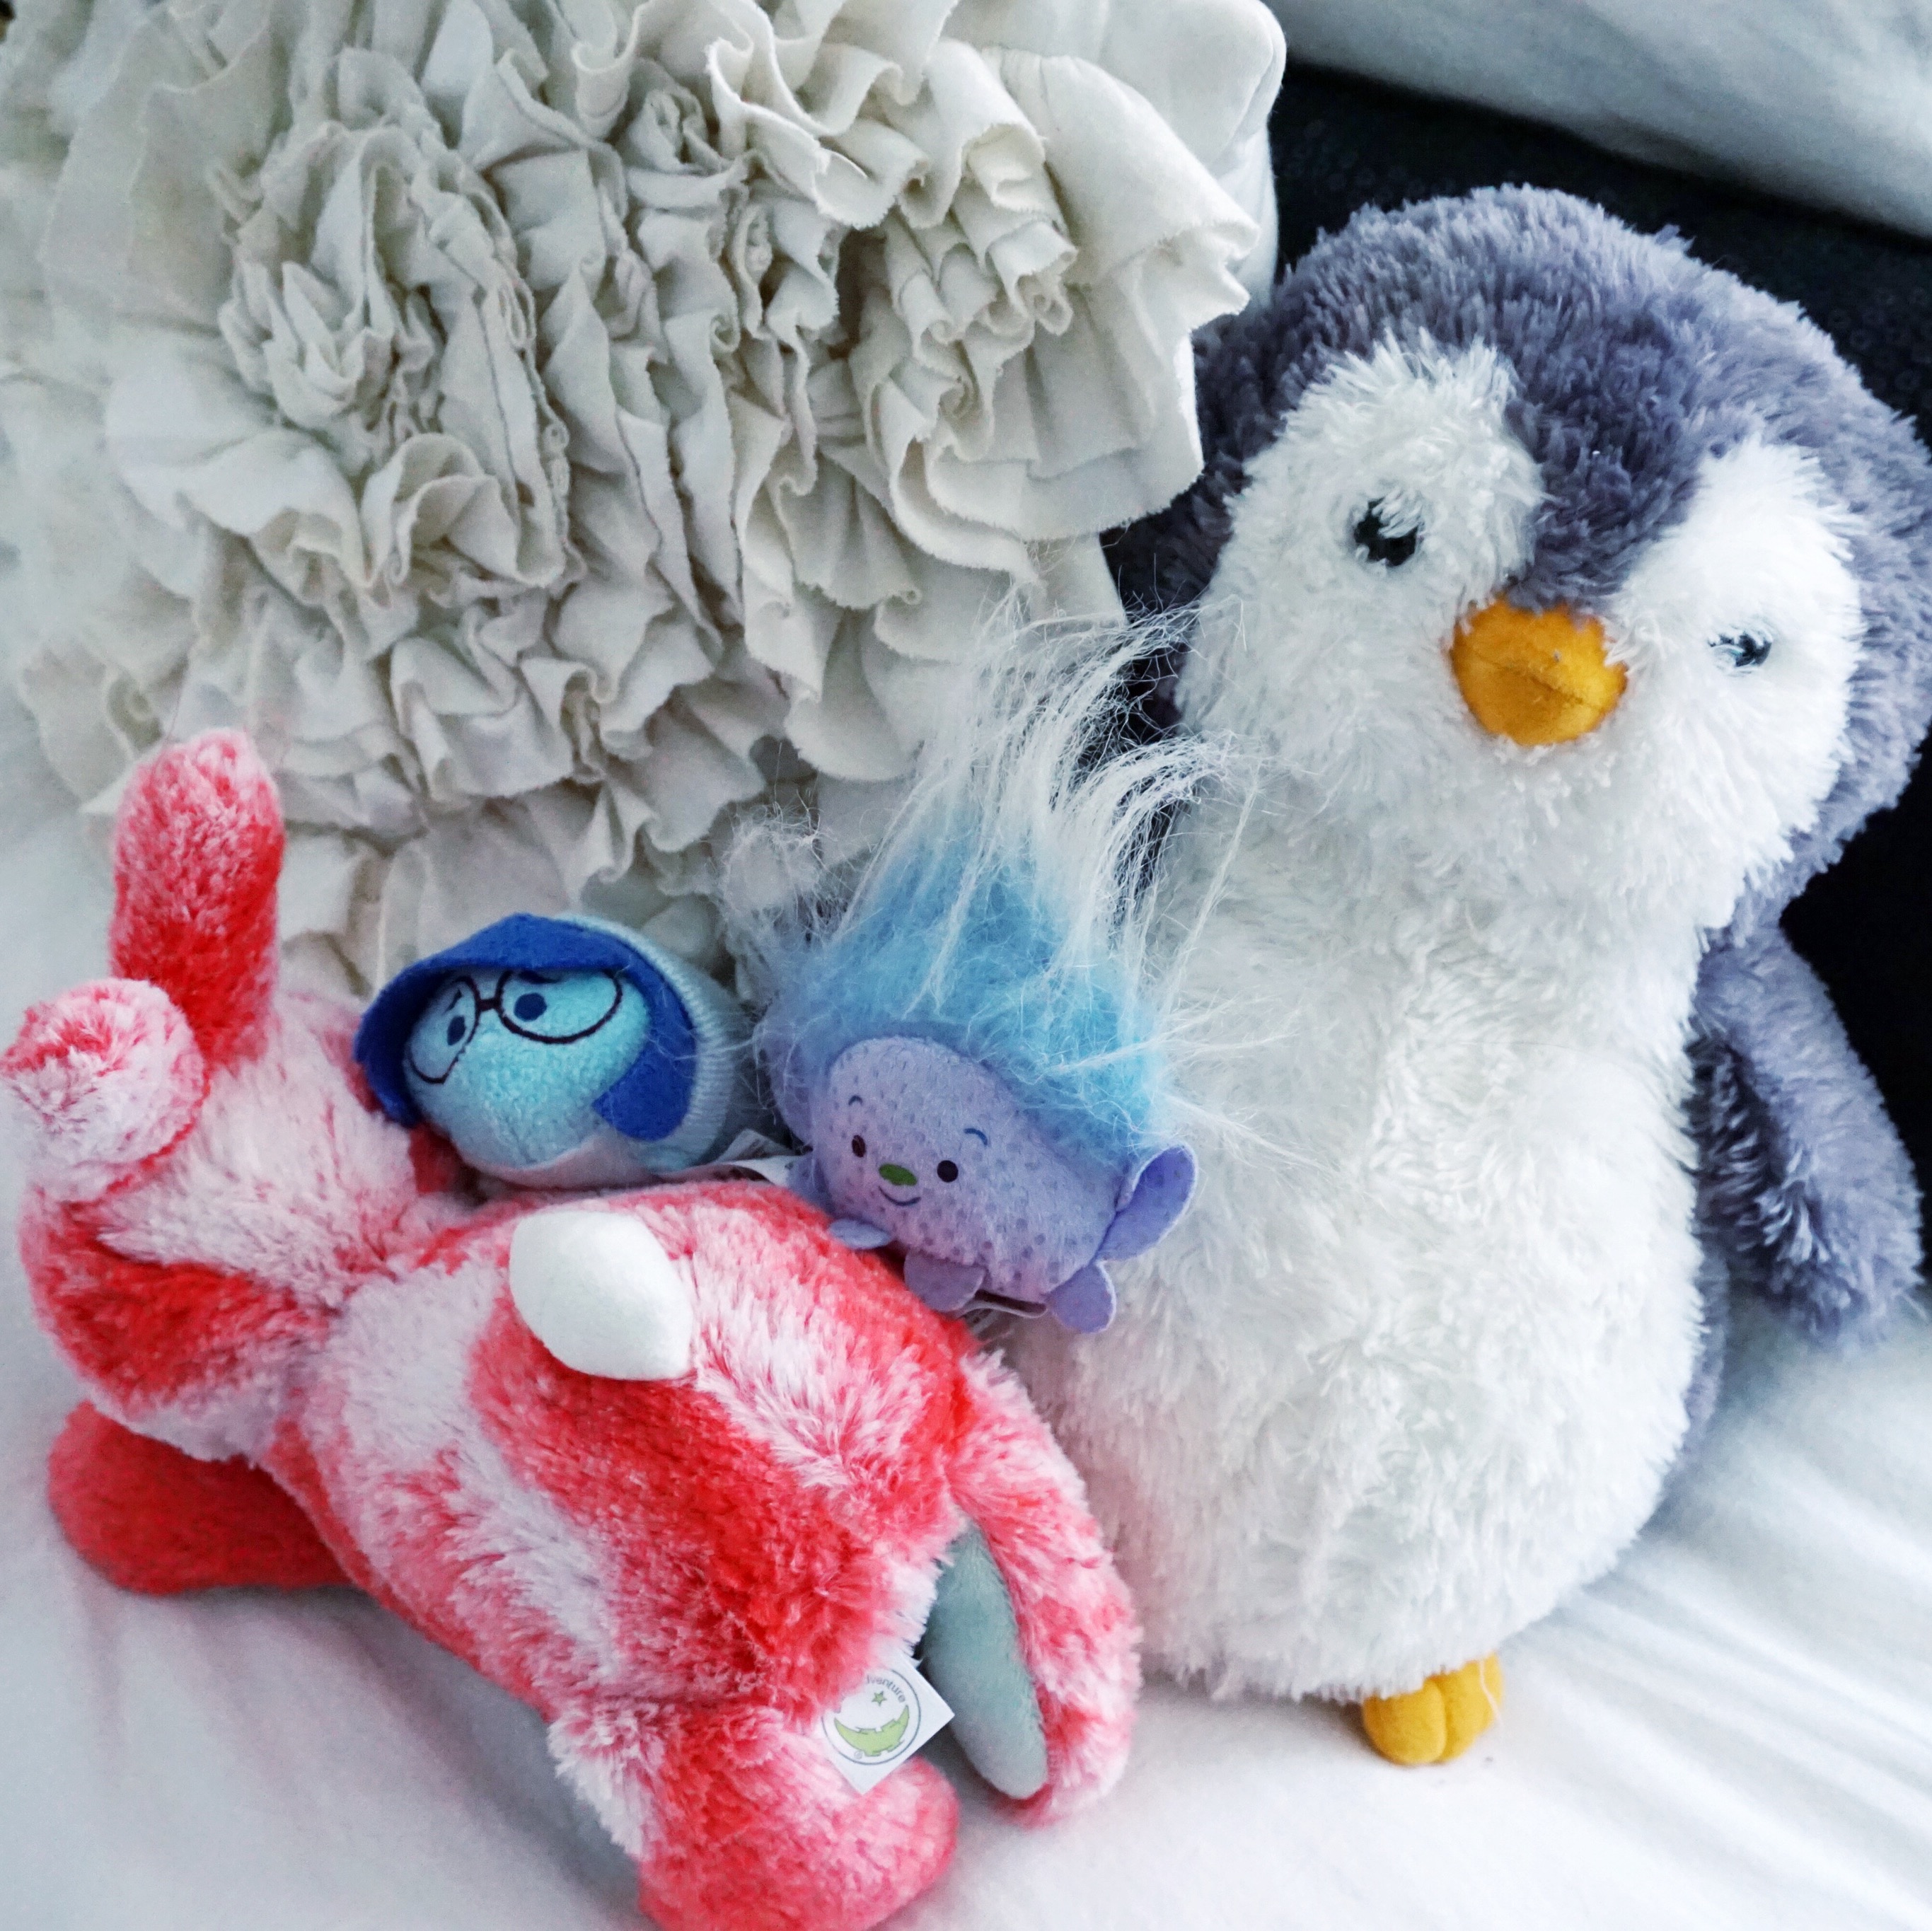
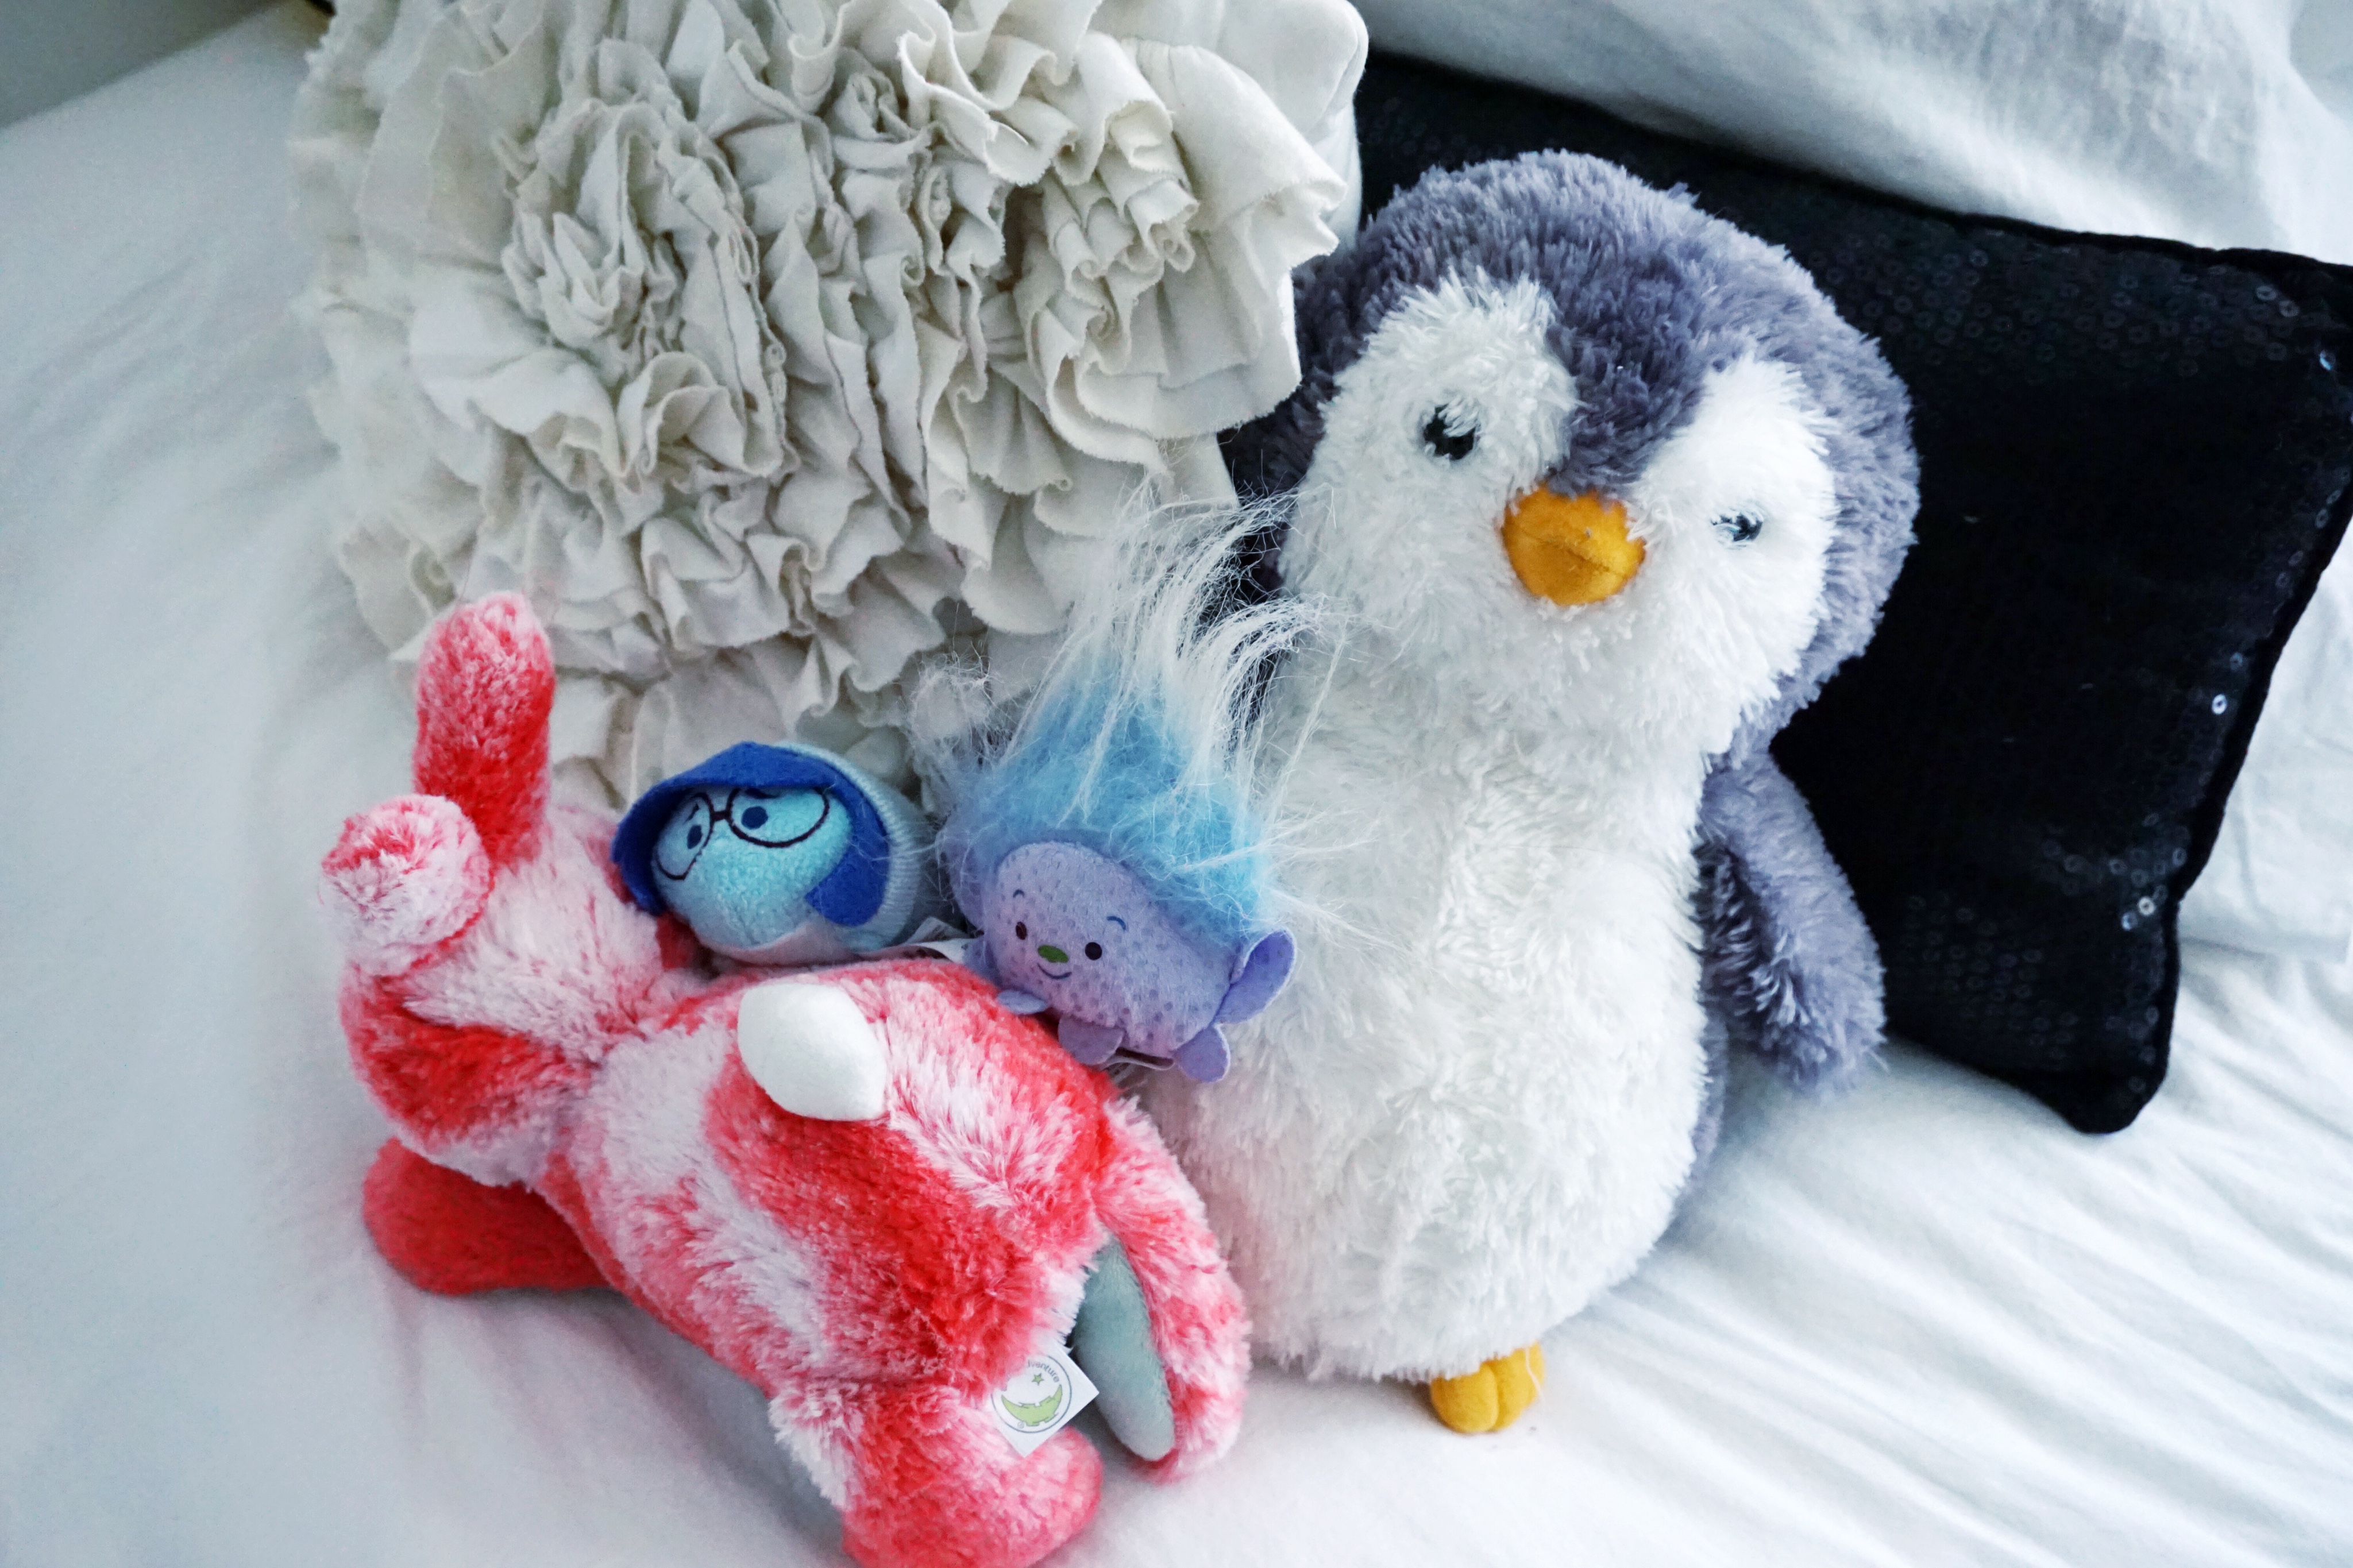
Hendrix sleeps on top with one of his favorite bears from one of my favorite aunties…
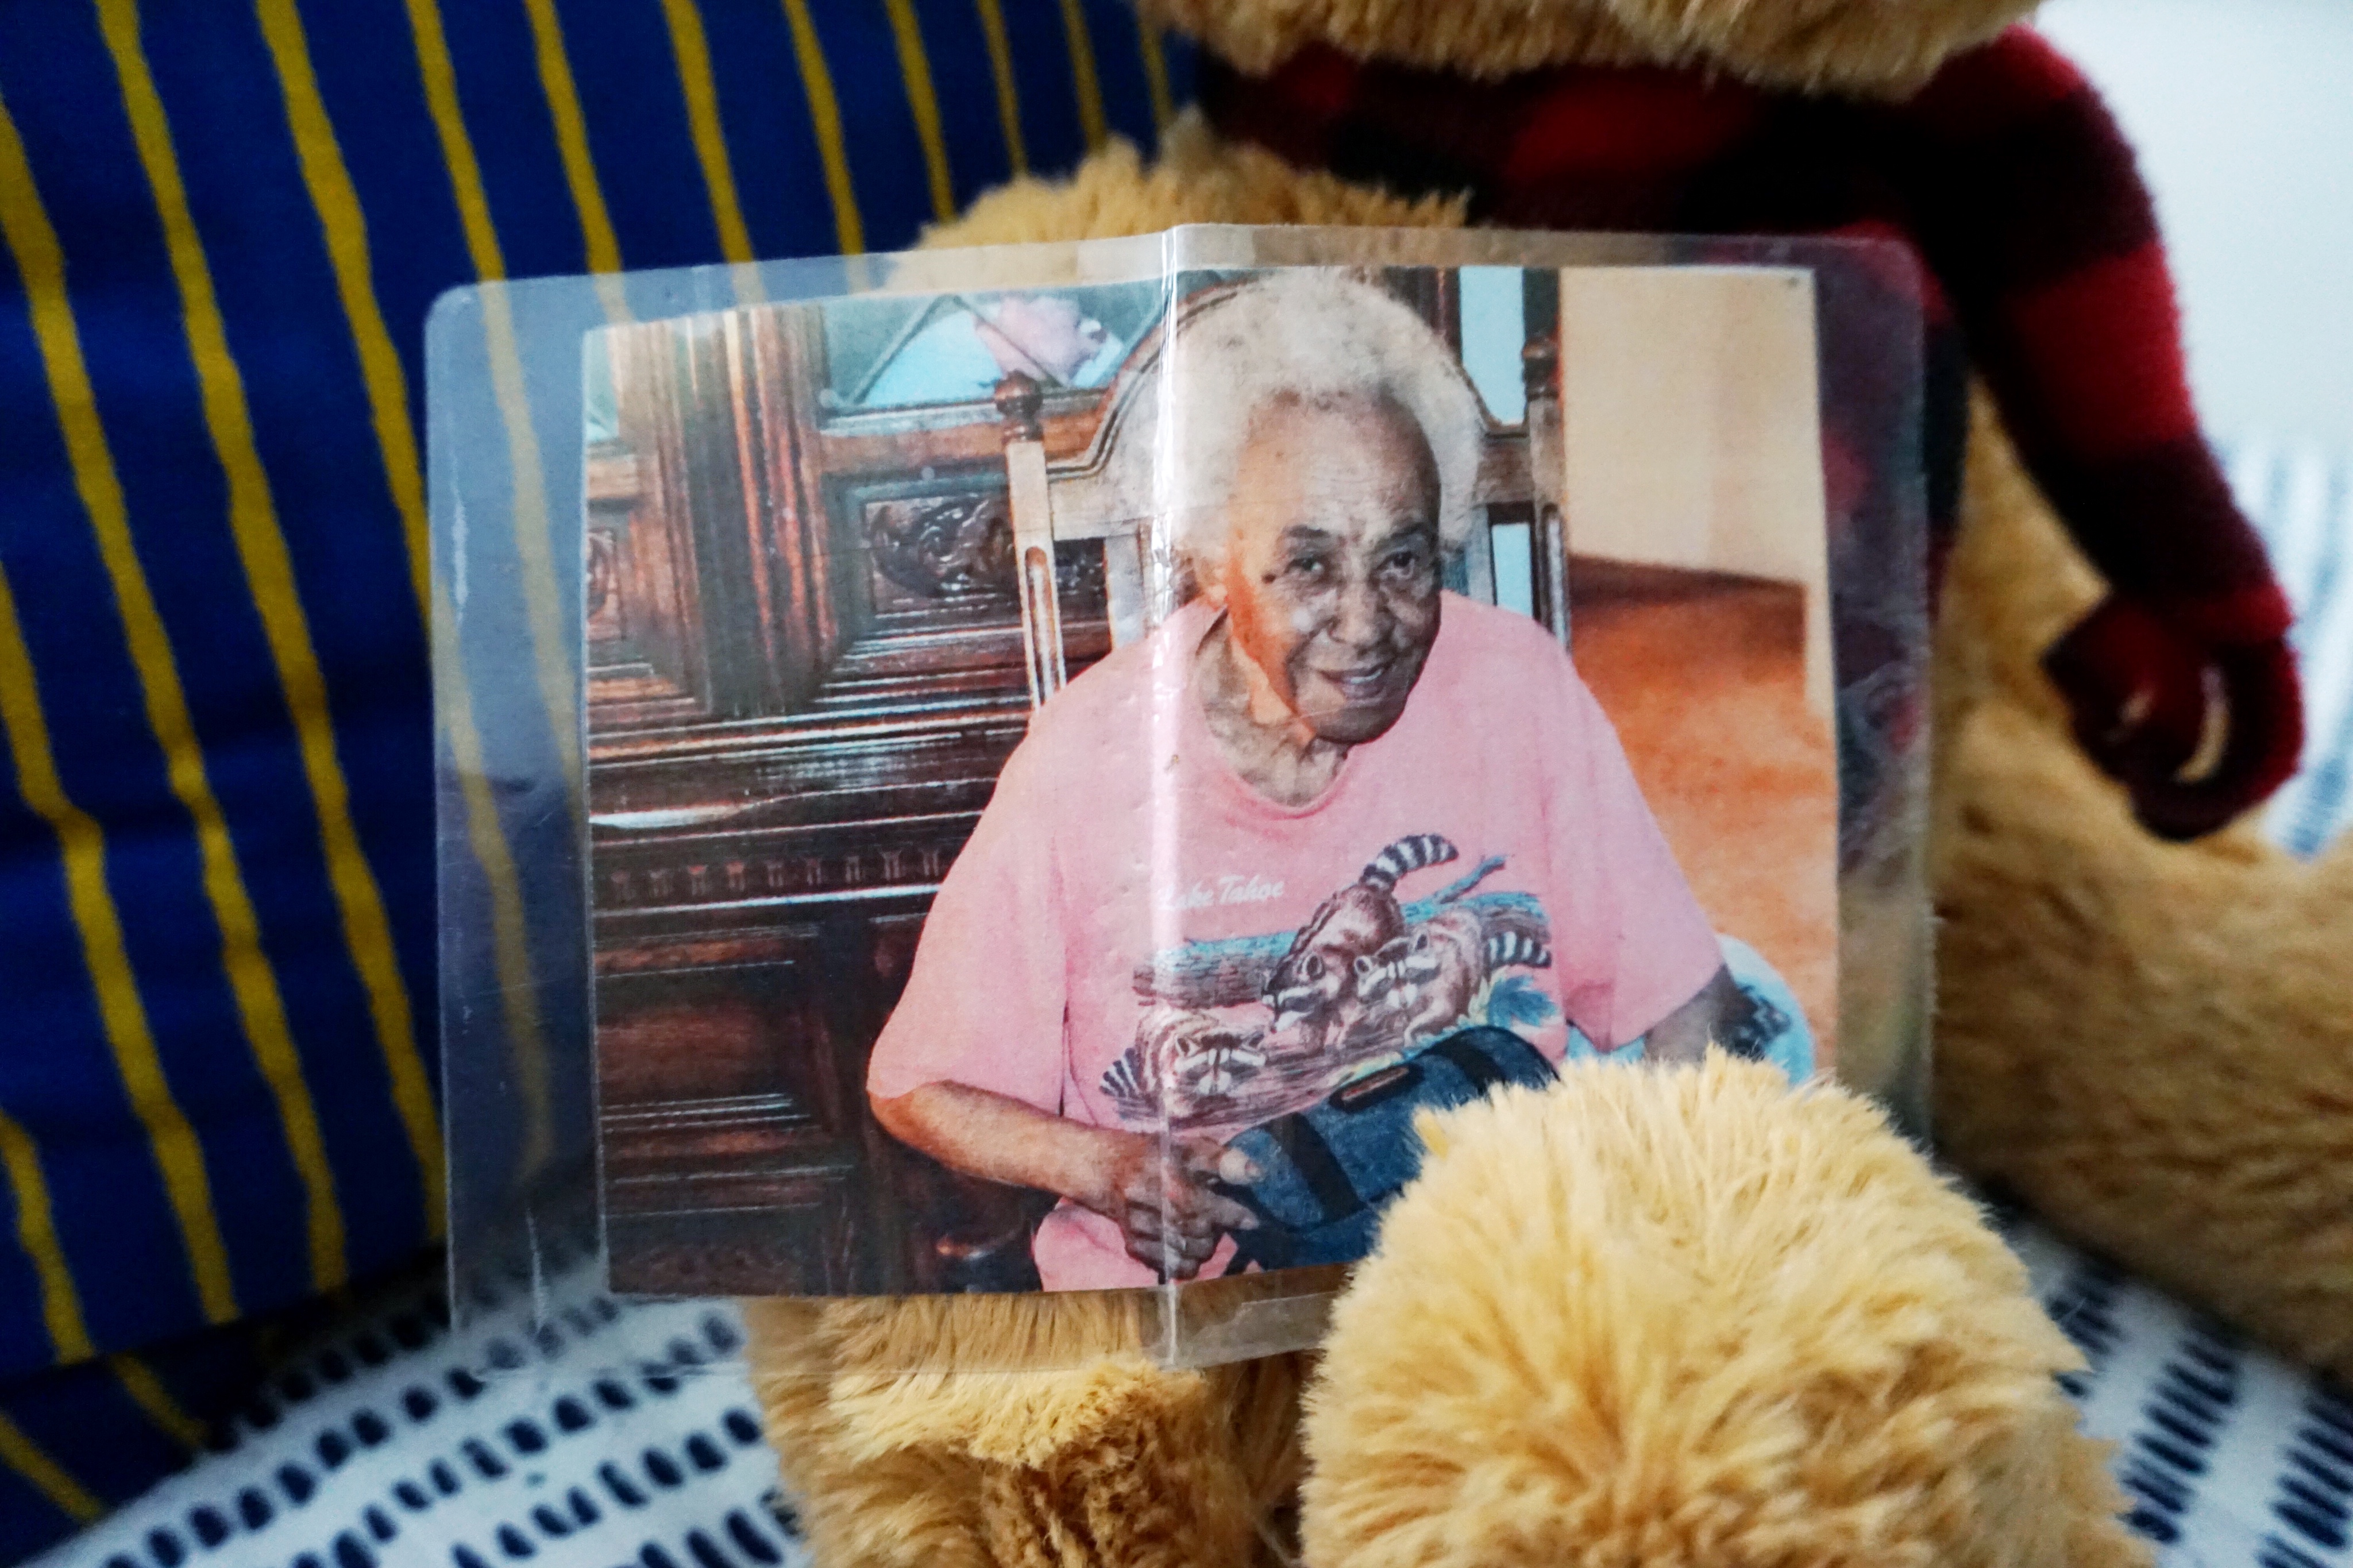
…and a photo of my grandma Nanny (my dad’s mom) every night.
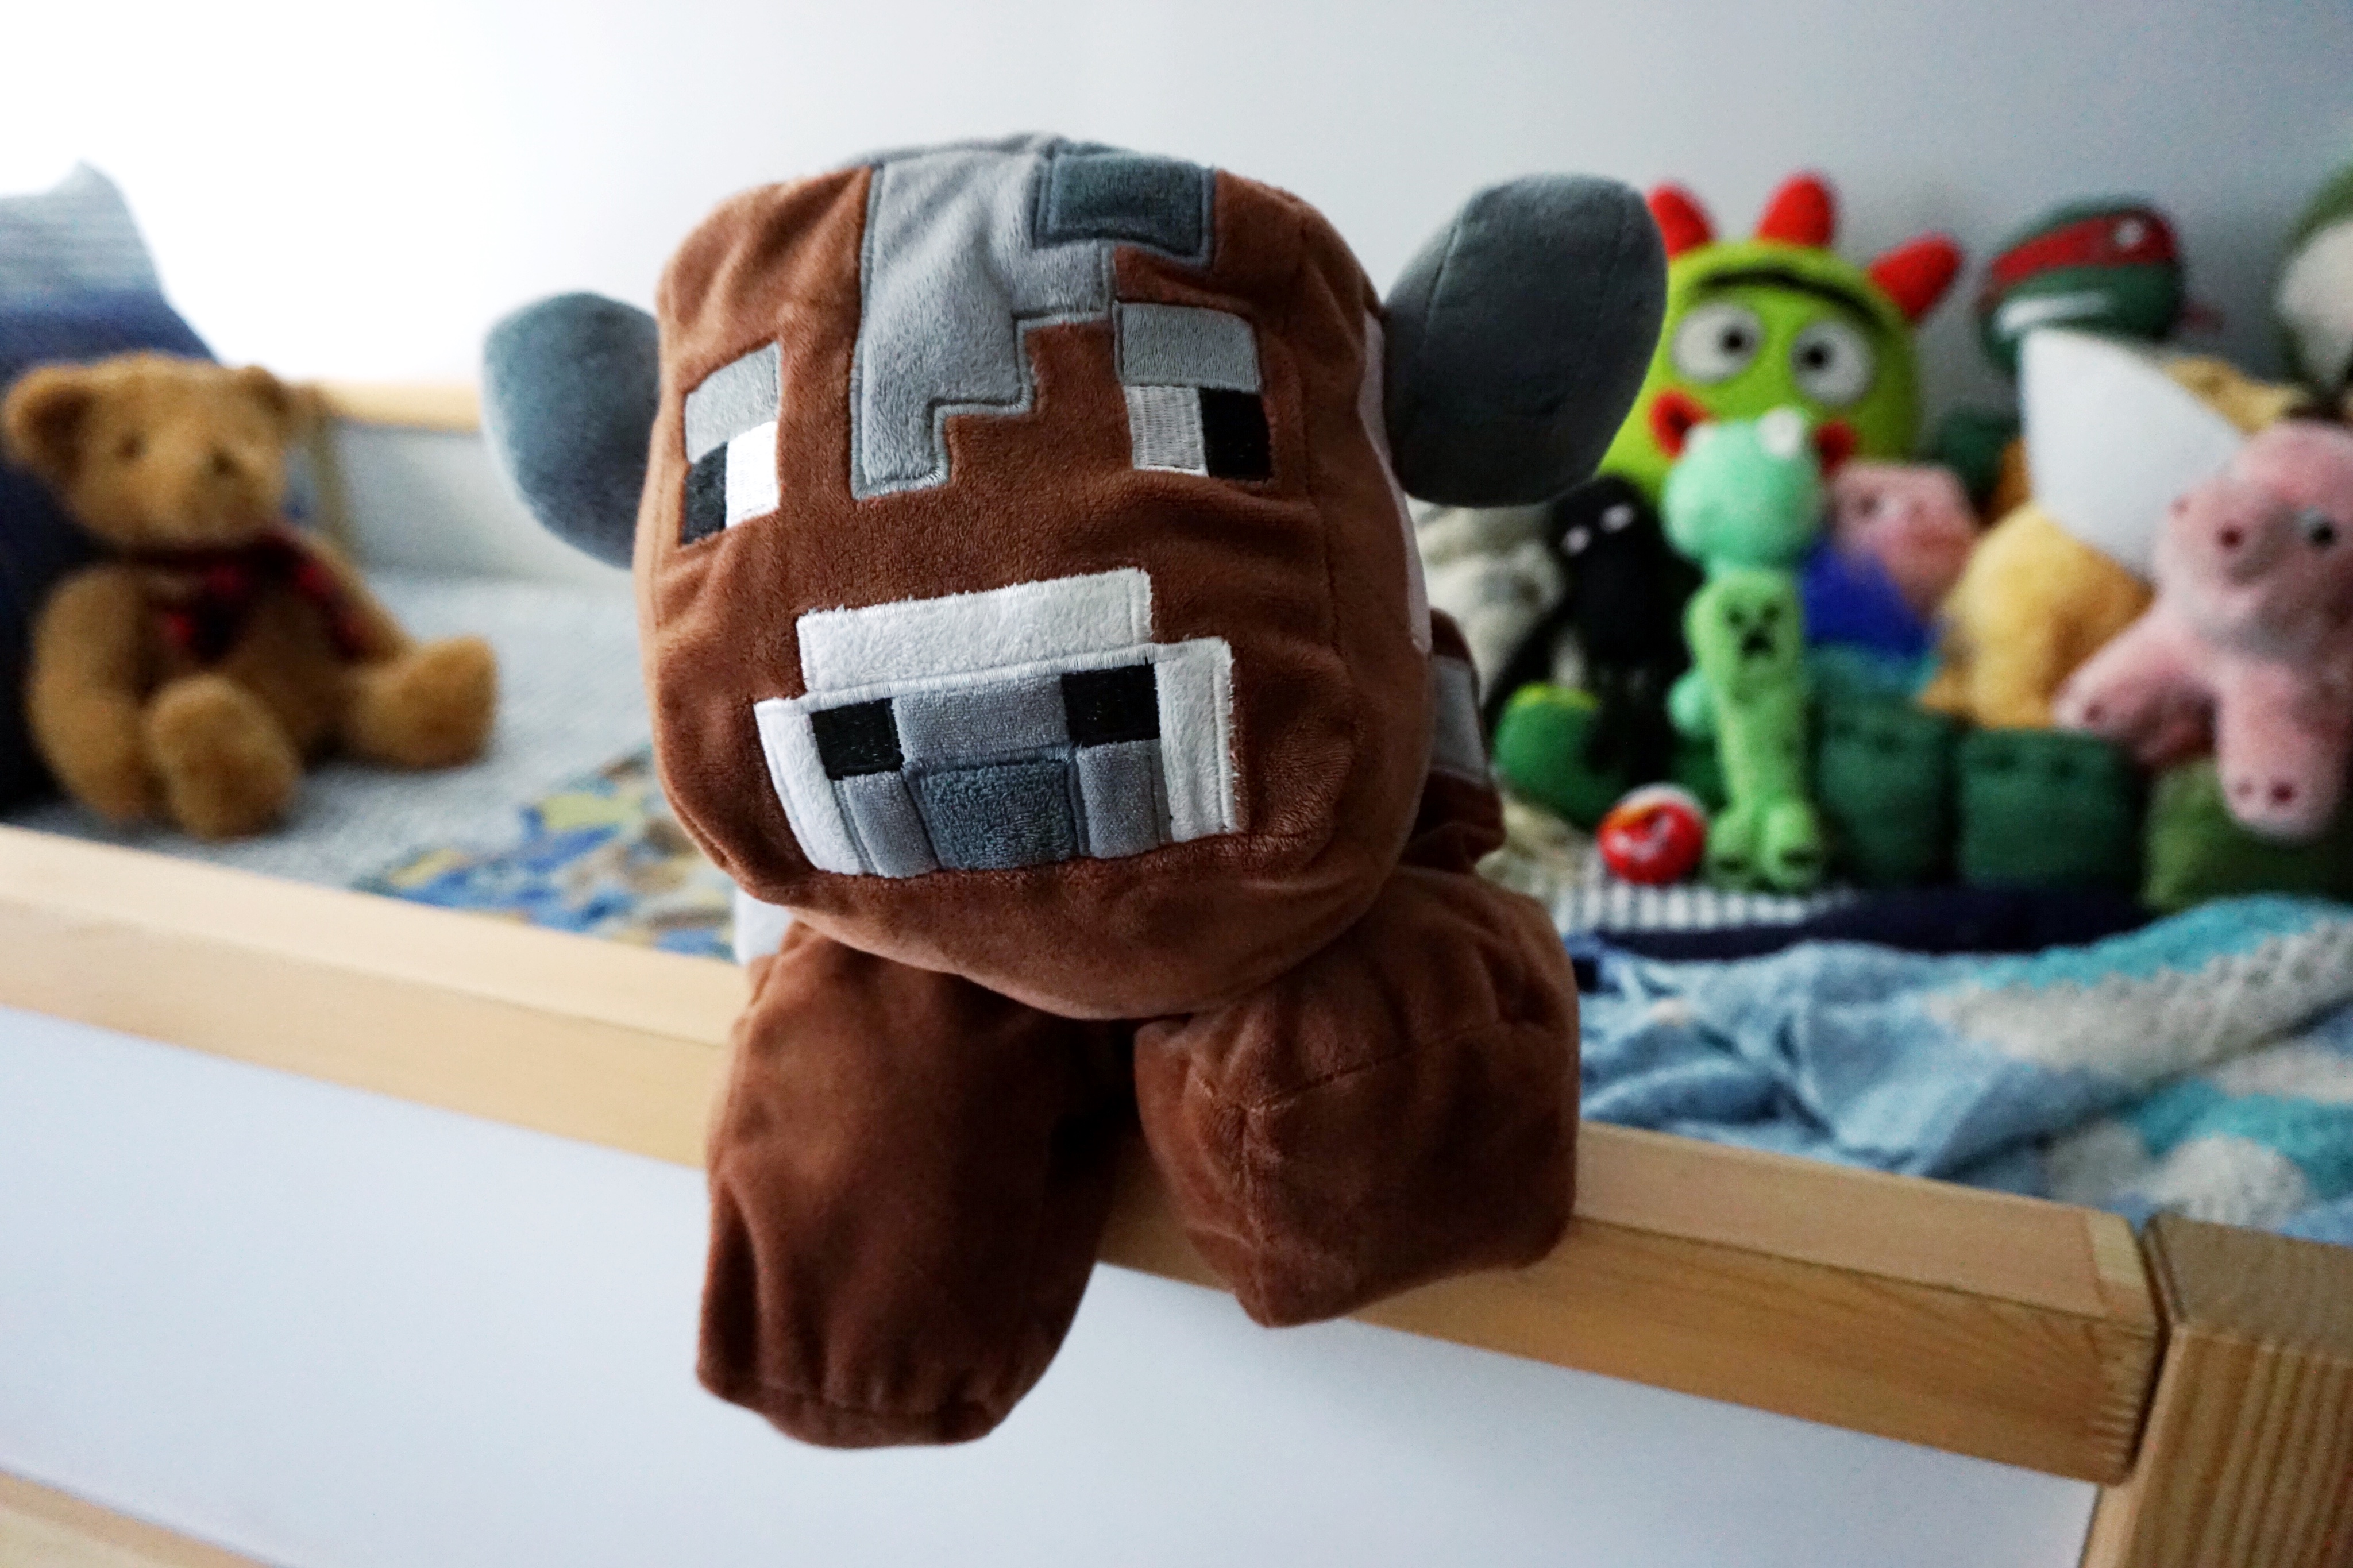
Most of his stuffed animals are Minecraft characters as that’s his all-time favorite thing.
Down the ladder, we arrive at Sadie’s space.
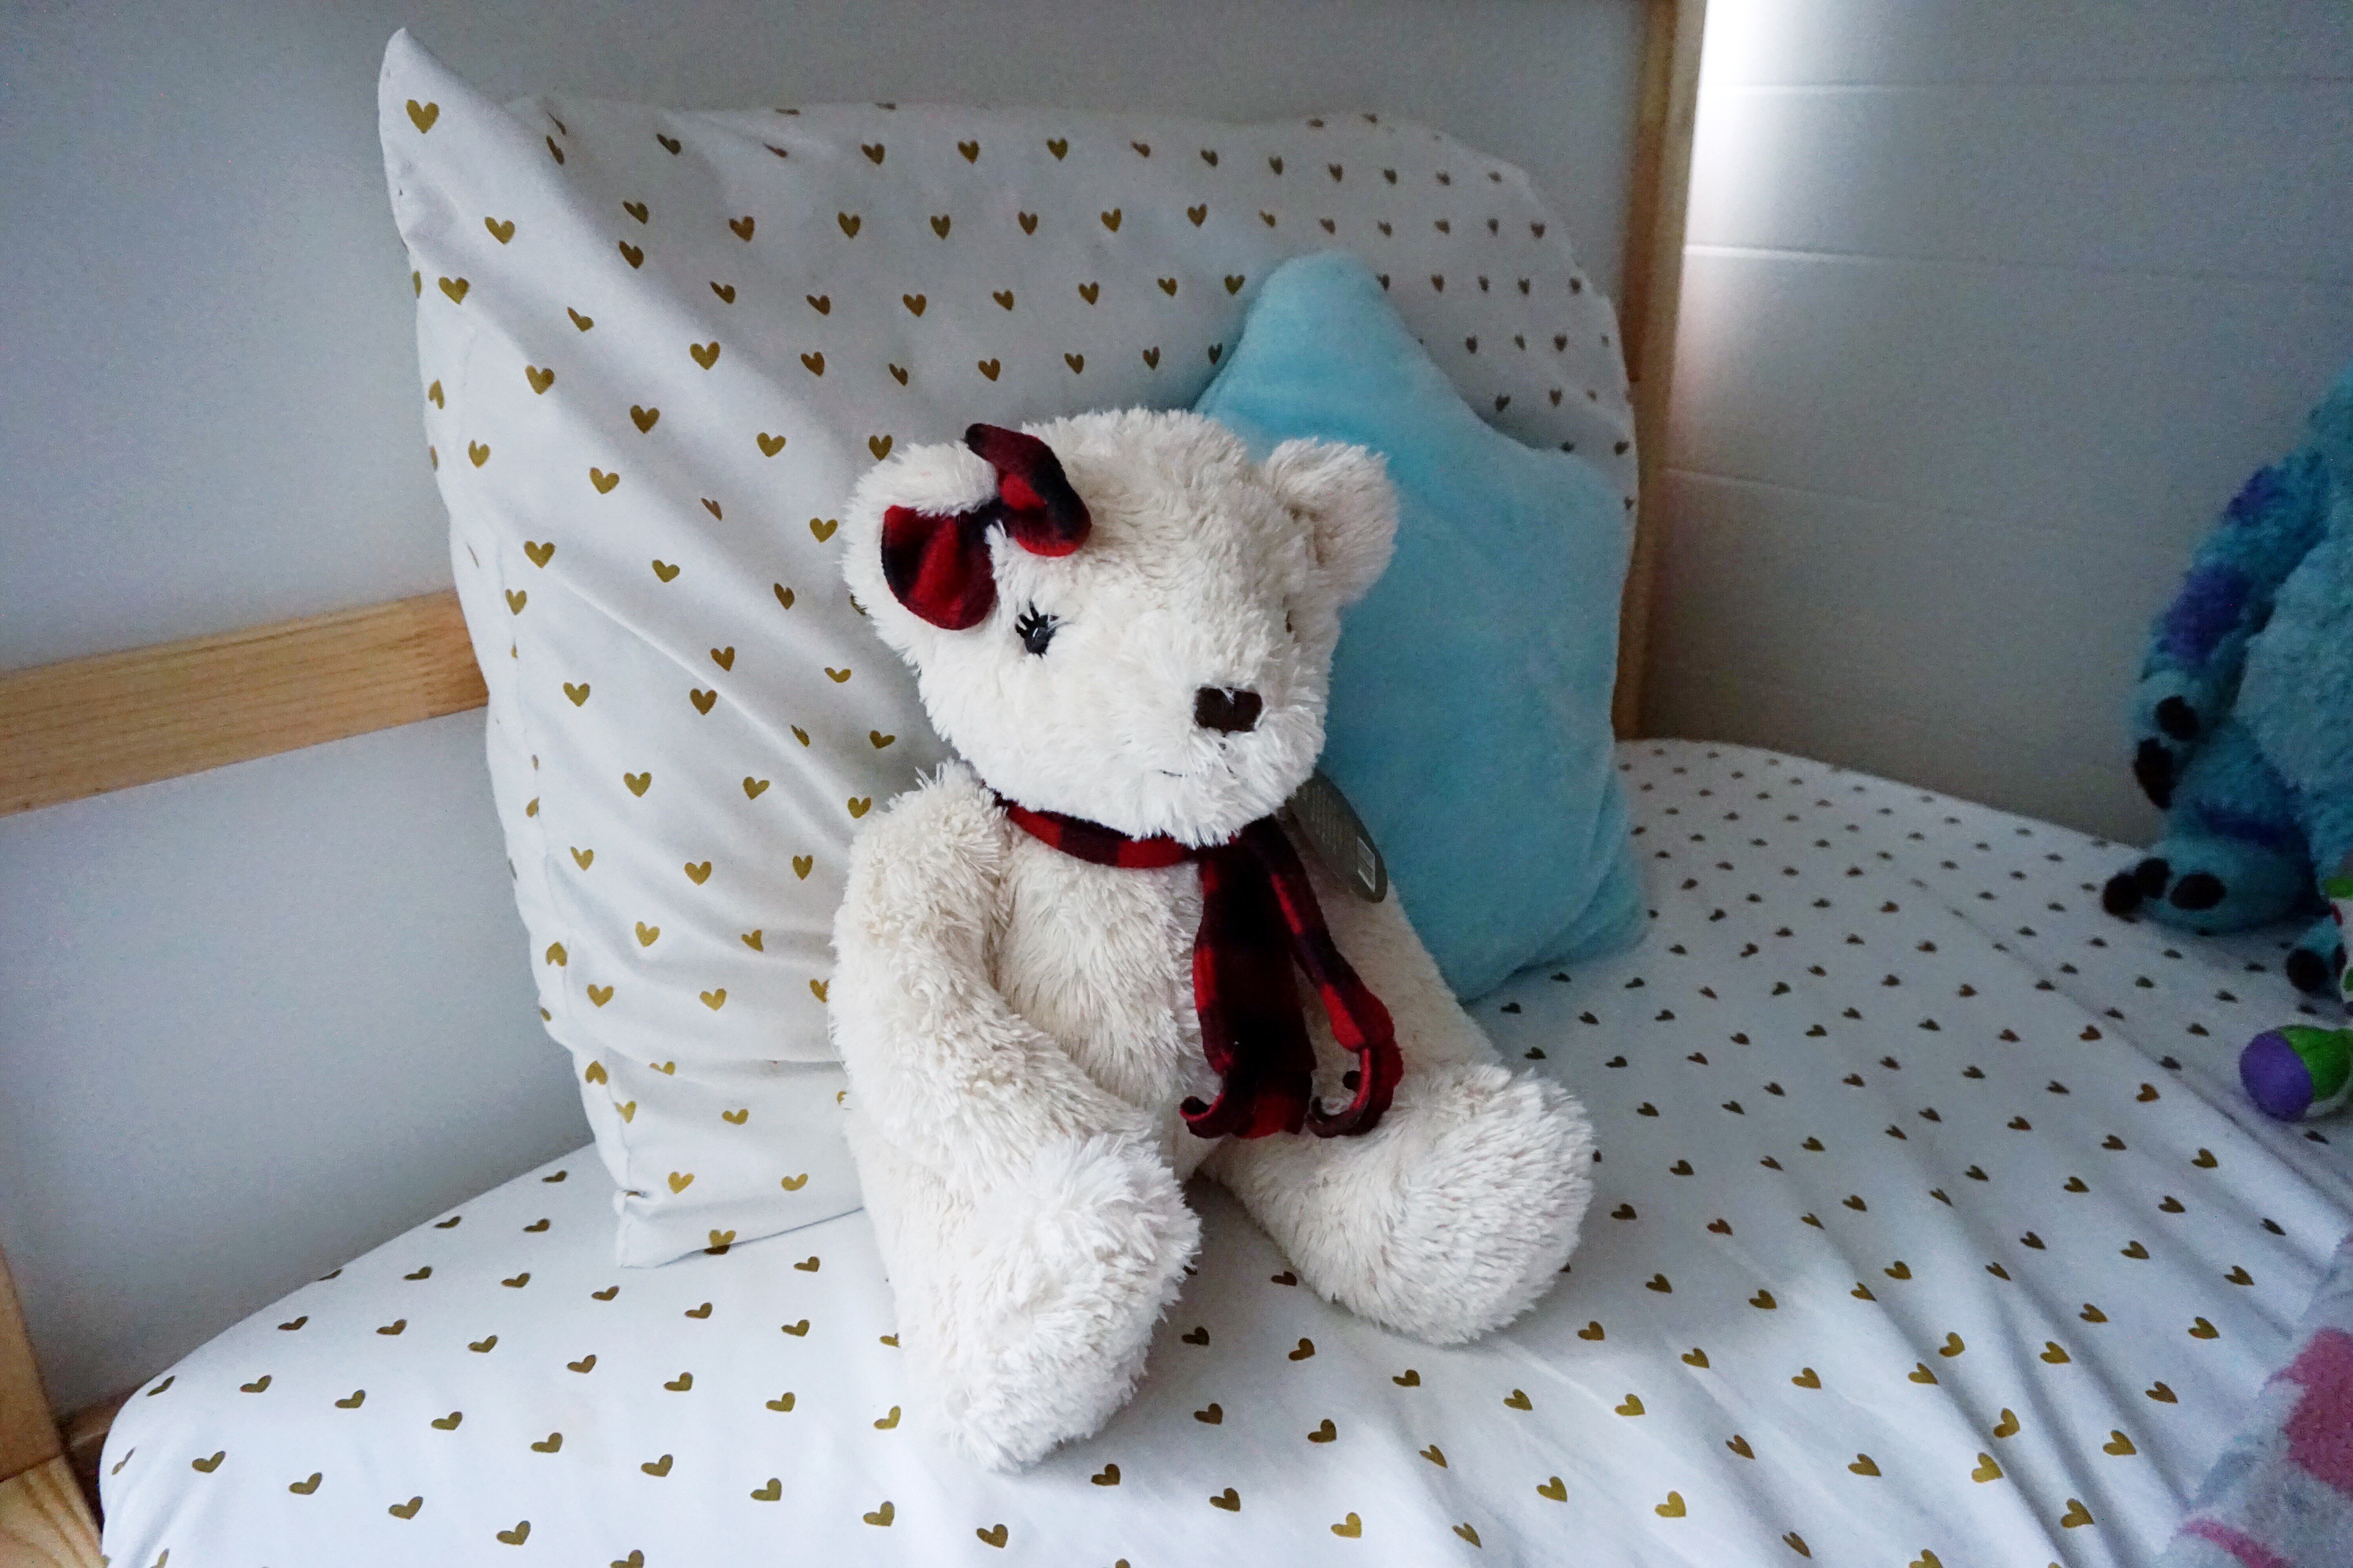
Her bear “Addy” was a gift from my aunt as well and her sheets are this Metallic Heart set from Target.
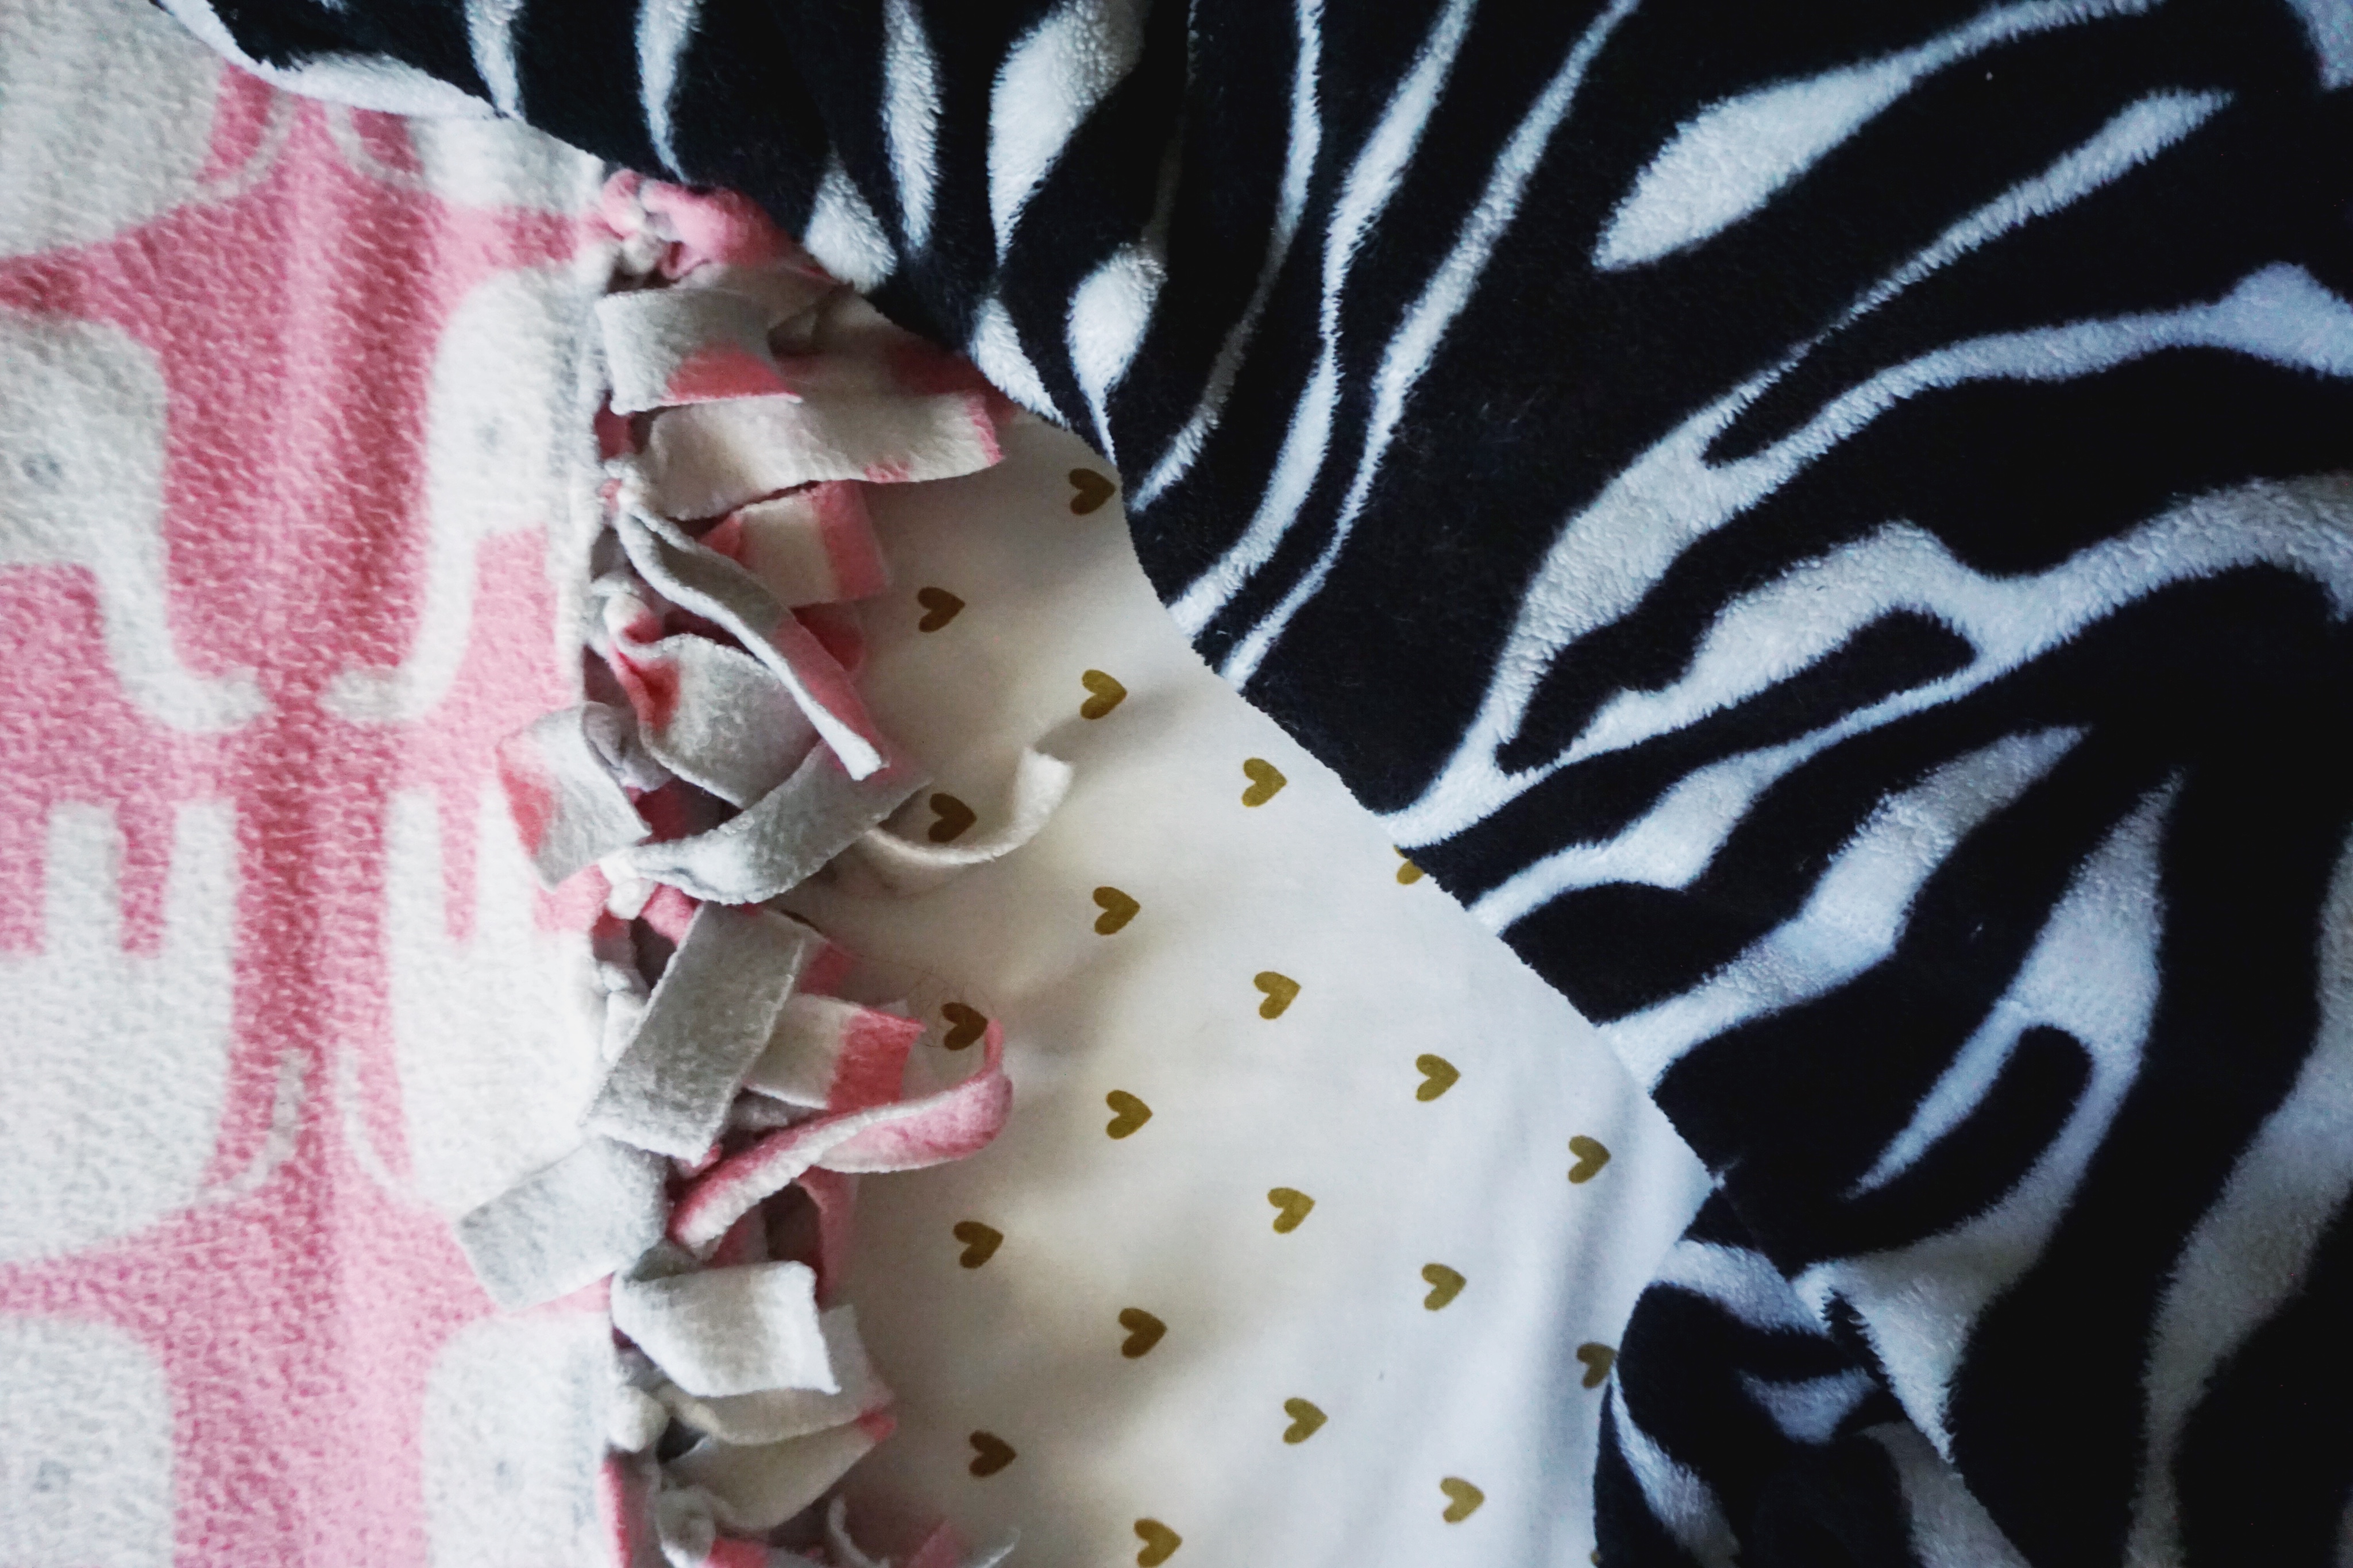
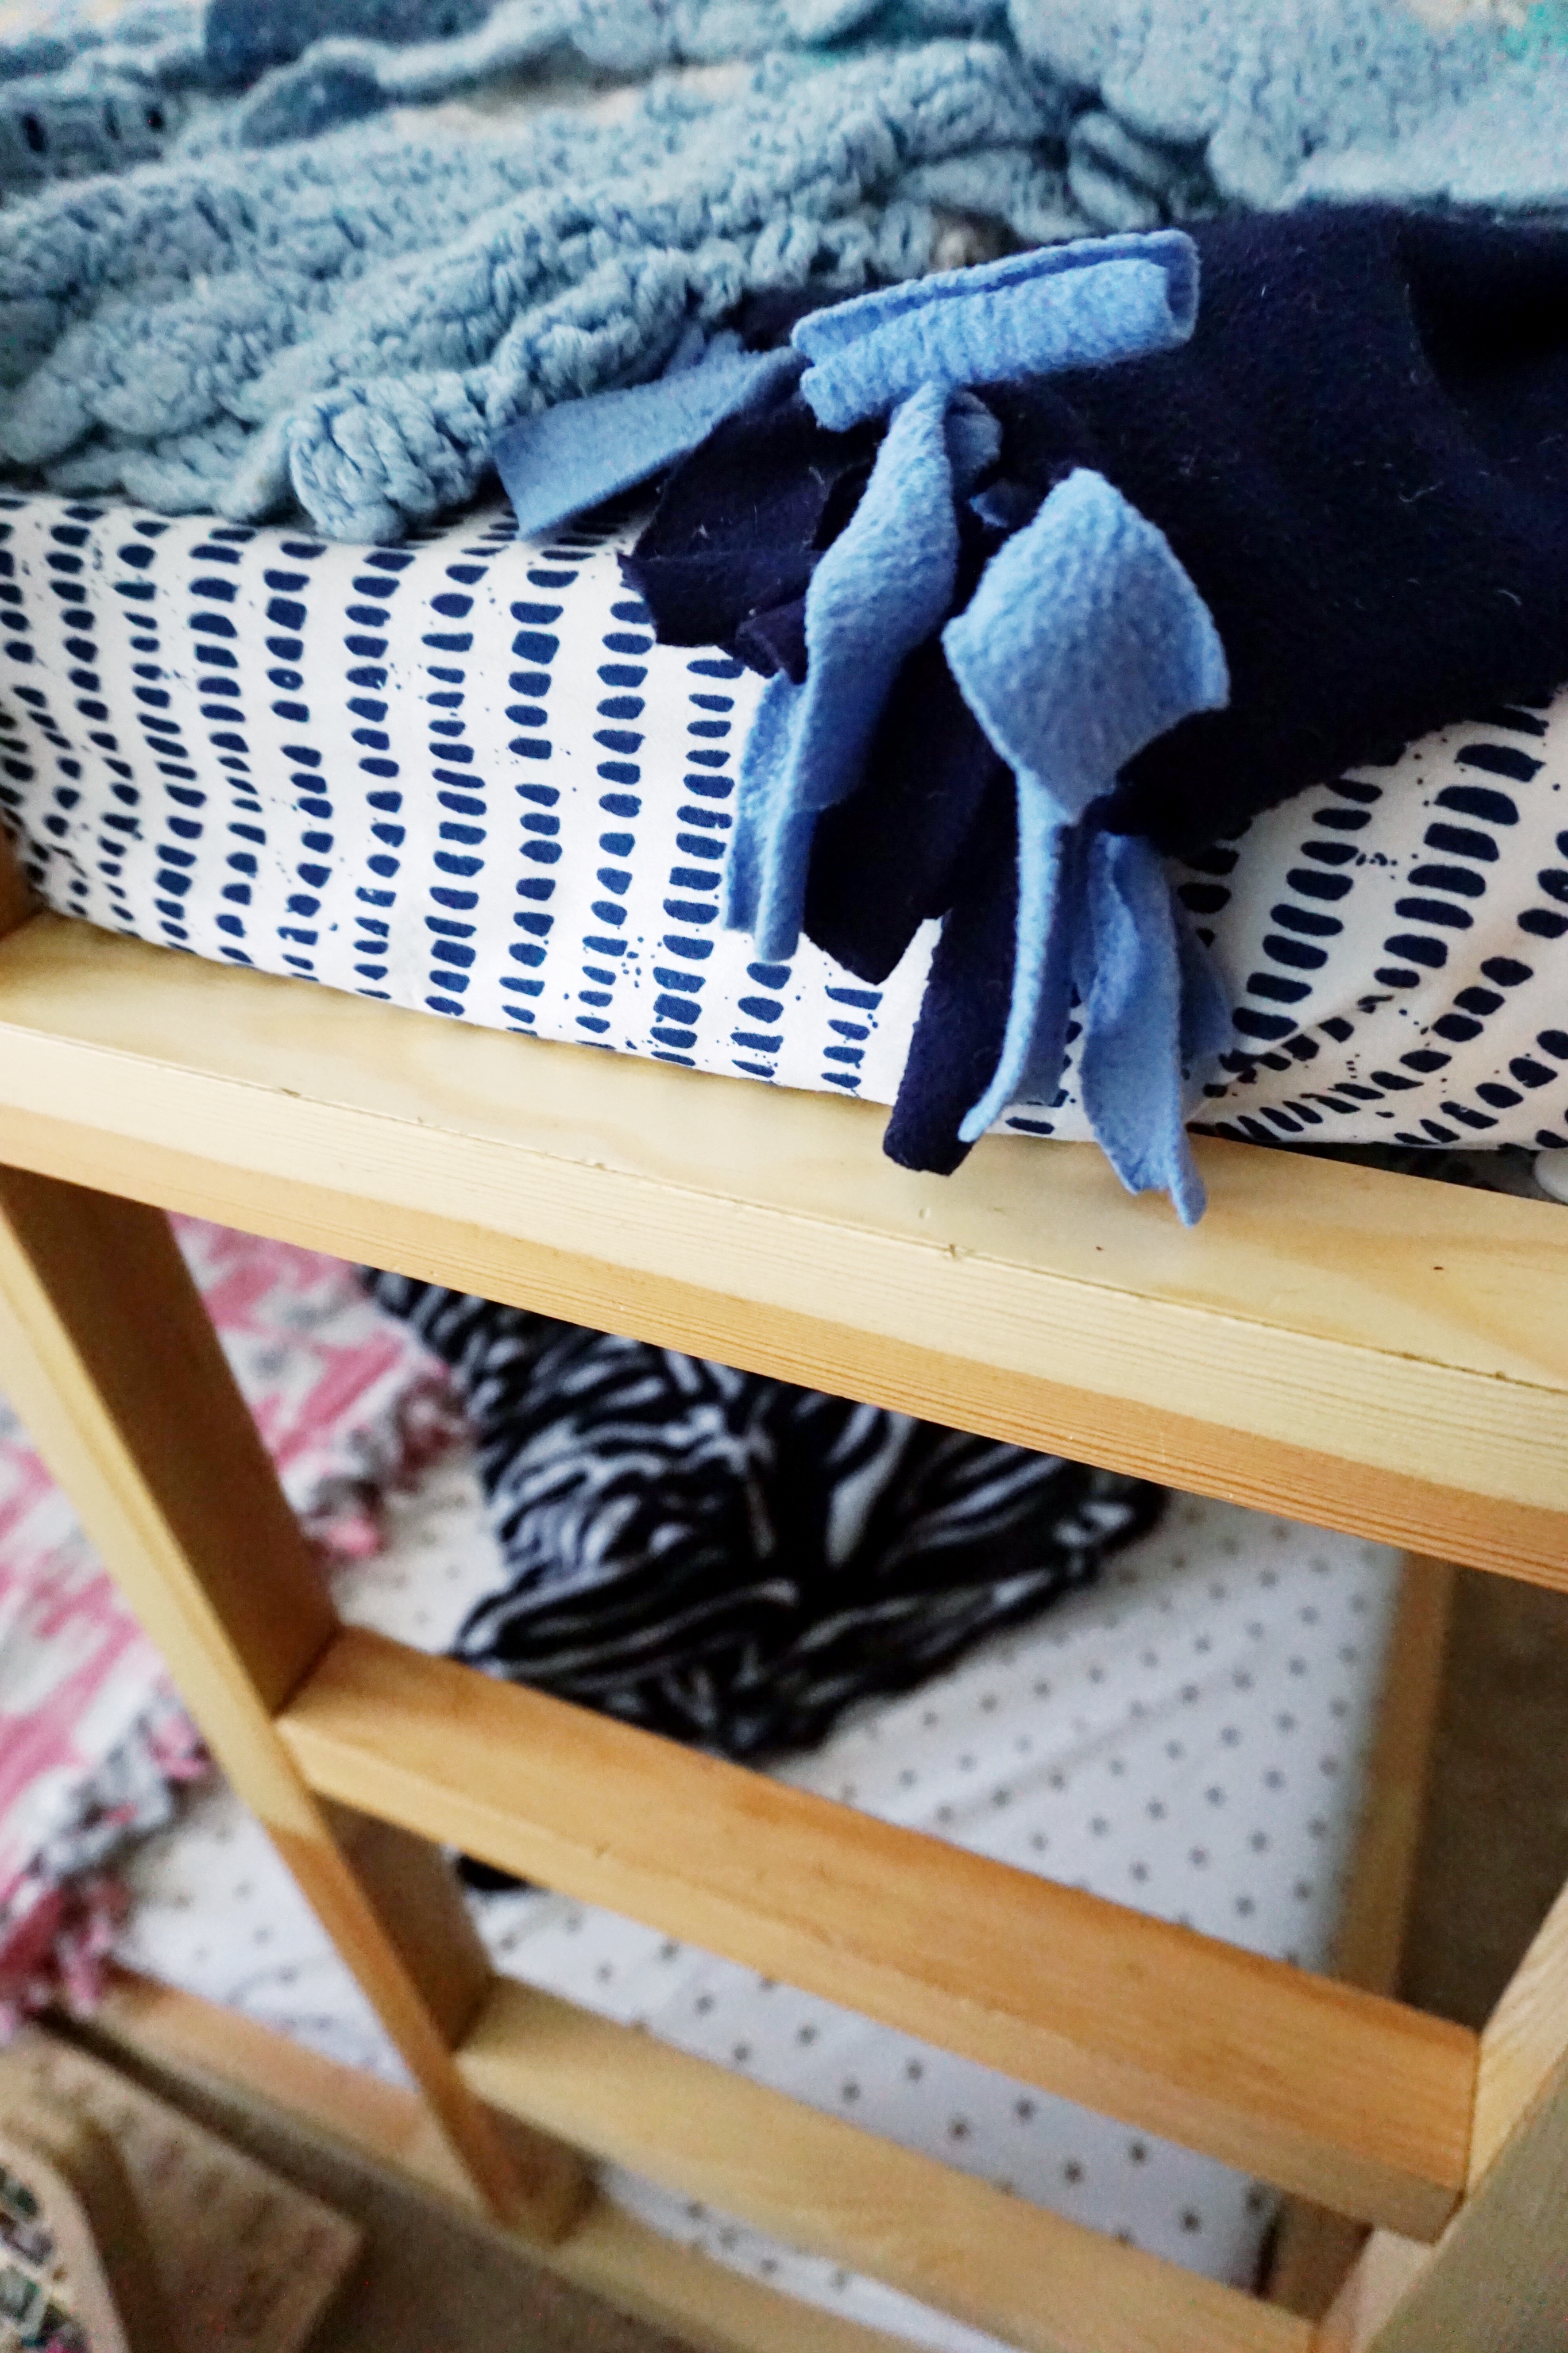
Sadie’s zebra print throw blanket is actually mine which she claimed almost immediately after she was born…

Her stuffed animal collection is mostly from the Disney Store as that’s her fave!
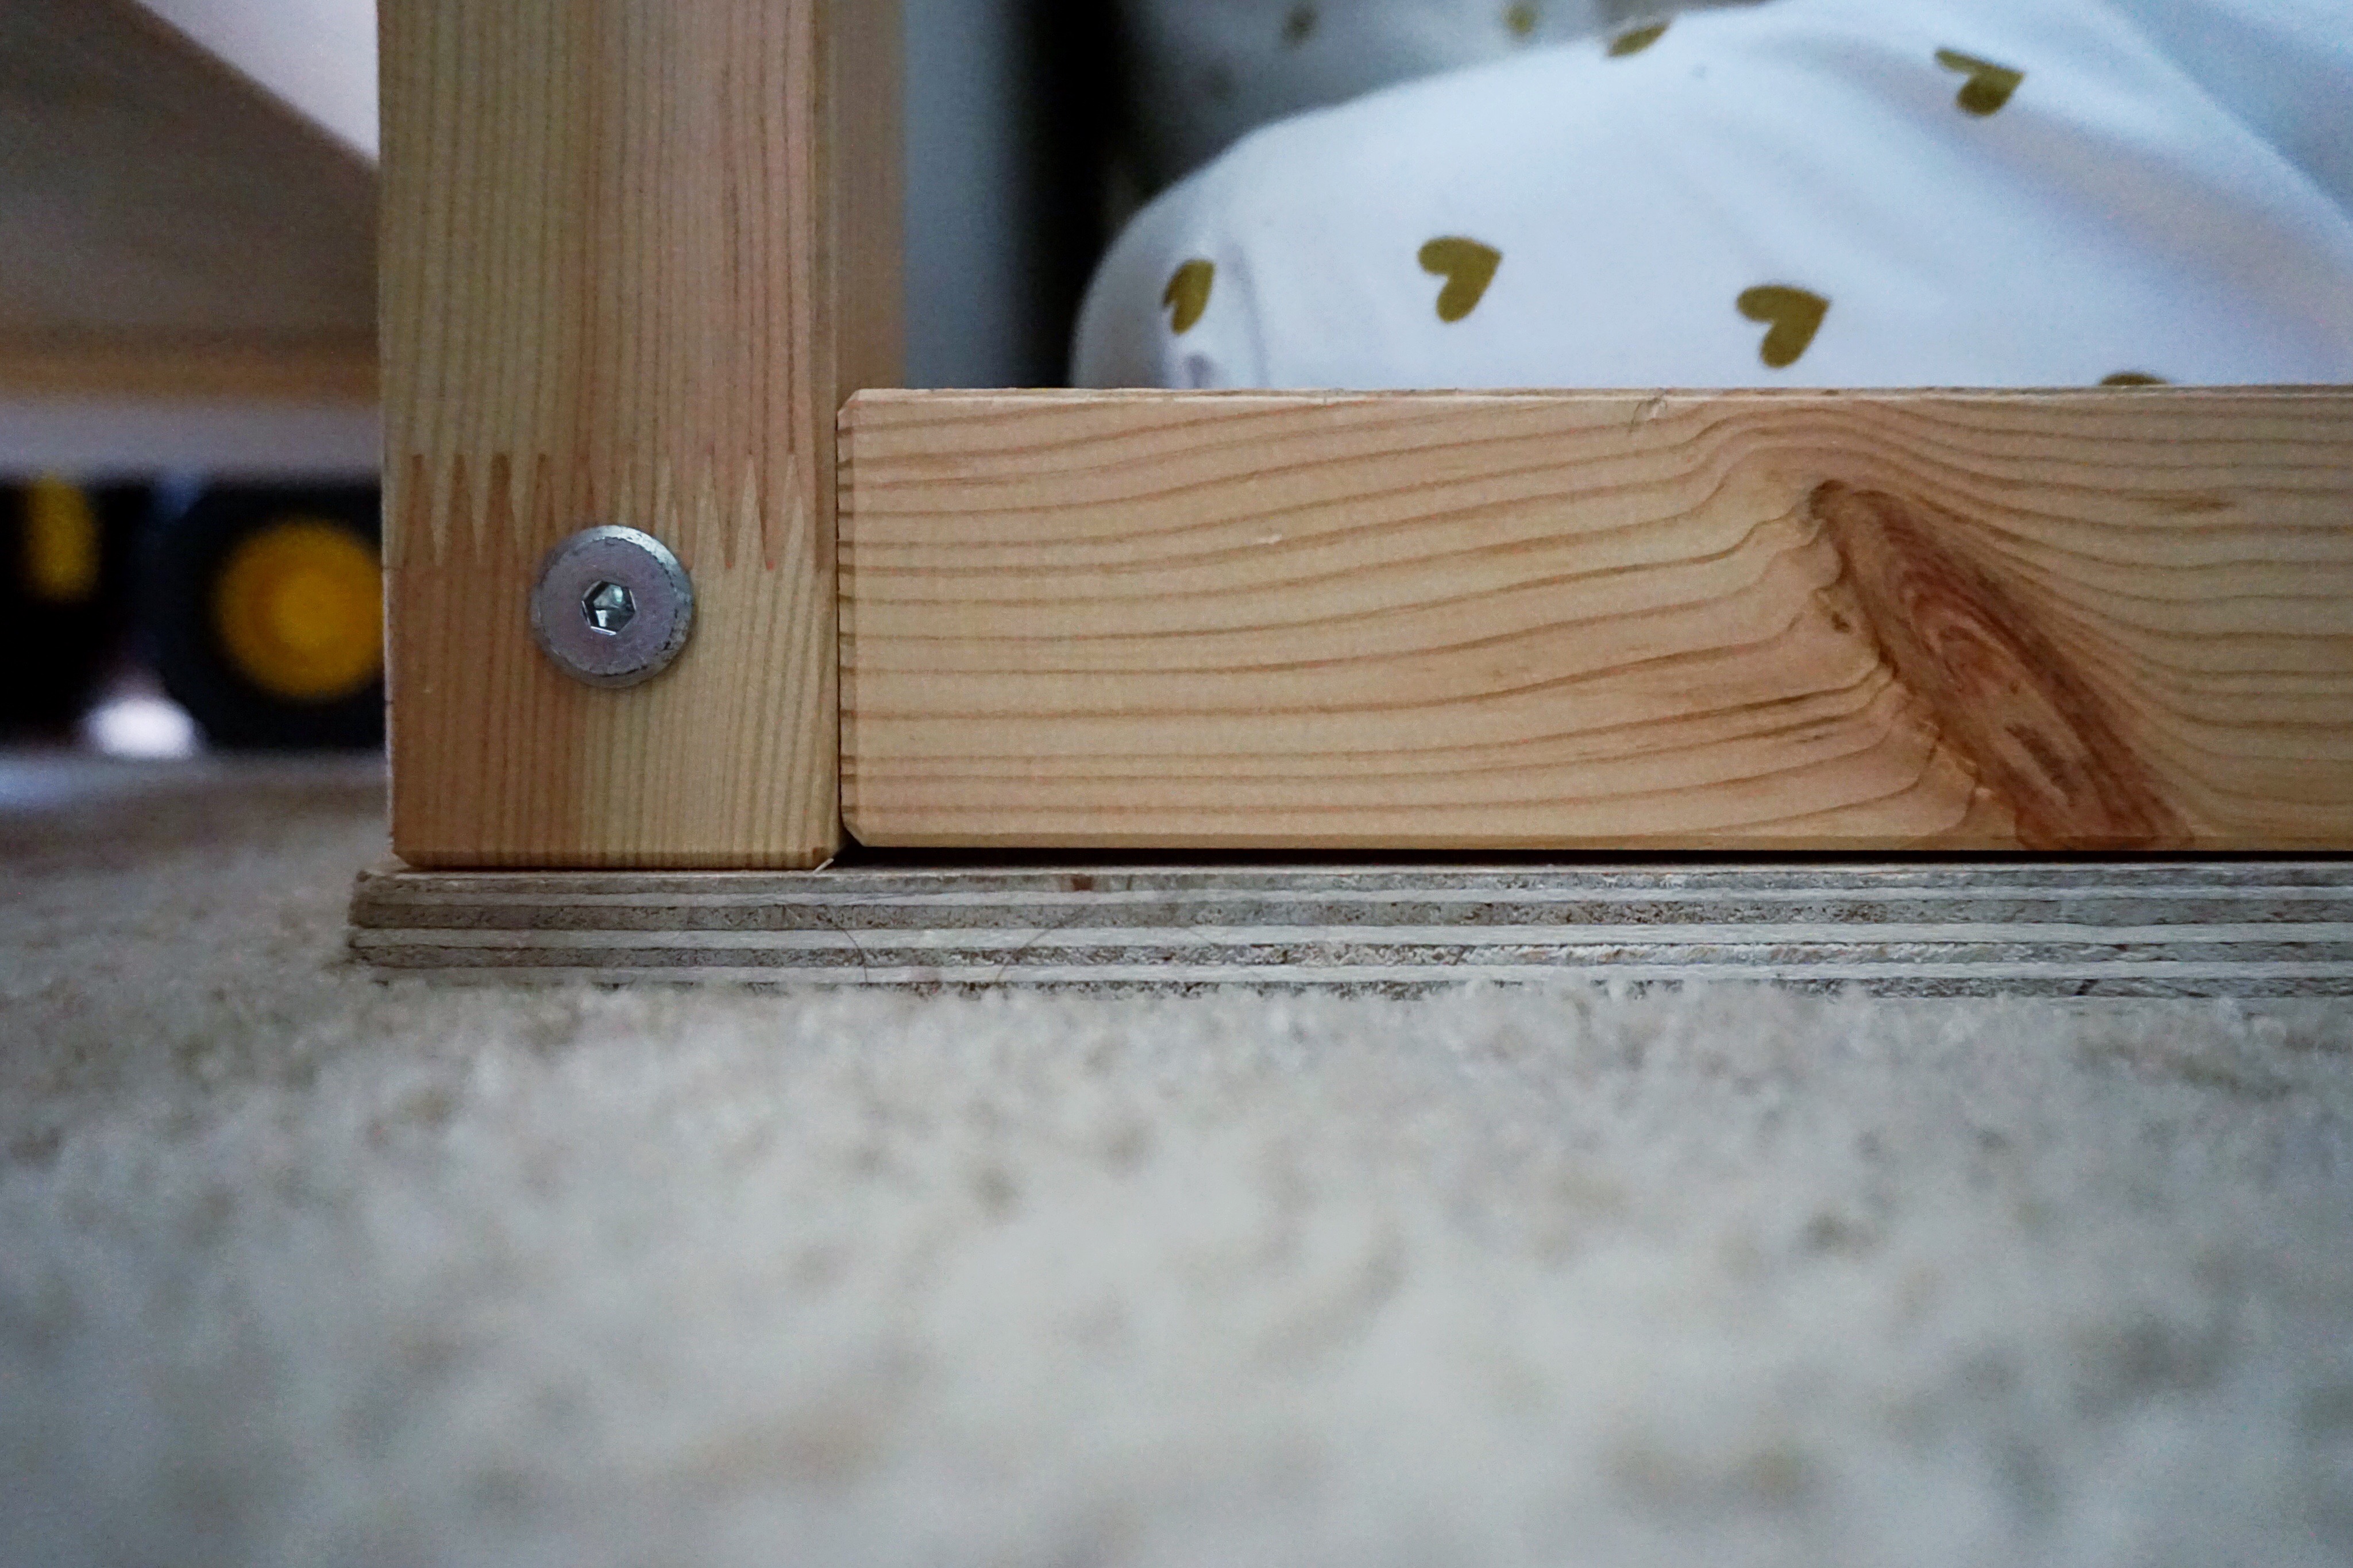
To convert their KURA bed from a loft to a bunk, we attached a thick piece of wood to the bottom.
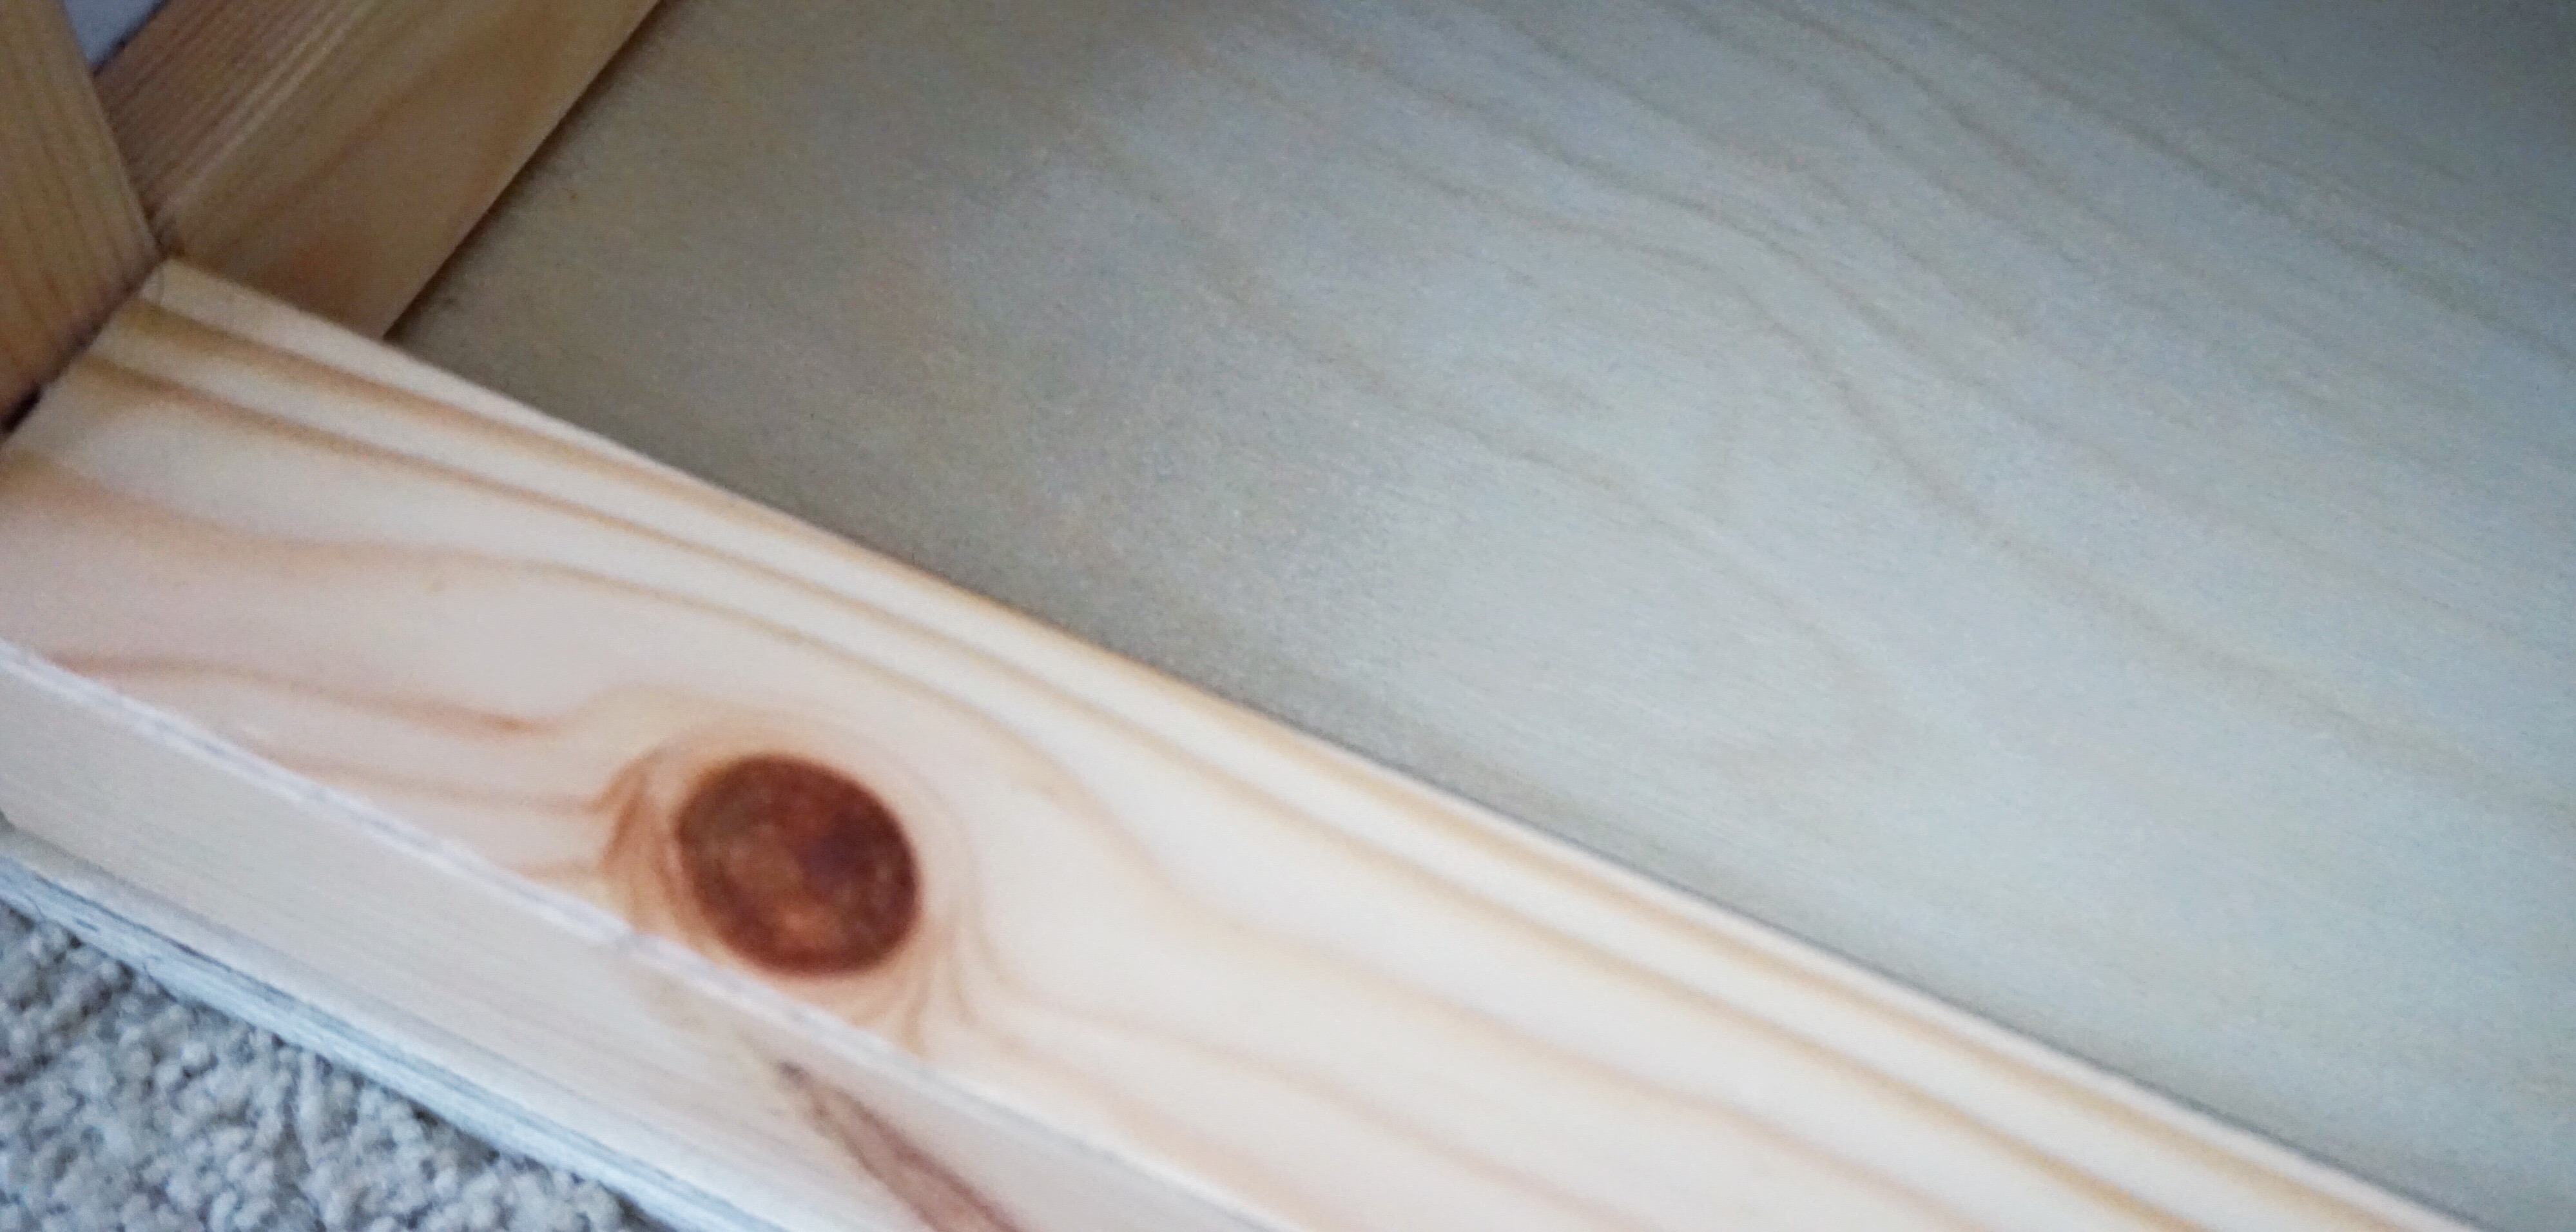
The wood we chose is extremely smooth and matches the color of the bed perfectly.

Also from IKEA, these curtains (see here and here) and rods used to call our old apartment living room home.
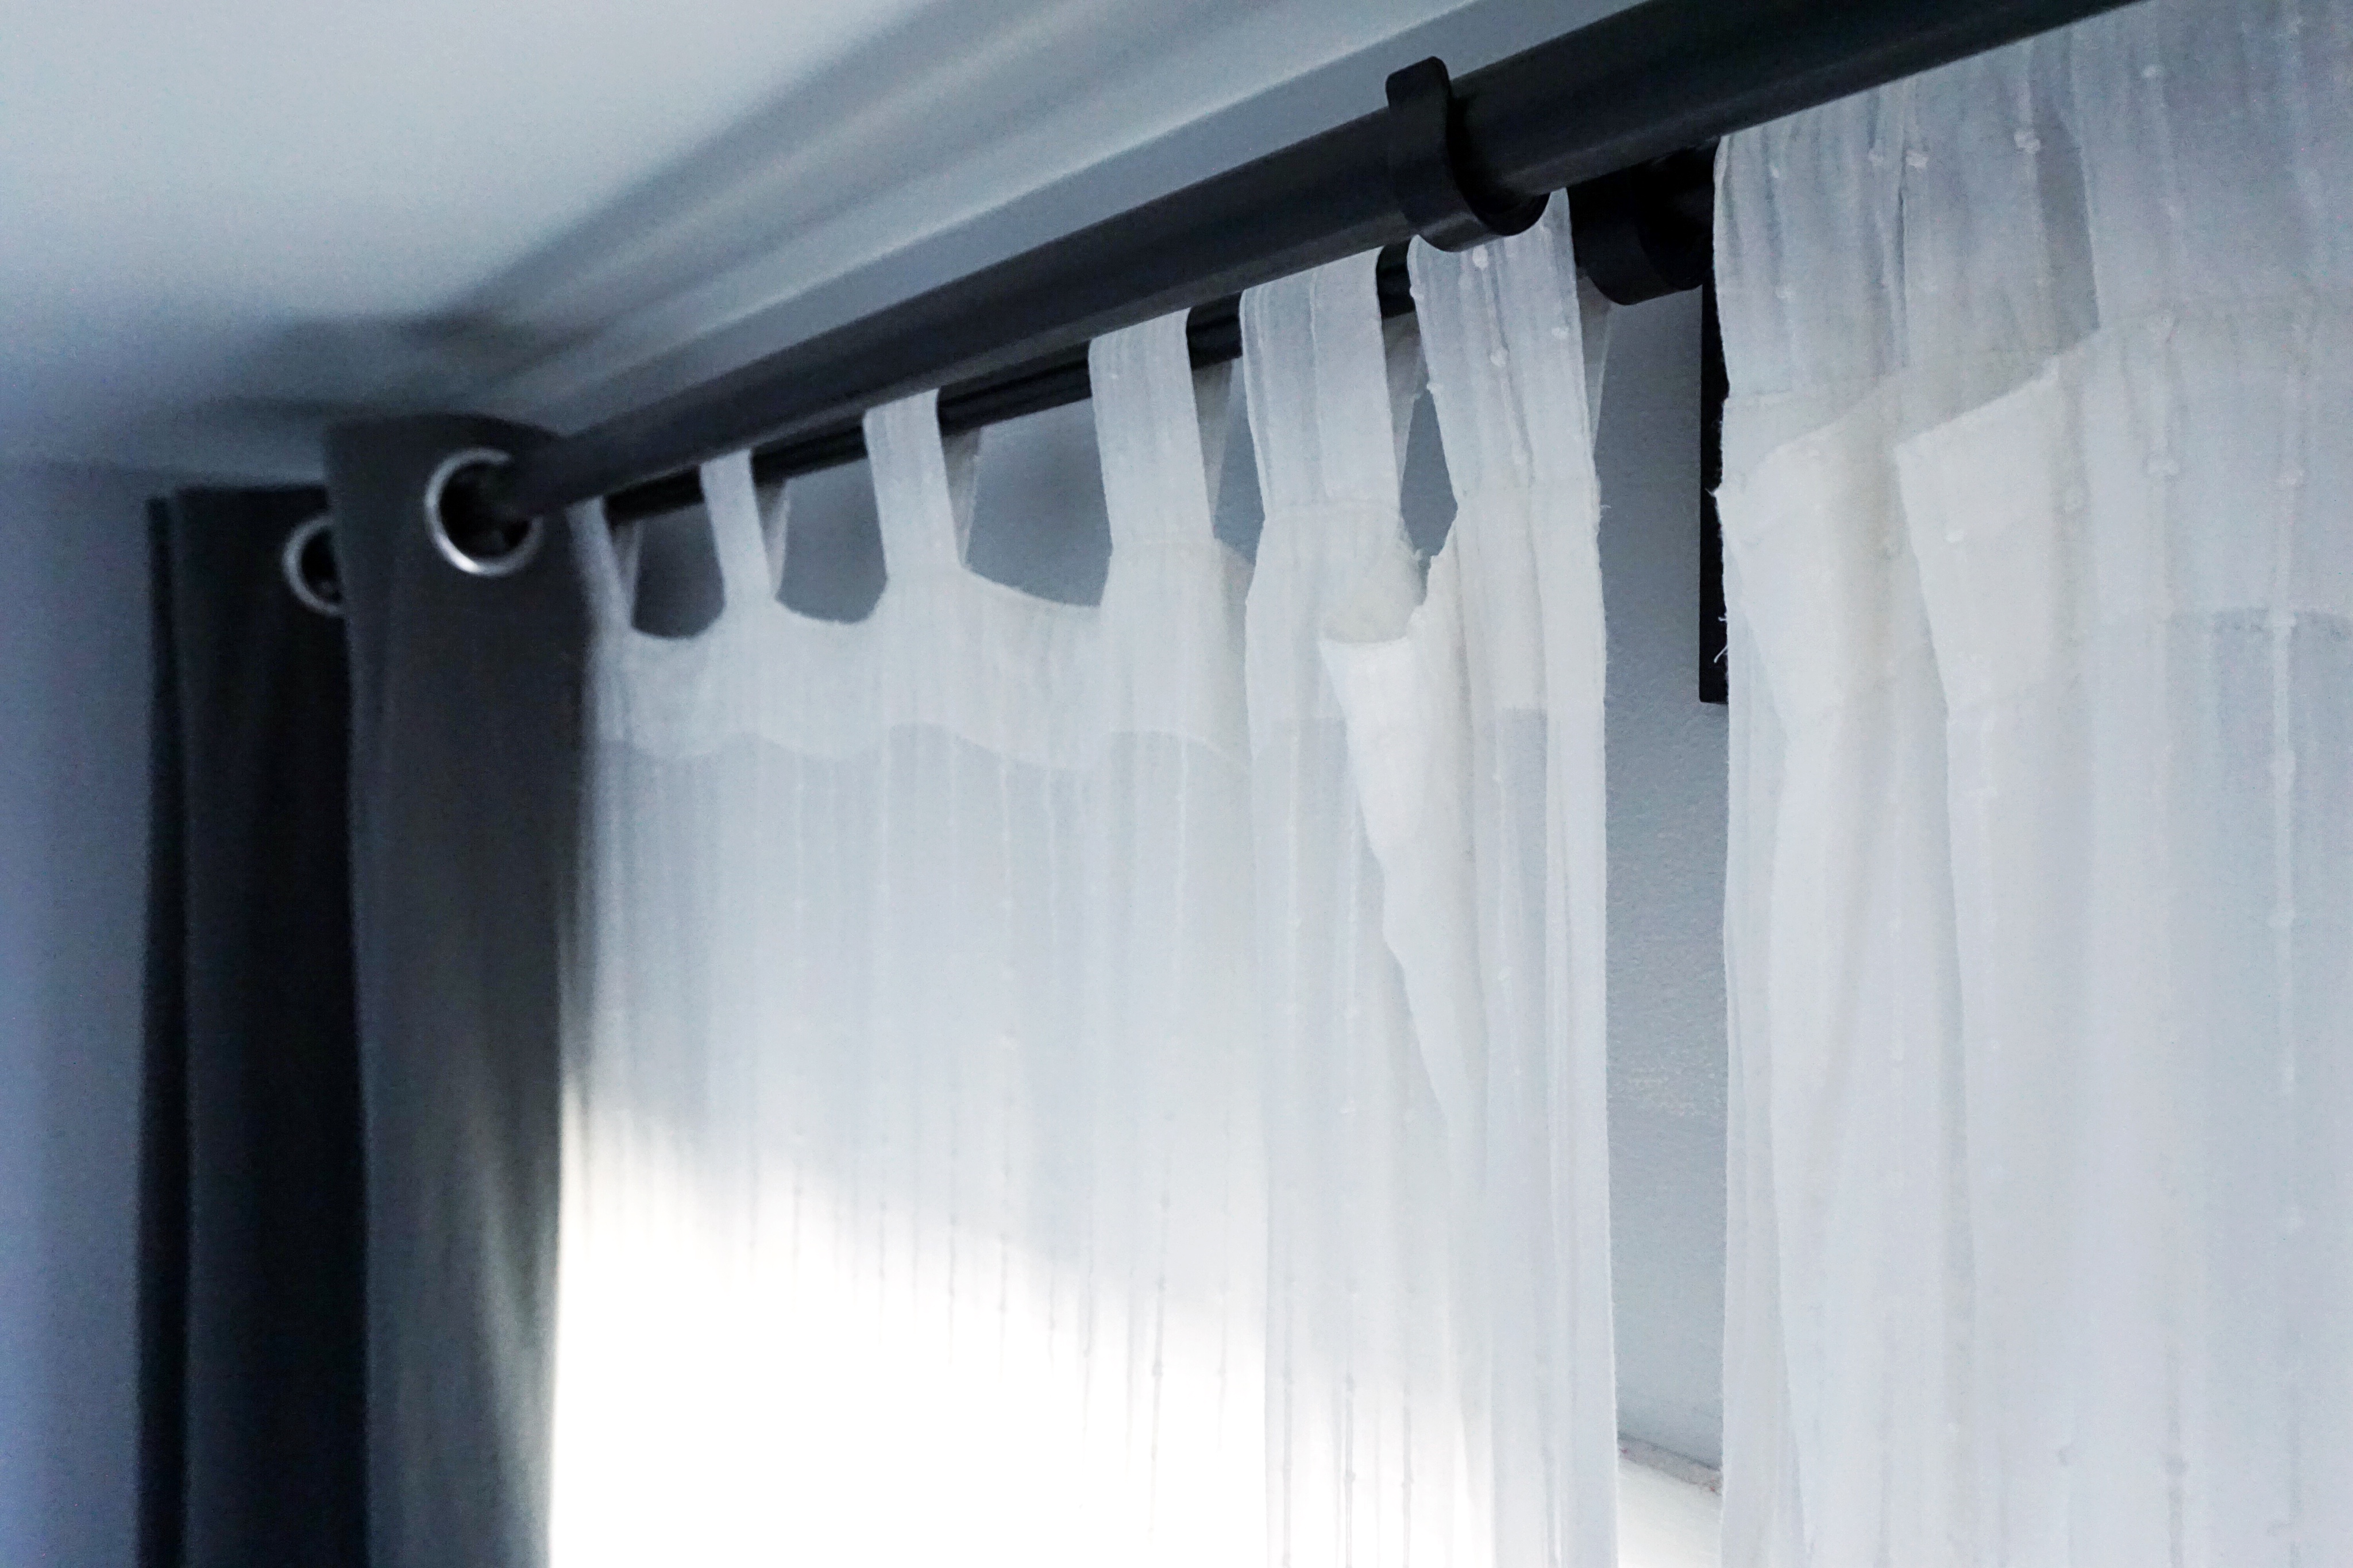
I hung them an entire foot above the window frame for a more dramatic appearance…
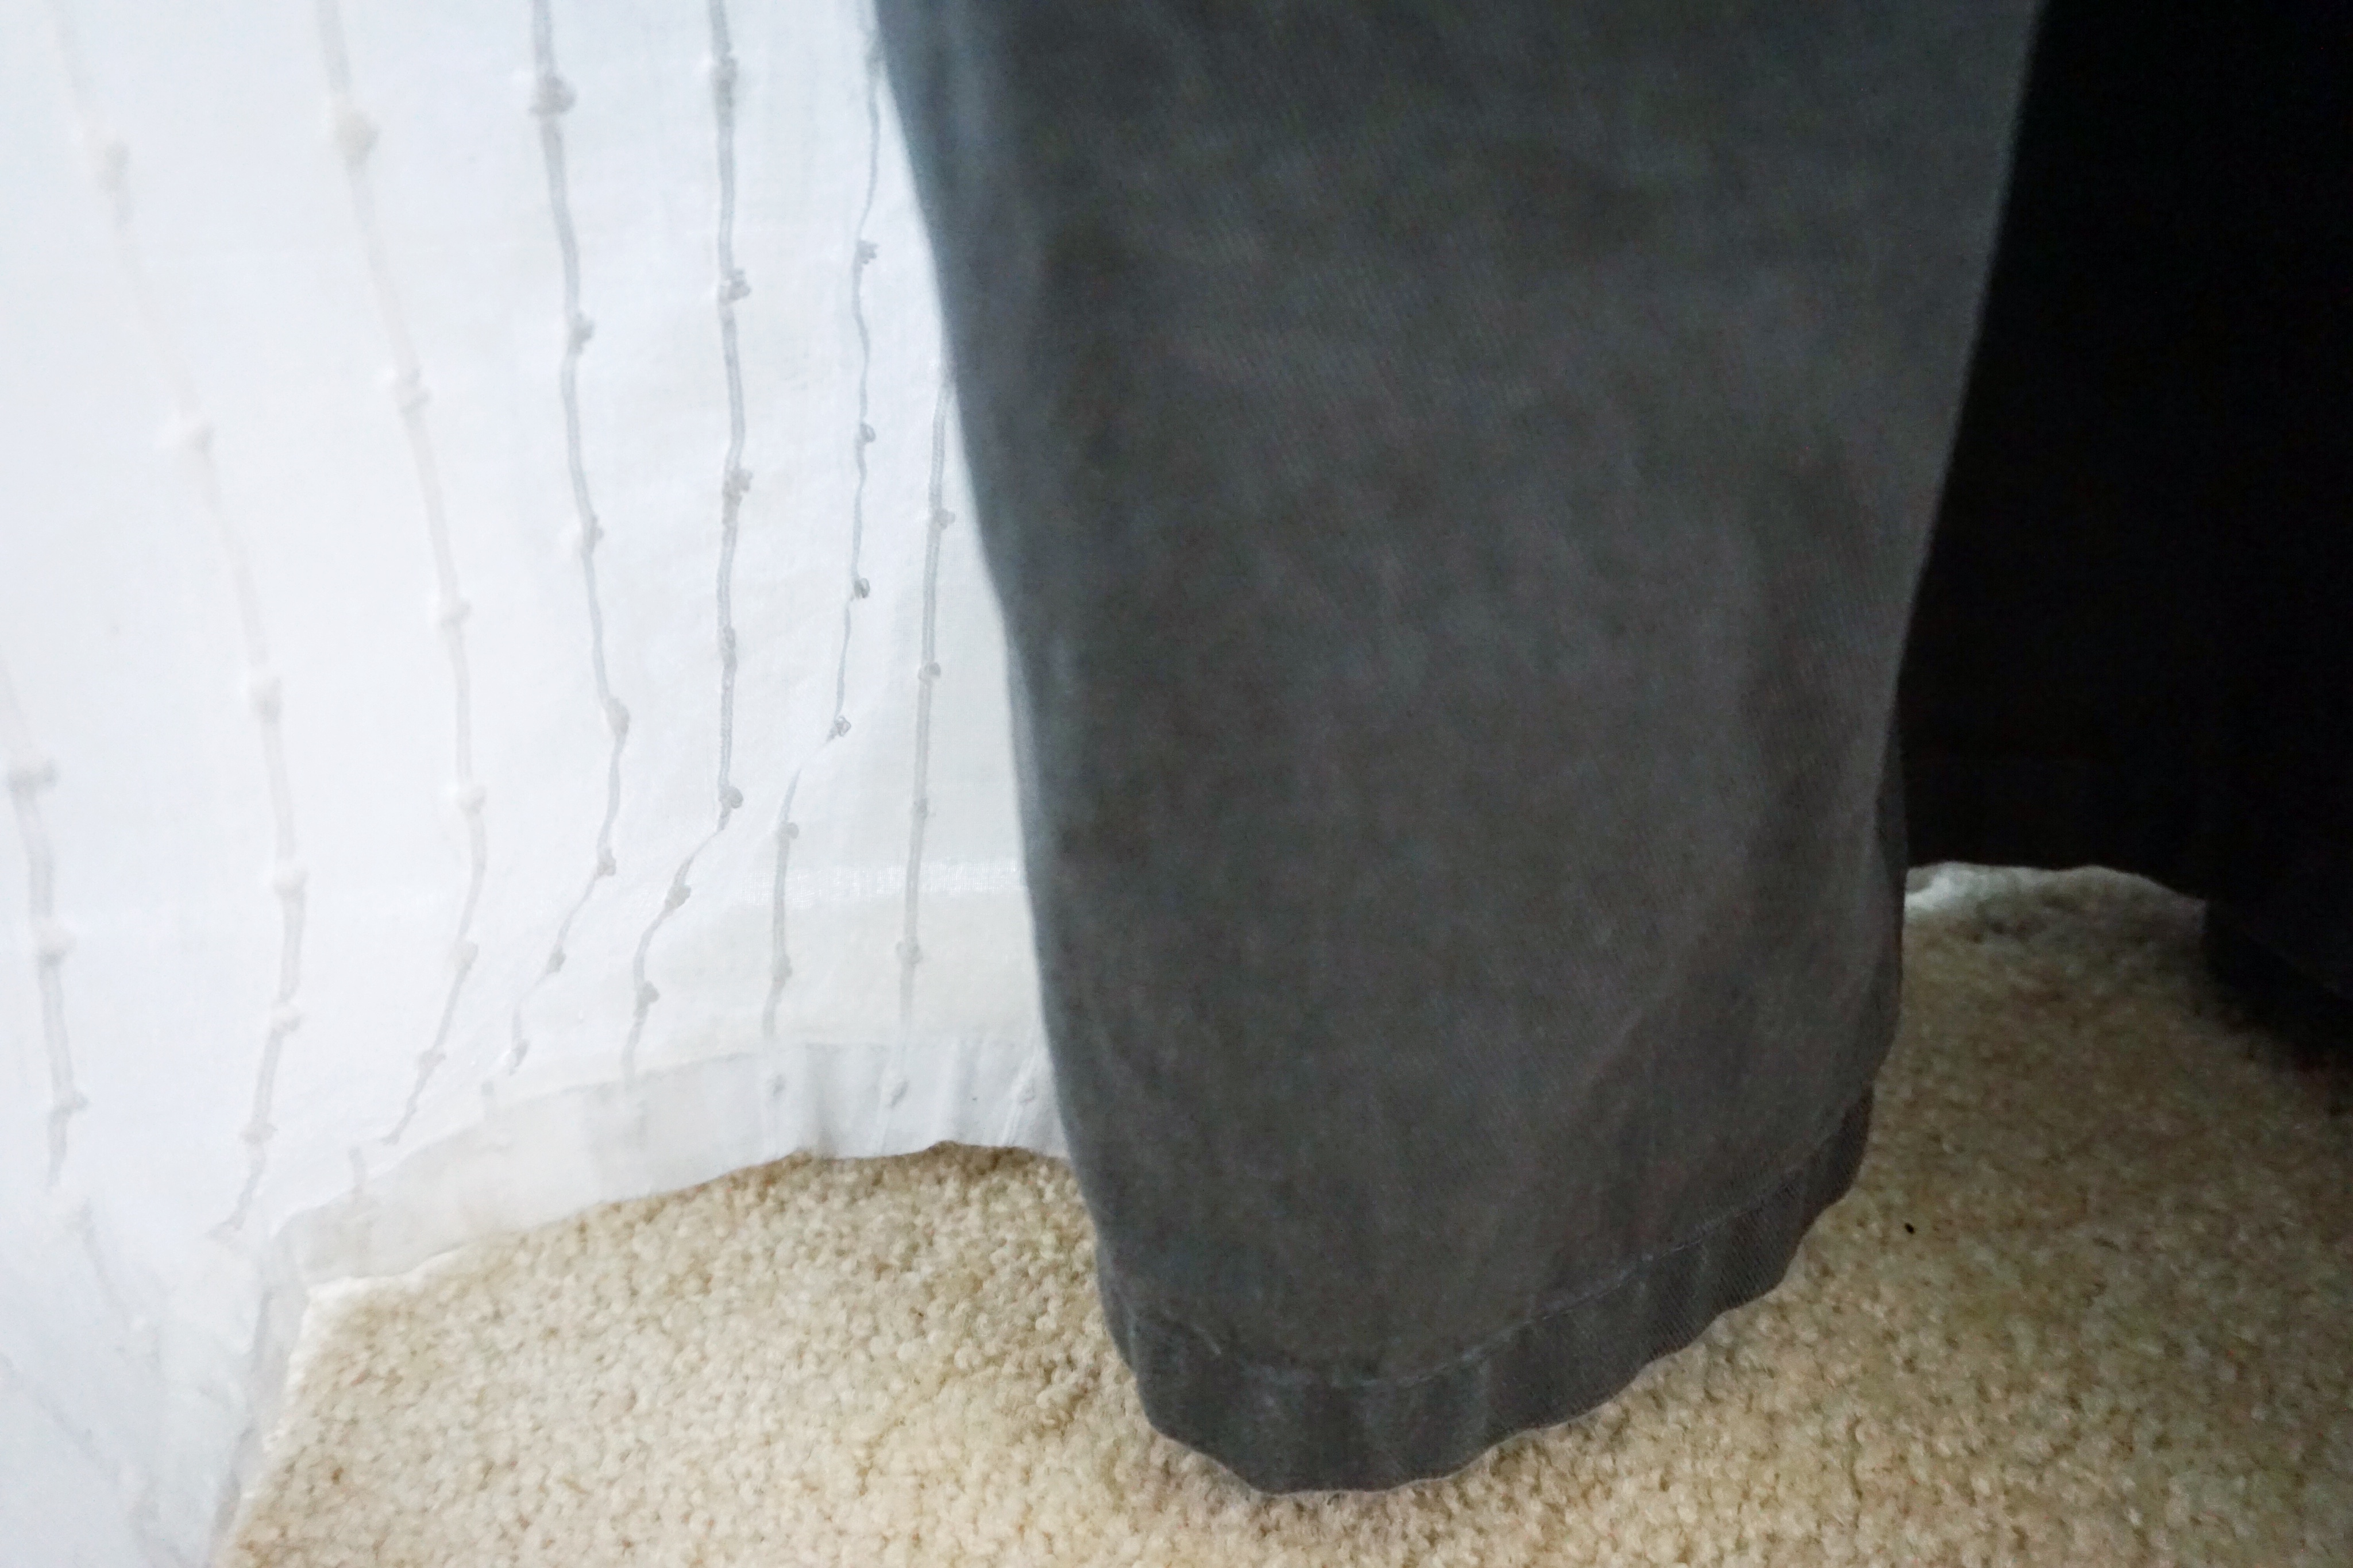
…and they just touch the carpet which I think is perfect for the kids’ room.
This is the same corner pictured in the very first “before” photo above. Can you believe it??
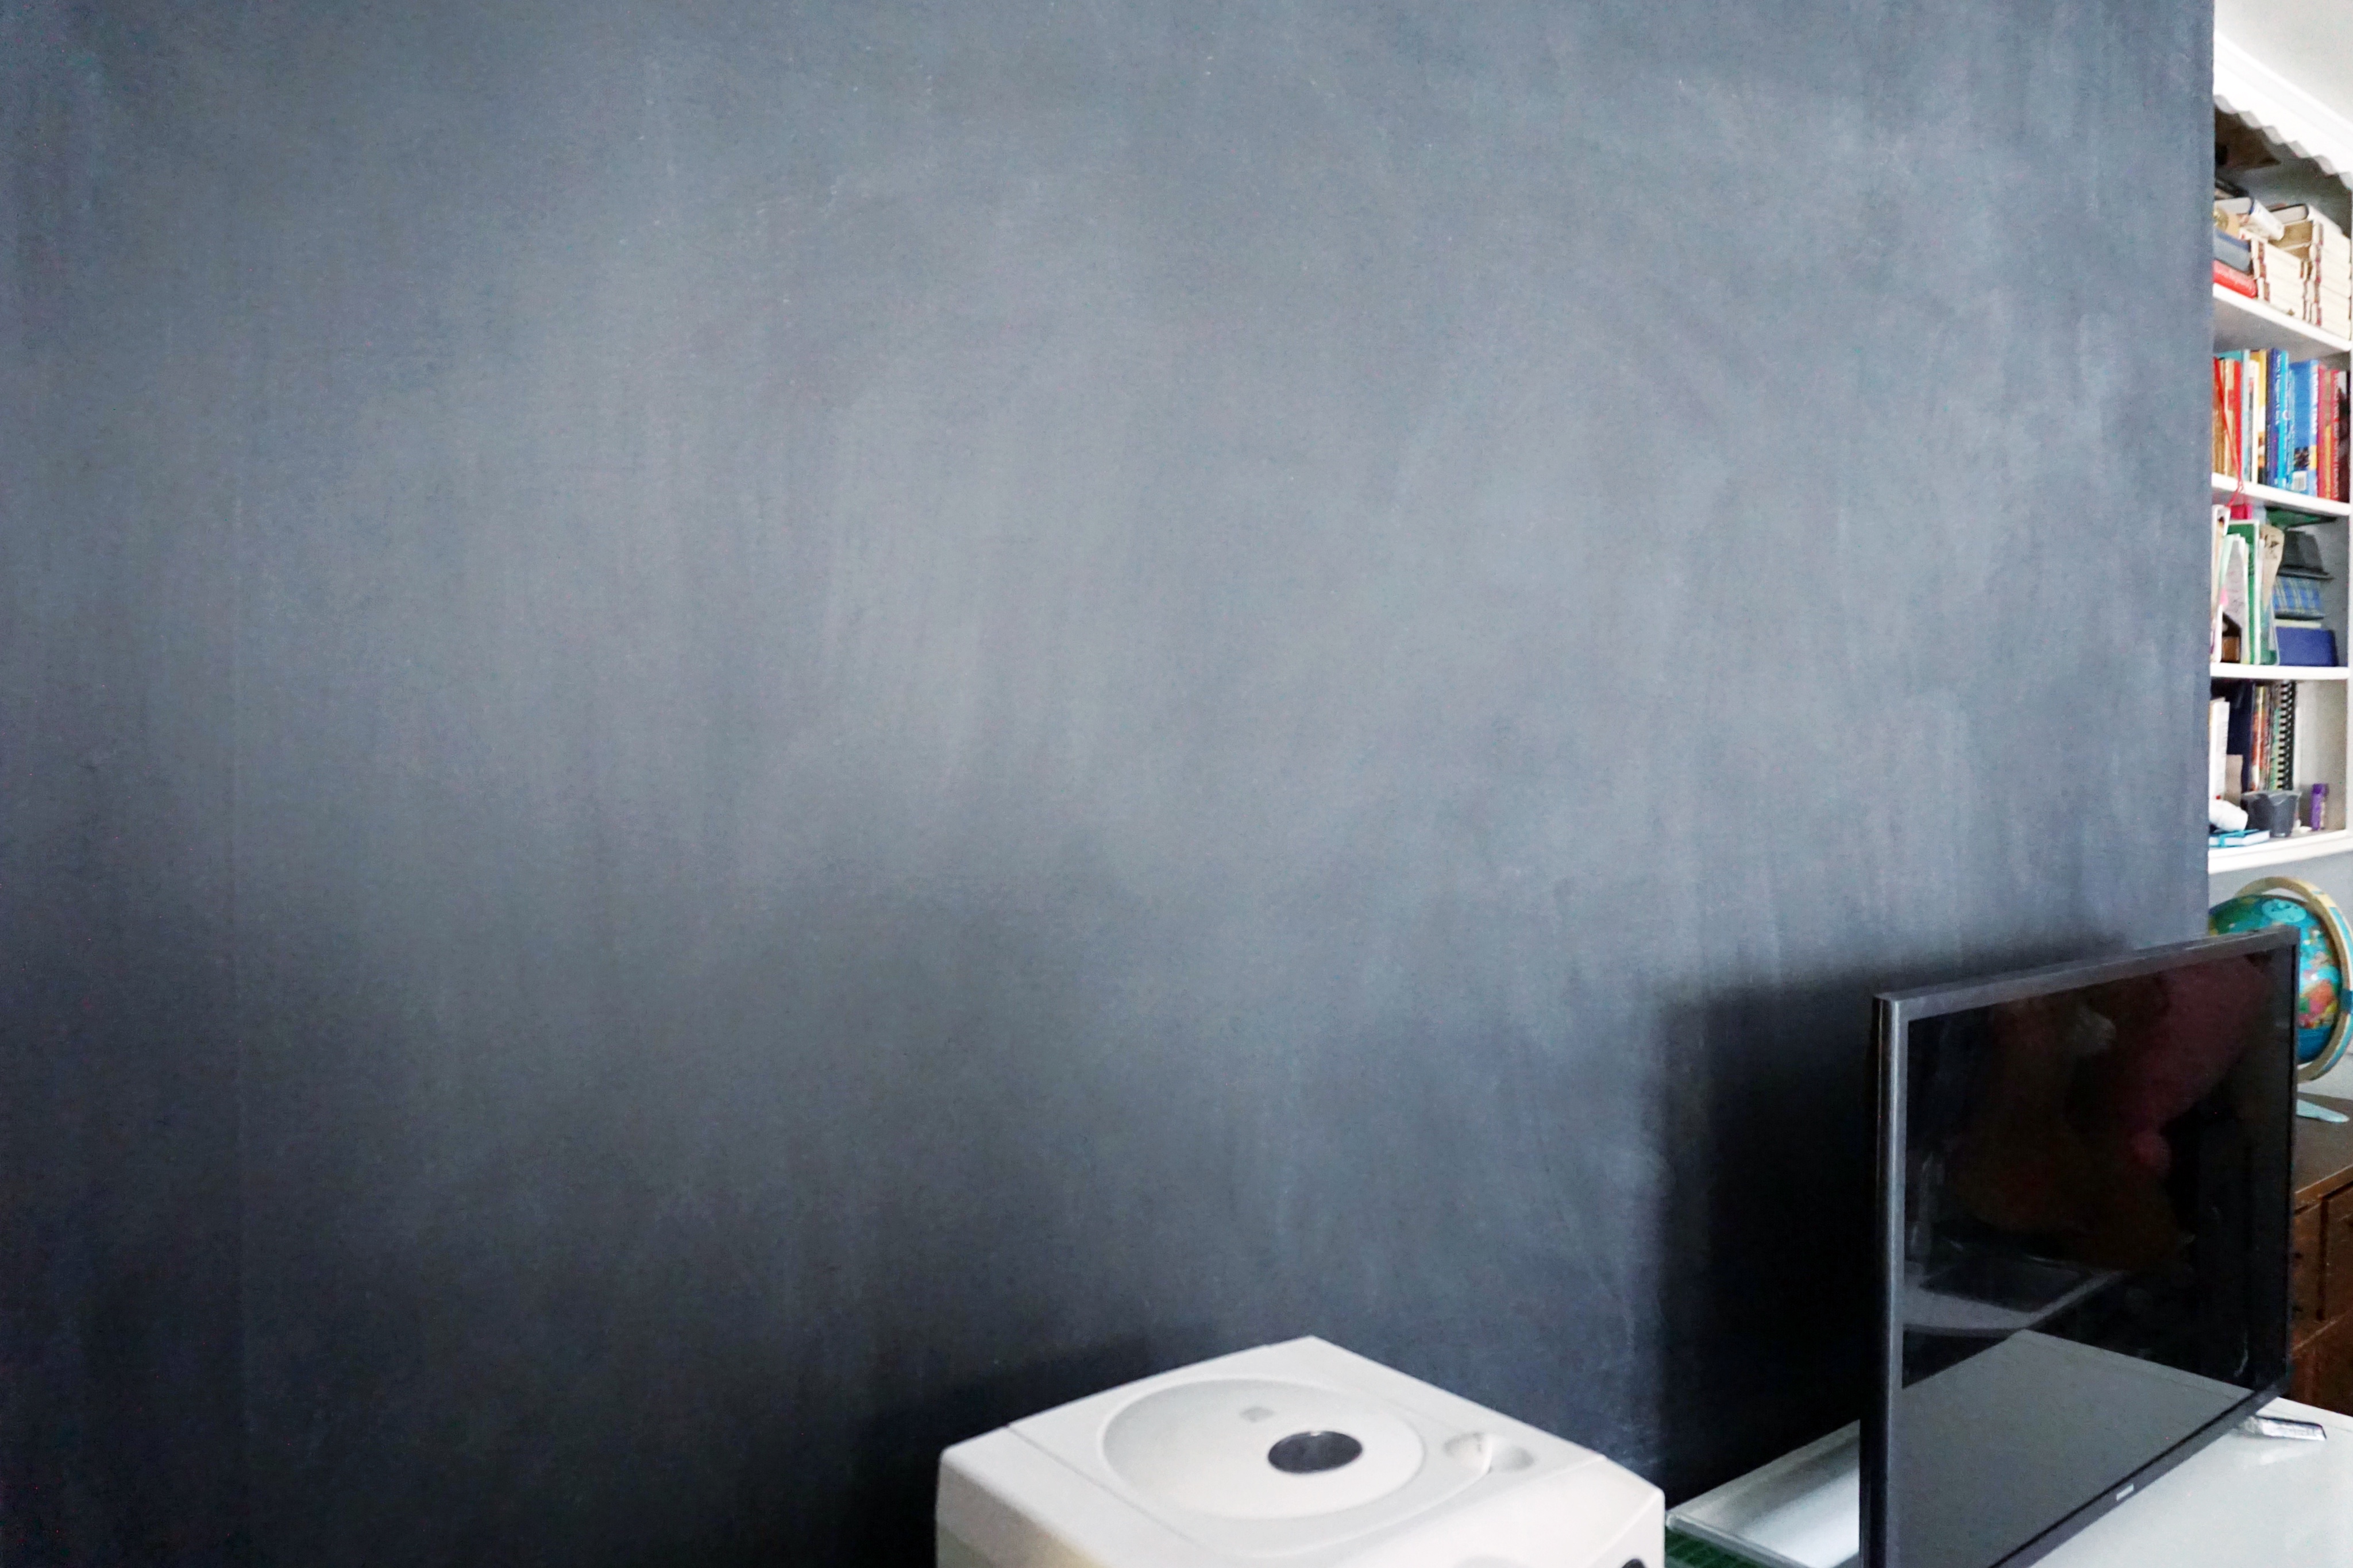
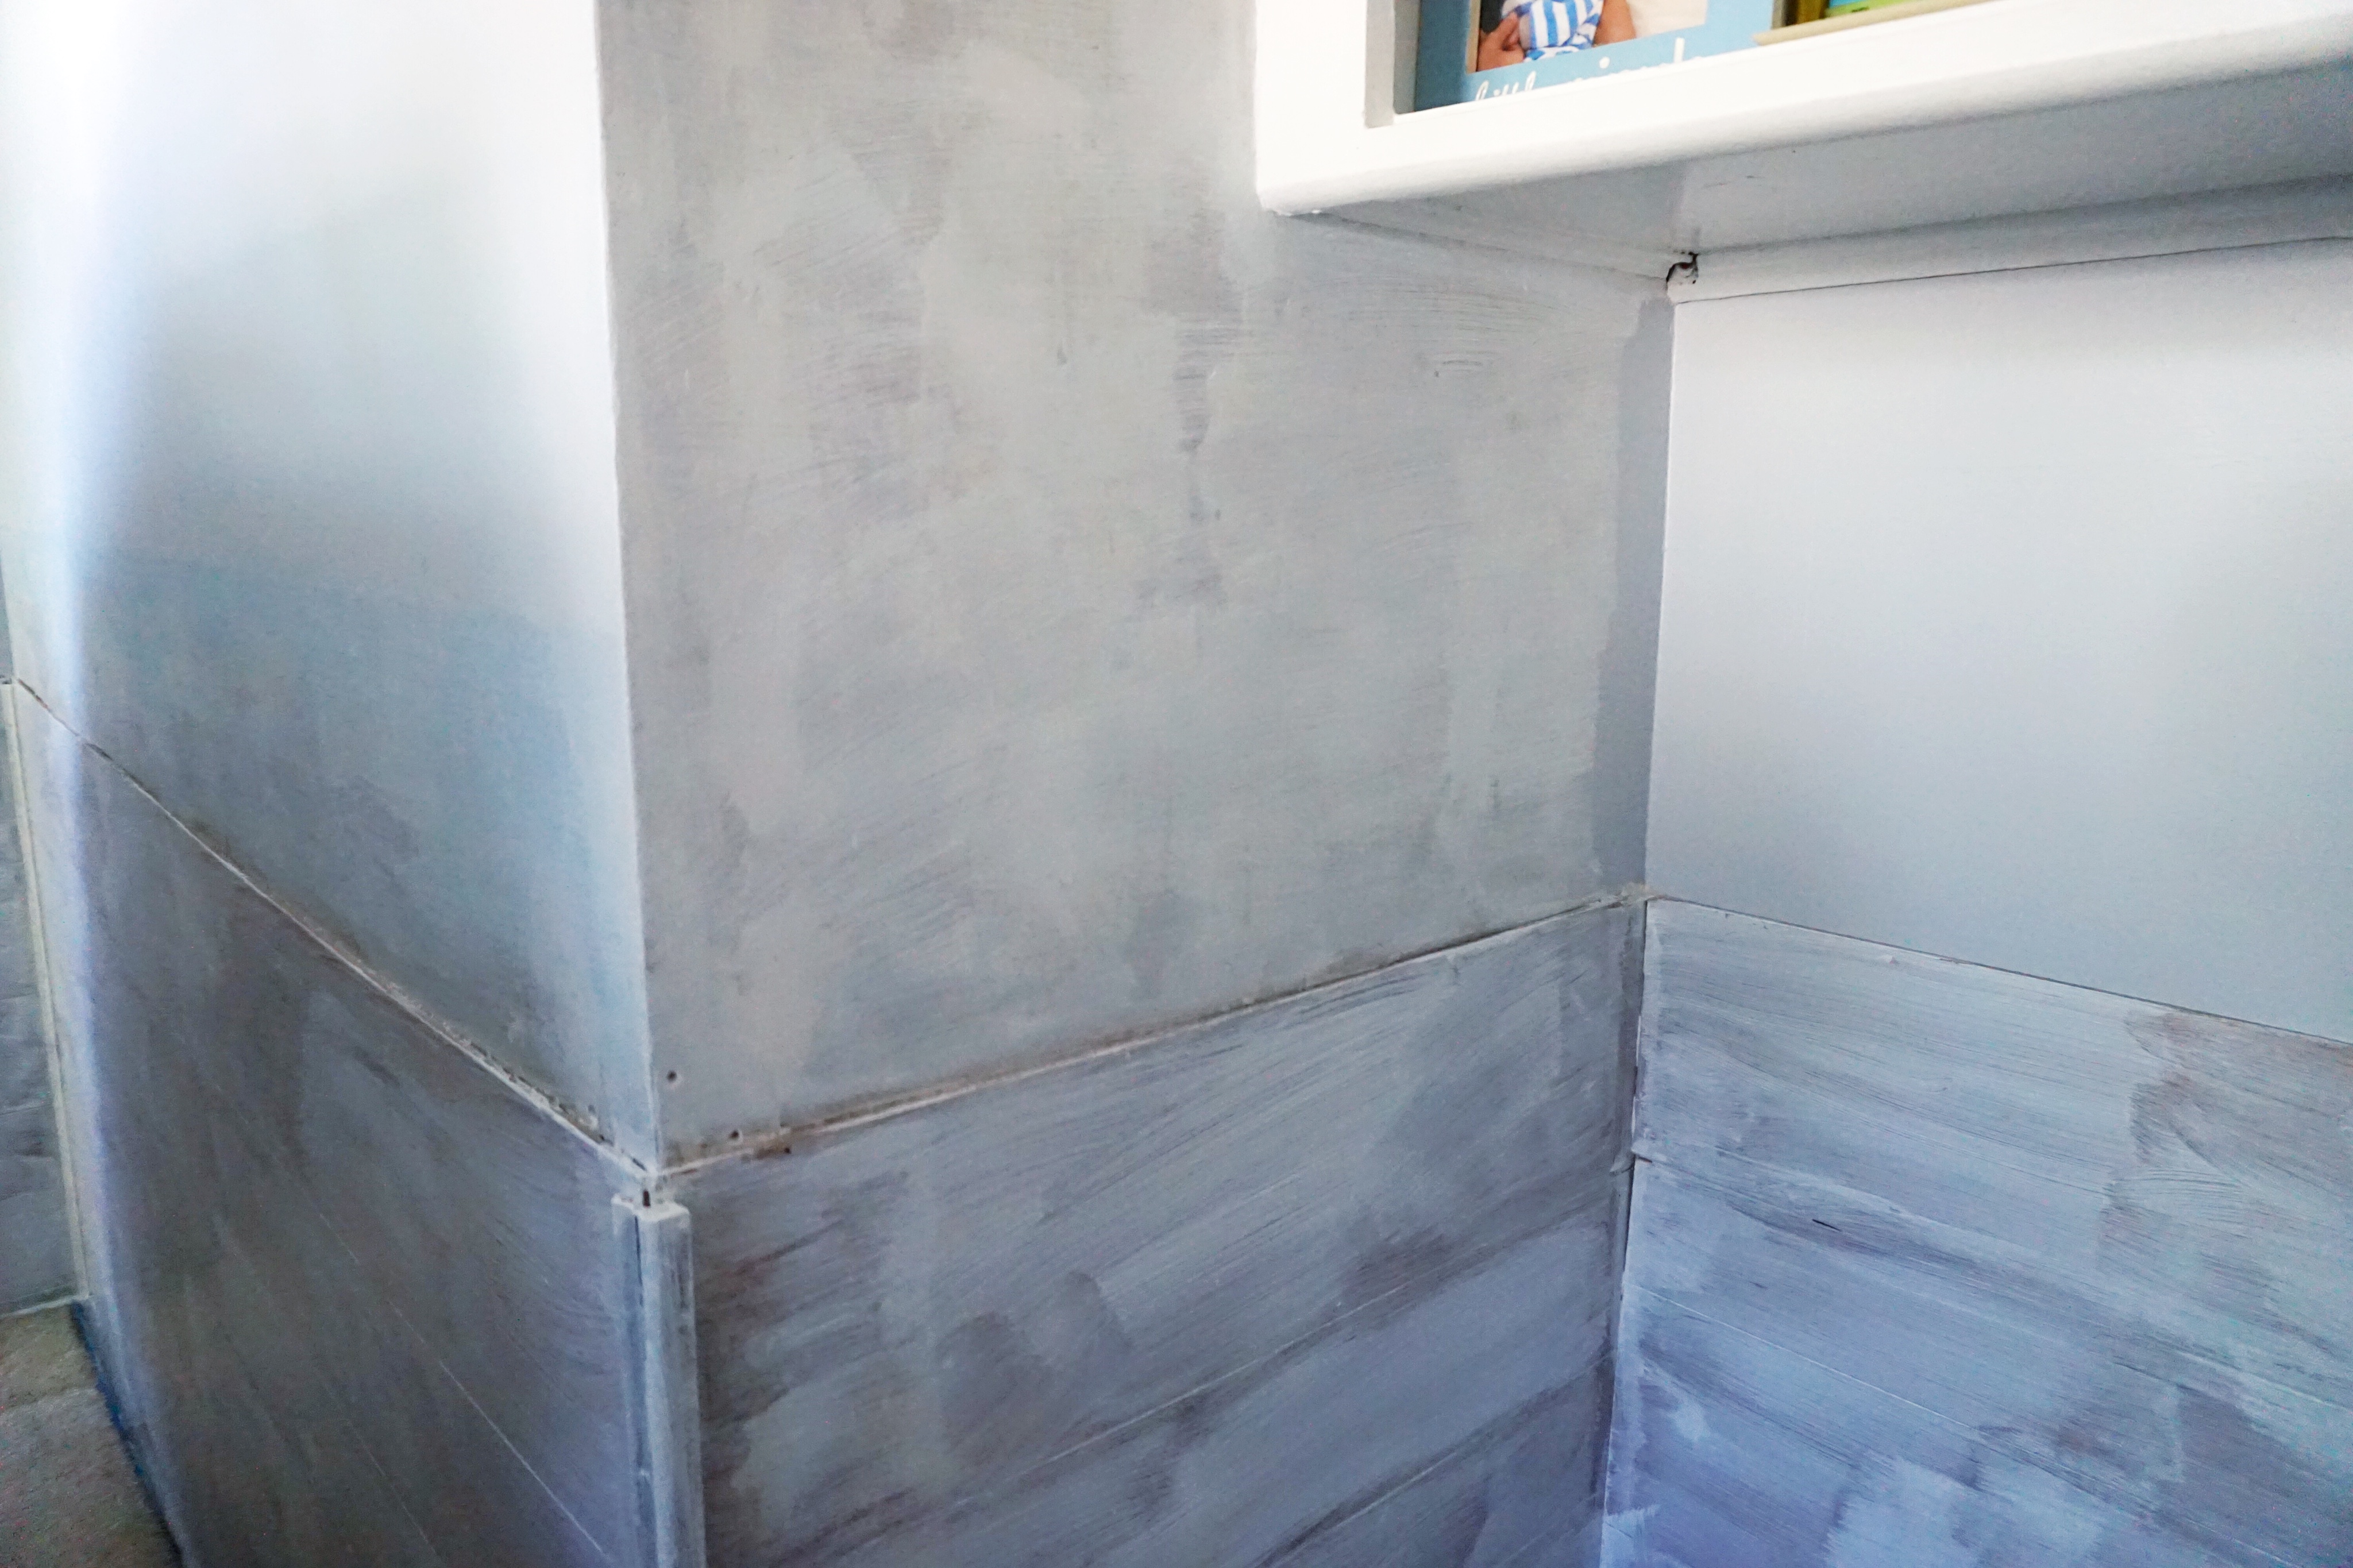
And this is the brand new chalkboard wall in all its naked glory!
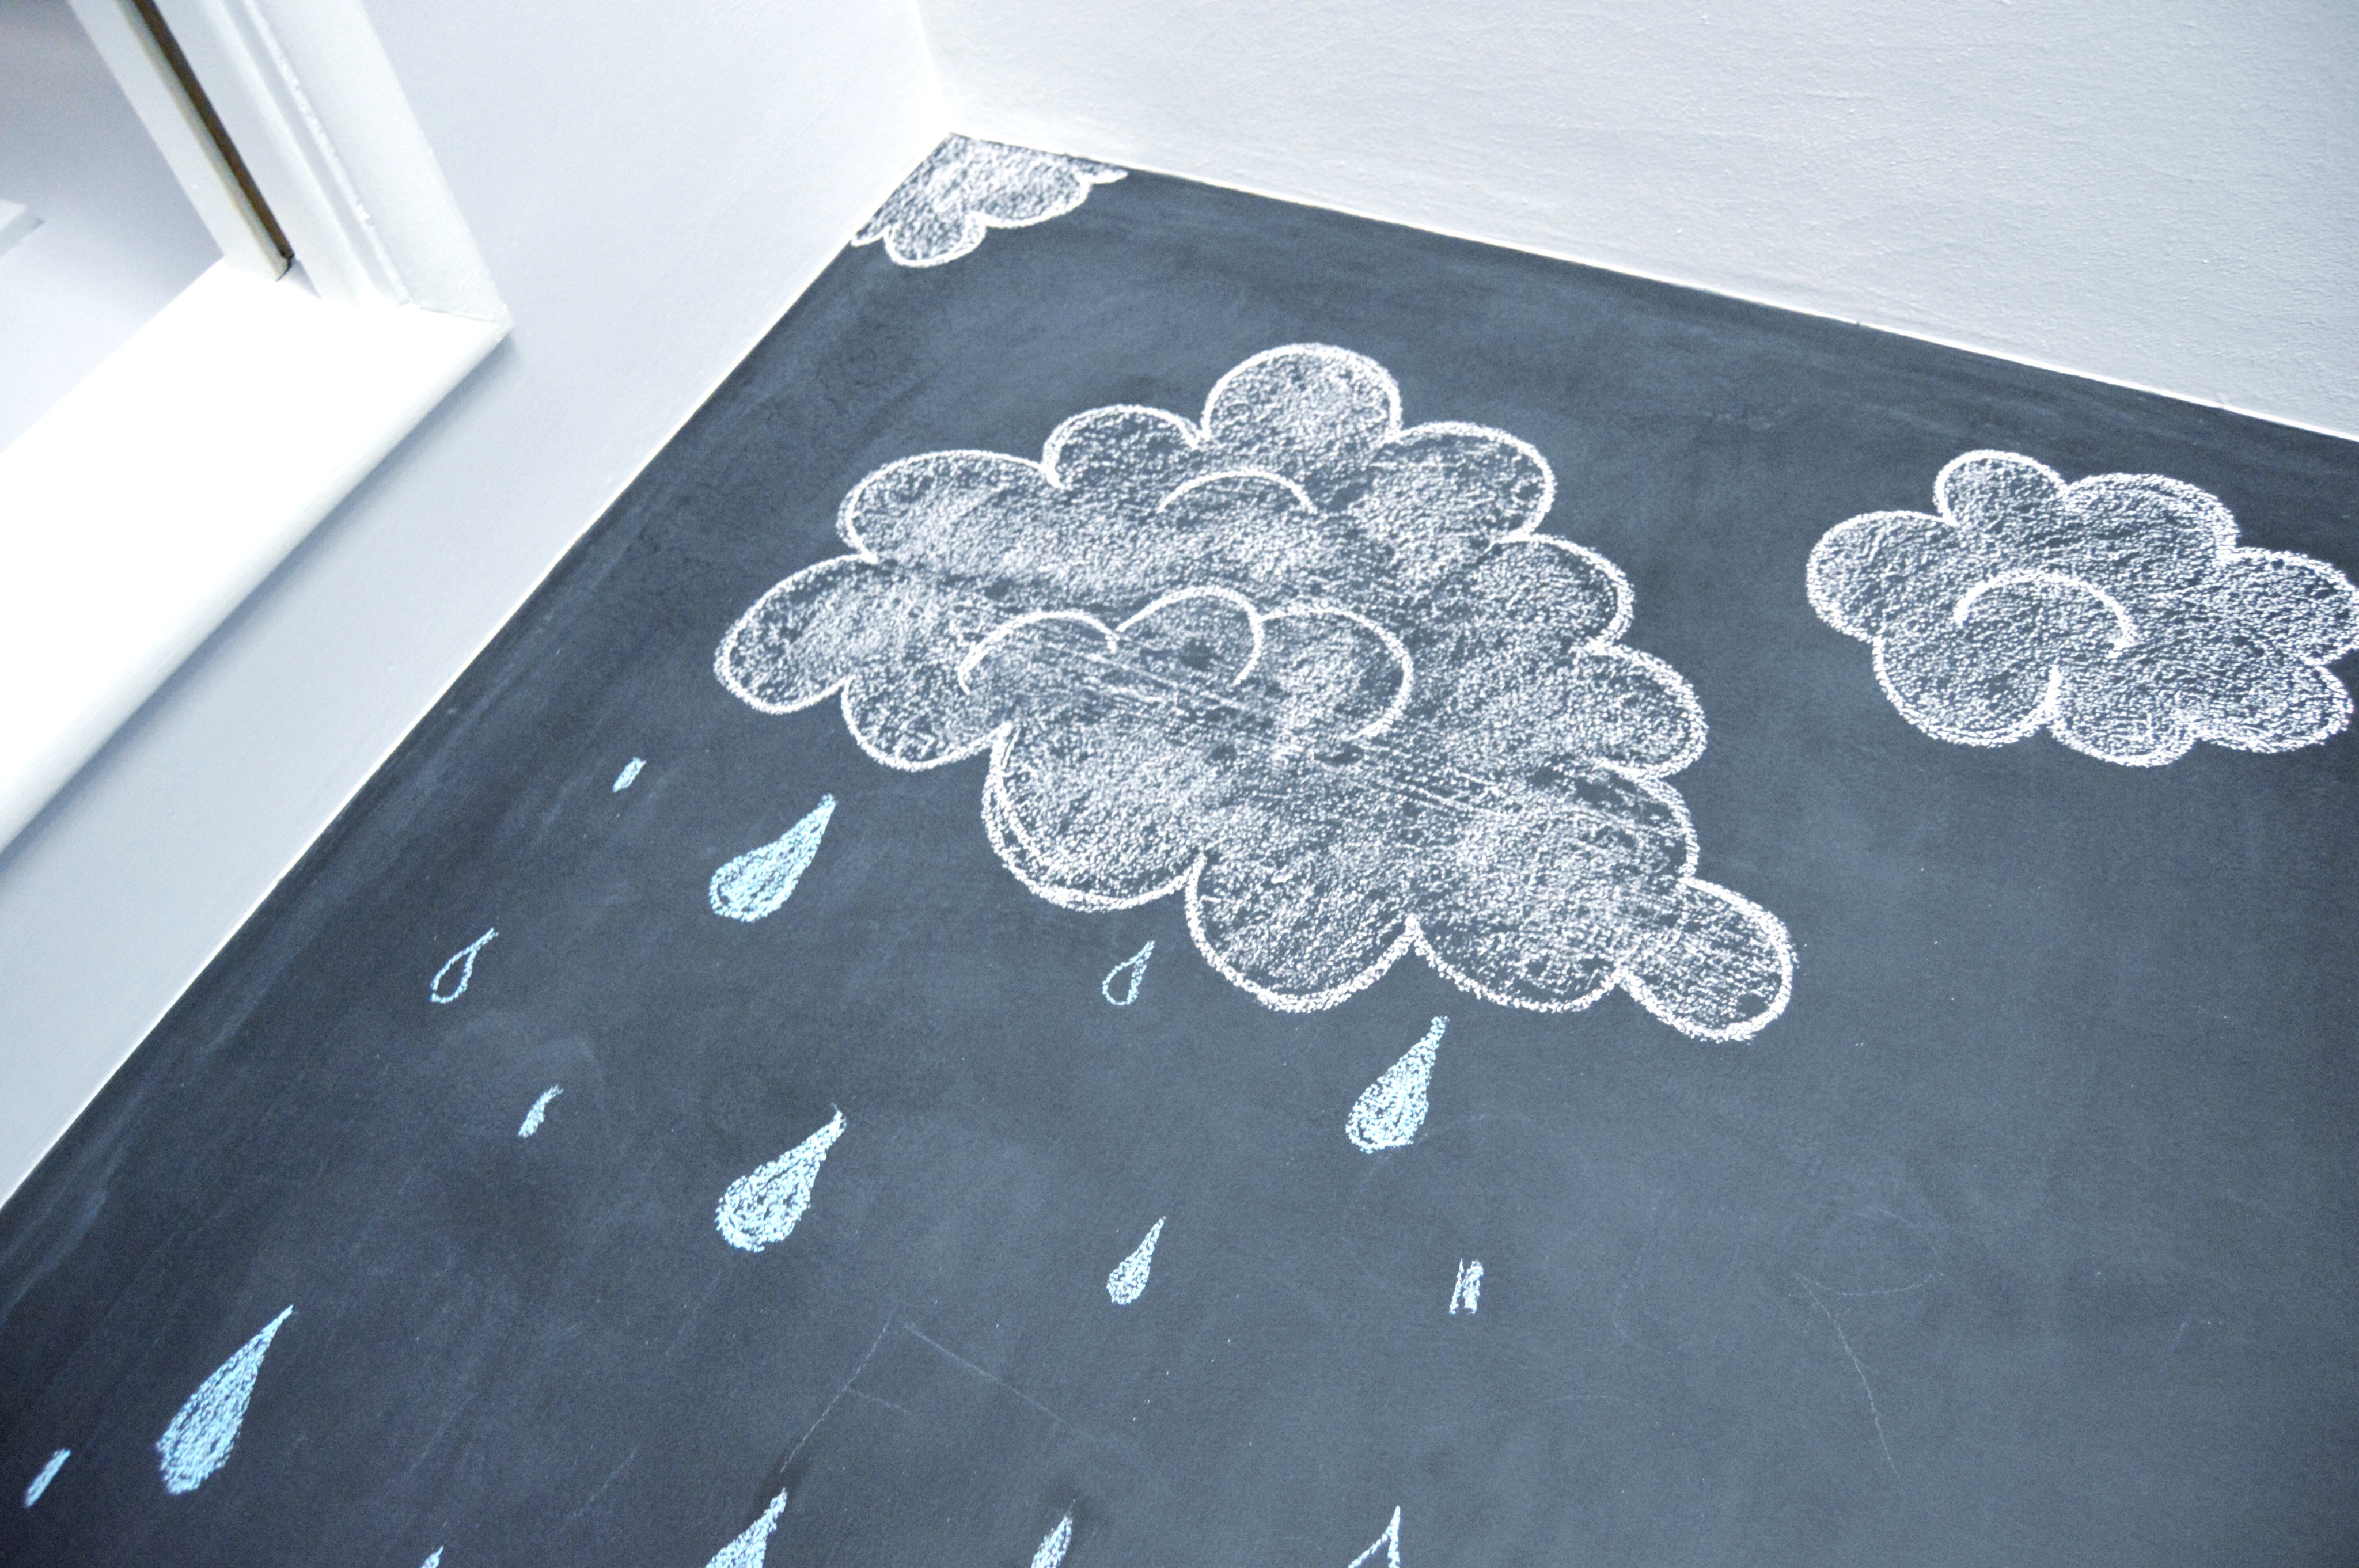
I couldn’t wait to start drawing some things for the kids like these rainy clouds in the corner…
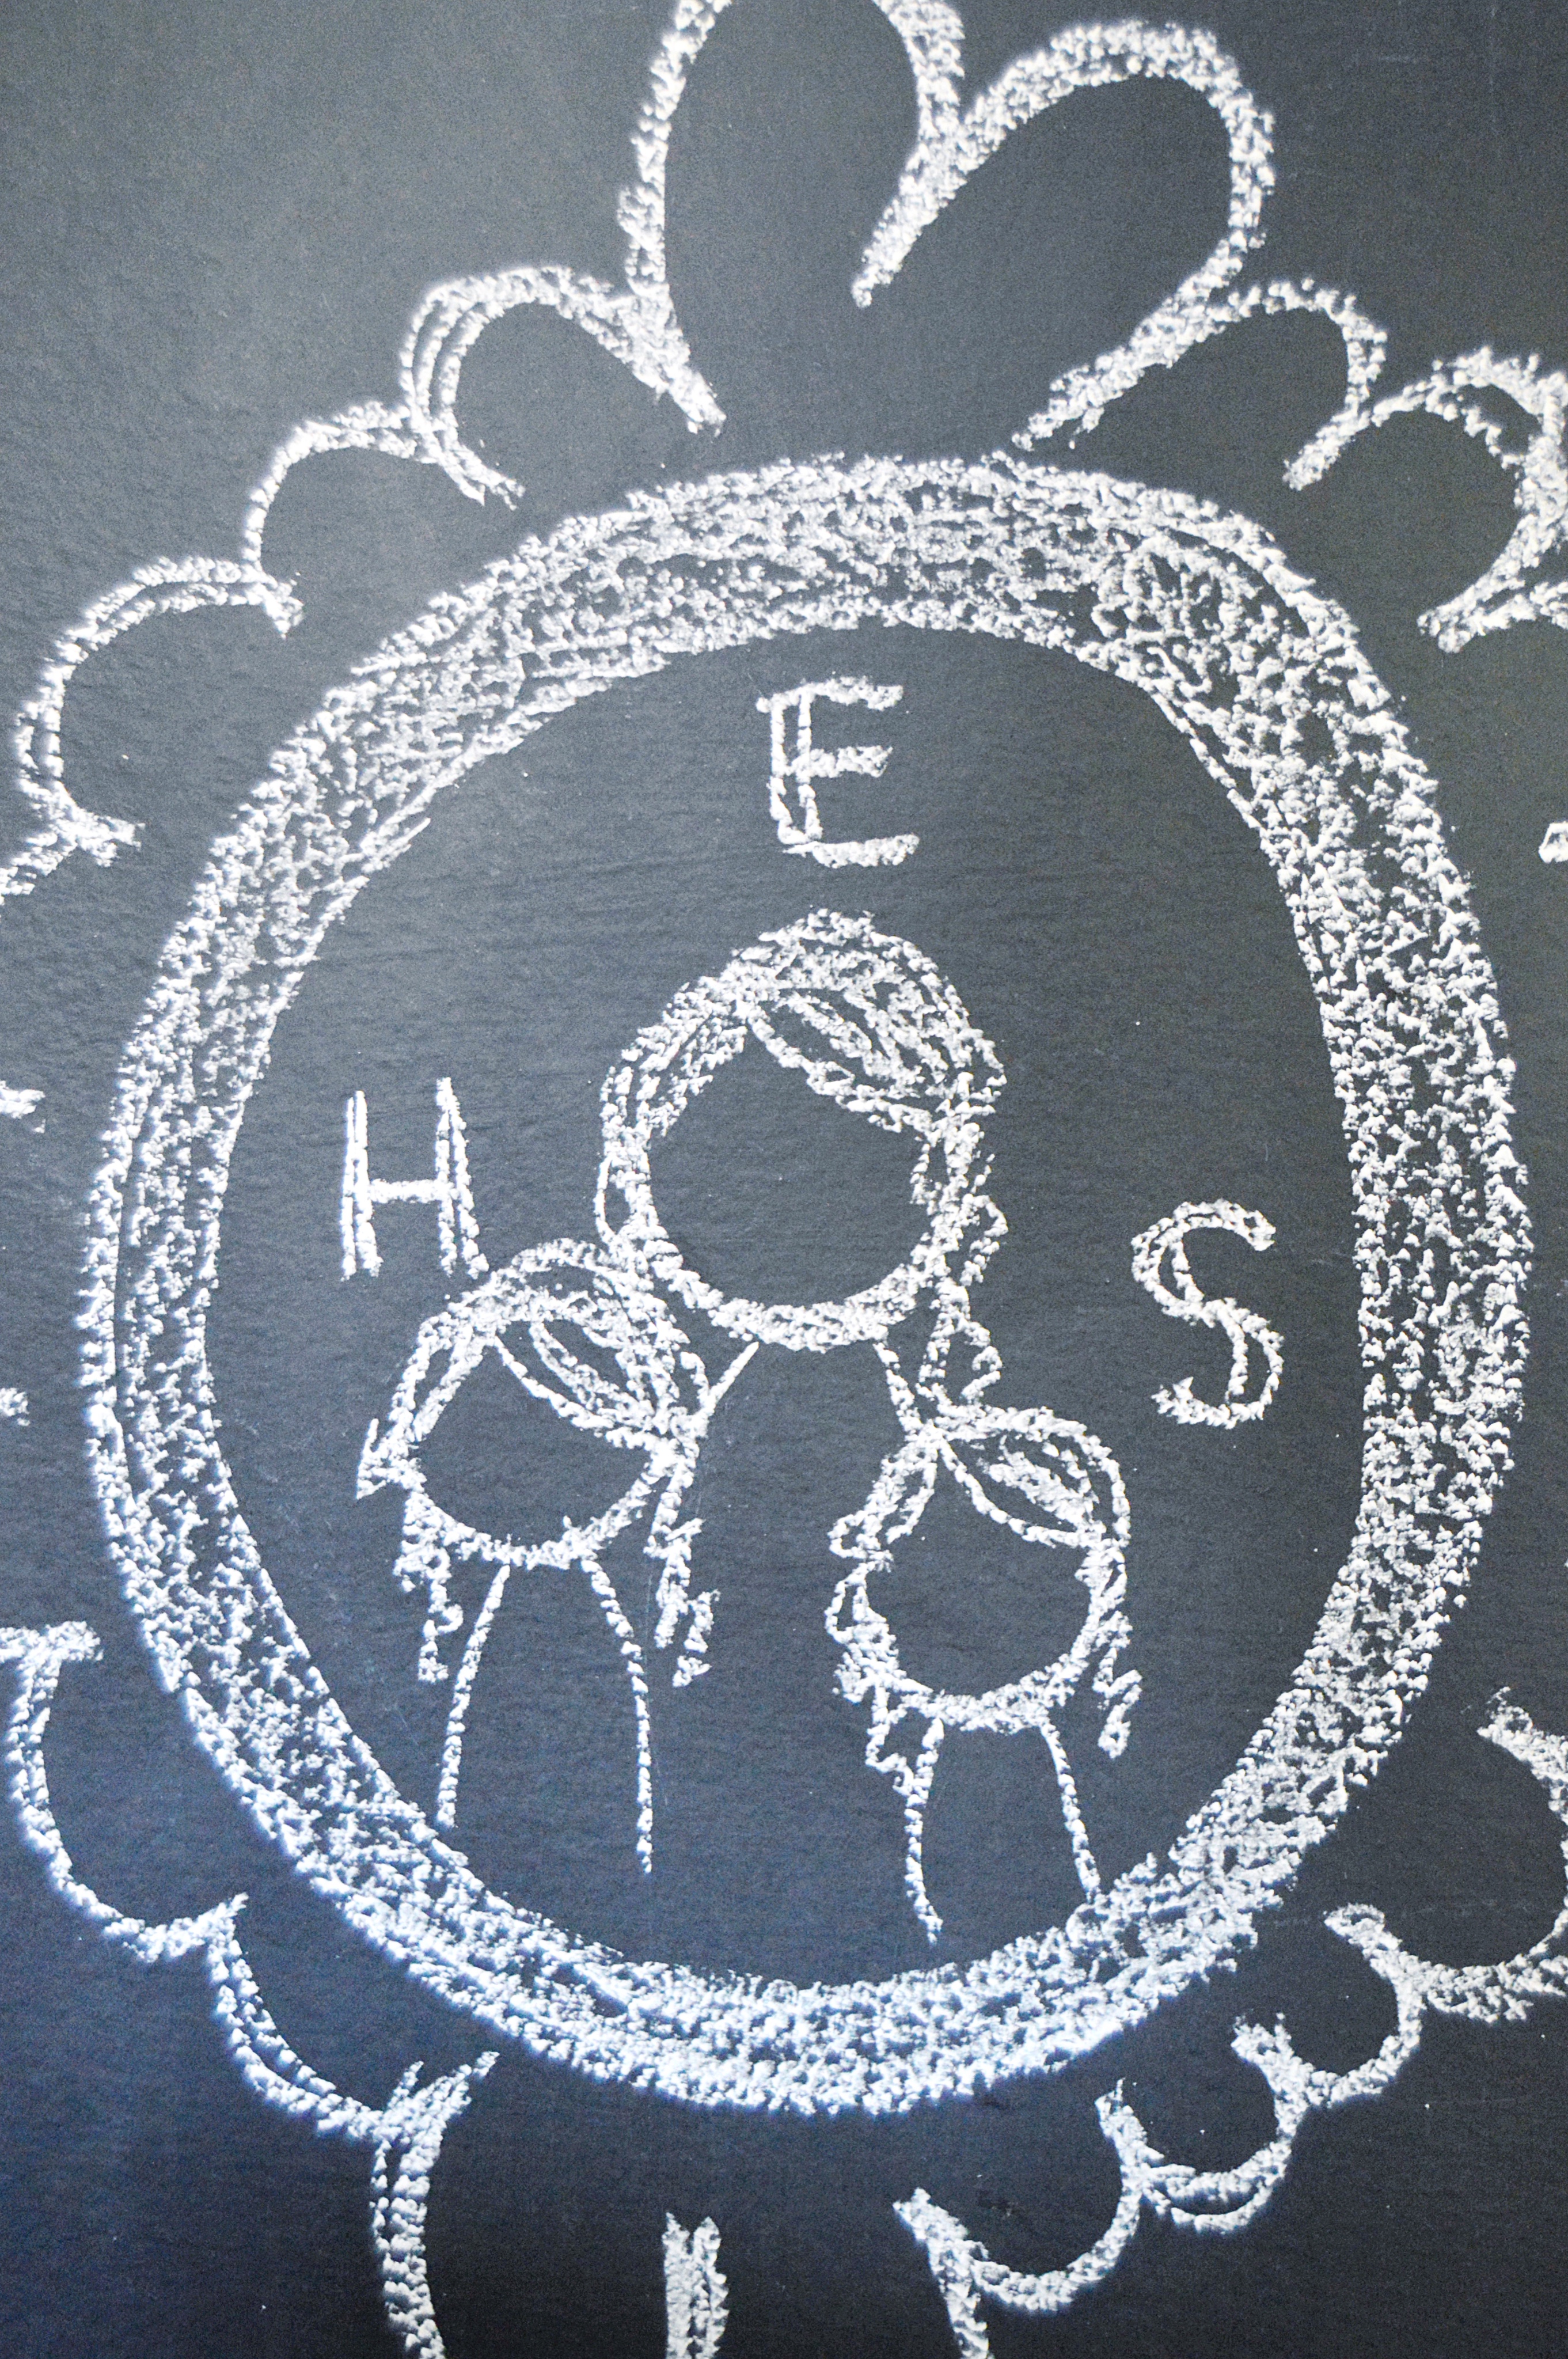
…and a little faux portrait of Ella, Hendrix and Sadie too!
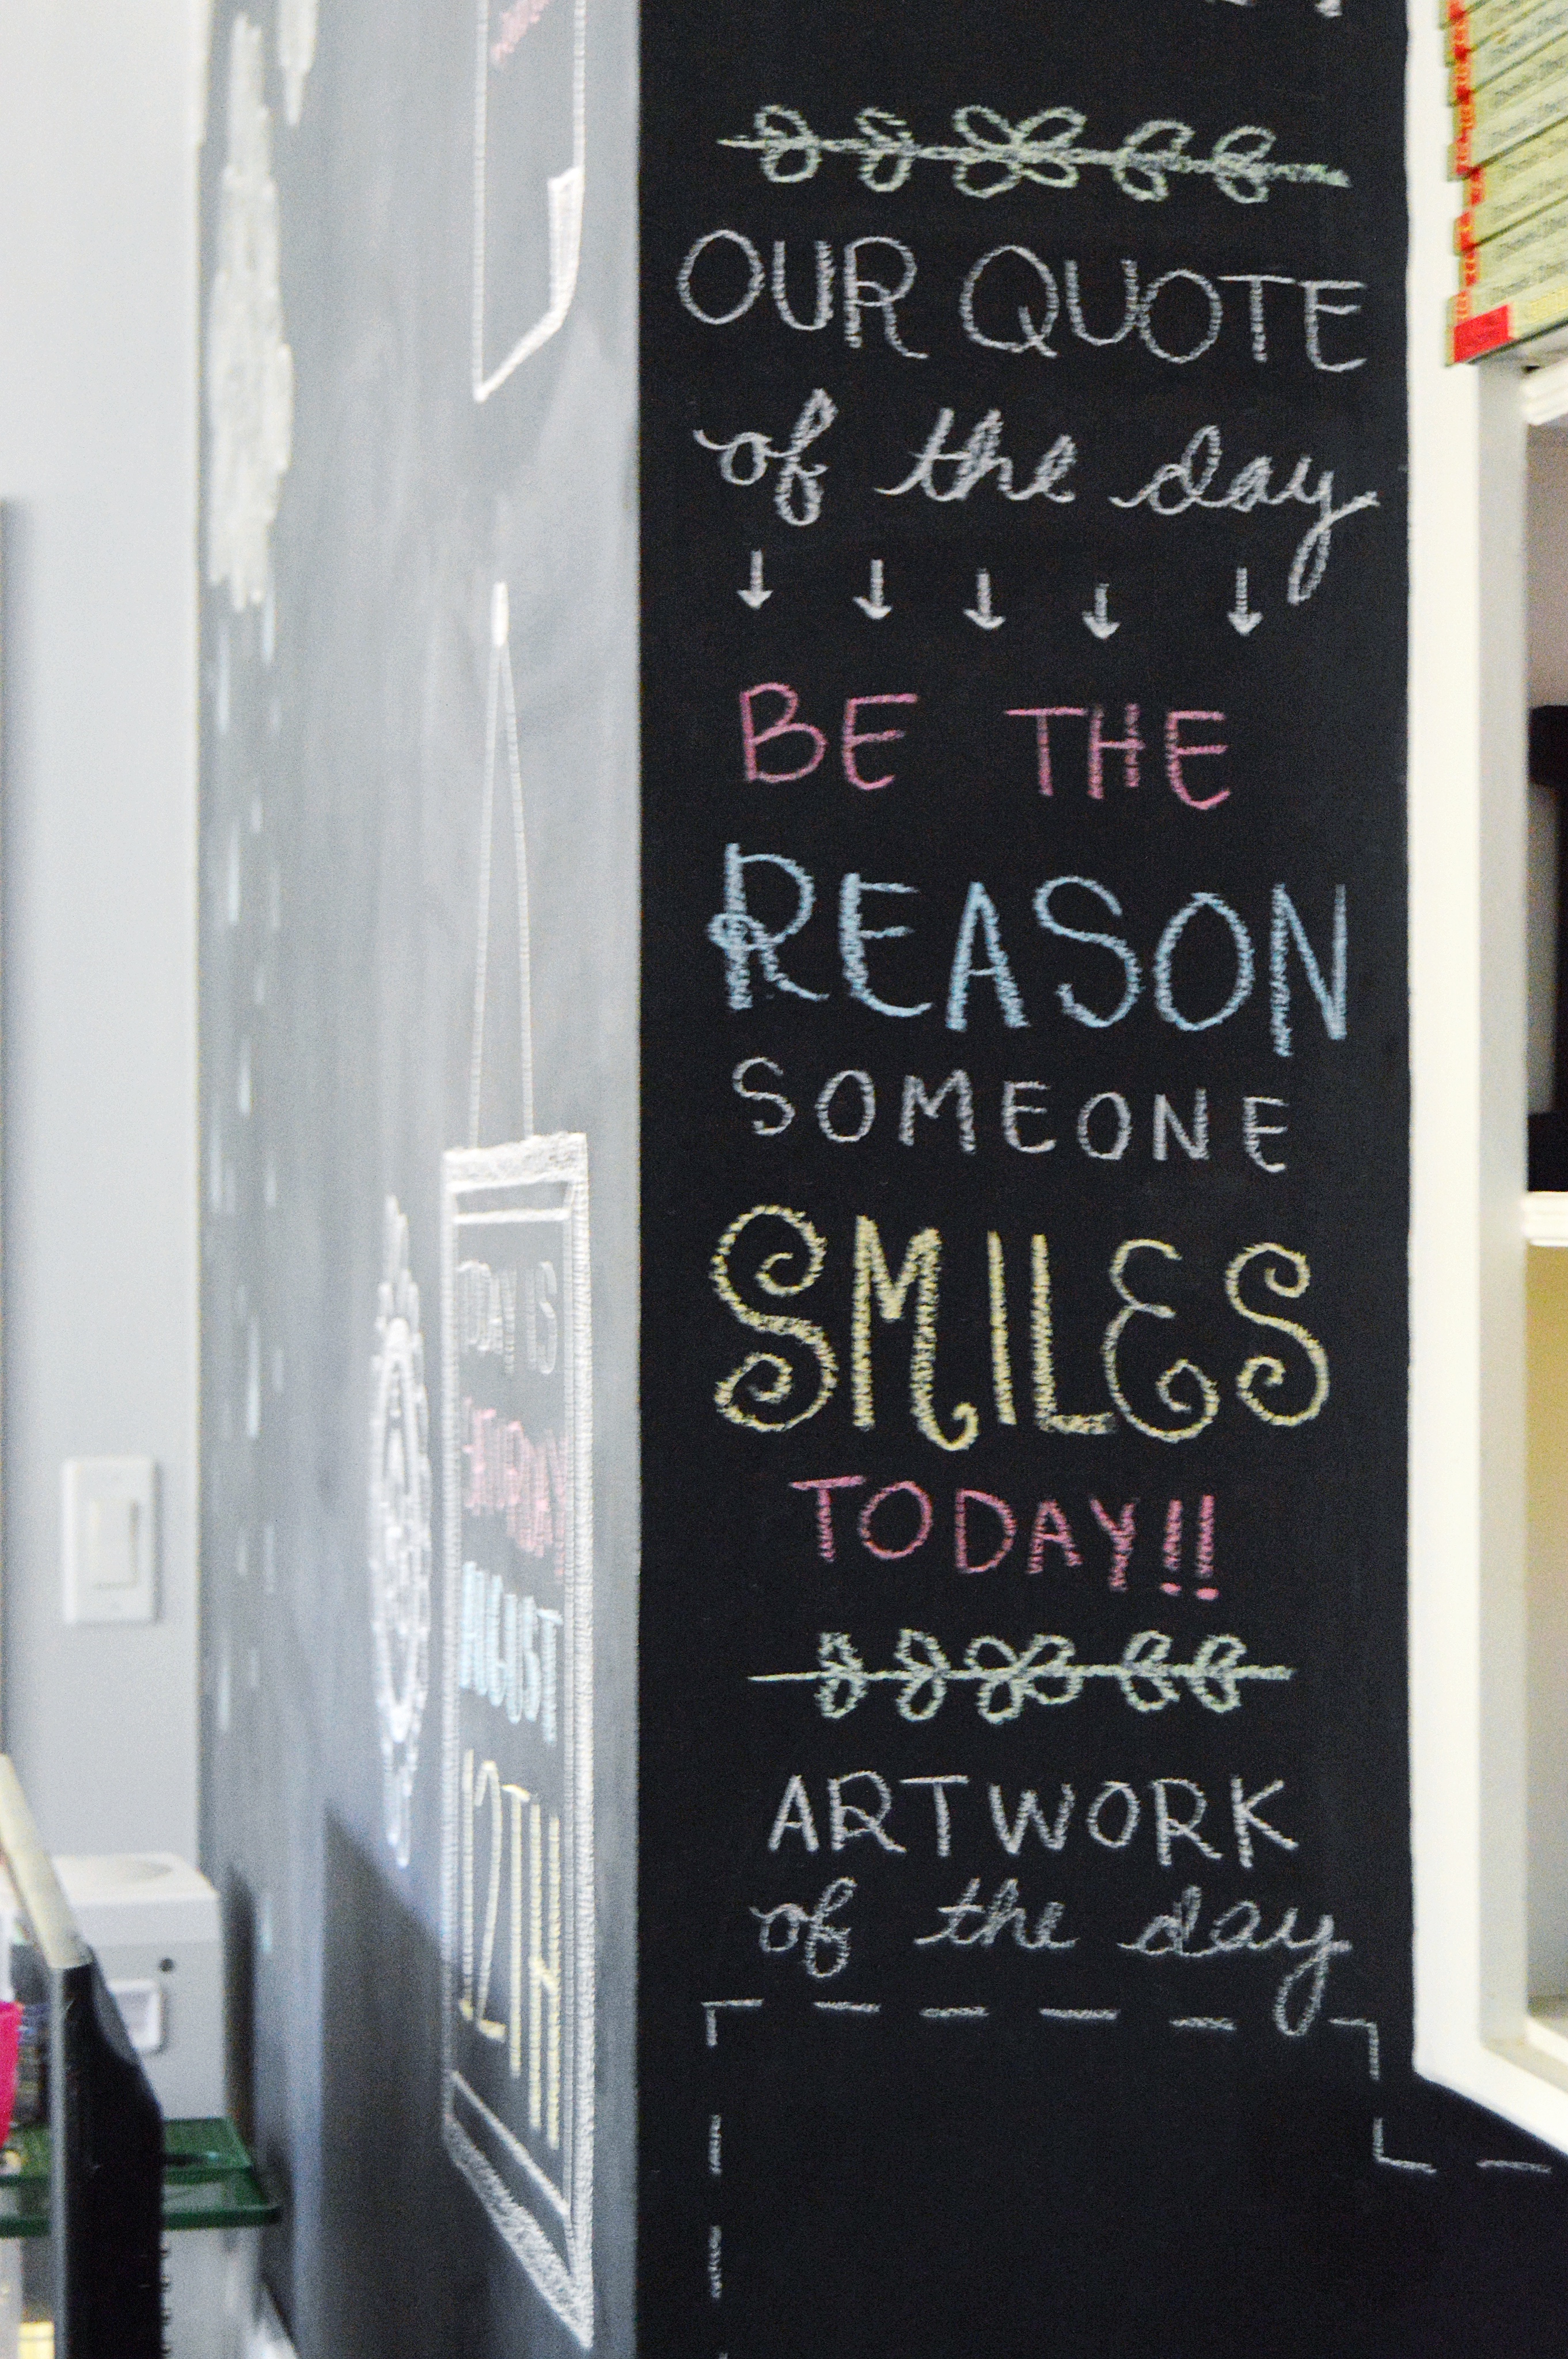
It’s safe to say I have far more fun with this wall than all three of them combined… 😉
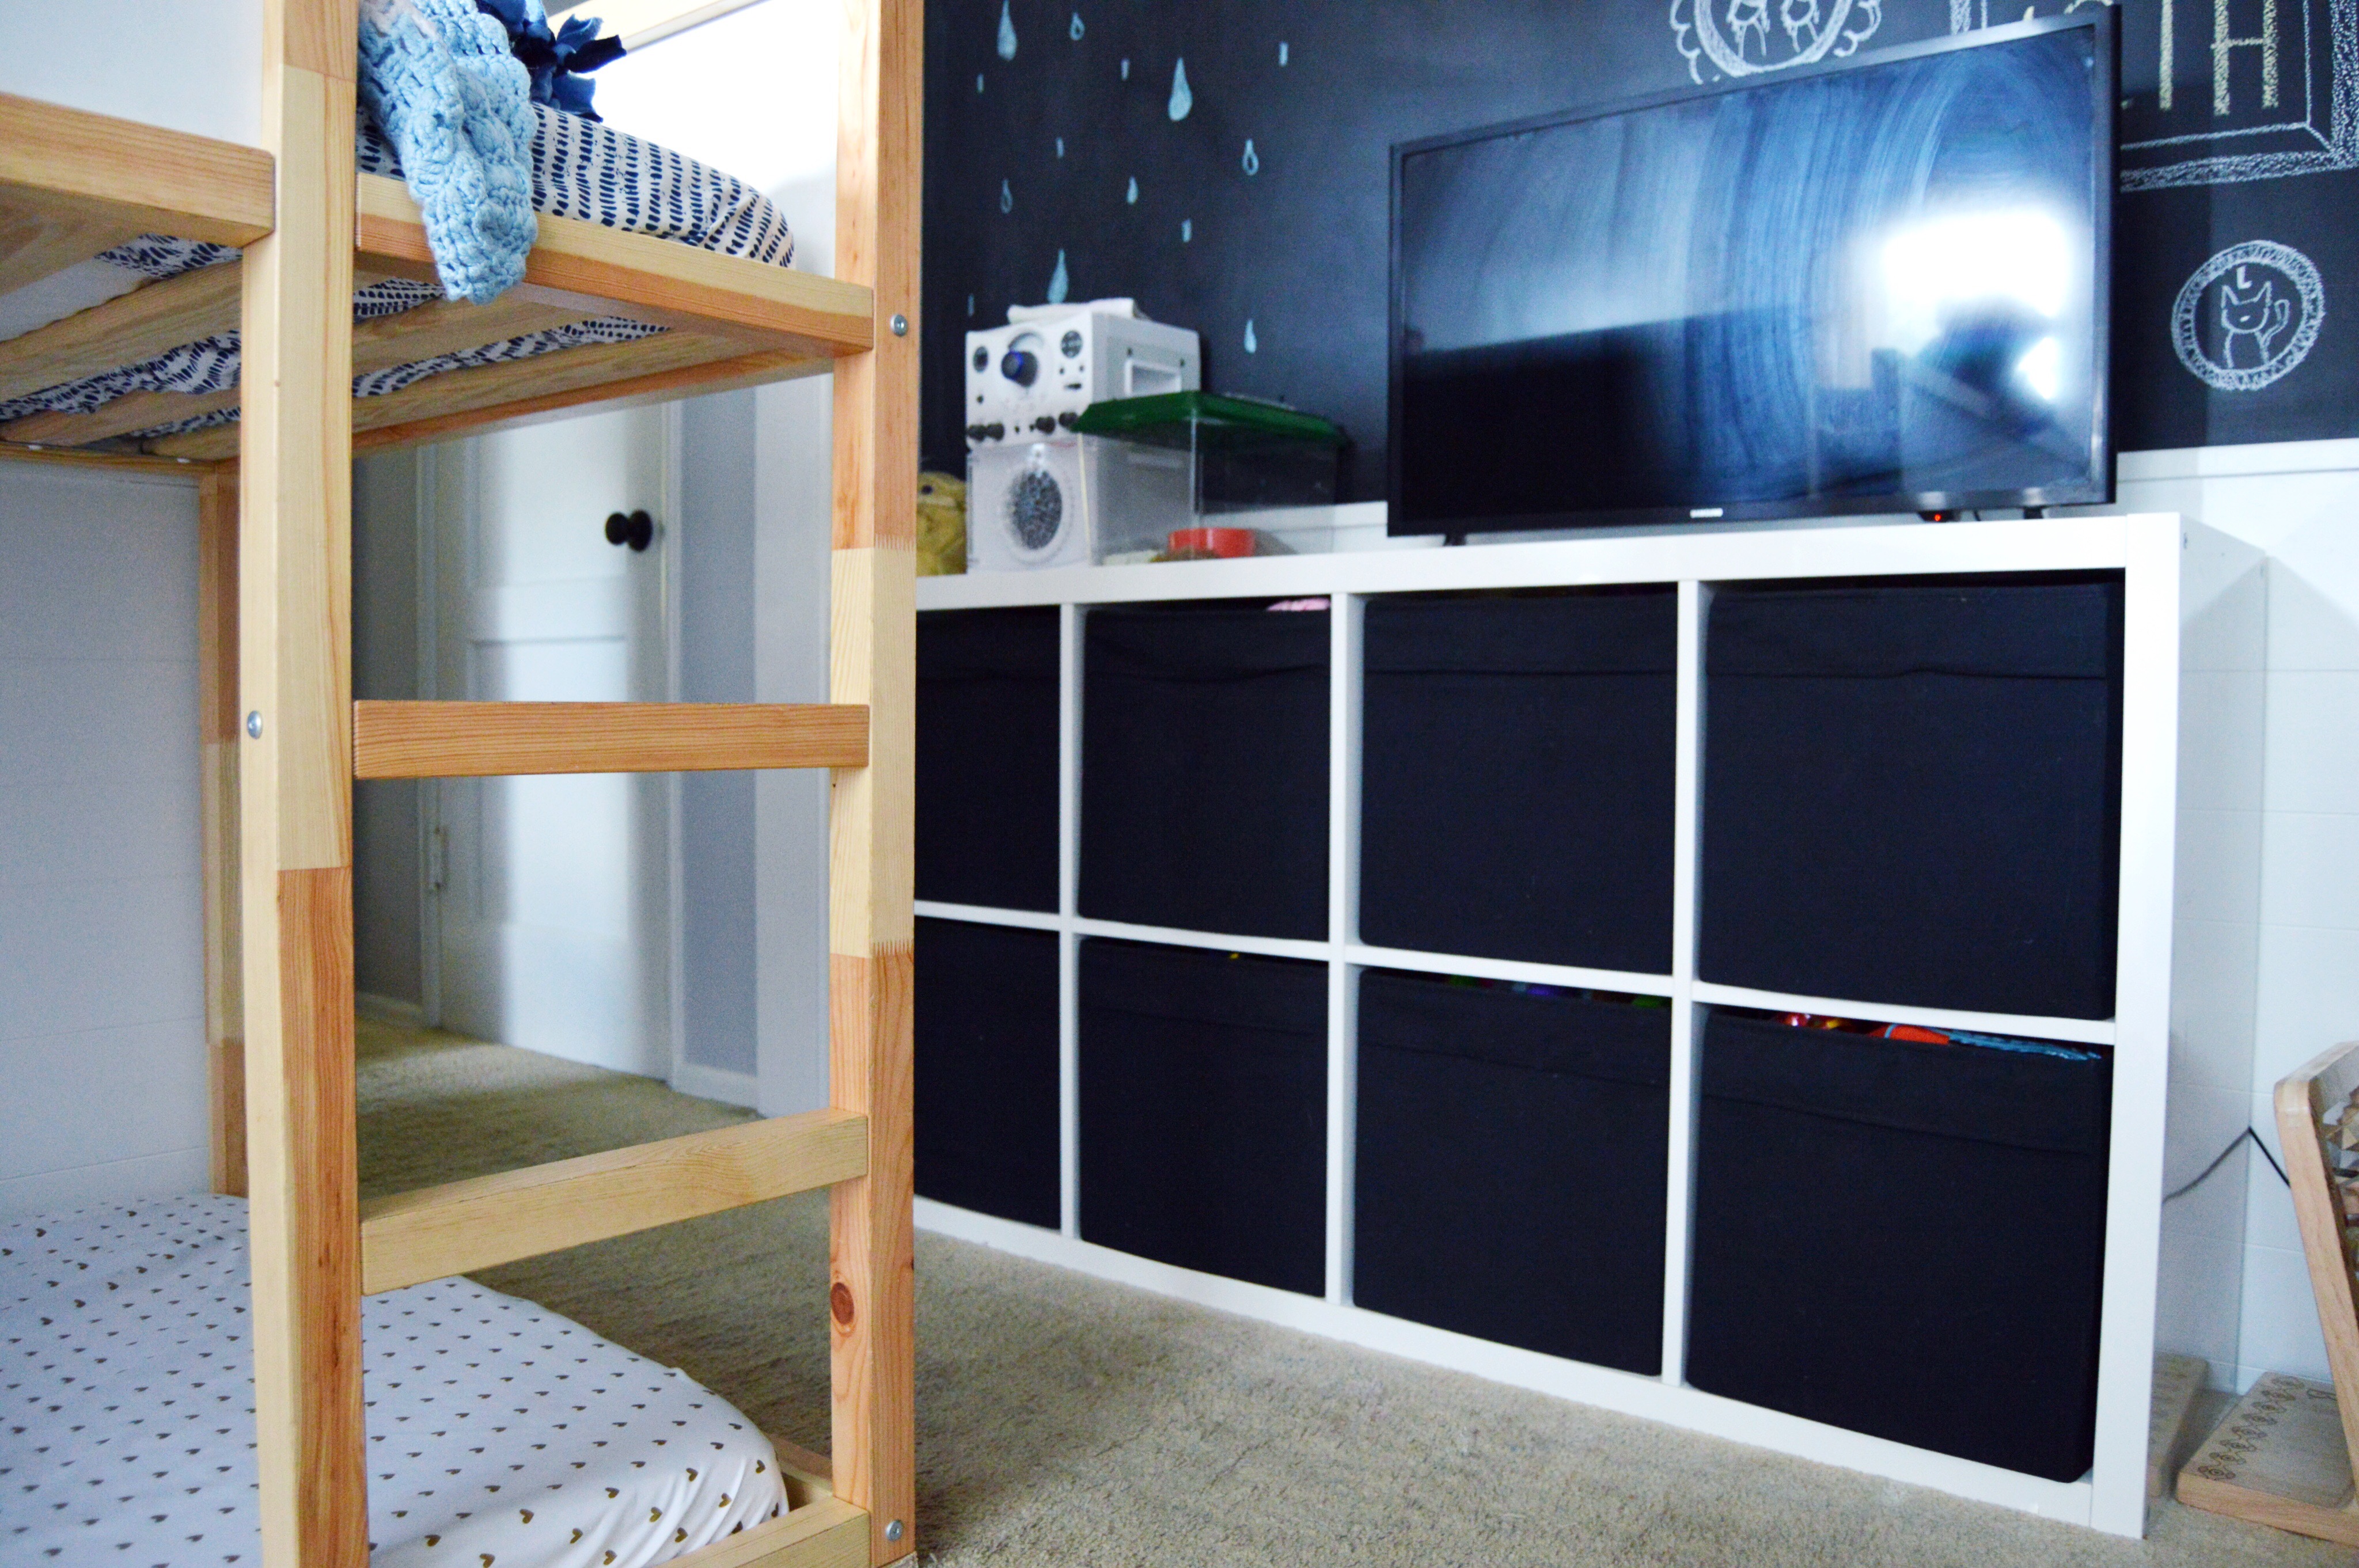
Under the chalkboard wall, is our preferred method of toy storage – the KALLAX Shelf from (you guessed it) IKEA!
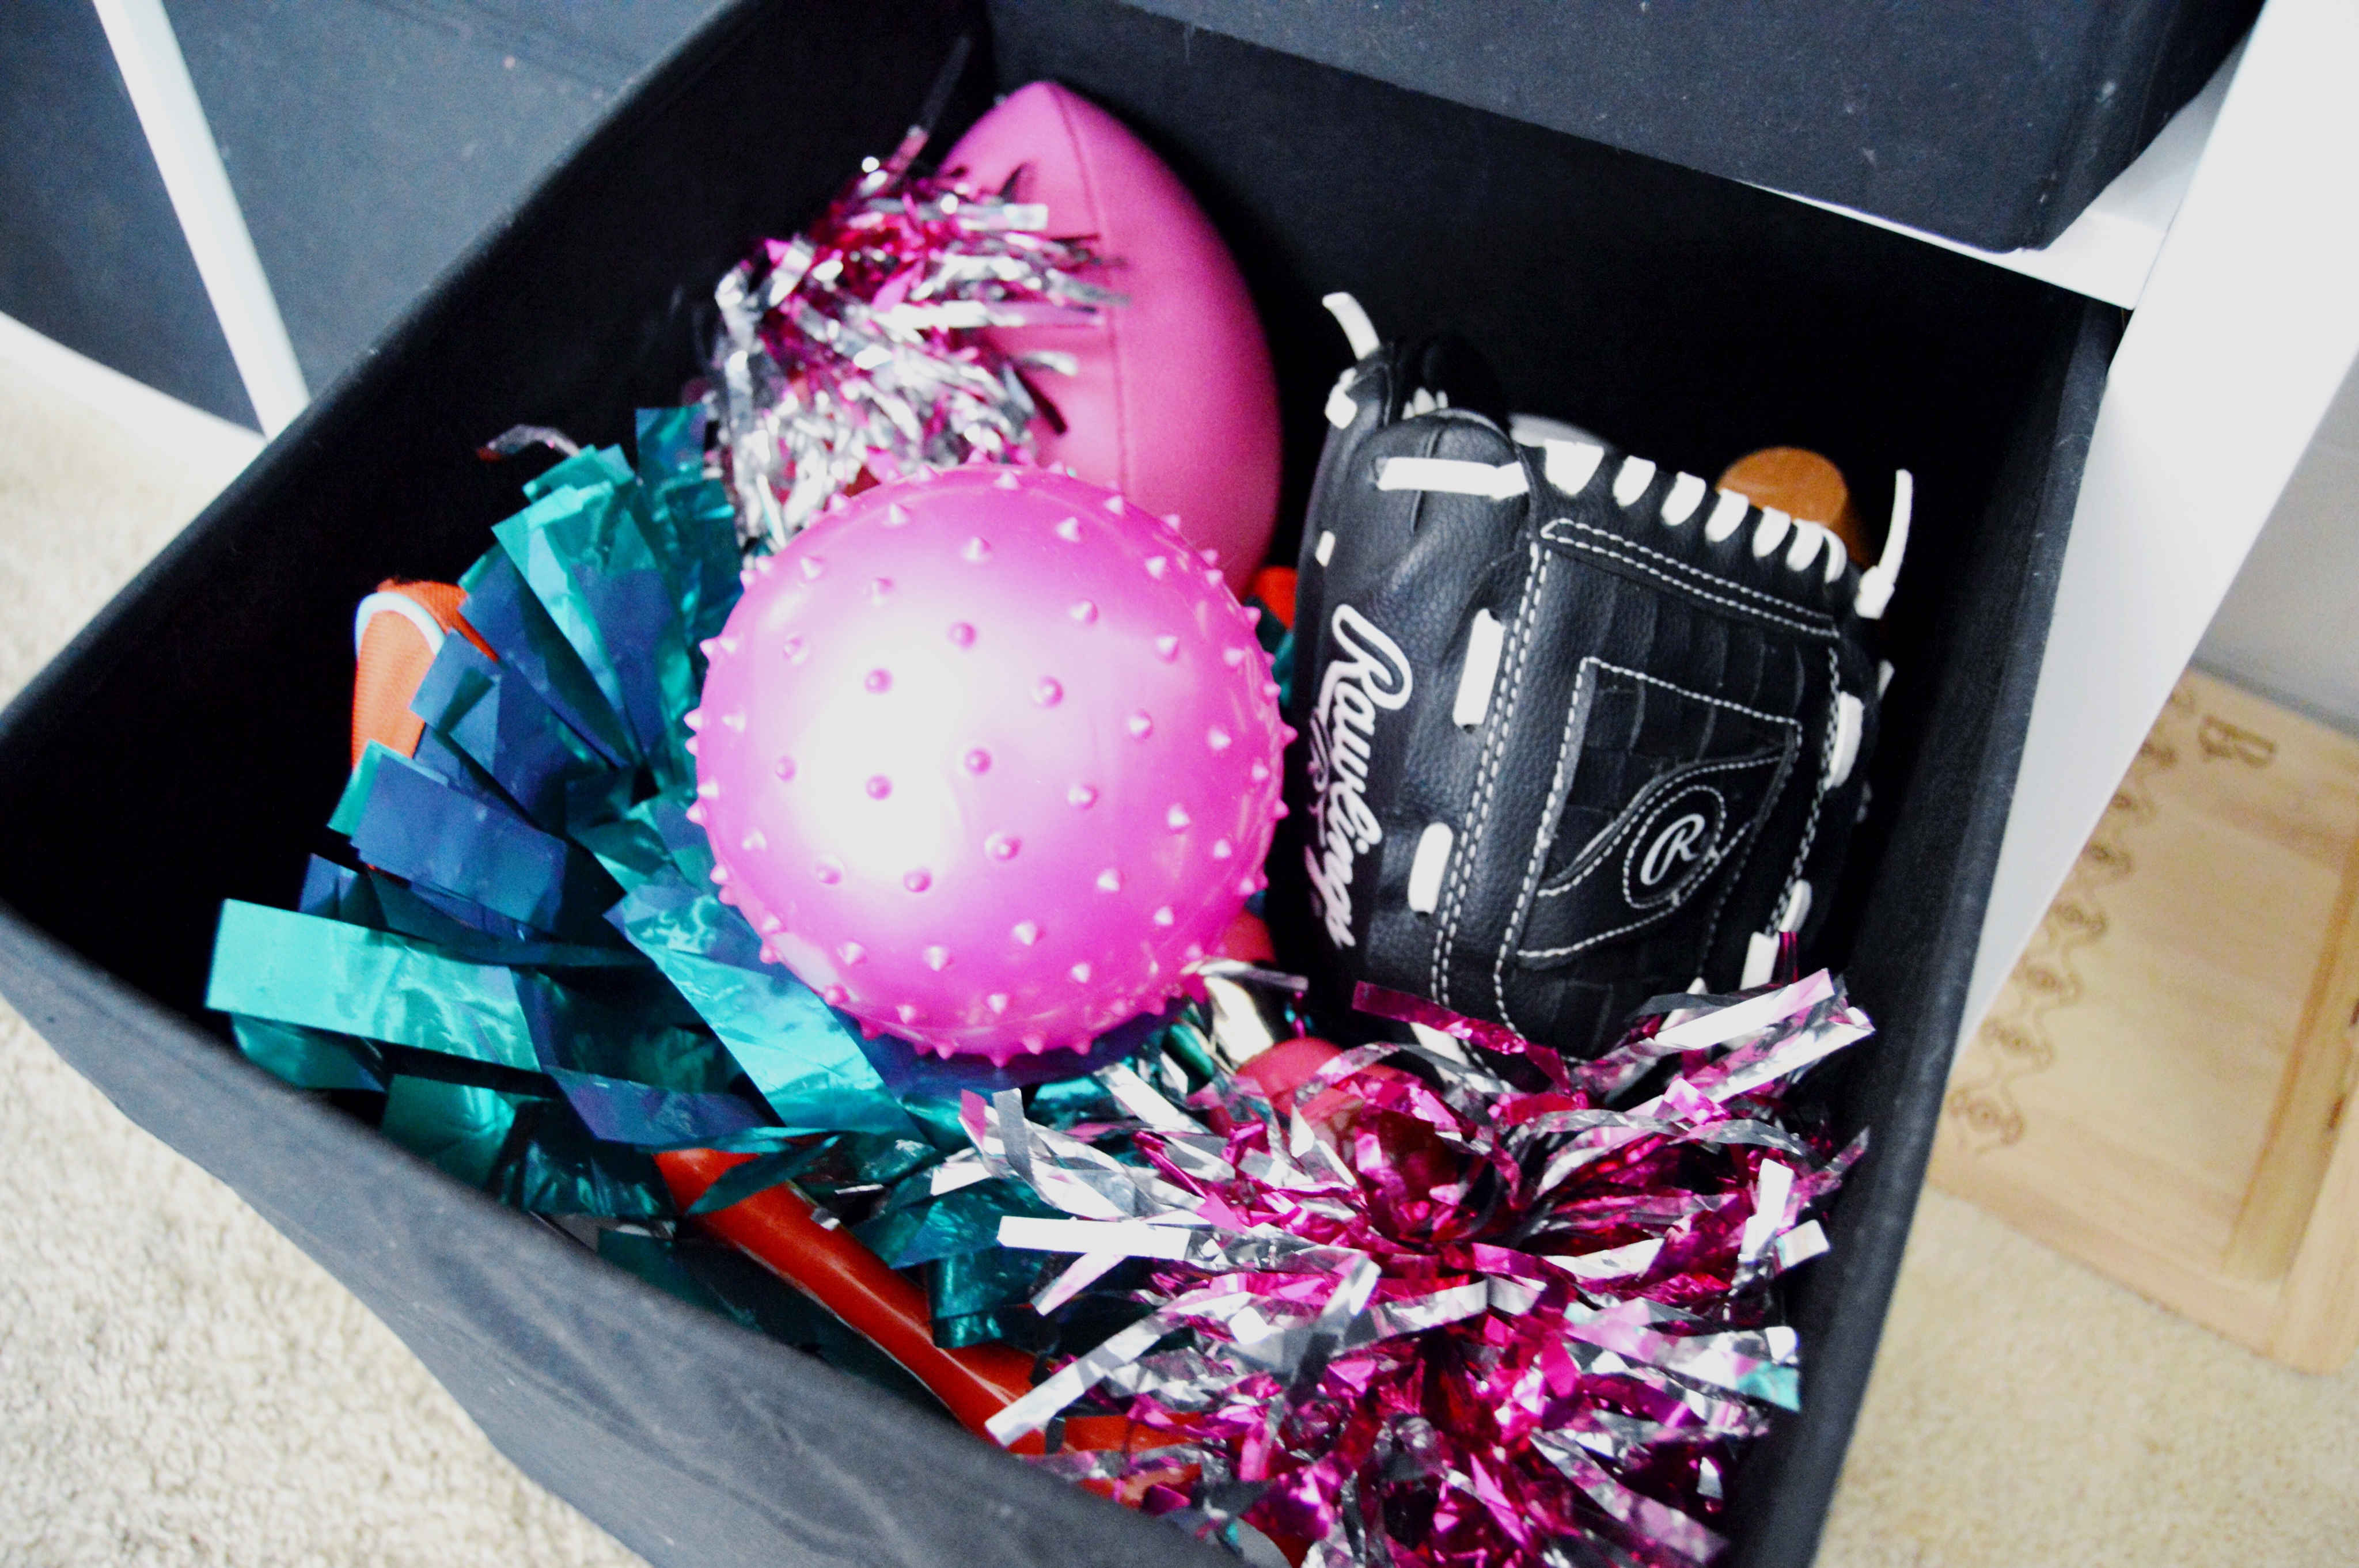
This is the sports bin (aka an IKEA DRONA box) but they aren’t all this organized I assure you…
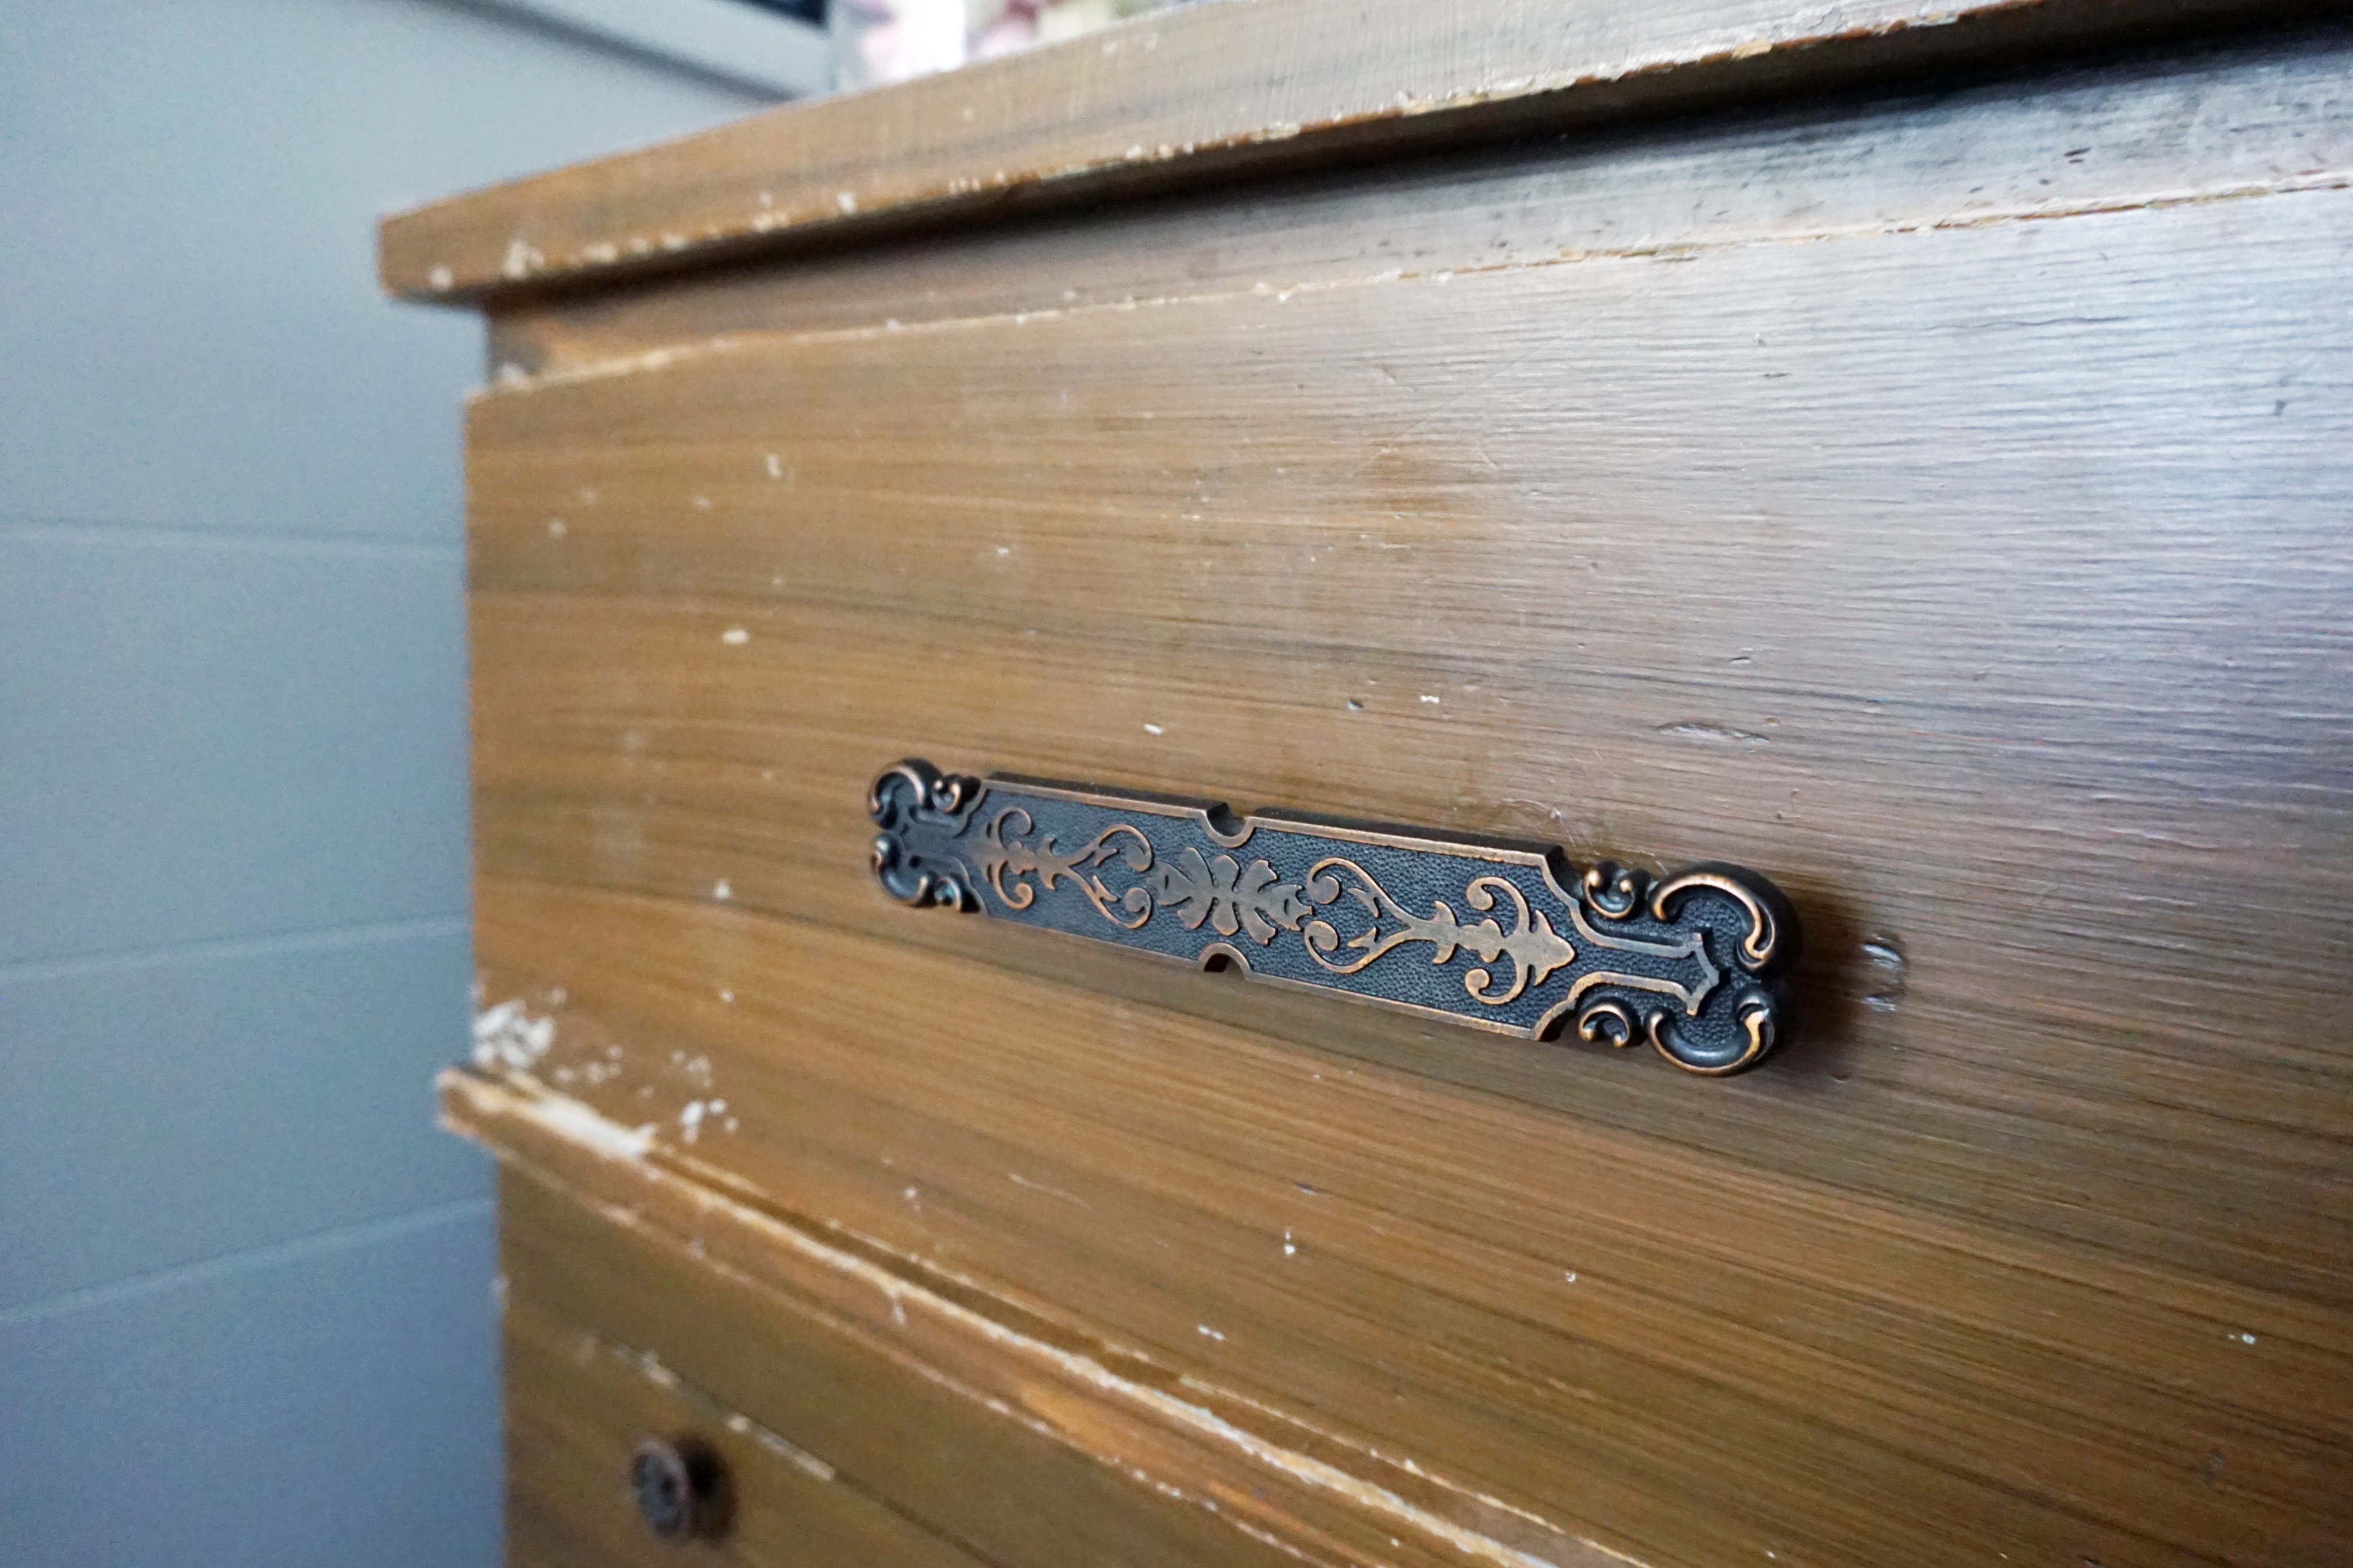
This dresser belonged to my great aunt on my mom’s side. We considered replacing it with this dresser but we’re steadily growing fond of its vintage vibes.
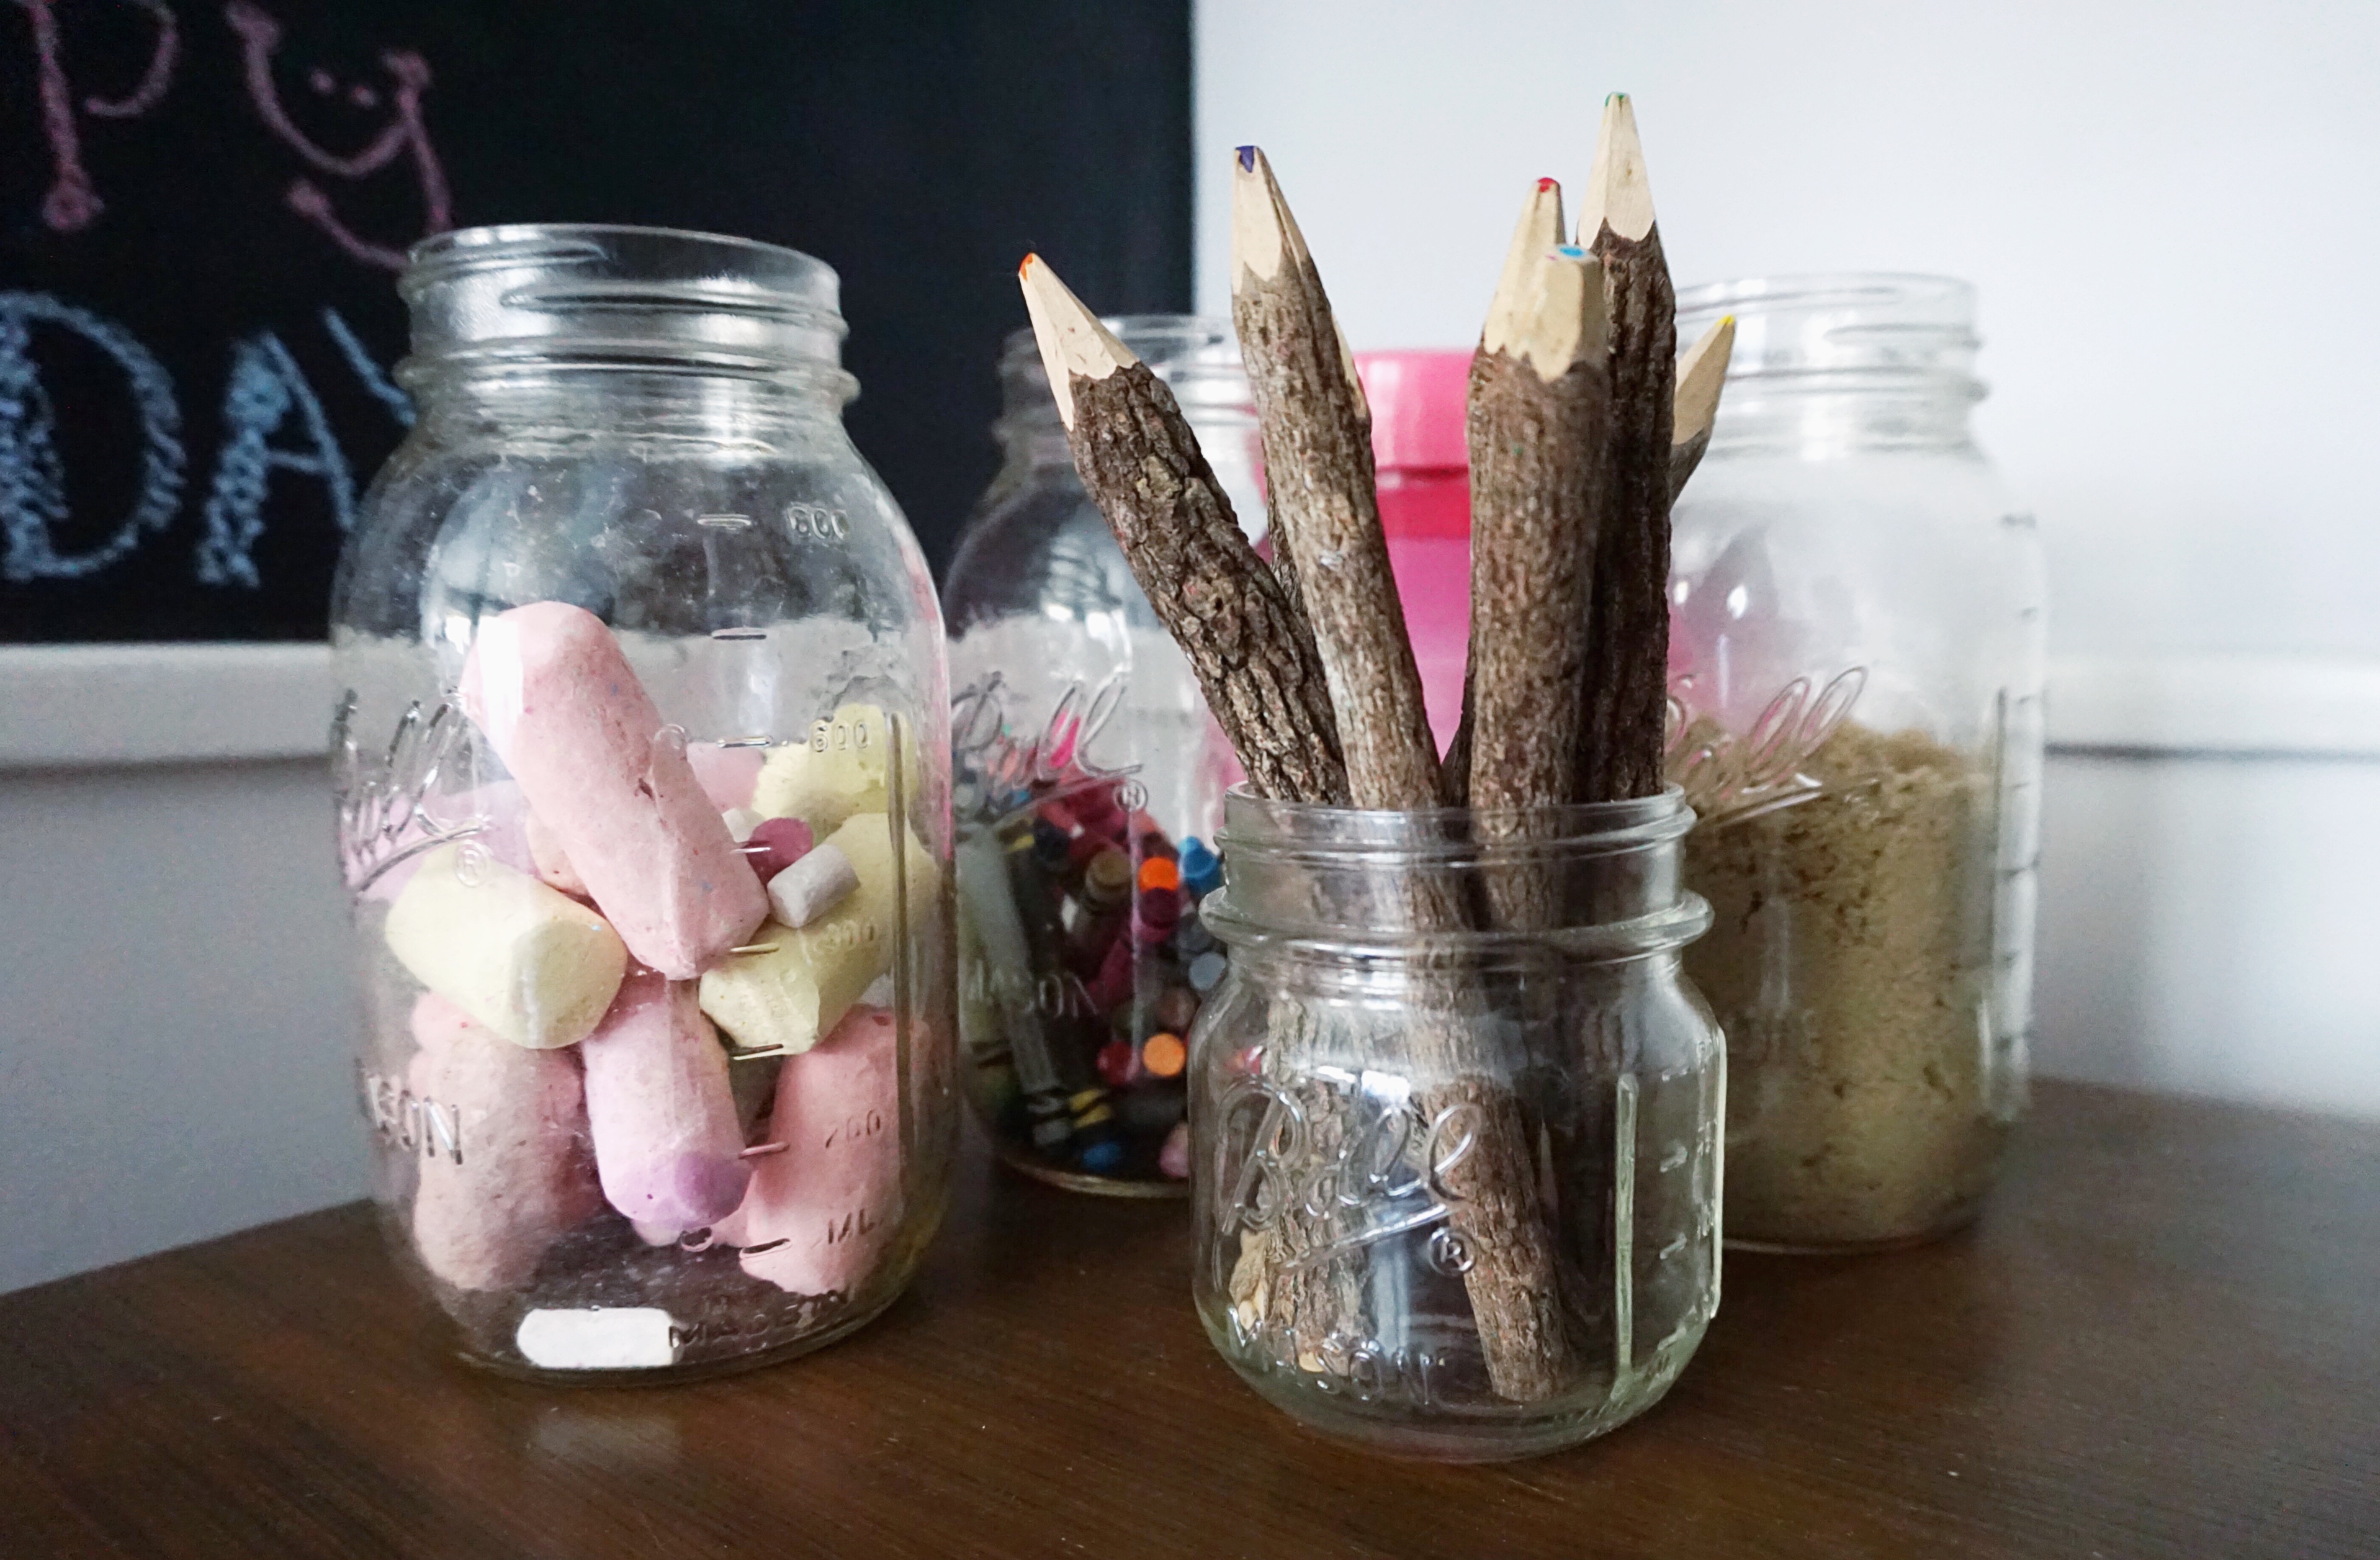
We used a few mason jars to house chalk, crayons, woodsy colored pencils and some kinetic sand.
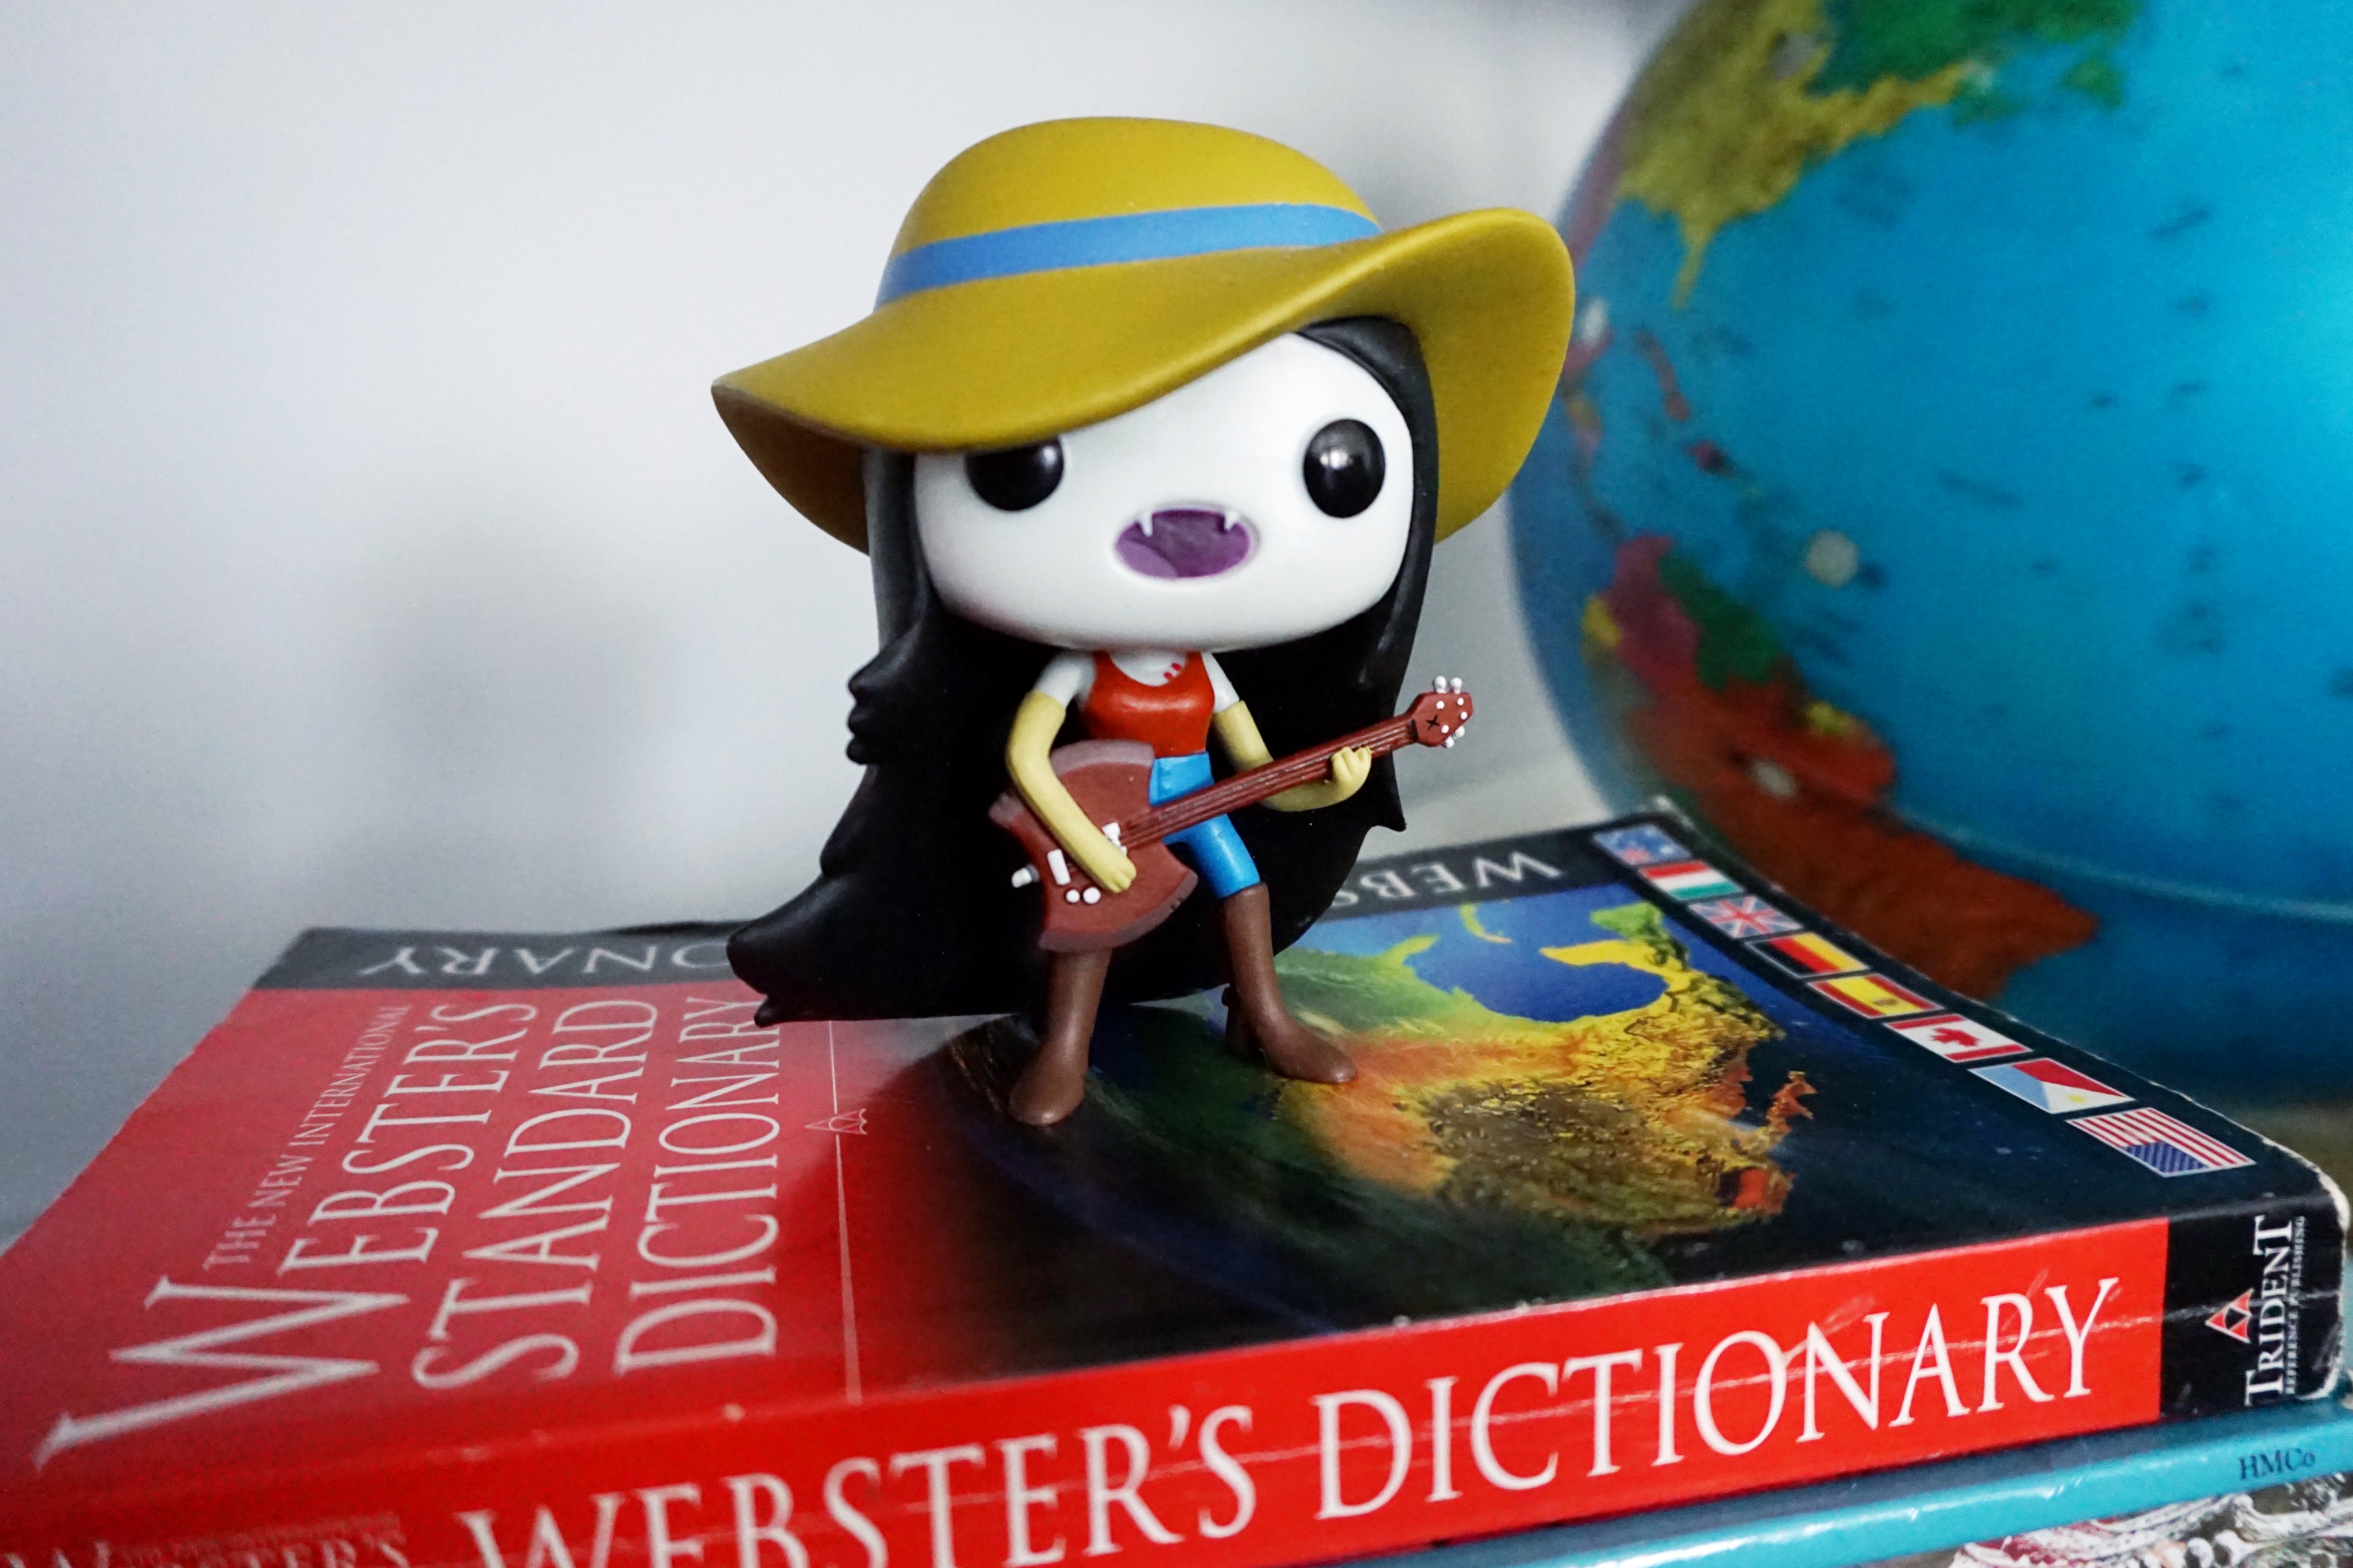
To style the dresser a bit, I stacked a few of the kids’ books and topped them with a little something – like Ella’s Marceline figurine from Adventure Time.
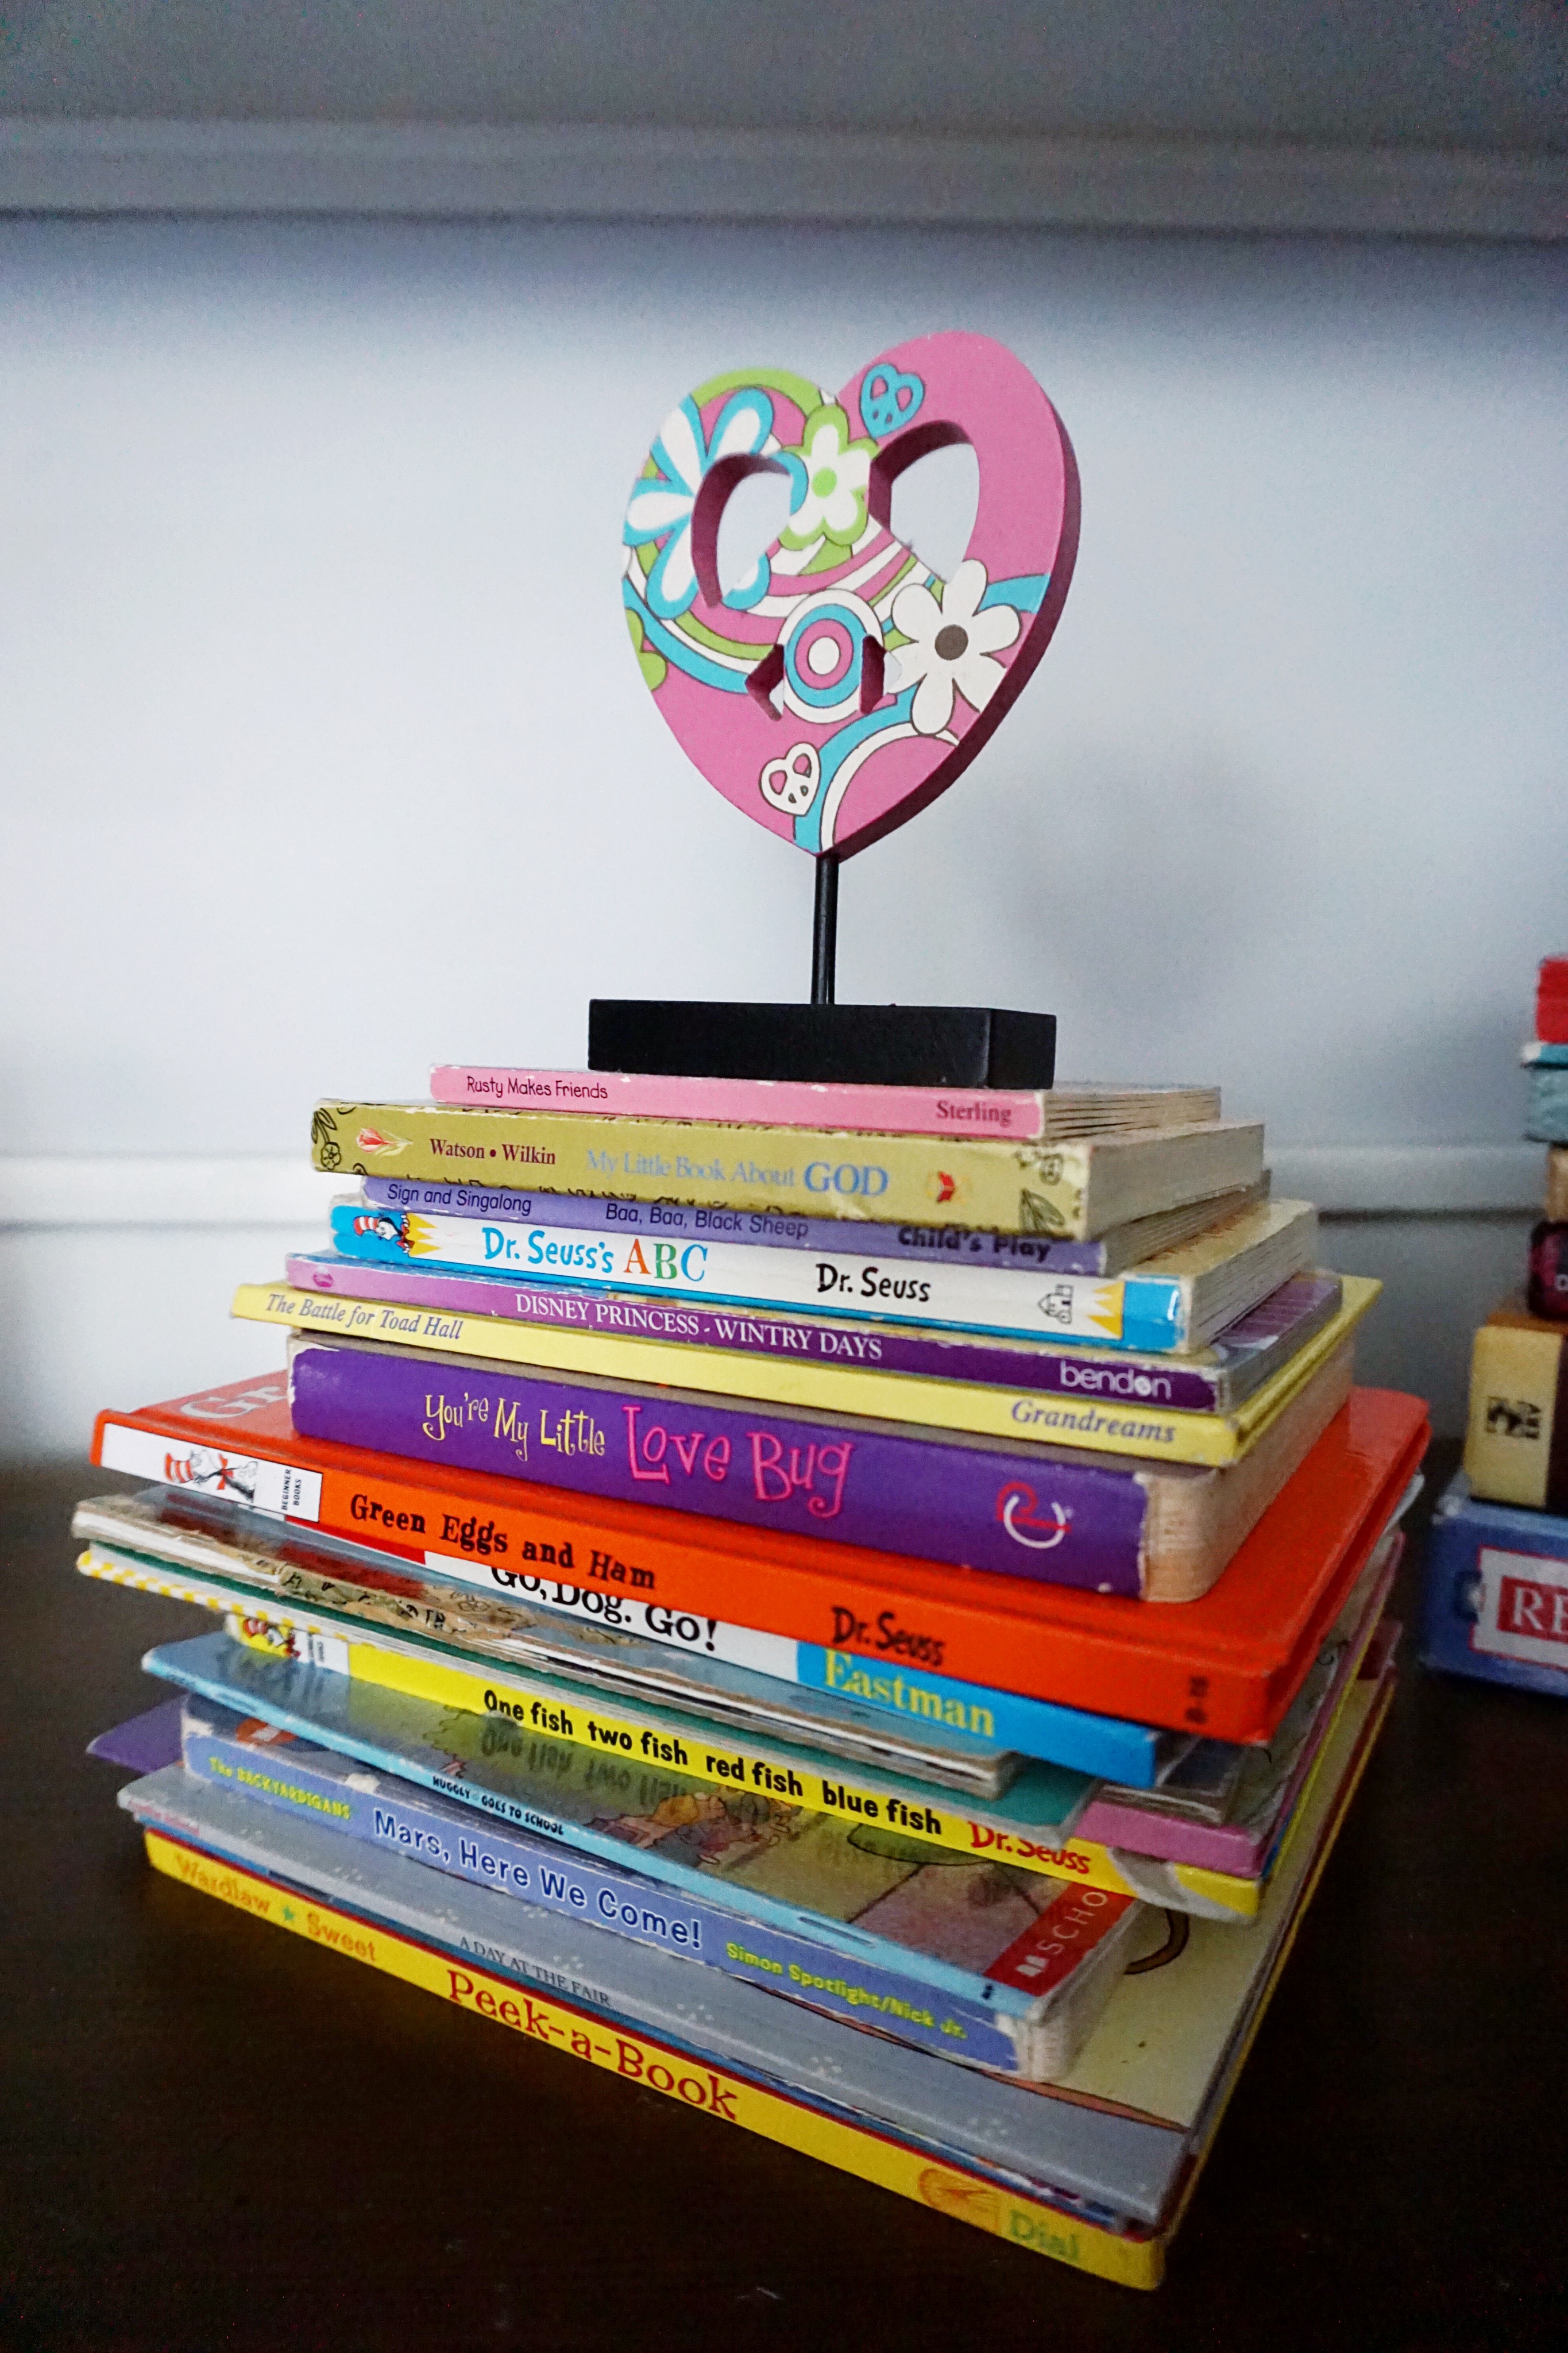
Hendrix and Sadie’s stack features a few of their most-loved and well-worn reads.
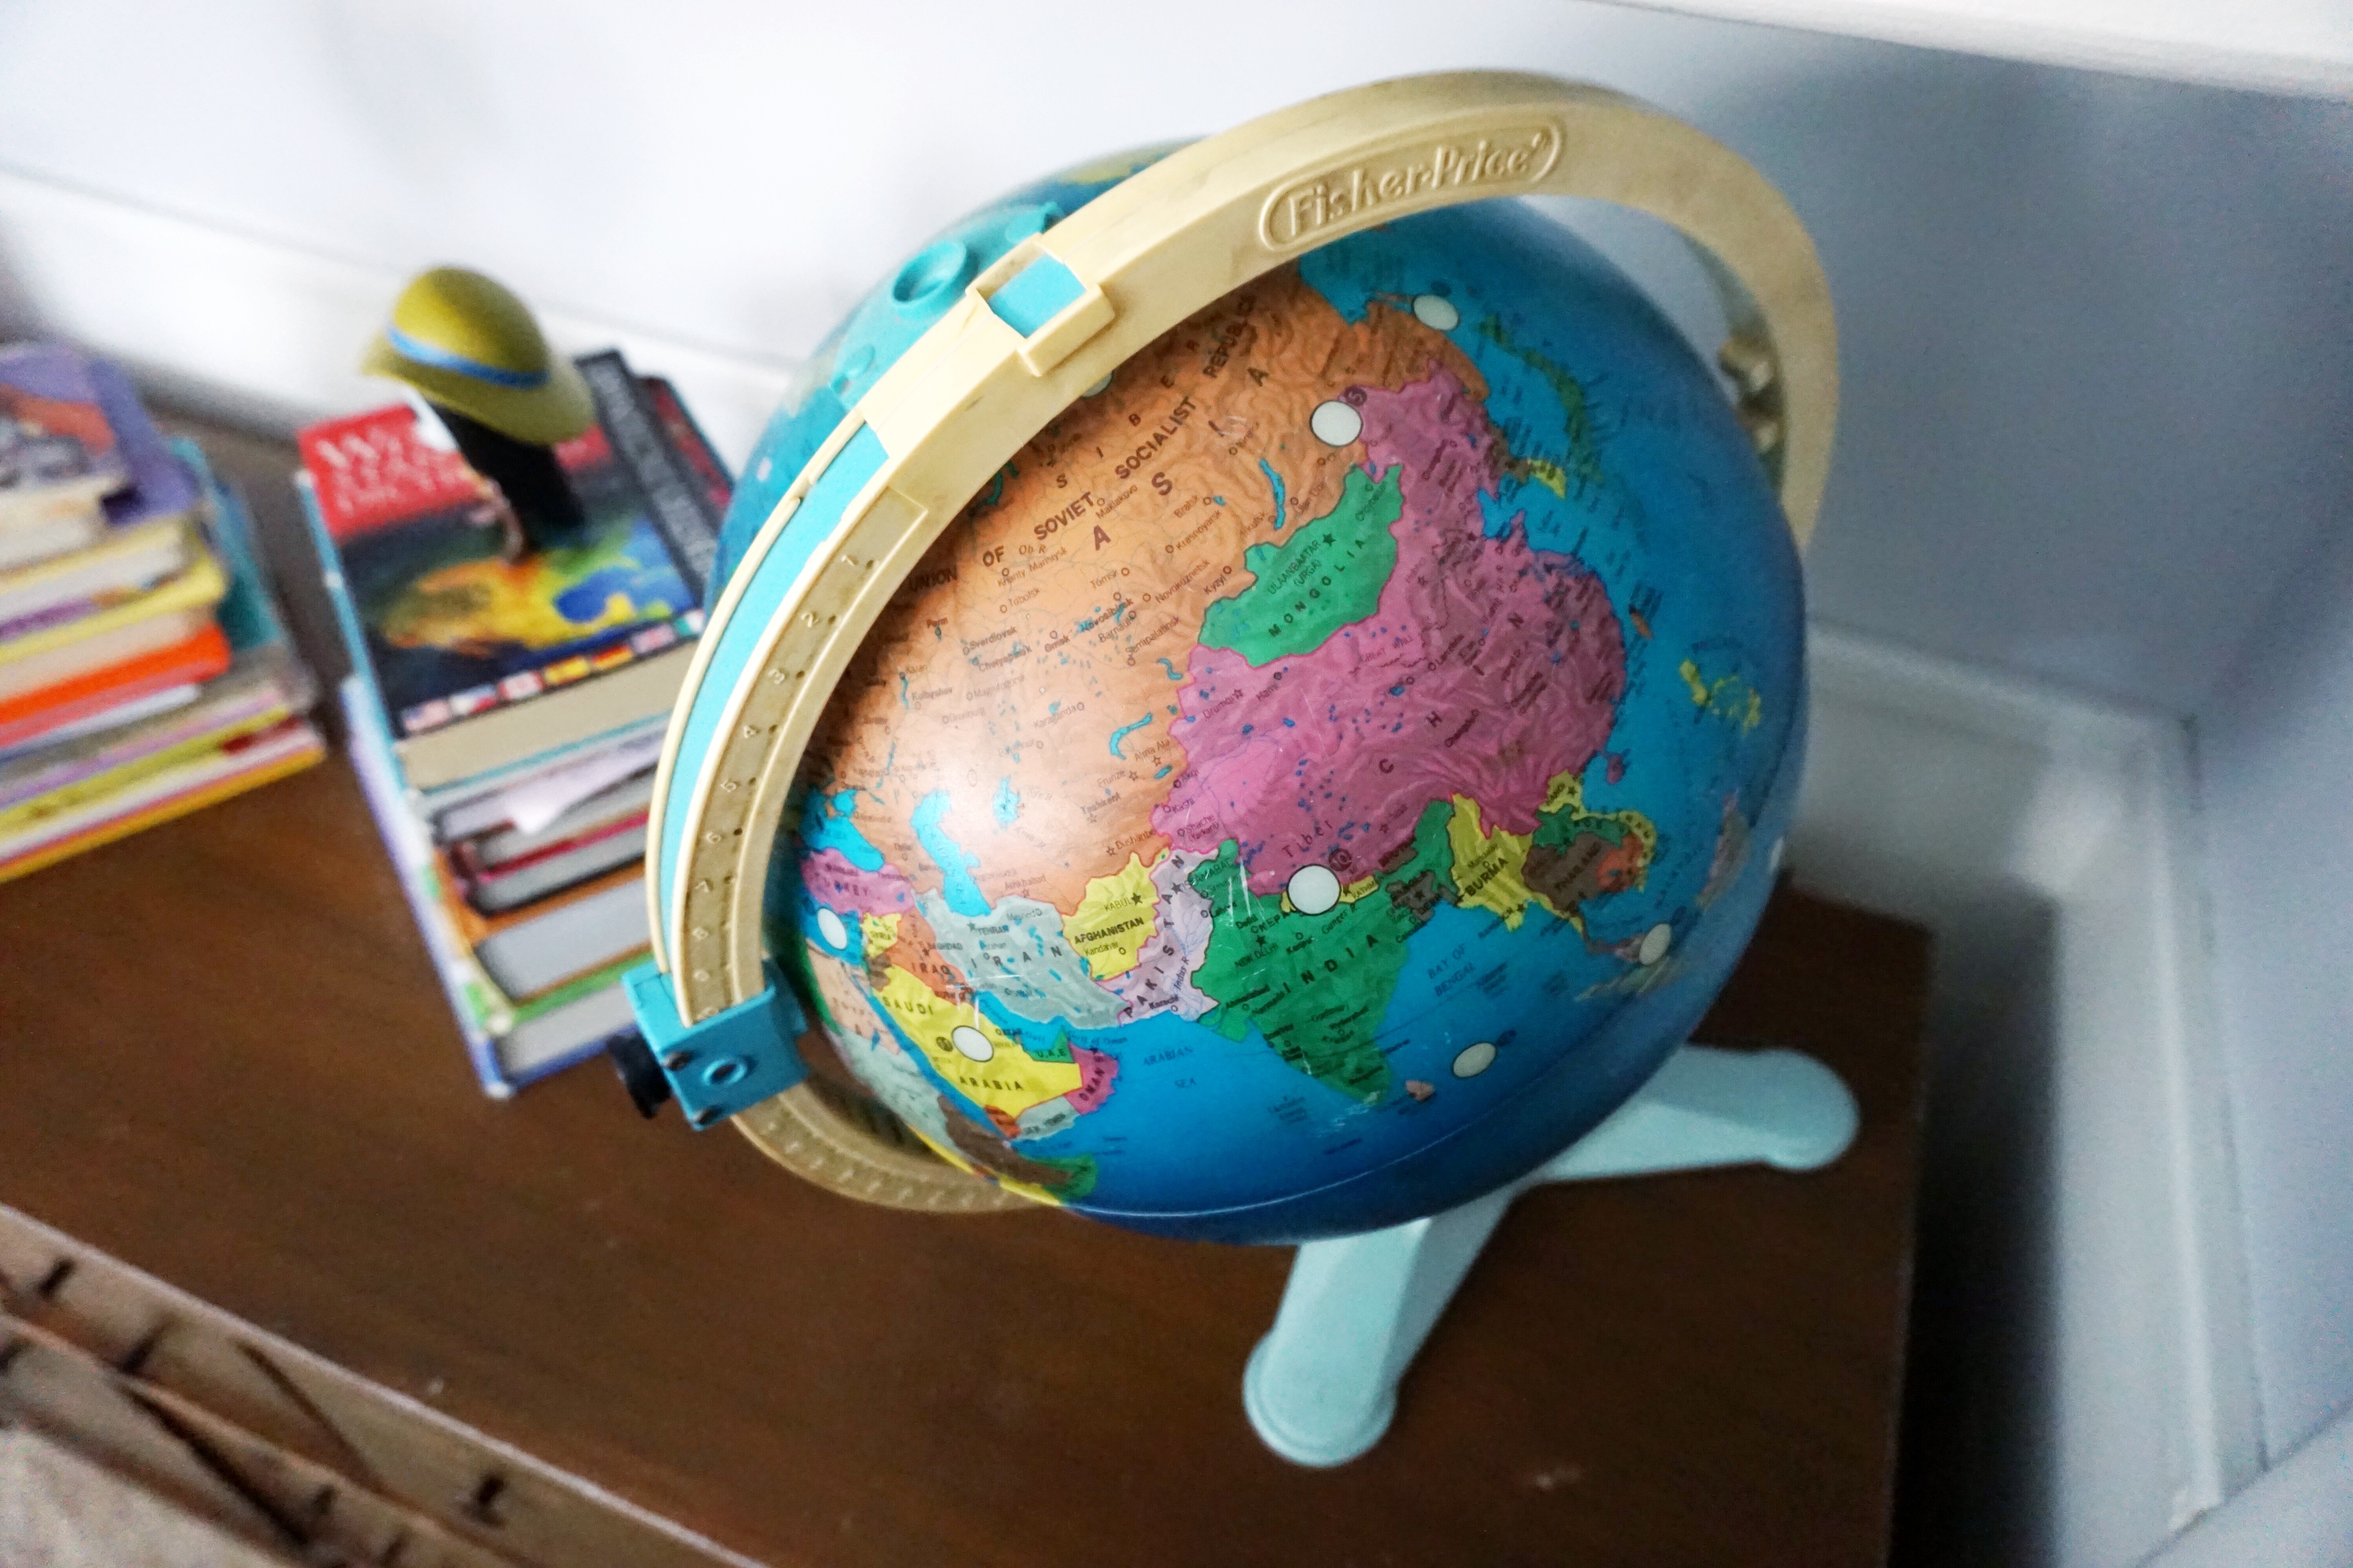
Last but not least, J’s childhood globe sits on the dresser to add another little bit of throwback to our kids’ room.
Ella’s extremely happy with her bed as are Hendrix and Sadie with theirs while my favorite part of their room has to be the chalkboard wall because it will be an ever-changing space for creativity, inspiration and even education. As I mentioned in the beginning of this post, we have A LOT of decor work ahead of us but I really hope you’ve enjoyed this little peek into our kids’ room redo as it comes along slowly but surely. Up next, I’ll be tackling my room for which I’ll most likely be using Behr Marquee in Natural Gray which you can see here on my Nic’s Room Pinterest board along with some other products and inspiration pics. Also, don’t forget to check out my Kids’ Room board for a glimpse at what I’m aiming for in their room. If you have any questions at all, please leave them in the comments below! As always, thank you so much for reading!!

SaveSaveSaveSaveSaveSave


Leave a Reply