


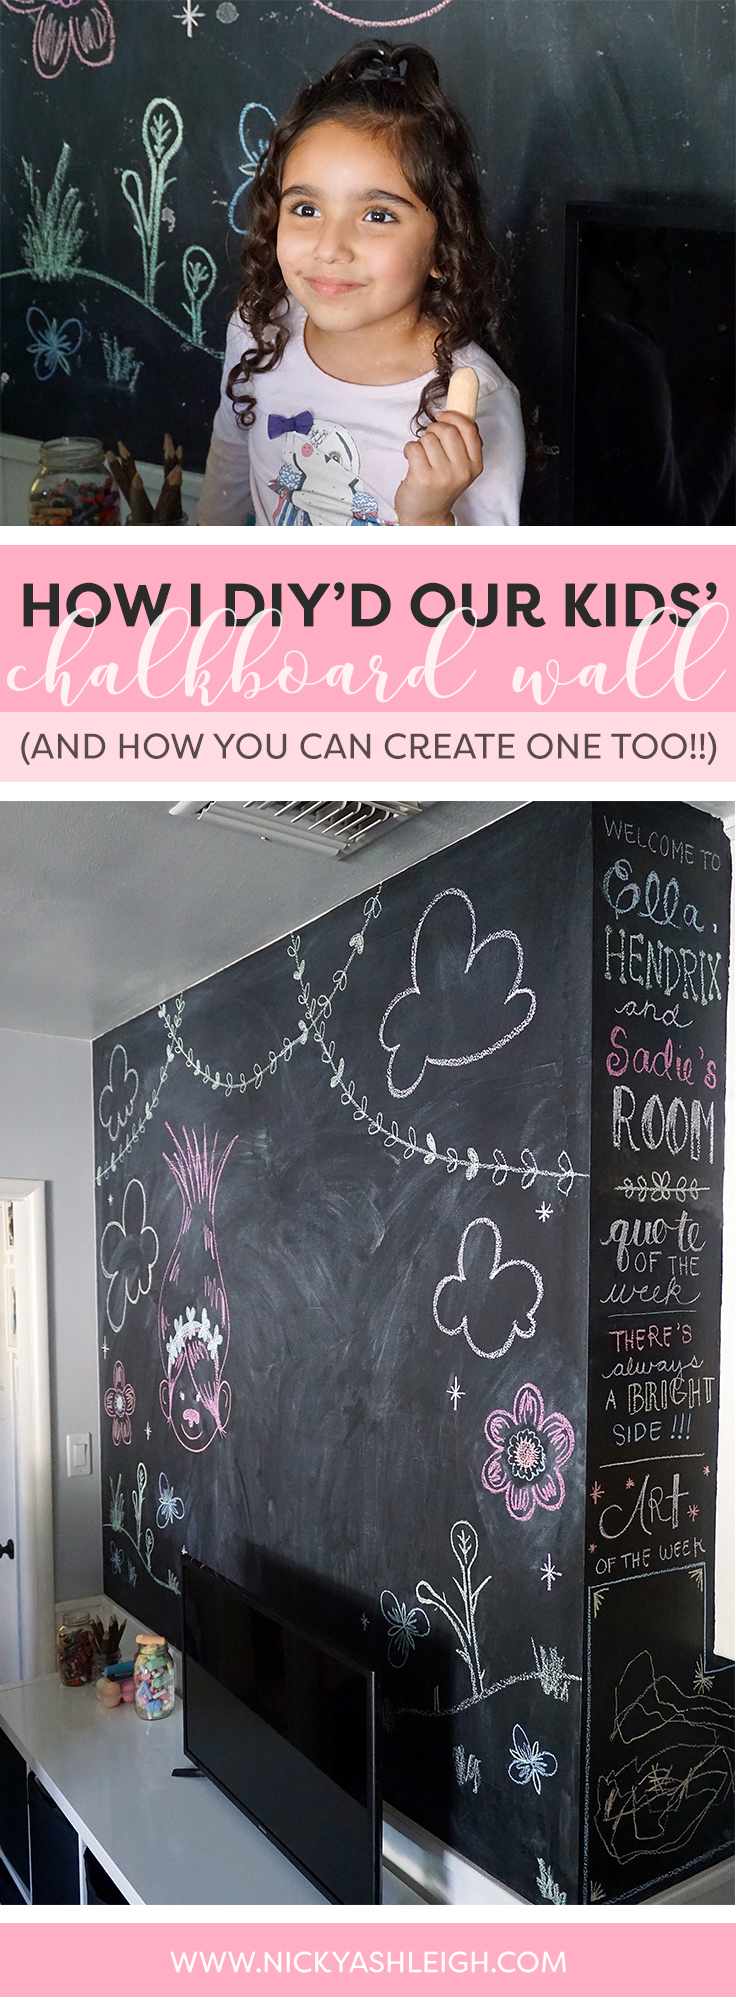
When they’re not being usurped by their younger cousin – the dry-erase board – chalkboards offer an organic and nostalgic method of displaying art, information and fancy wedding writing unlike any other surface. That’s why, for years prior to even picking up a paintbrush, I knew I wanted a large chalkboard wall in our kids’ room. That and I knew it’d be a great space for them to freely create on their own time with minimal cleanup on my part – #momlogic.
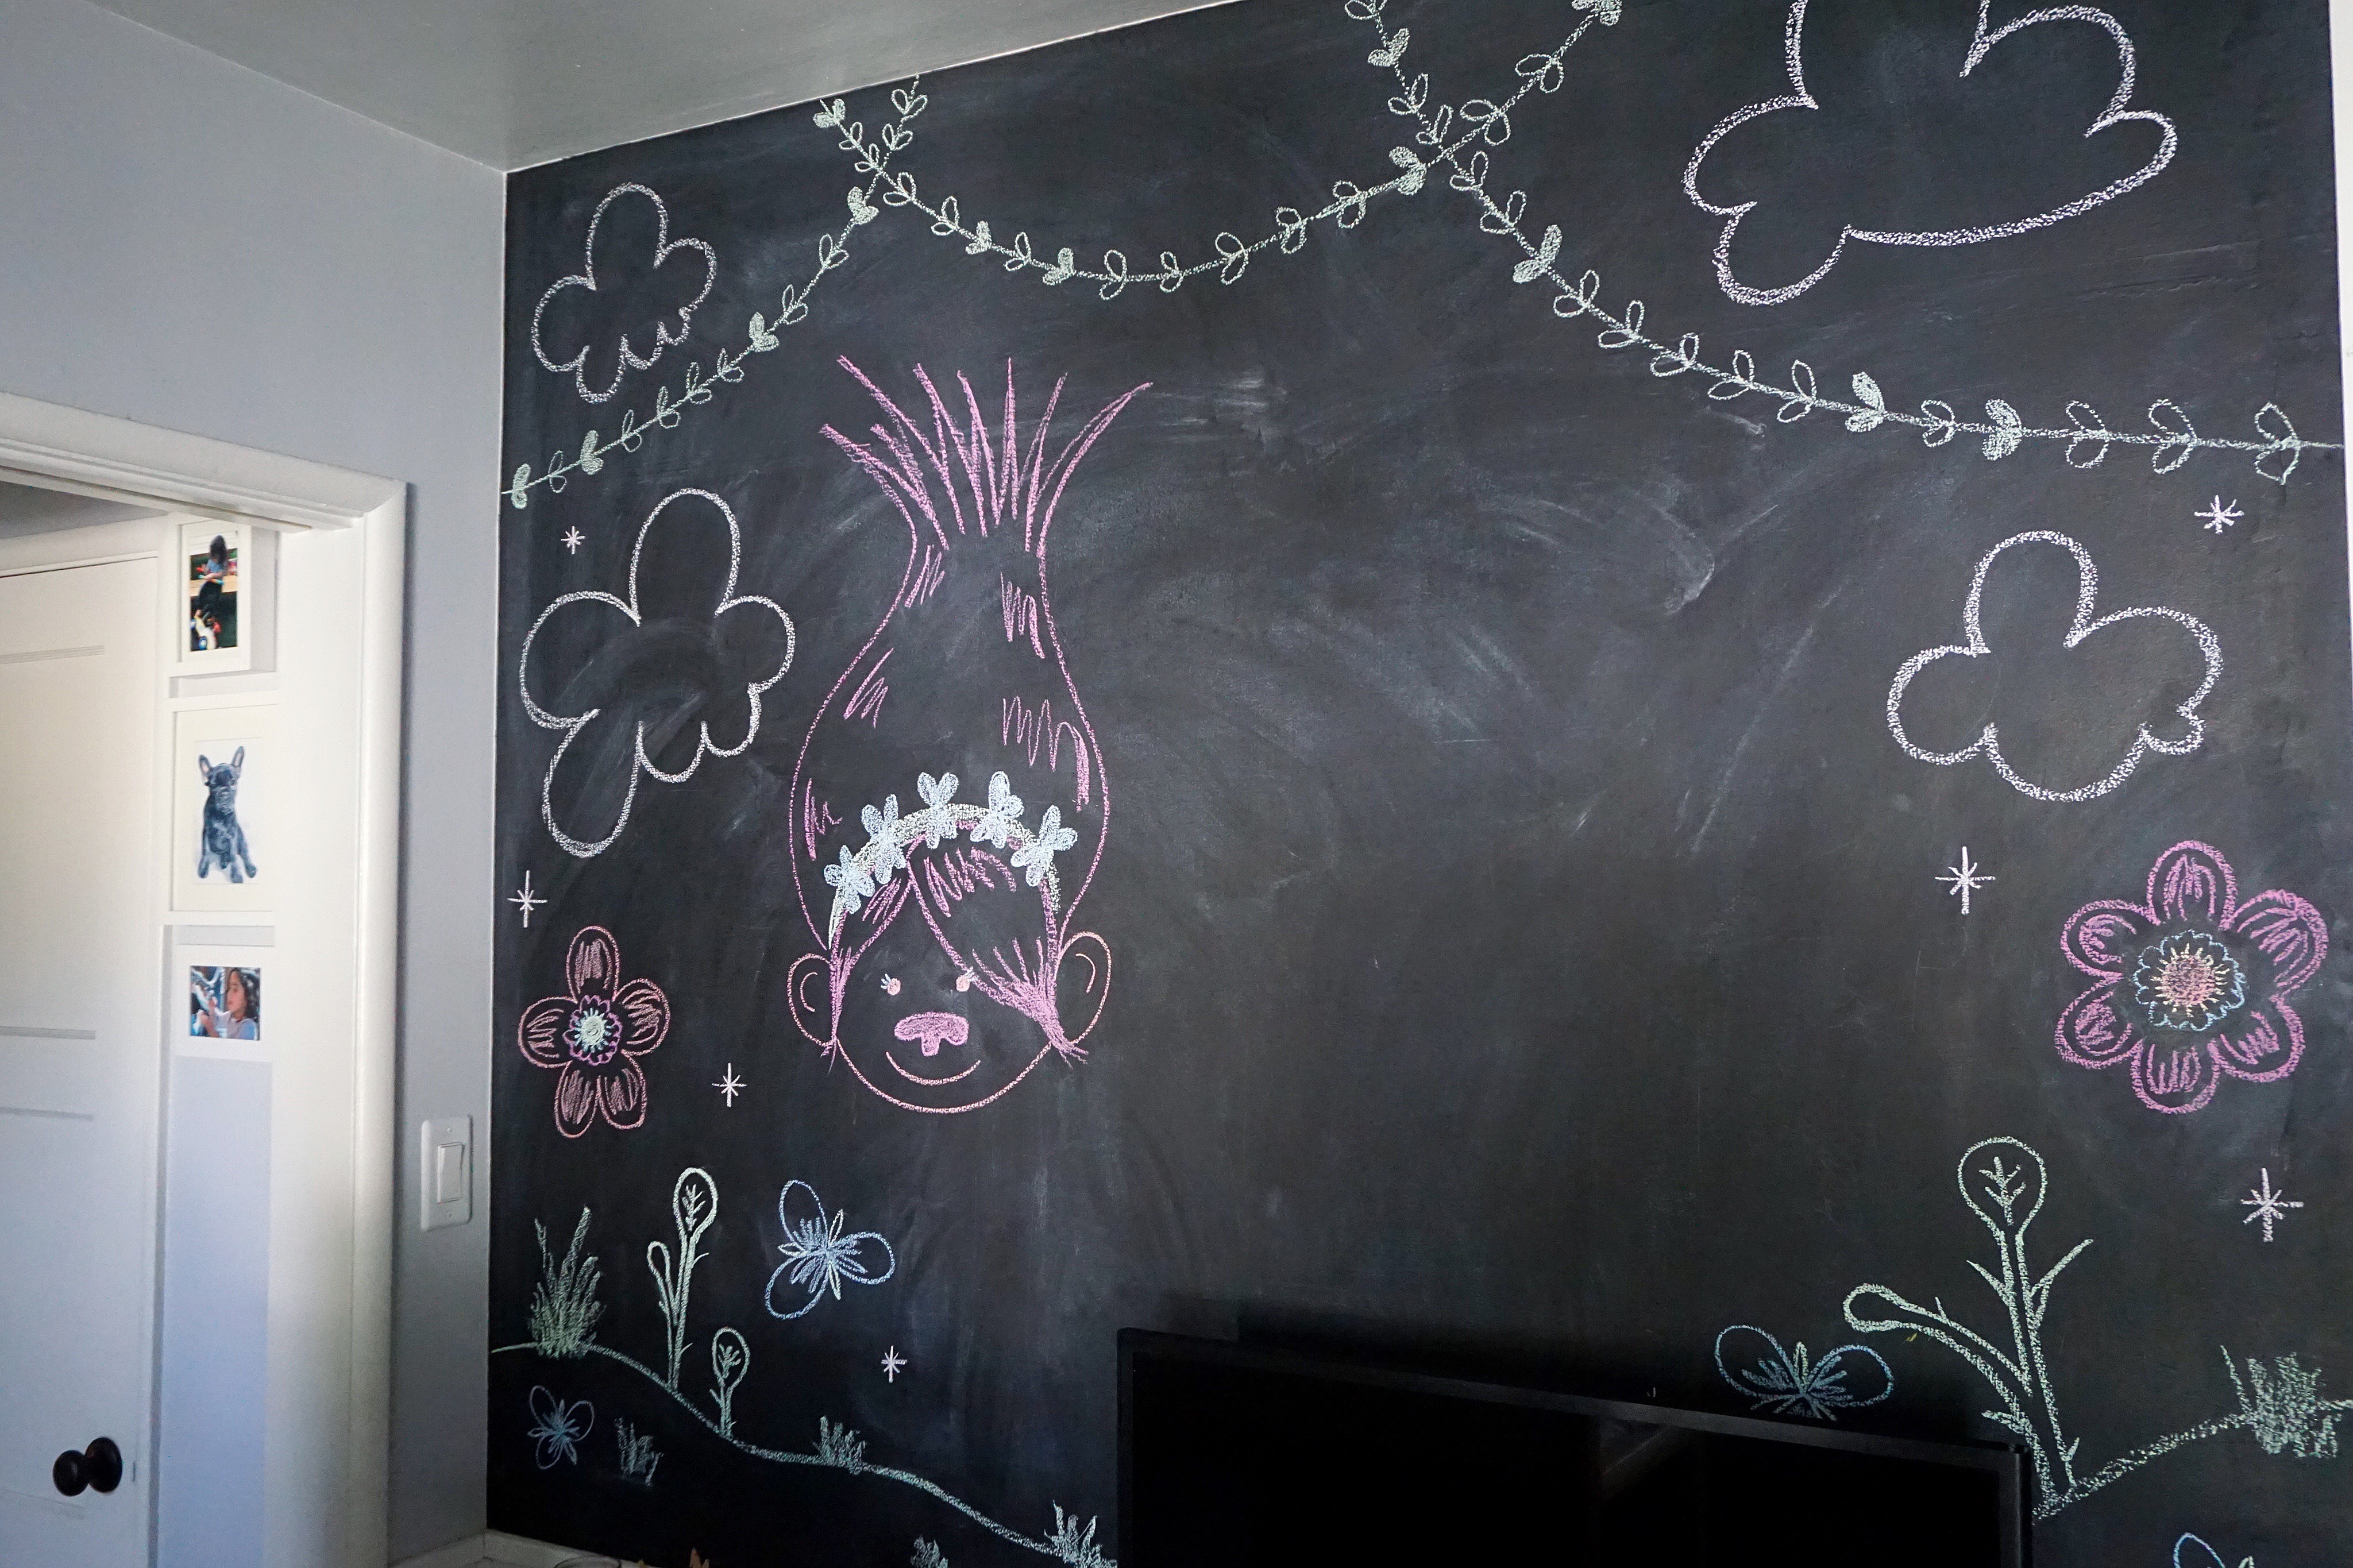
Last summer, I set out to paint and redecorate our kids’ room (see a post on that here) and finally create the chalkboard wall I’d been dreaming about. With a small can of paint and a whole lot of patience, I made it through and made a lovely (if I do say so myself) and large art space for Ella, Hendrix and Sadie to enjoy. My initial thoughts were to mount the kids’ TV to the wall along with a few storage-type things (see here, here and here) but I ultimately decided against it. It’s a little bare and the TV and chalk have to be housed on the toy shelving unit below but the wall just feels like a vast ever-changing canvas now and I love it.
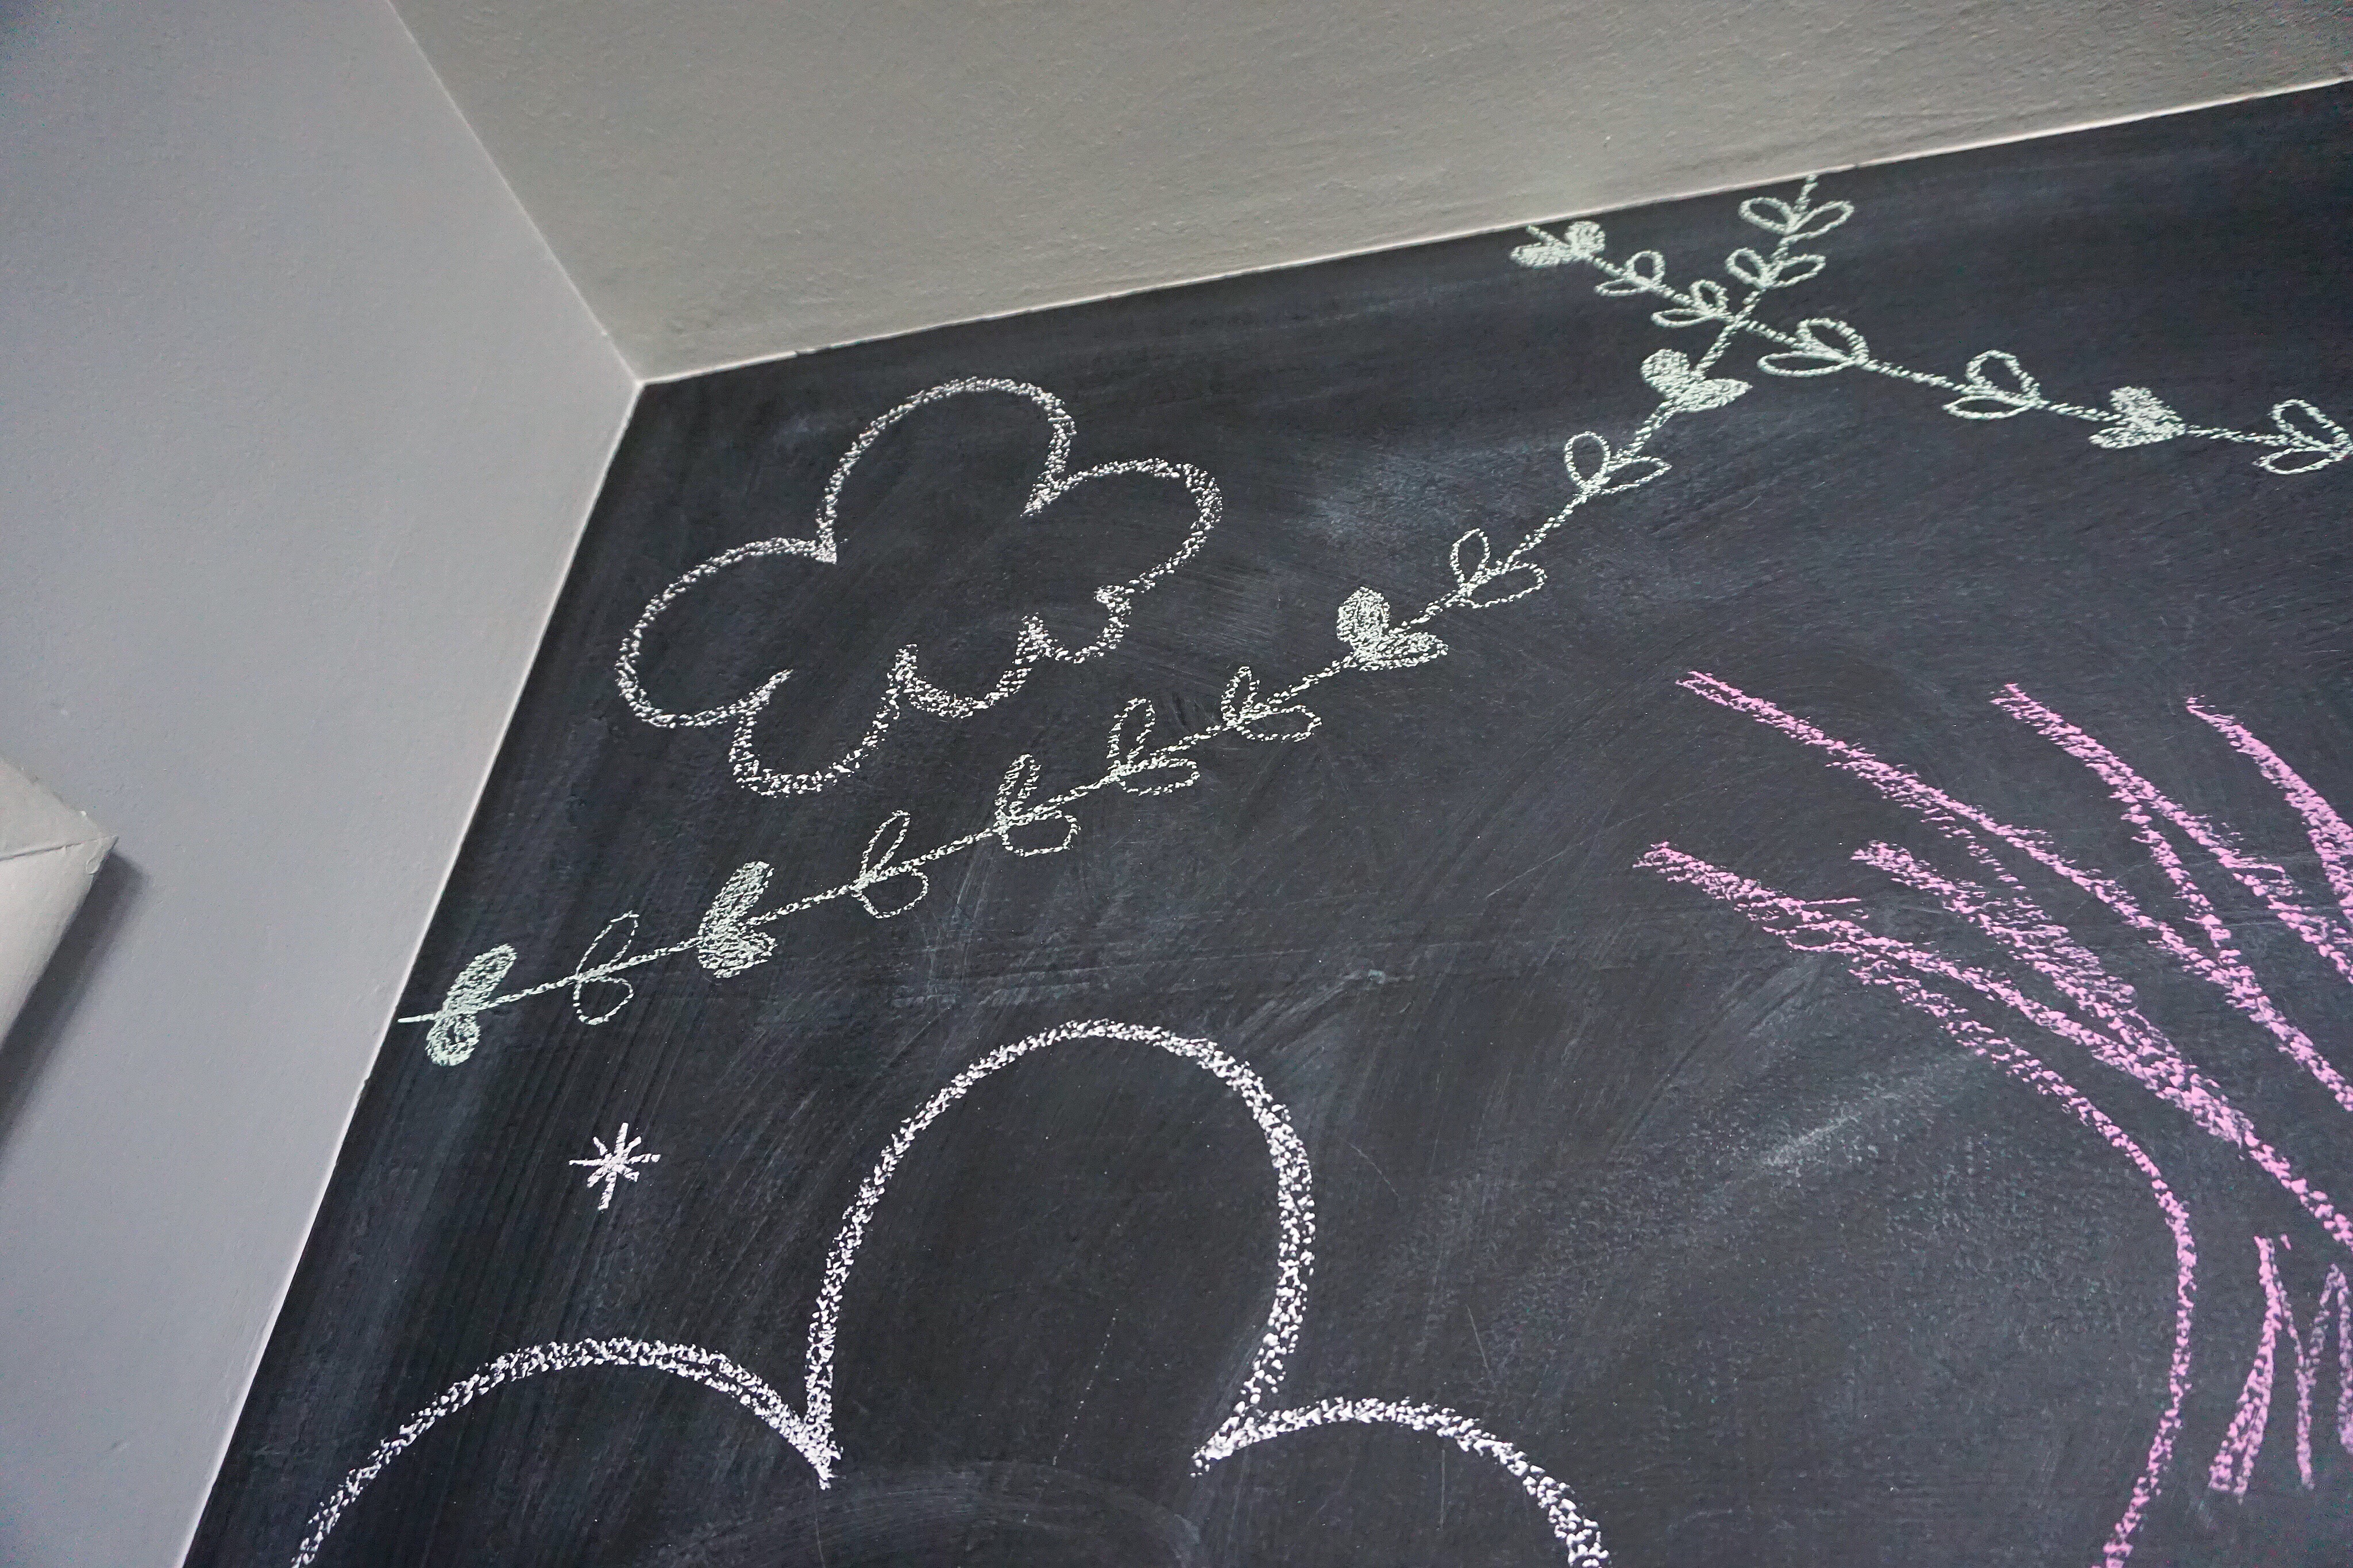
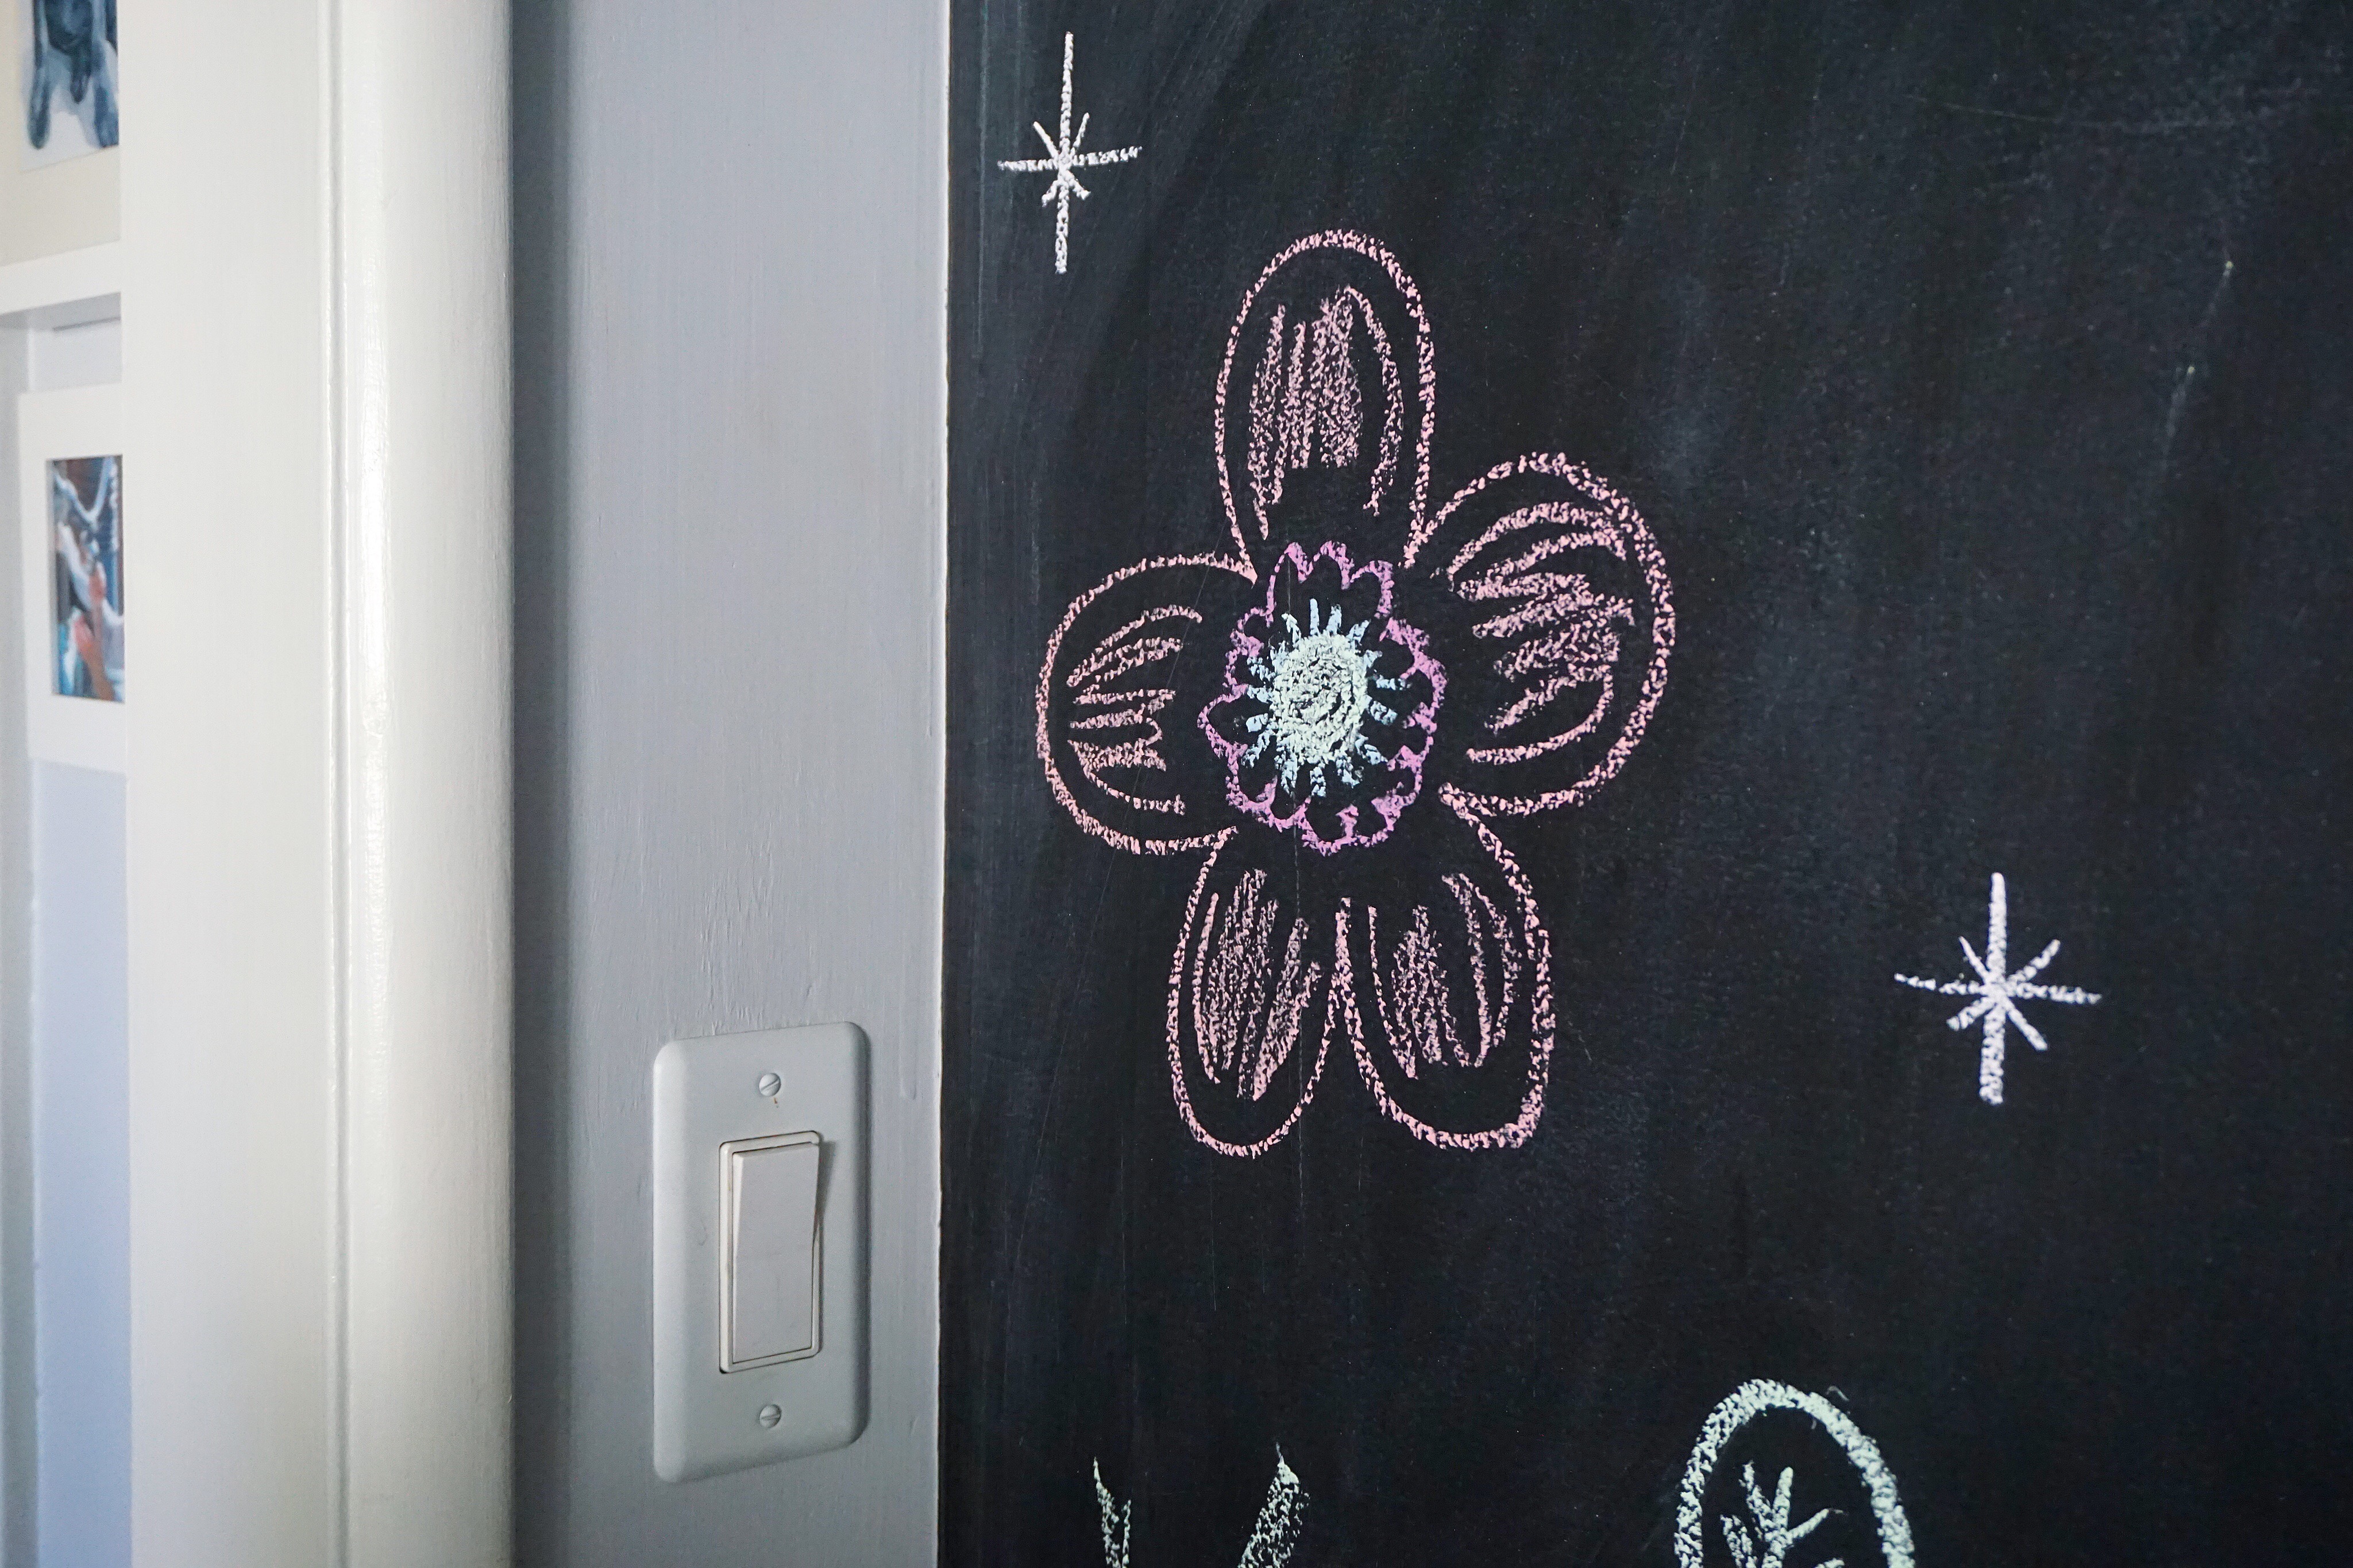
If you’ve seen my Insta stories, you’ve probably seen the chalkboard wall in action as I often post photos of the things I draw for the kids along with the quotes that I write for them each week. When I’m not hijacking their wall with my doodles however, it’s a place for them to learn, write and draw. I couldn’t be happier with how it turned out, how much use we get out of it and, most importantly, how much happiness our kids get from it.
In this post, I’ve outlined the steps I took to DIY this large chalkboard wall including how to prep, paint and even replenish the surface so you can create and enjoy one too! Here they are…
SAND, SAND AND SAND SOME MORE
Creating a smooth surface to house all your wonderful chalk creations is really important so don’t neglect the prep stage. Patching and sanding can sometimes feel like daunting tasks, but trust me when I say all the effort you put into these steps will be worth it. During the redecoration process last year, we removed old shelving along the top of the wall which left a bit of a lumpy horizontal line all the way across. It’s still there but it’s not nearly as noticeable – or as hard to draw on – as it would have been had I not put in the work to wear it down. Sand and patch and sand again until you have a solid base for your chalkboard paint.
PERFECT THE EDGES
Unless you’re super skilled with using painter’s tape (I’m totally not), get yourself an edger for clean lines and perfect edges. I used the Shur-Line Paint Edger that I purchased at Home Depot and it changed my entire painting game during our kids’ room redo. It’s inexpensive, easy to use and it doesn’t require you to tape off an entire room/area prior to painting. Especially when dealing with darker paints, clean edges will go a long way in making things look professional so invest in an edger if you’re not a painter’s tape pro. Please Note: The right side of our wall is a little rocky in the photos because I still have to paint that white built-in bookshelf next to it so let’s just focus on the left side and ceiling edges for the sake of this tutorial… Moving on!
FOLLOW THE DIRECTIONS
If you’re anything like me, you like to wing it sometimes but this is not the time to wing it. I used Rust-Oleum’s Flat Black Chalkboard Paint and followed their instructions for application and drying time step-by-step. I applied one coat of Bulls Eye Primer and two coats of chalkboard paint with the beloved edger I mentioned above and a paint roller and ended up with a beautifully smooth and opaque surface. Side Note: Do not be alarmed by the big blackhole of a wall you’ve freshly painted. Once you condition it (we’ll get to that in a second) and start to use it, it will have a much more subtle appearance.
LET IT SIT THEN CONDITION IT
As per the instructions, I conditioned the wall twice – once three days after painting (before the first use) and again seven days after painting once I’d wiped it down with a damp cloth for the first time. Conditioning your chalkboard wall involves rubbing a piece of chalk on its side all over the wall before wiping it clean with a dry cloth. Doing this prevents your wall from holding onto any lines drawn on it because chalkboard paint is the kind of porous that even Benefit’s POREfessional can’t fix. The light, even layer of chalk will sink into the tiny holes in the paint and ensure that anything you write or draw will come off just as easily as it goes on.
NIC’S TIPS + TRICKS
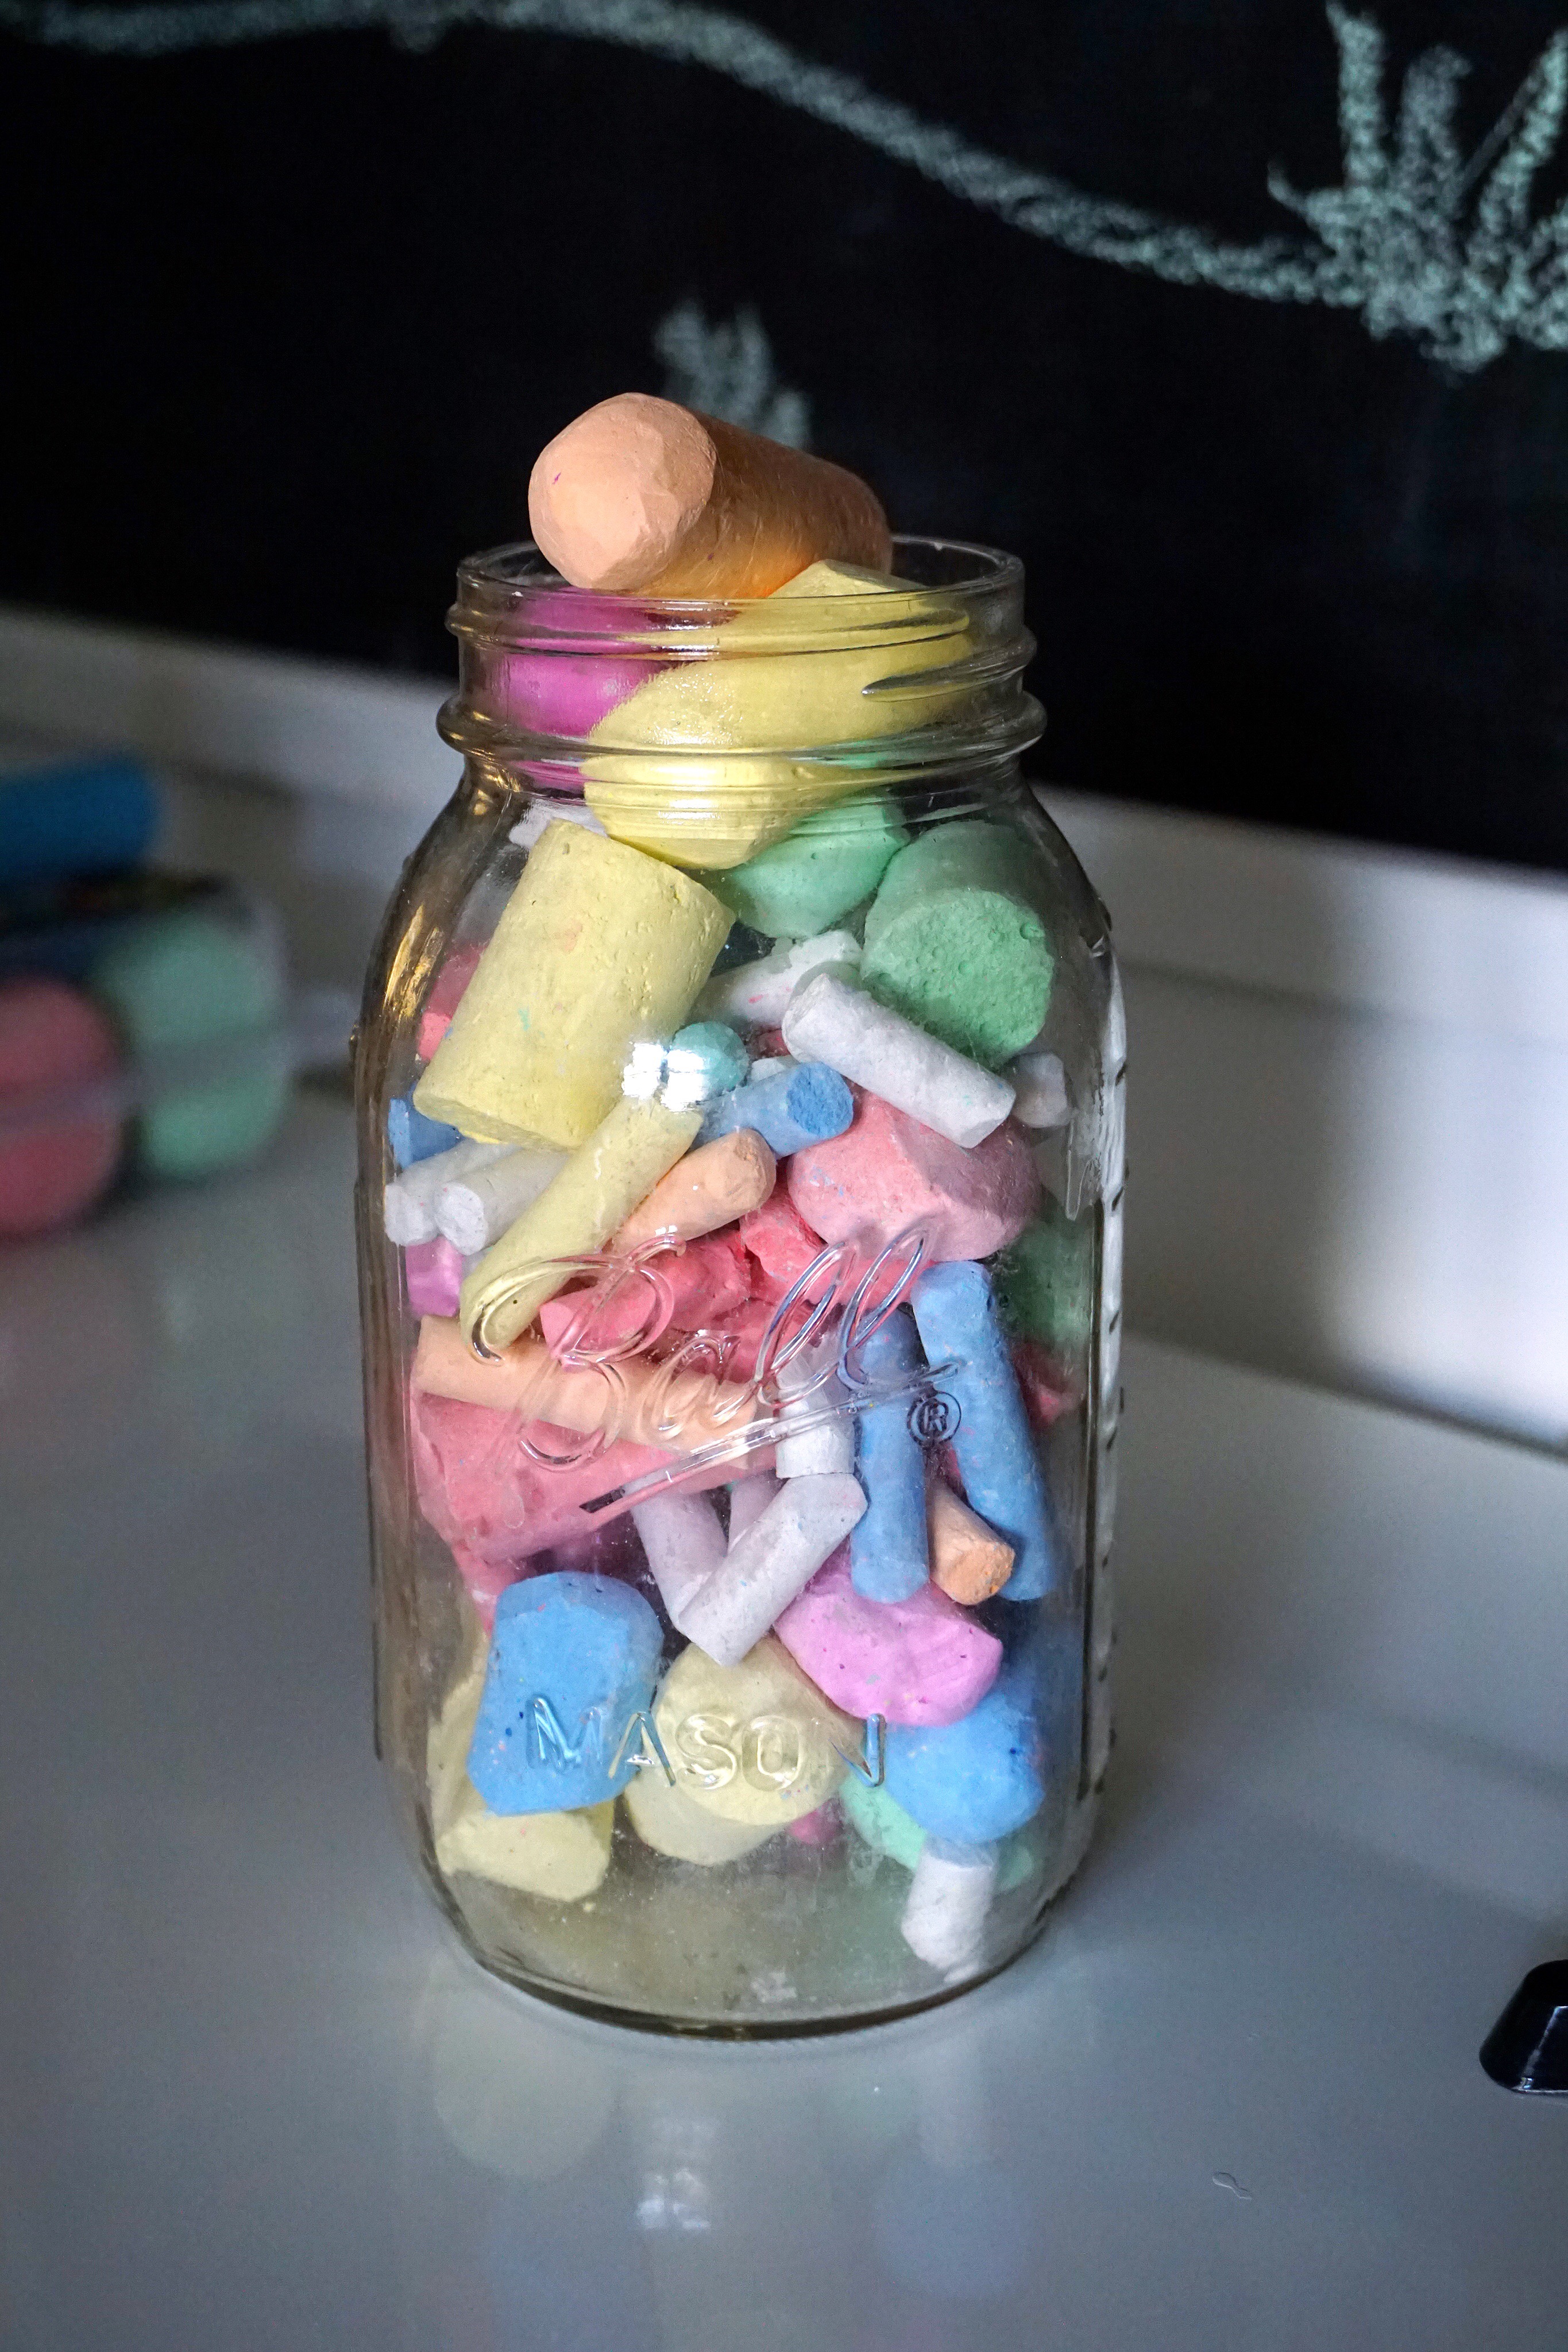
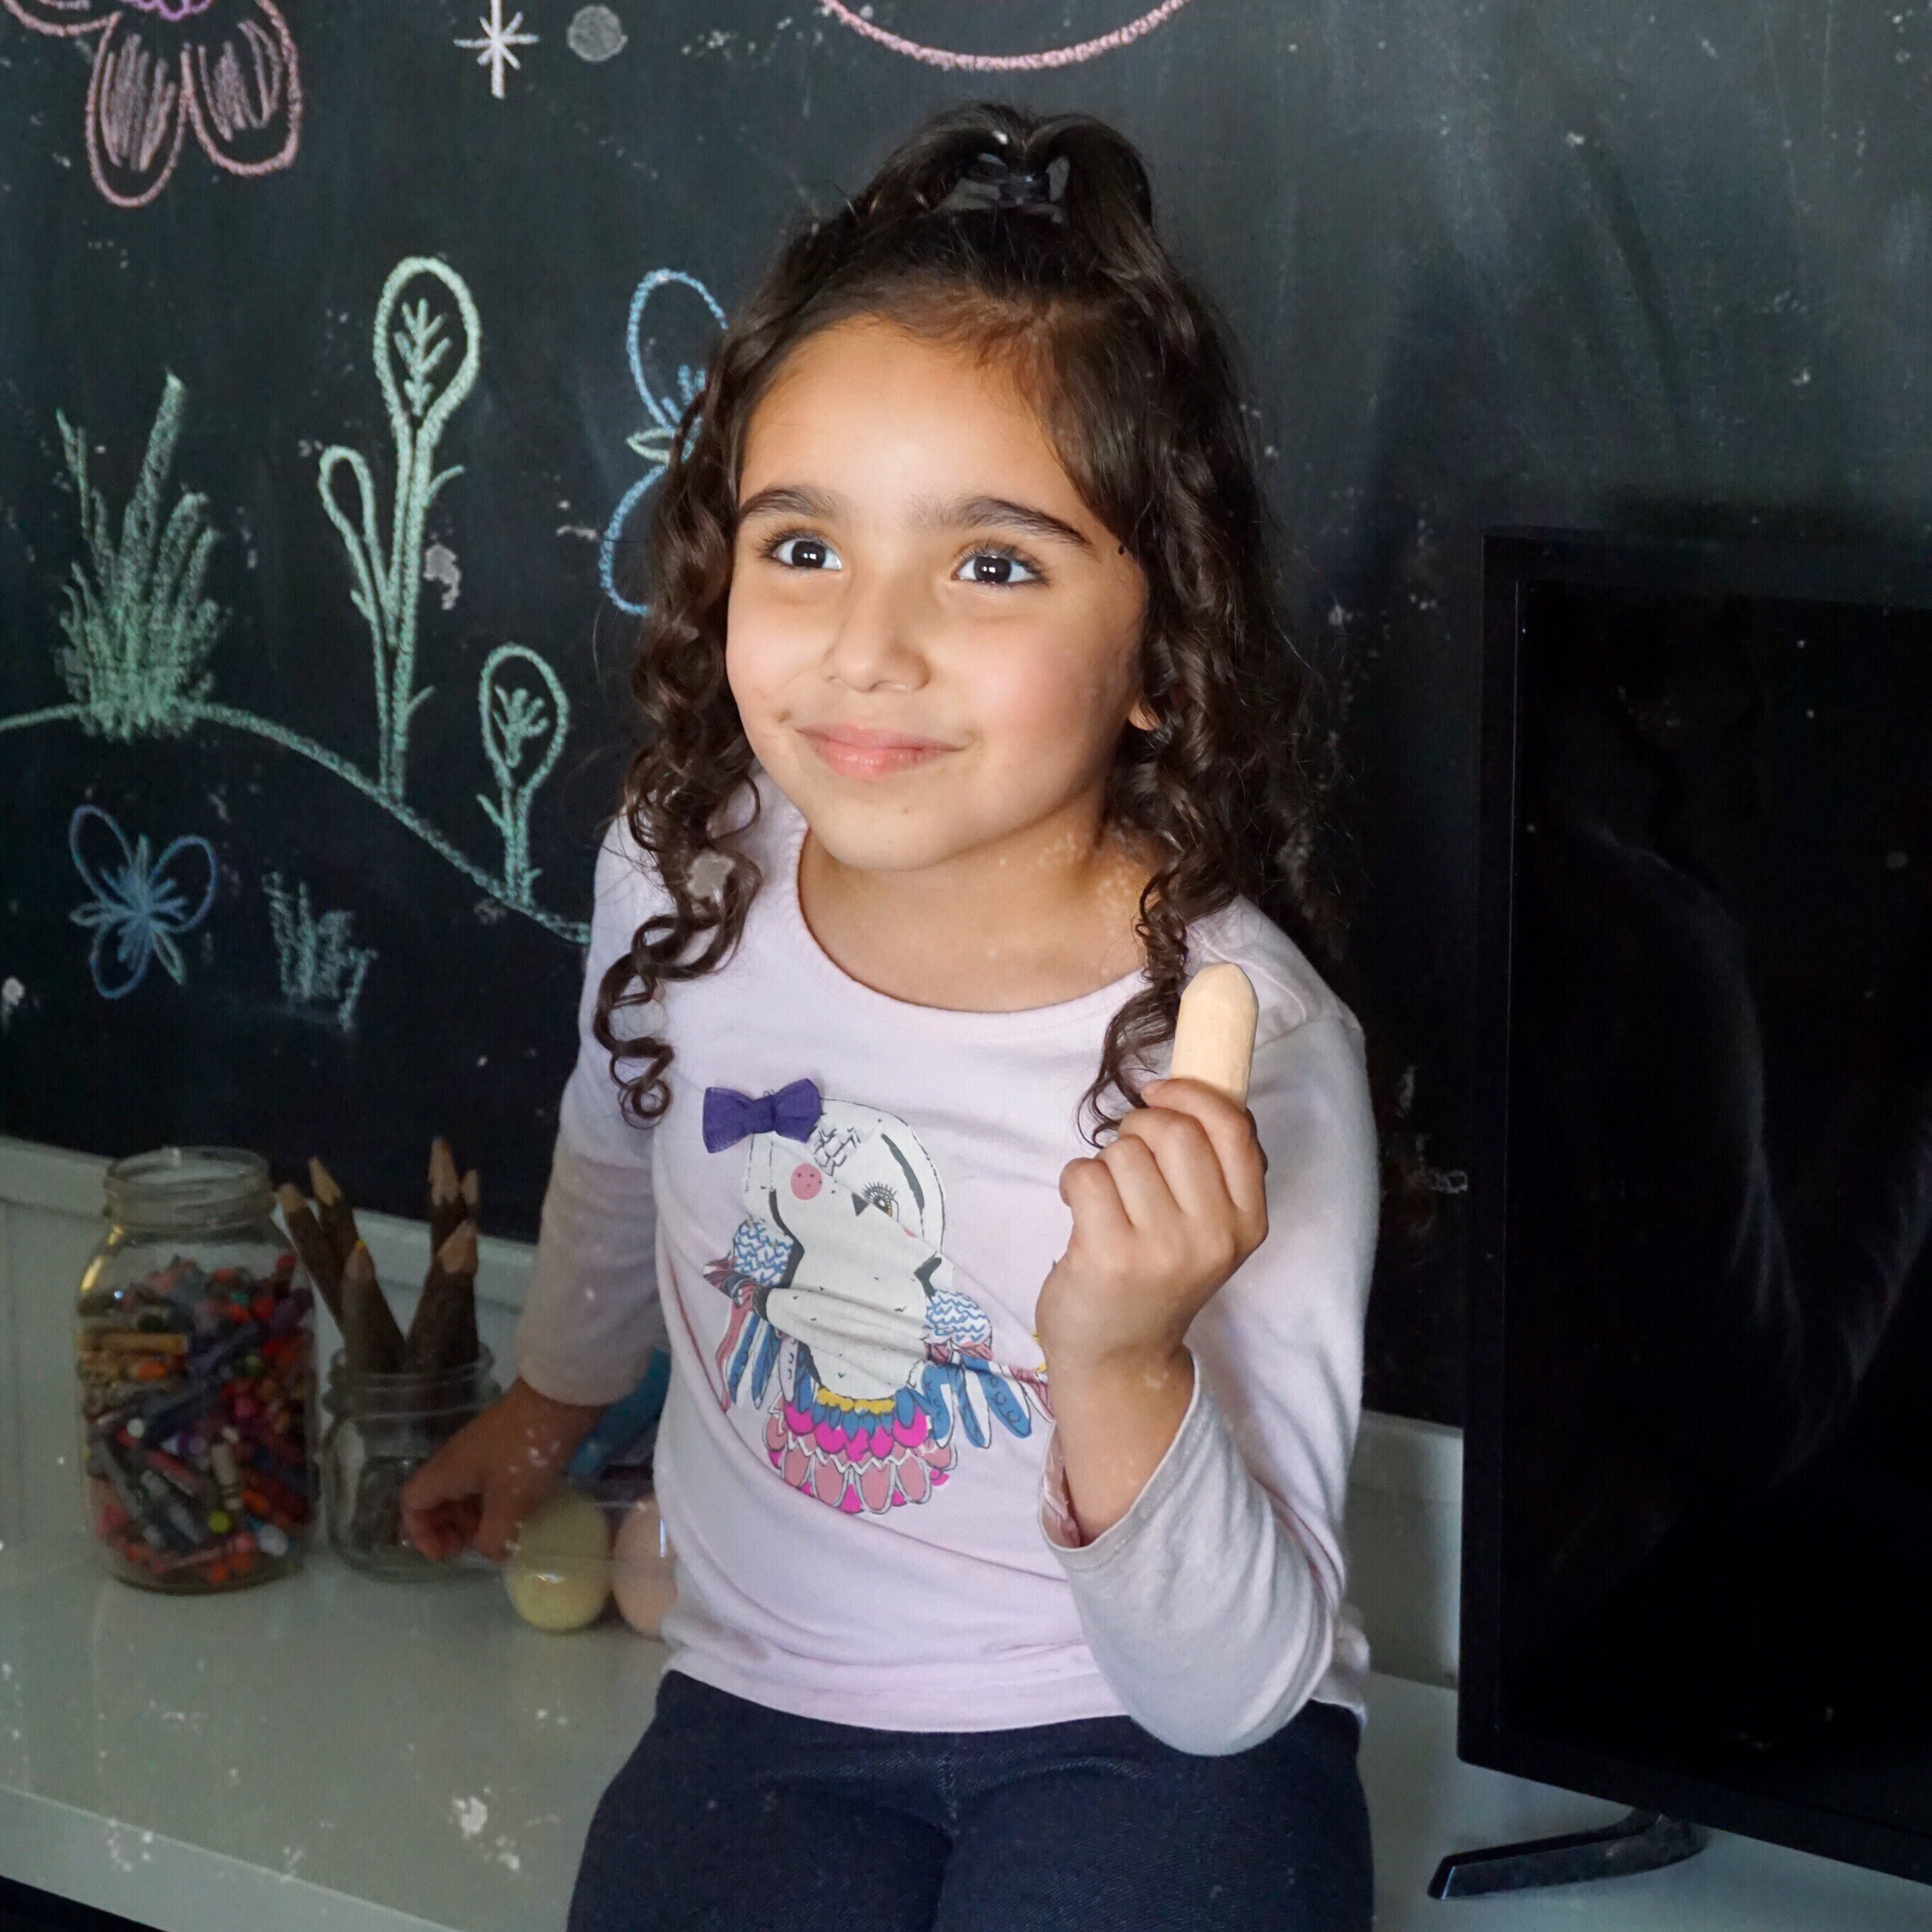
To minimize scratches, we try to use softer pieces of chalk rather than a rough sidewalk chalk. We also try to write like civilized human beings instead of scribbling hard and hastily but that doesn’t always happen. For regular weekly cleanings, I wipe the wall down with a slightly damp cloth and allow it to dry. To refresh the wall, I’ll probably be repainting it sometime within the next year or so although the little scratches and scrapes it has add SO much character and old school schoolhouse vibes so we’ll see!
That’s everything I can think to tell you about our chalkboard wall DIY right now but if you have any questions at all please let me know! I really hope you enjoyed this post as much as I like drawing childish creative things on that wall and, as always, thanks for reading!!


Leave a Reply