

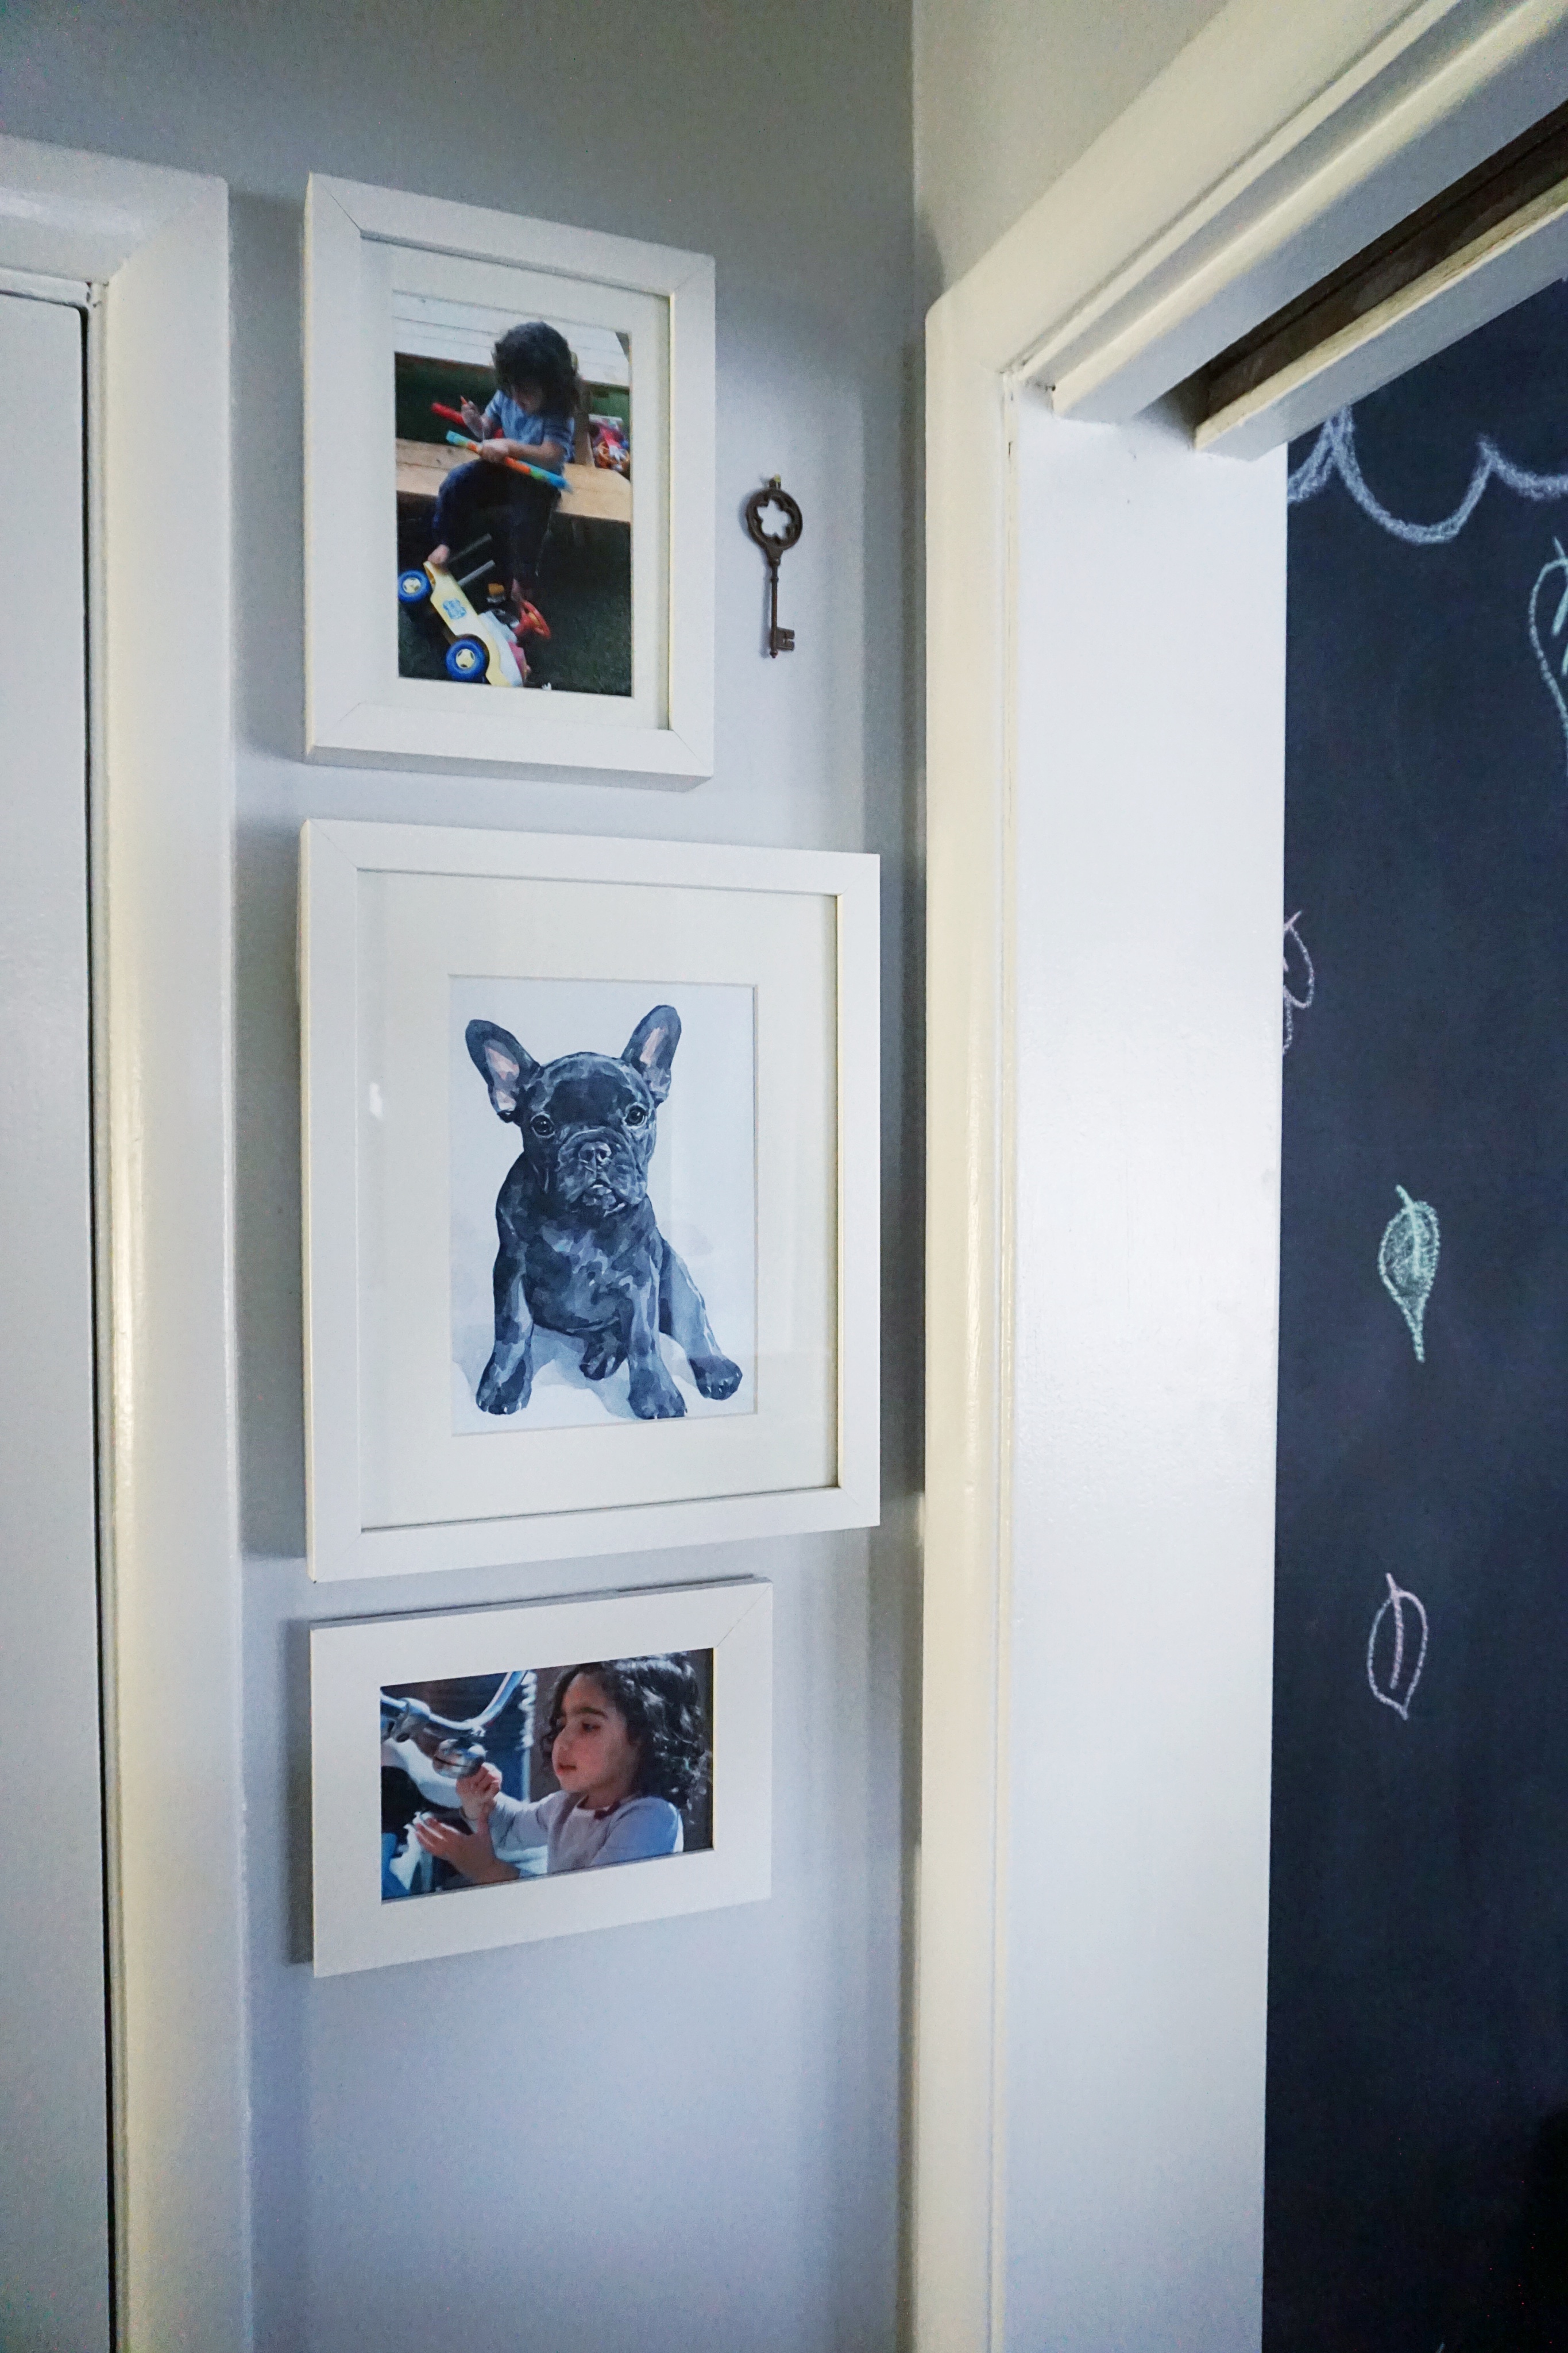


When I mentioned my newfound fondness for Insta Stories in a recent post, I didn’t think I’d soon be accrediting it as a blog post inspiration, but that’s exactly what I’m about to do. After getting really great feedback from a few friends and fellow bloggers on photos I posted on Insta Stories of our small hallway gallery wall, I thought why not share it in a little more detail #ontheblog along with some simple instructions on how you can create your own gallery wall – even in a tight space and even on a tight budget. We’ll be using inexpensive IKEA frames and easy-to-find, apartment-friendly Command Strips along with decor pieces that cost me less than a dollar each!
I love gallery walls because they’re a wonderful way to showcase not only your favorite photos but your personal style as well. I think I’d describe my taste as creative traditional. I’m really into classic elements like wainscoting and tufted everything but I also have a very definite eclectic side that manifests itself in the form of things like bright bold prints, Game of Thrones Funko Pop figurines and a prominently displayed collection of Minnie Mouse ears. Make sure to comment below and let me know what your home decor style is so we can chat all about it but first, let’s build that wall. The inclusive, gallery type. Not the racist one.
WHAT YOU’LL NEED
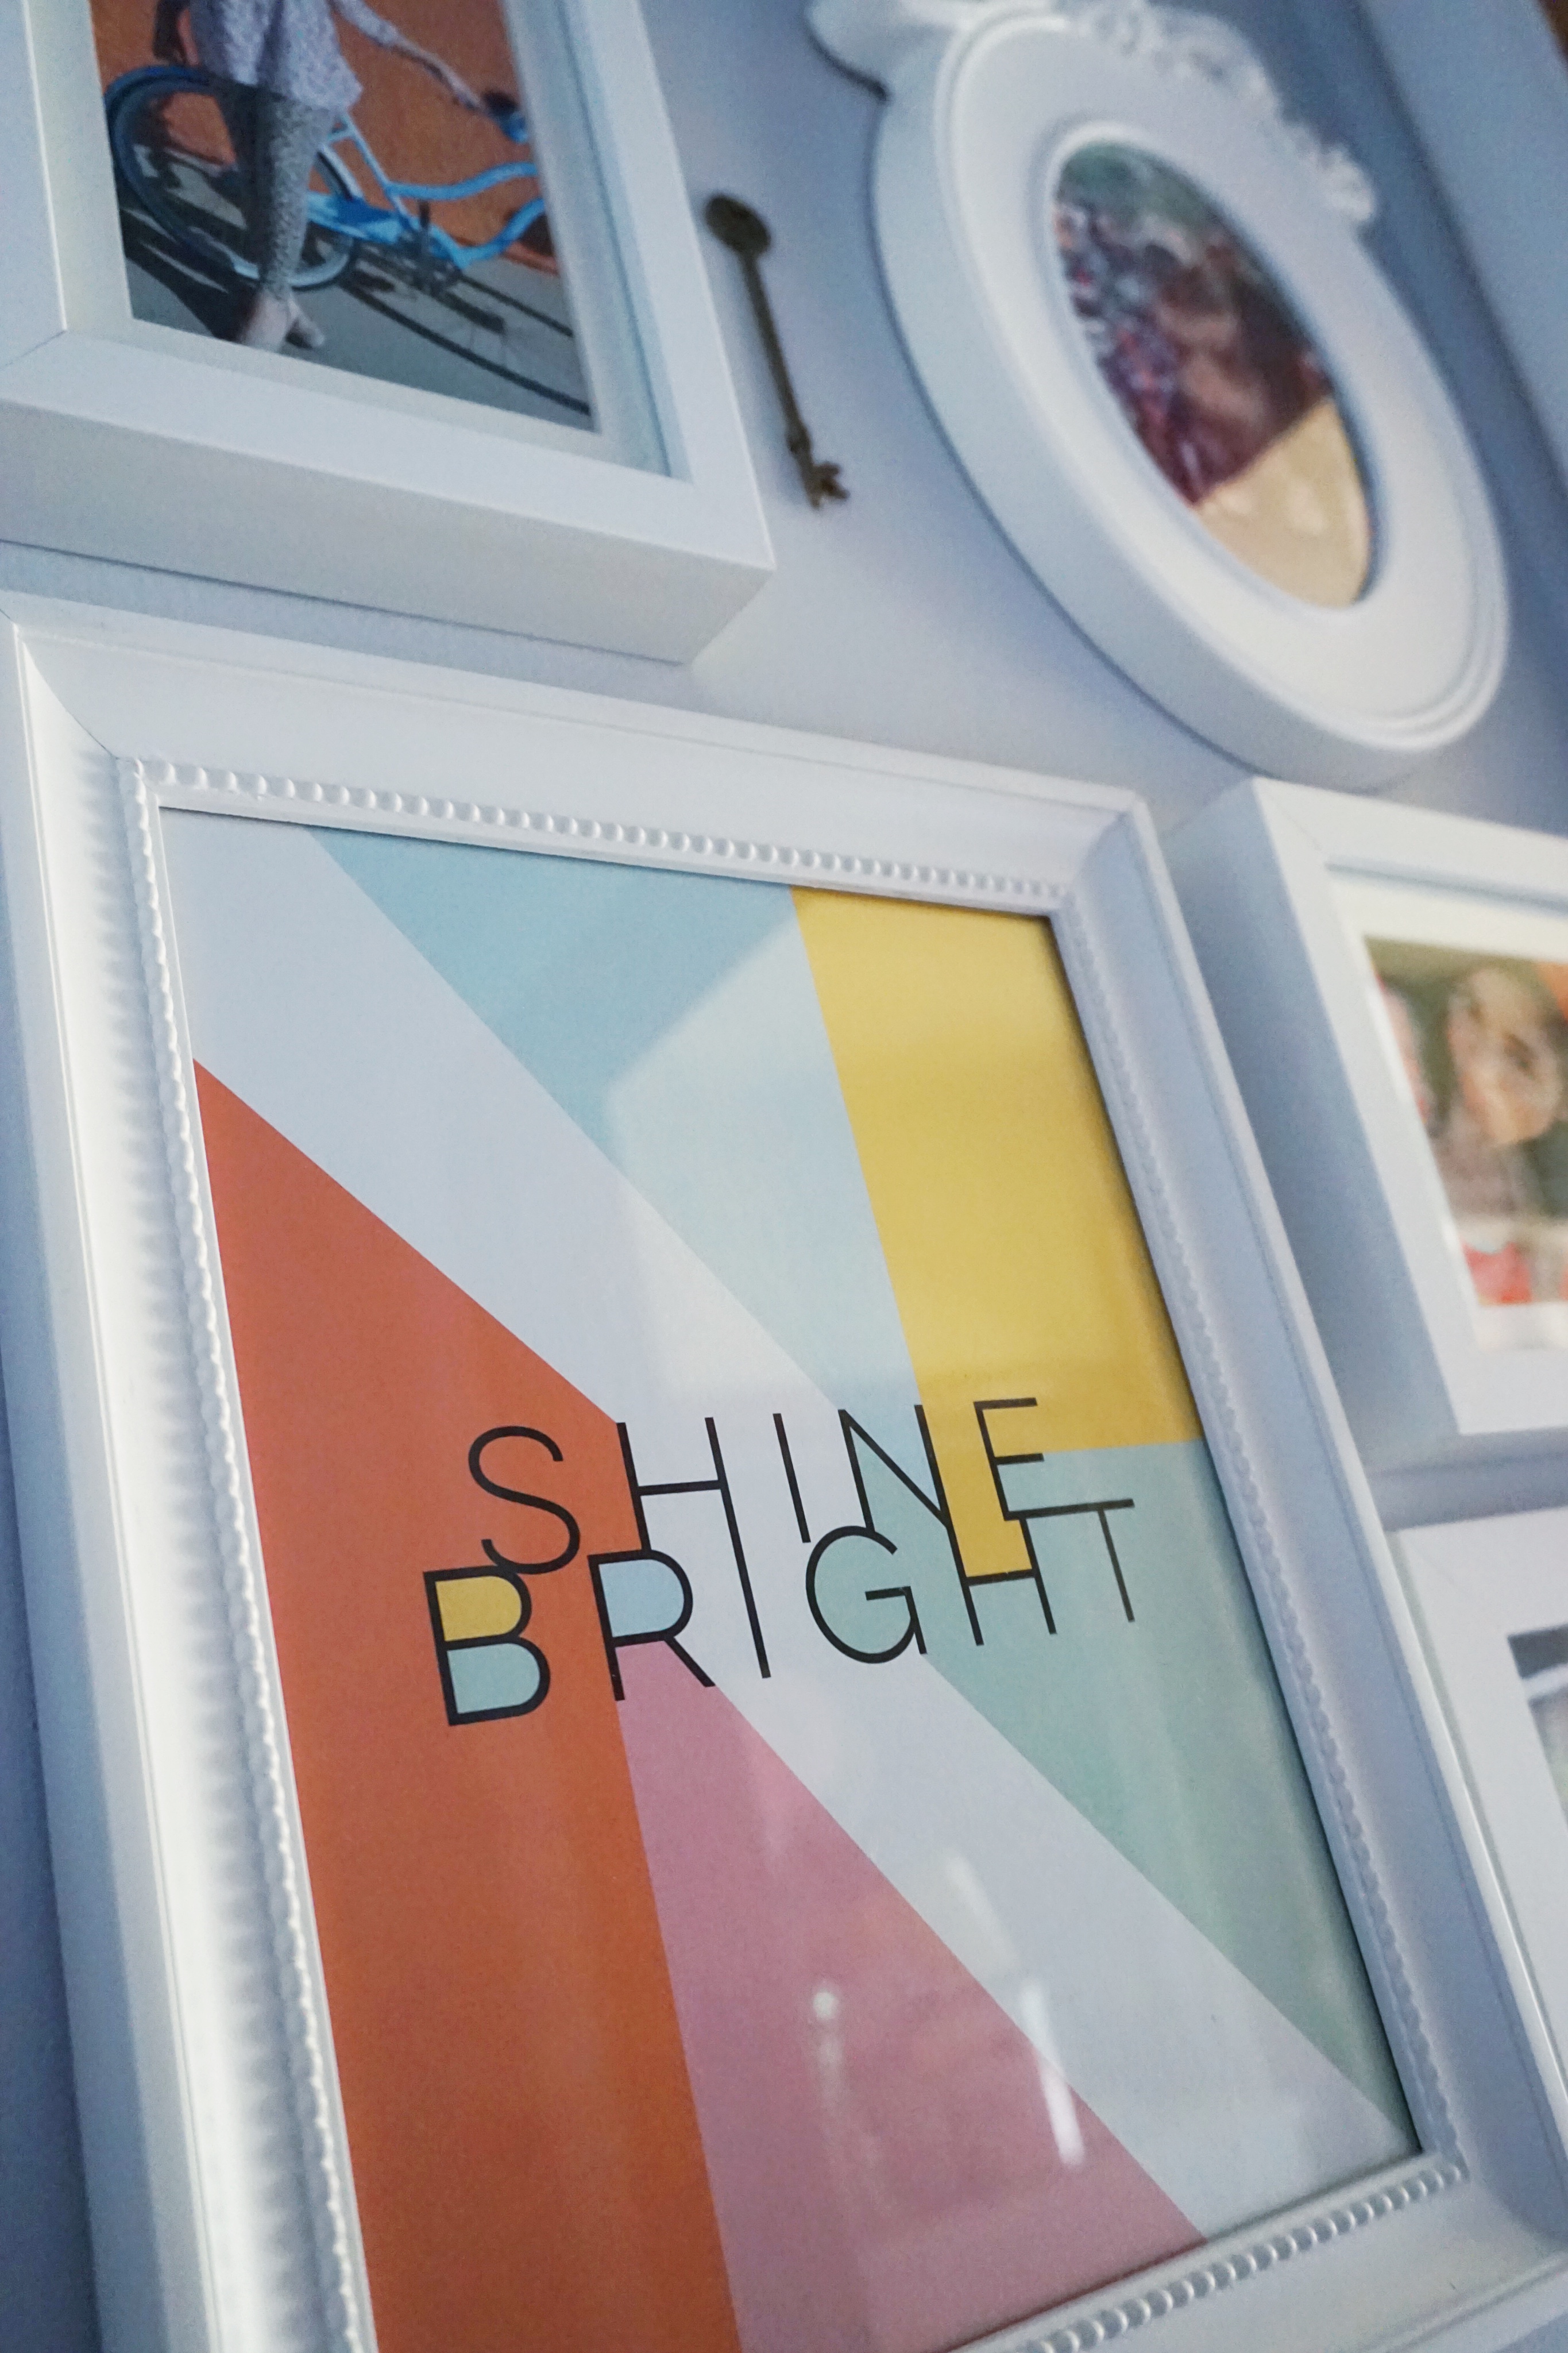
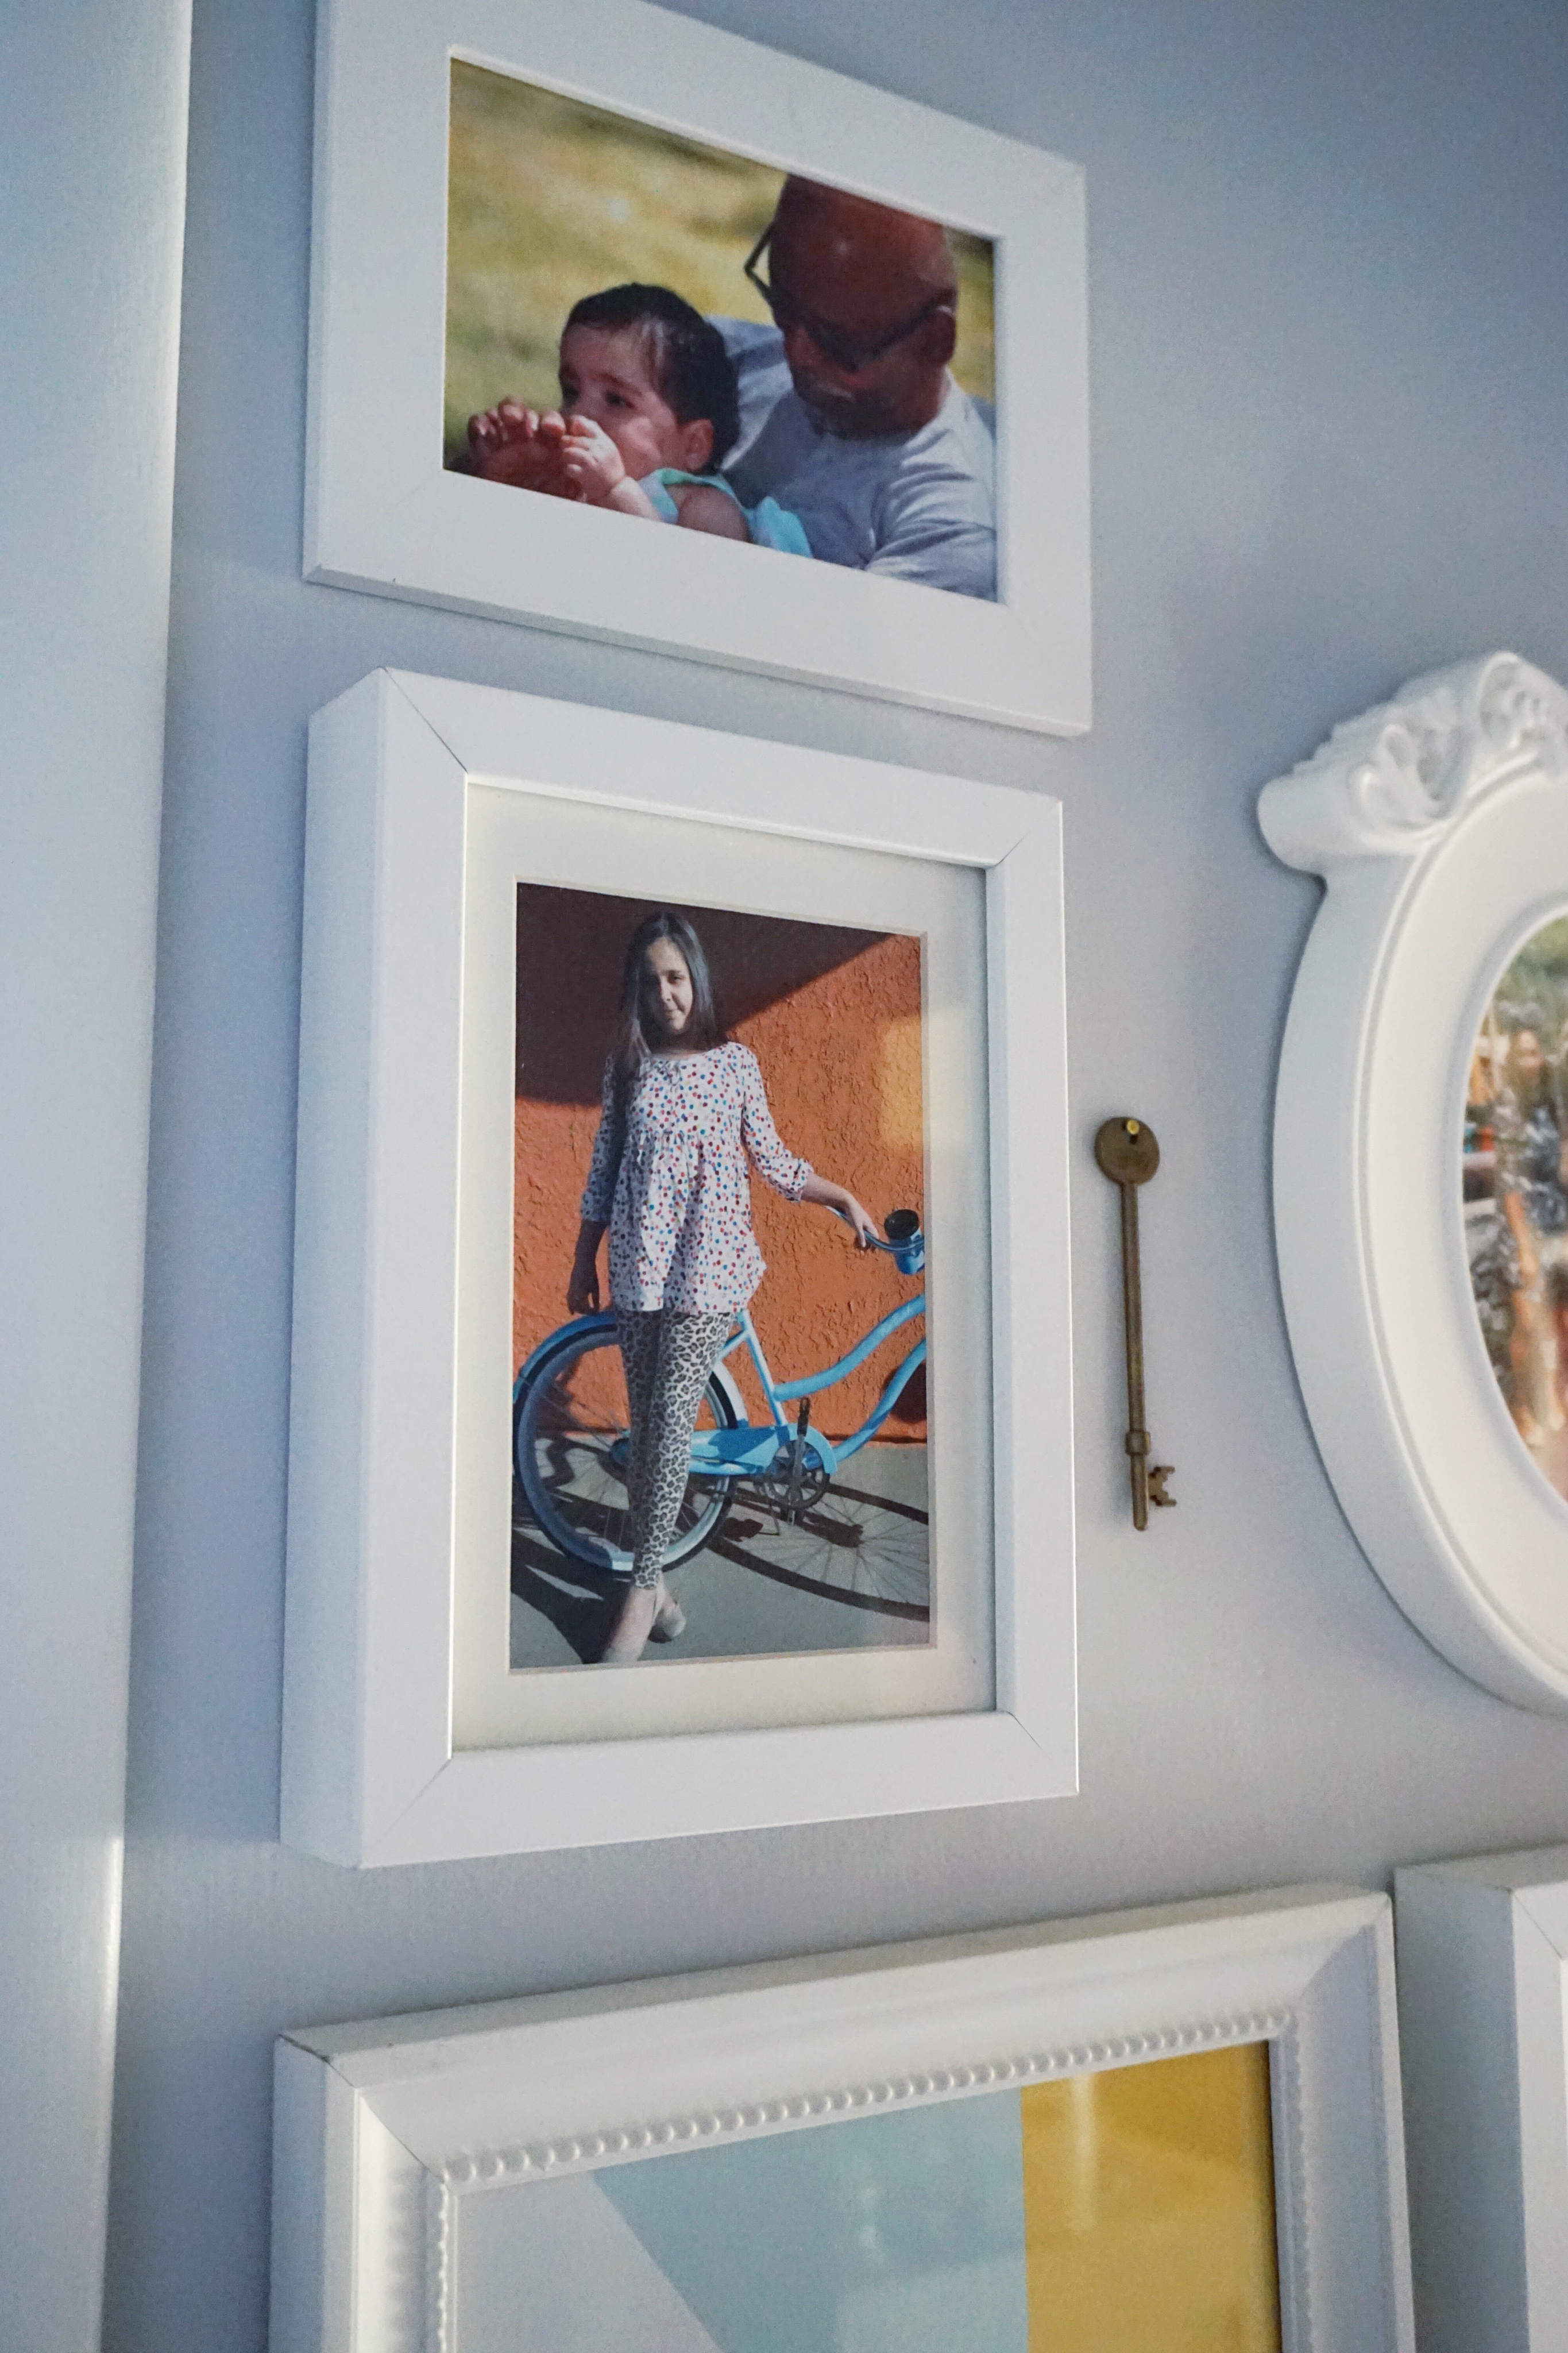
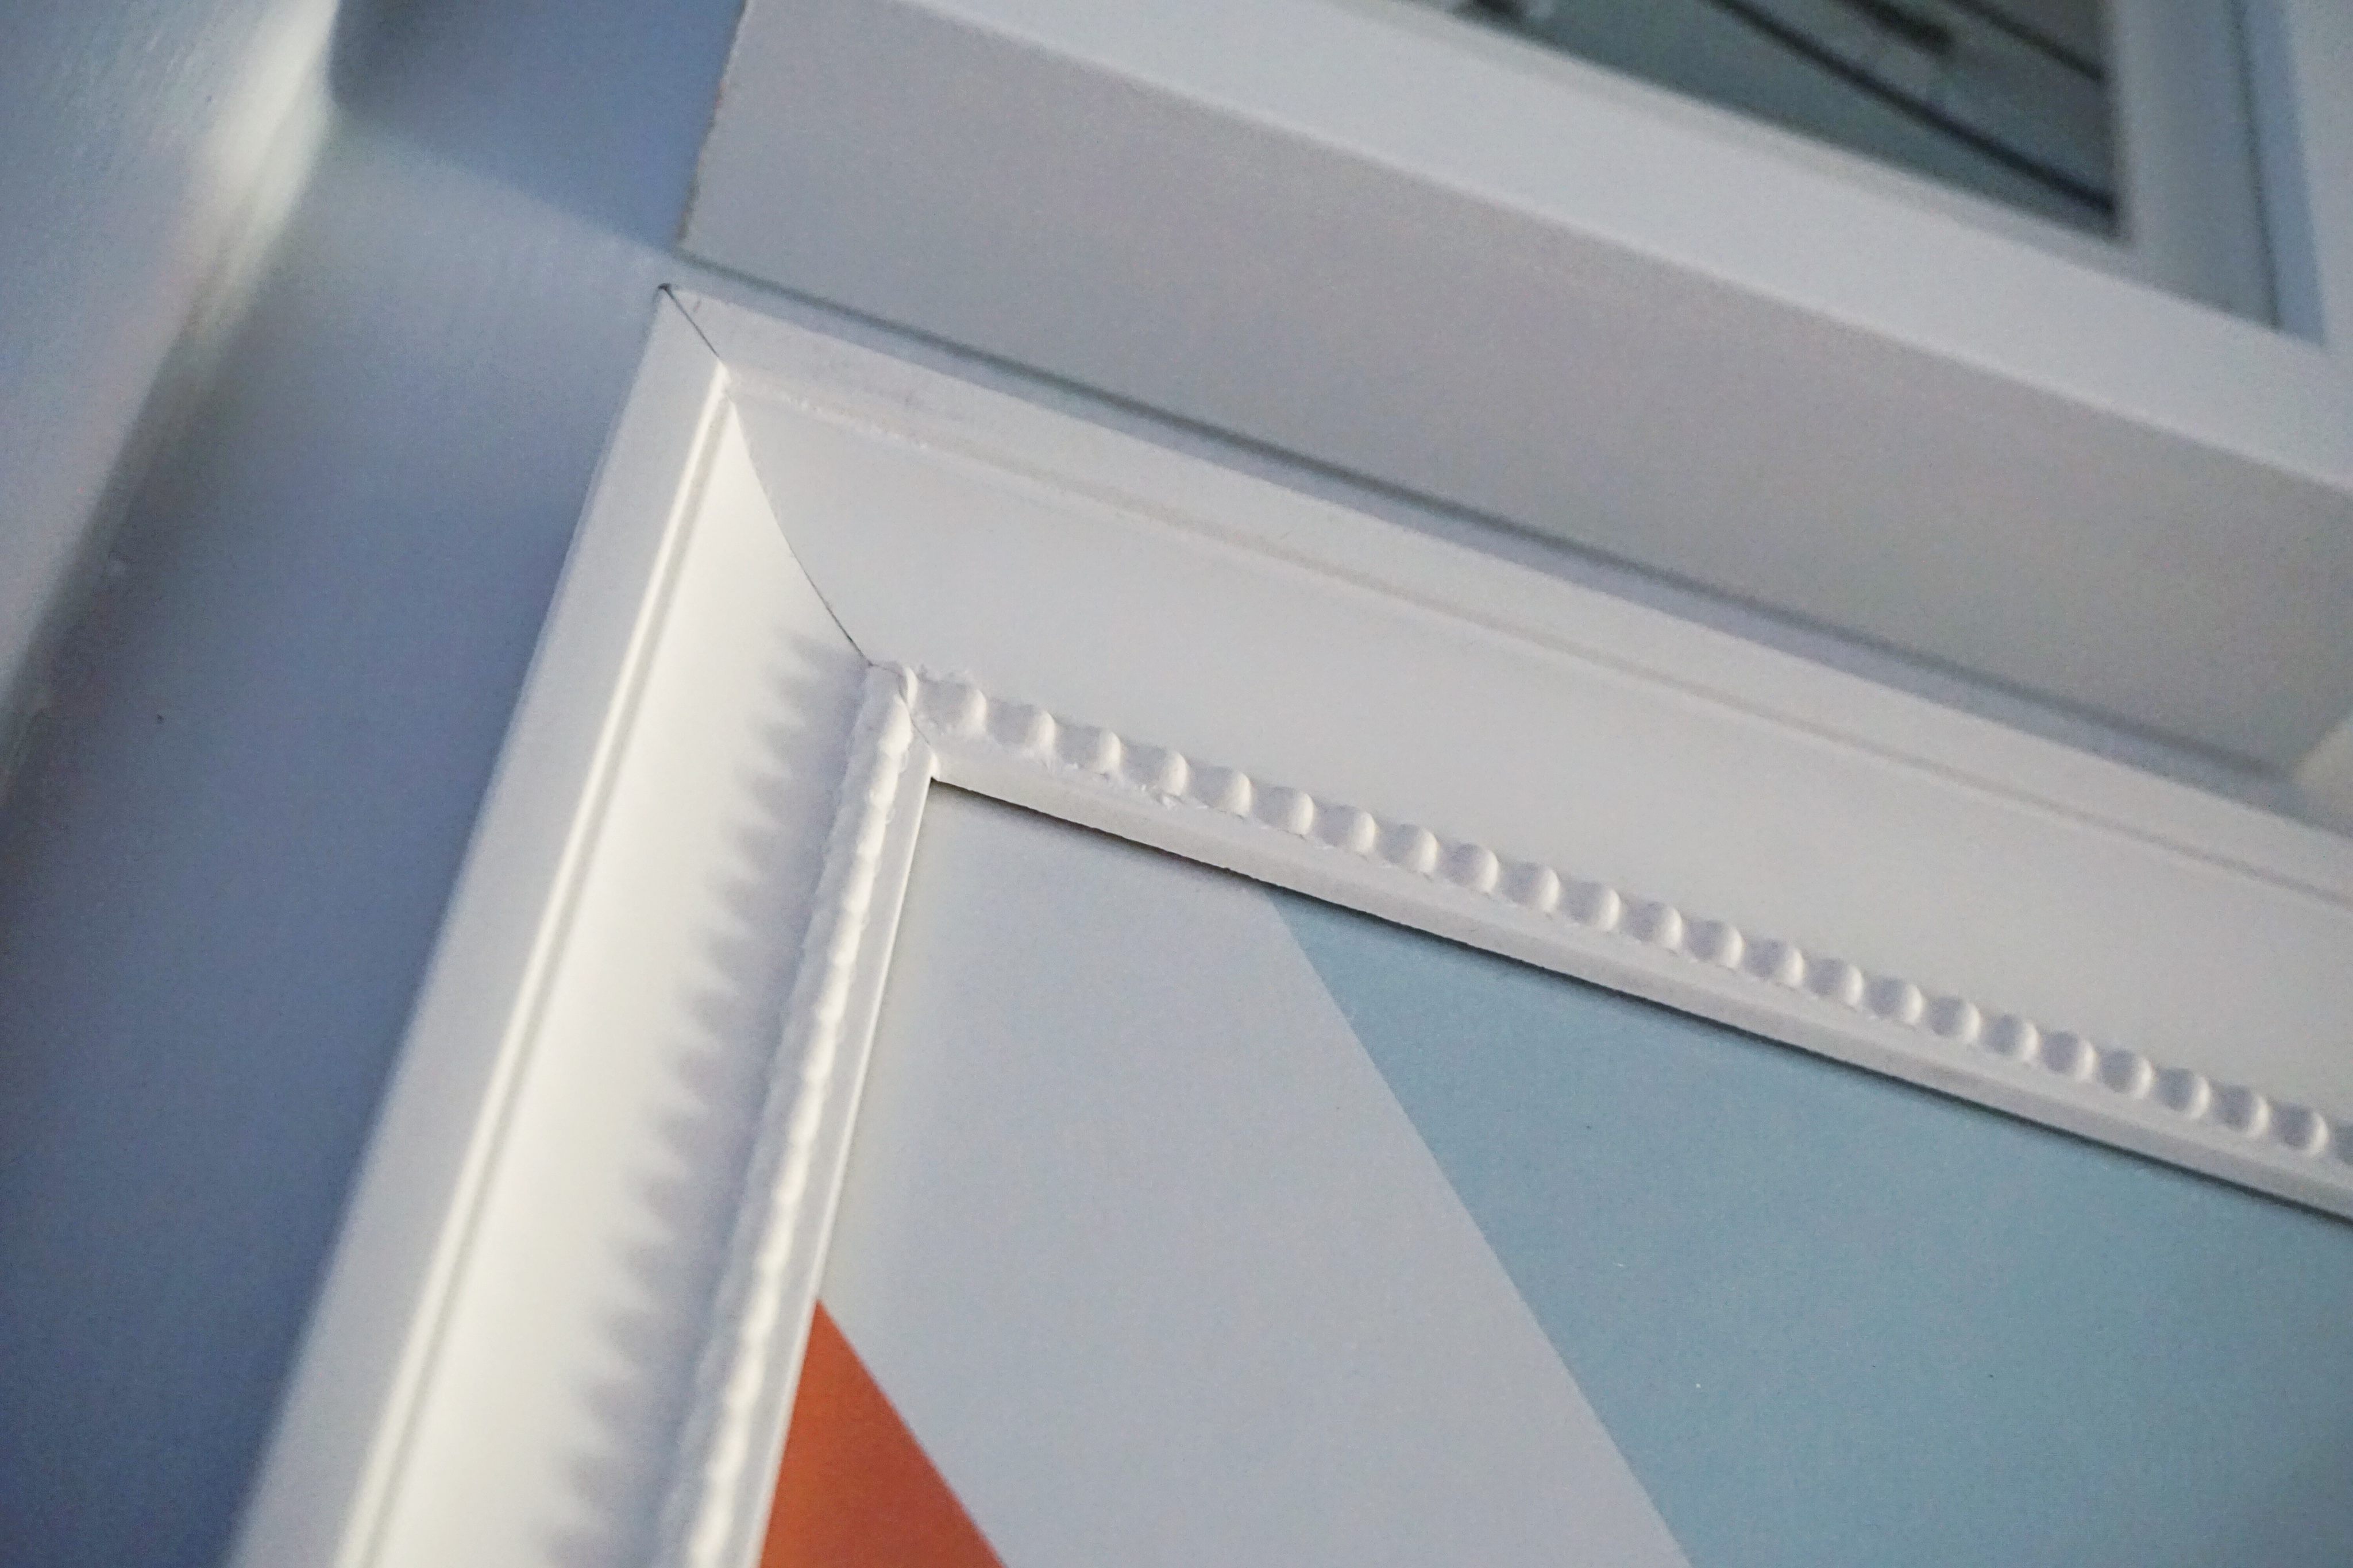
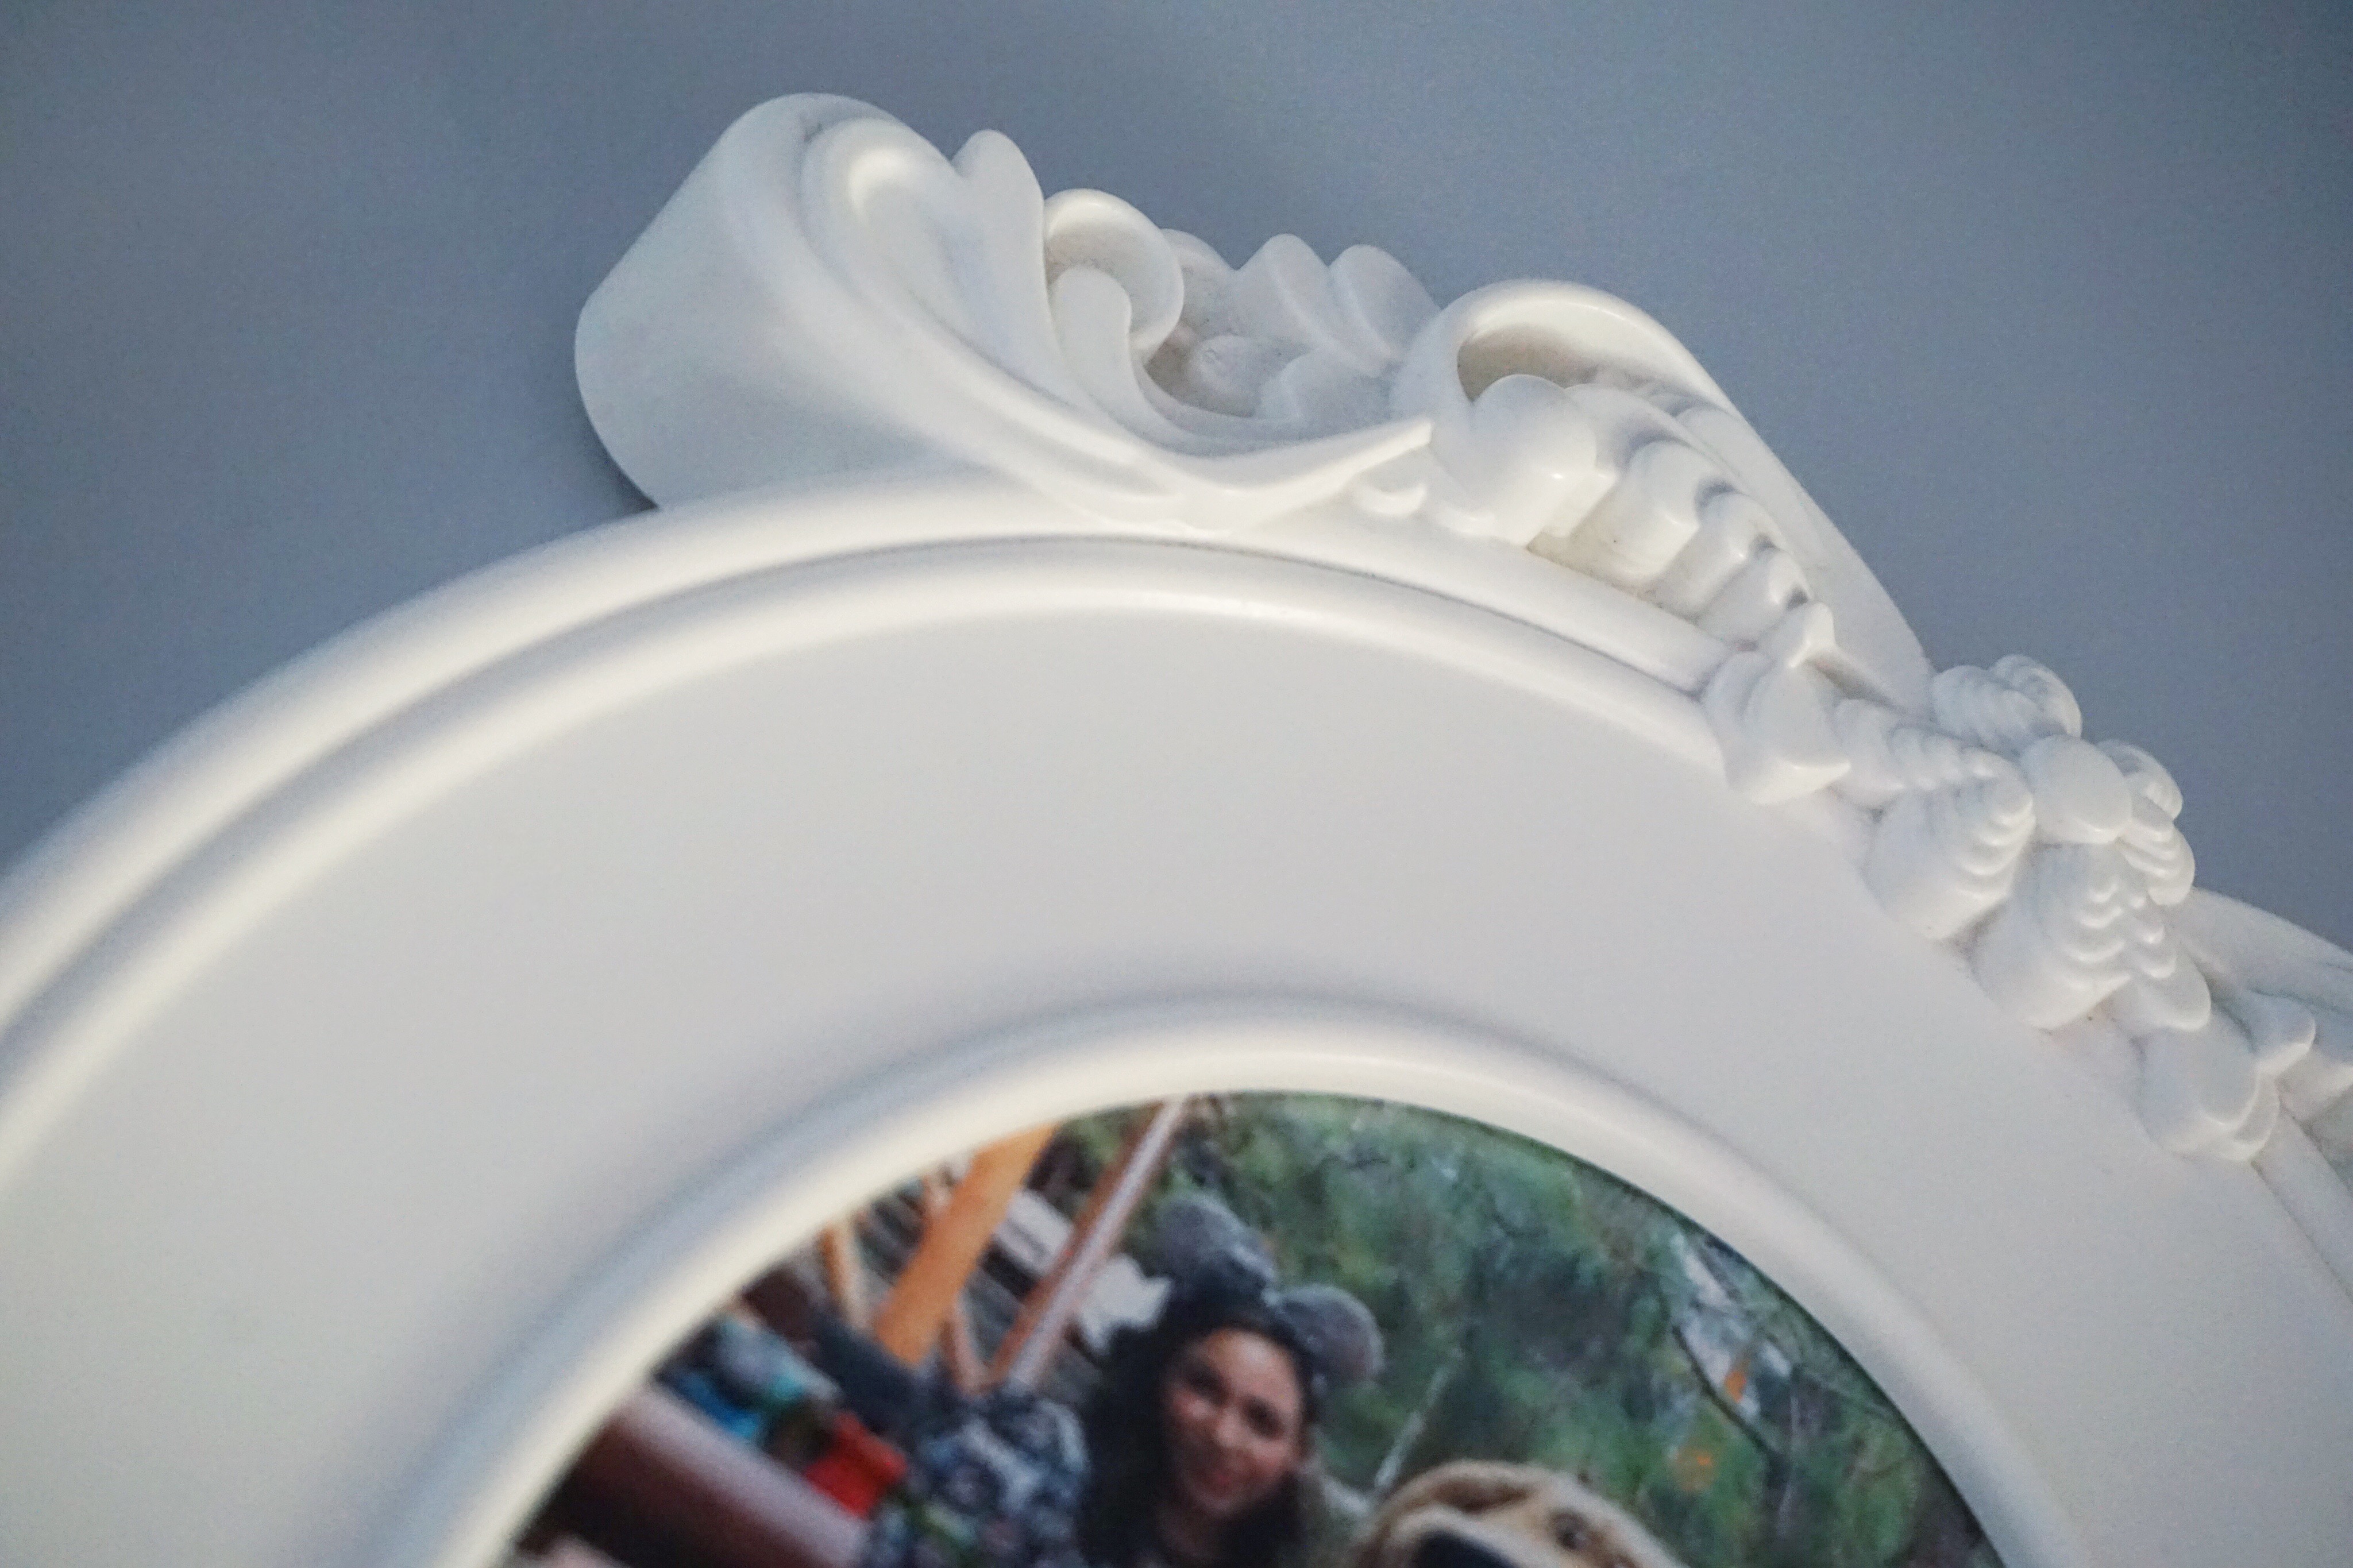
Framed Photos – I used the following frames from IKEA: Fiskbo, Sondrum, Kvill and Ribba.
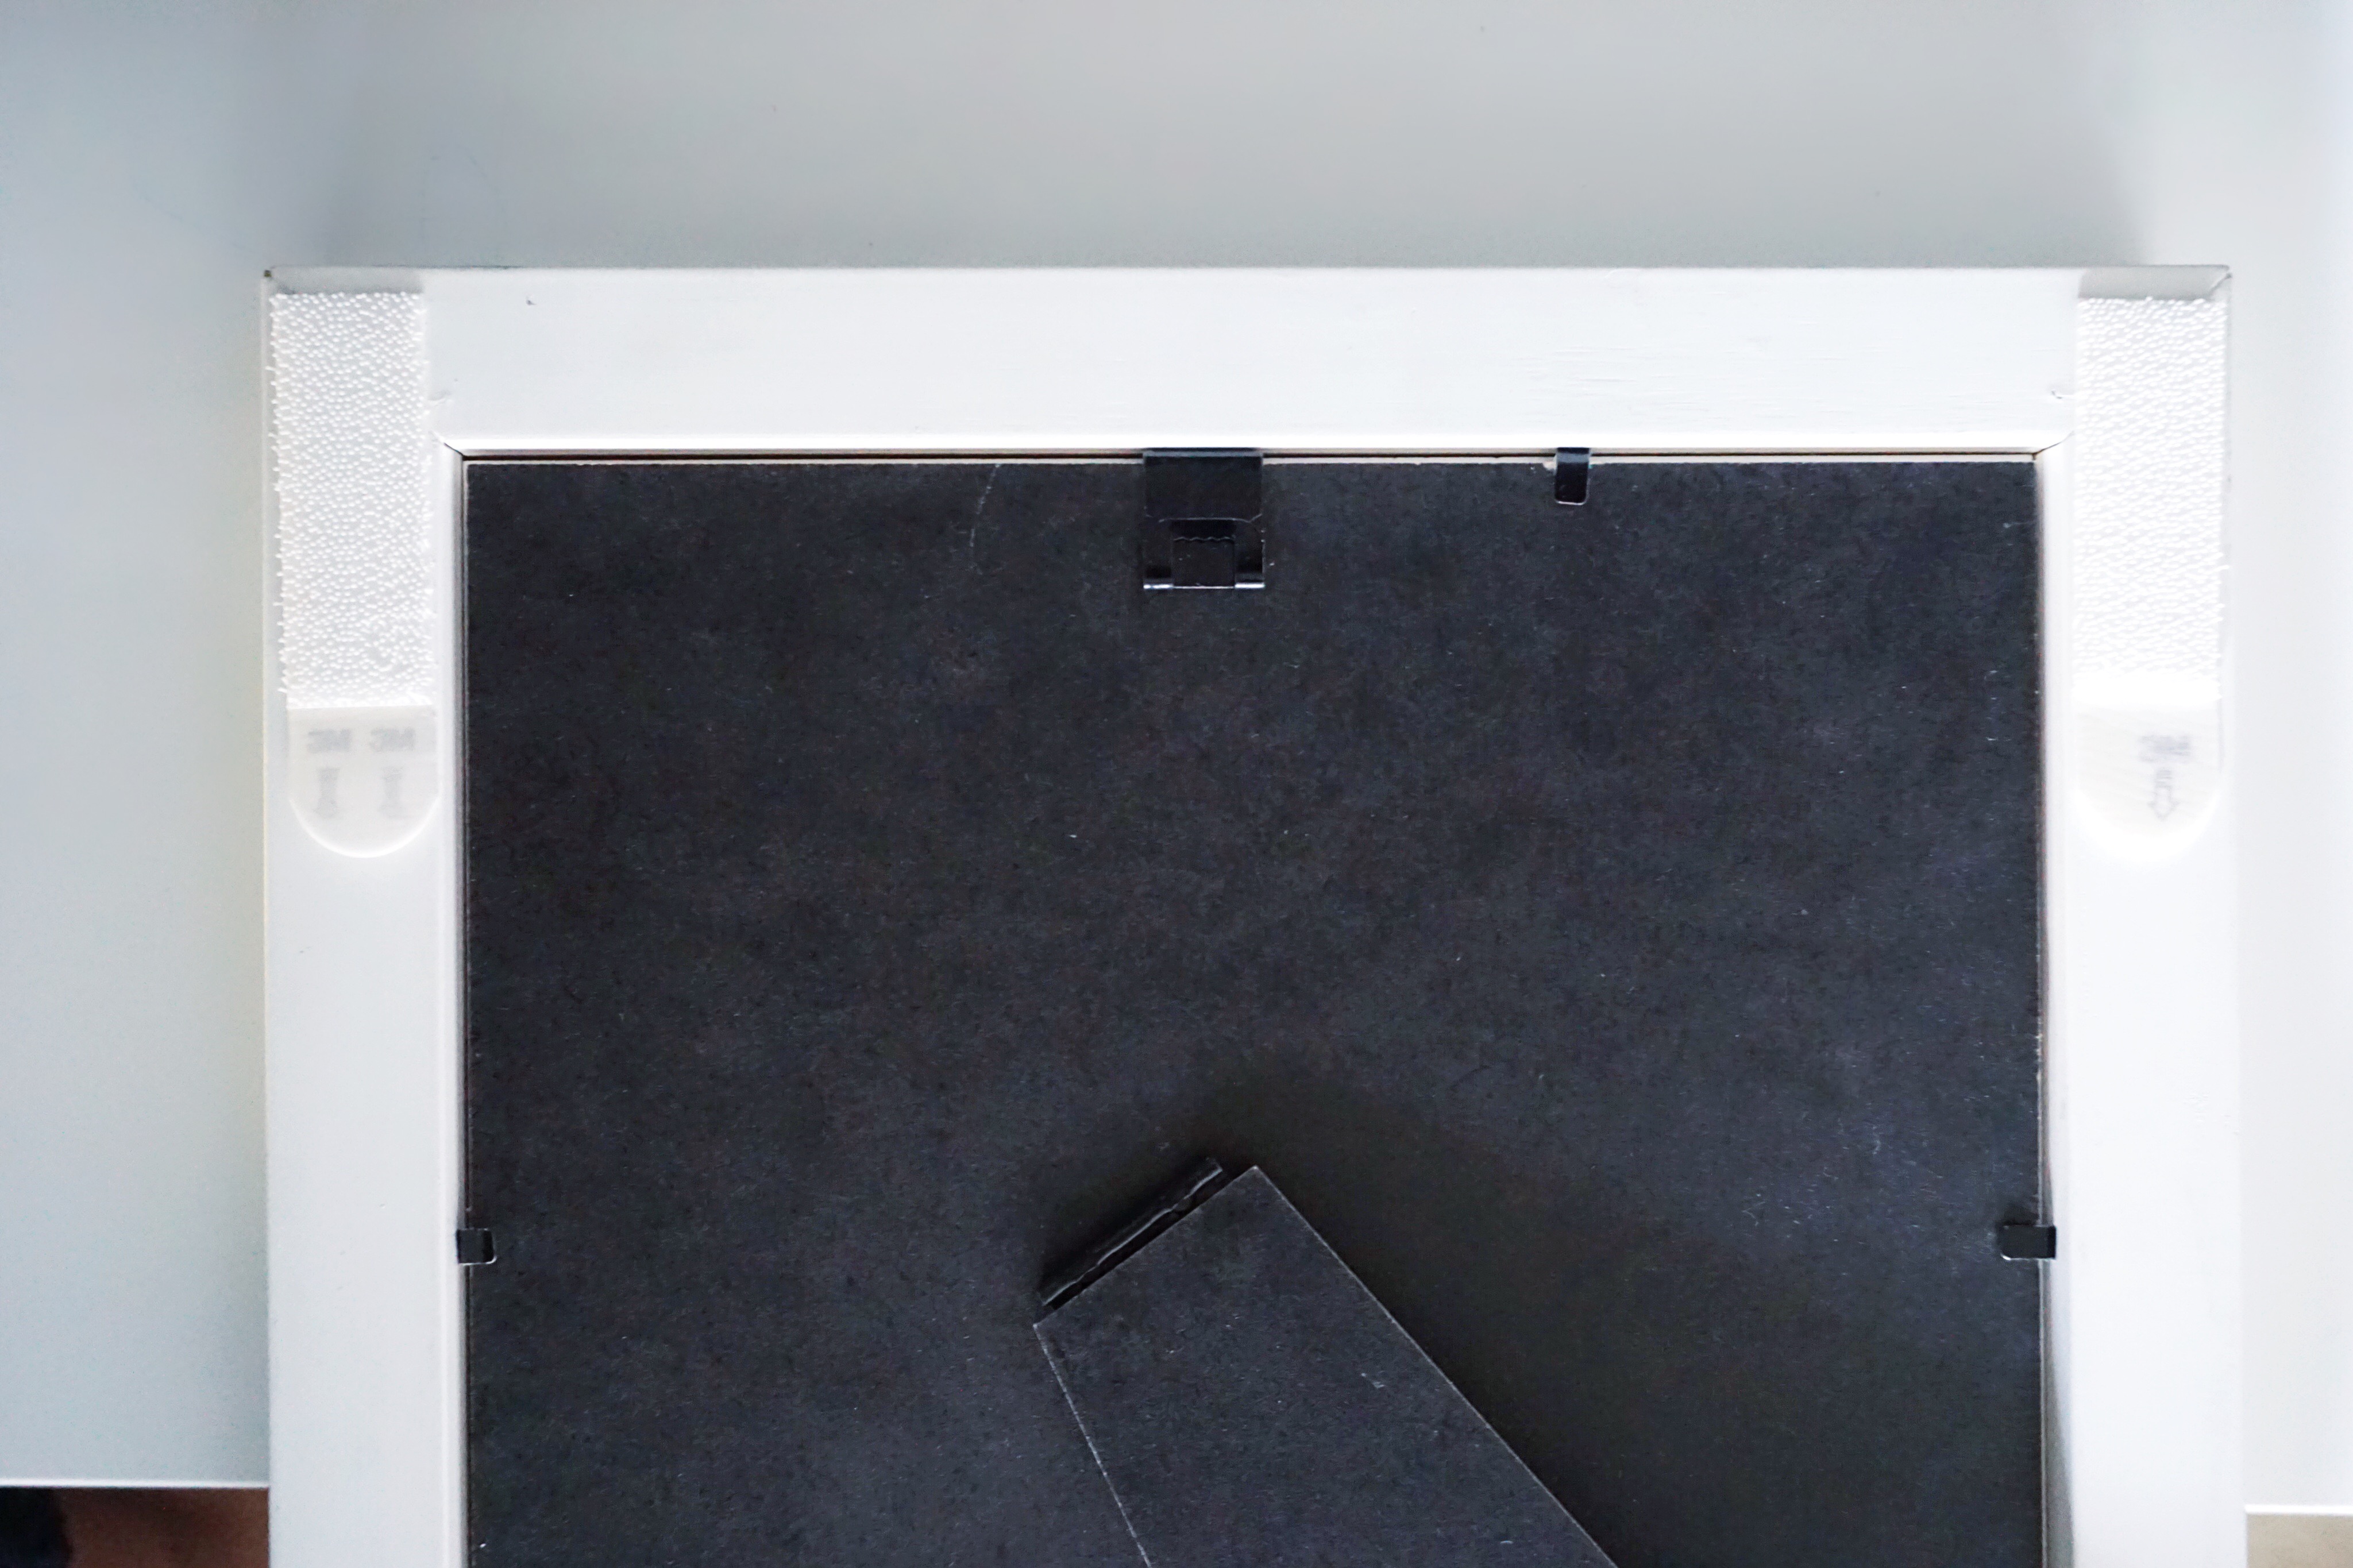
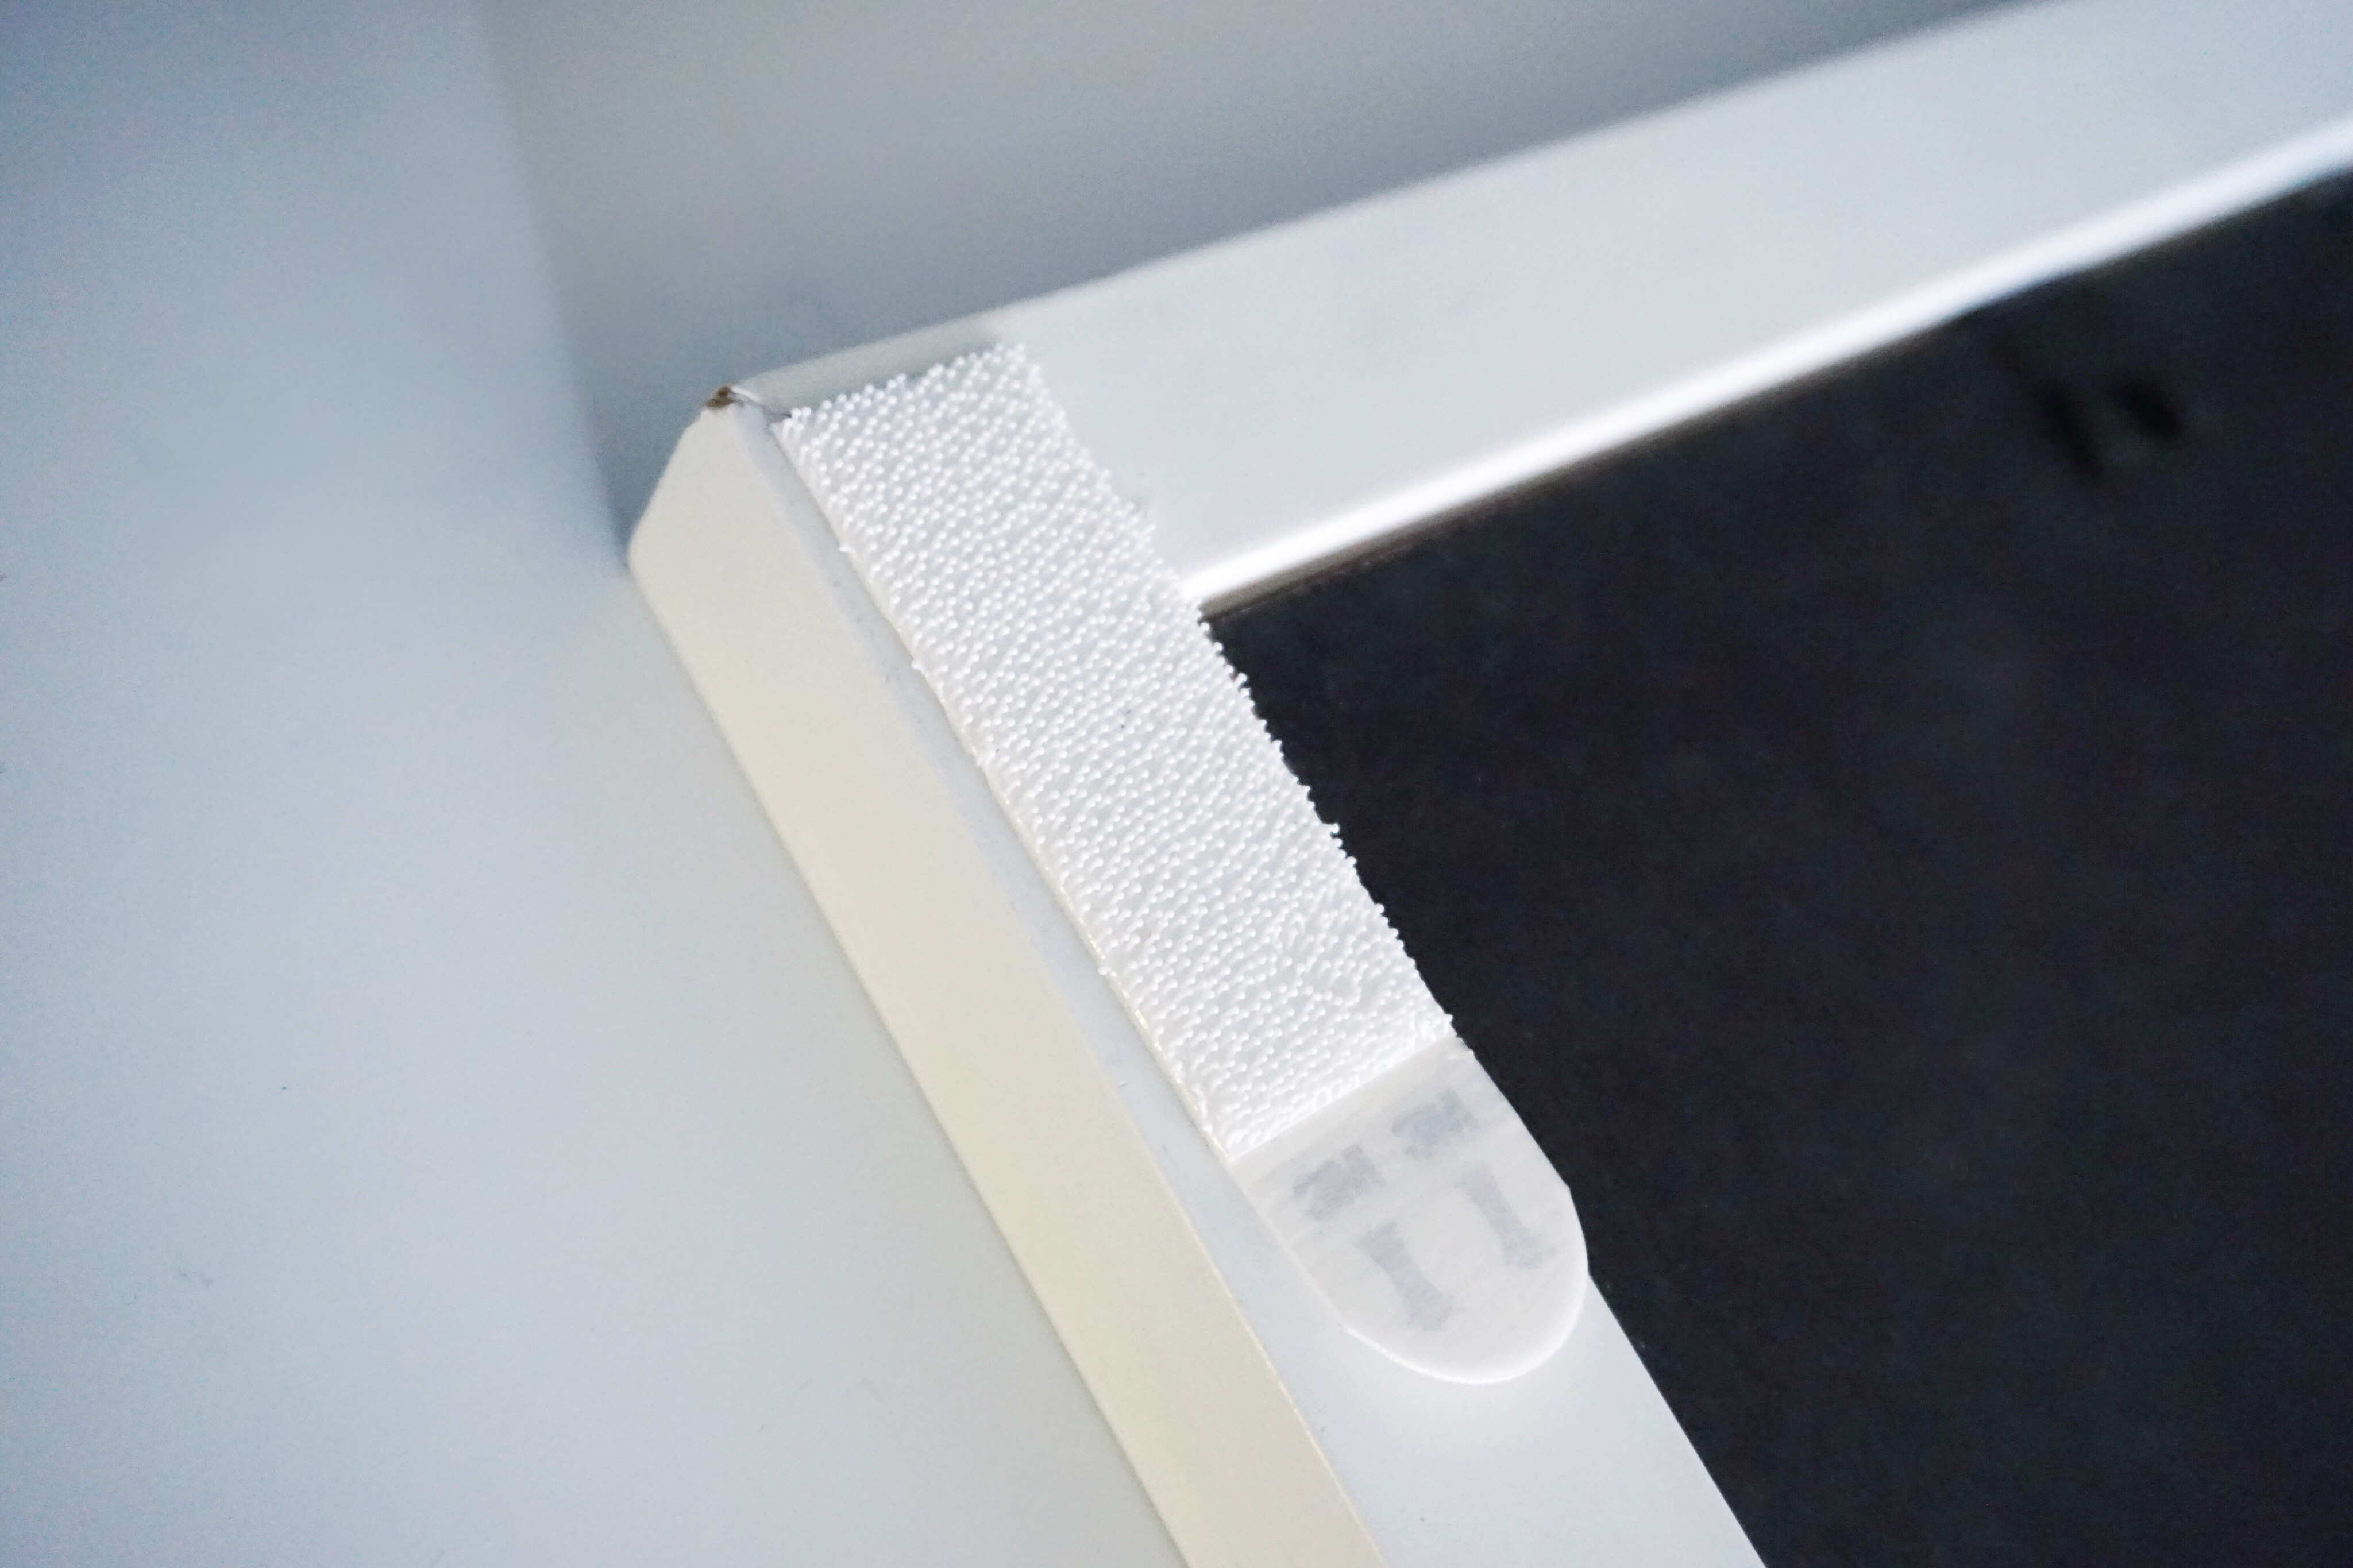
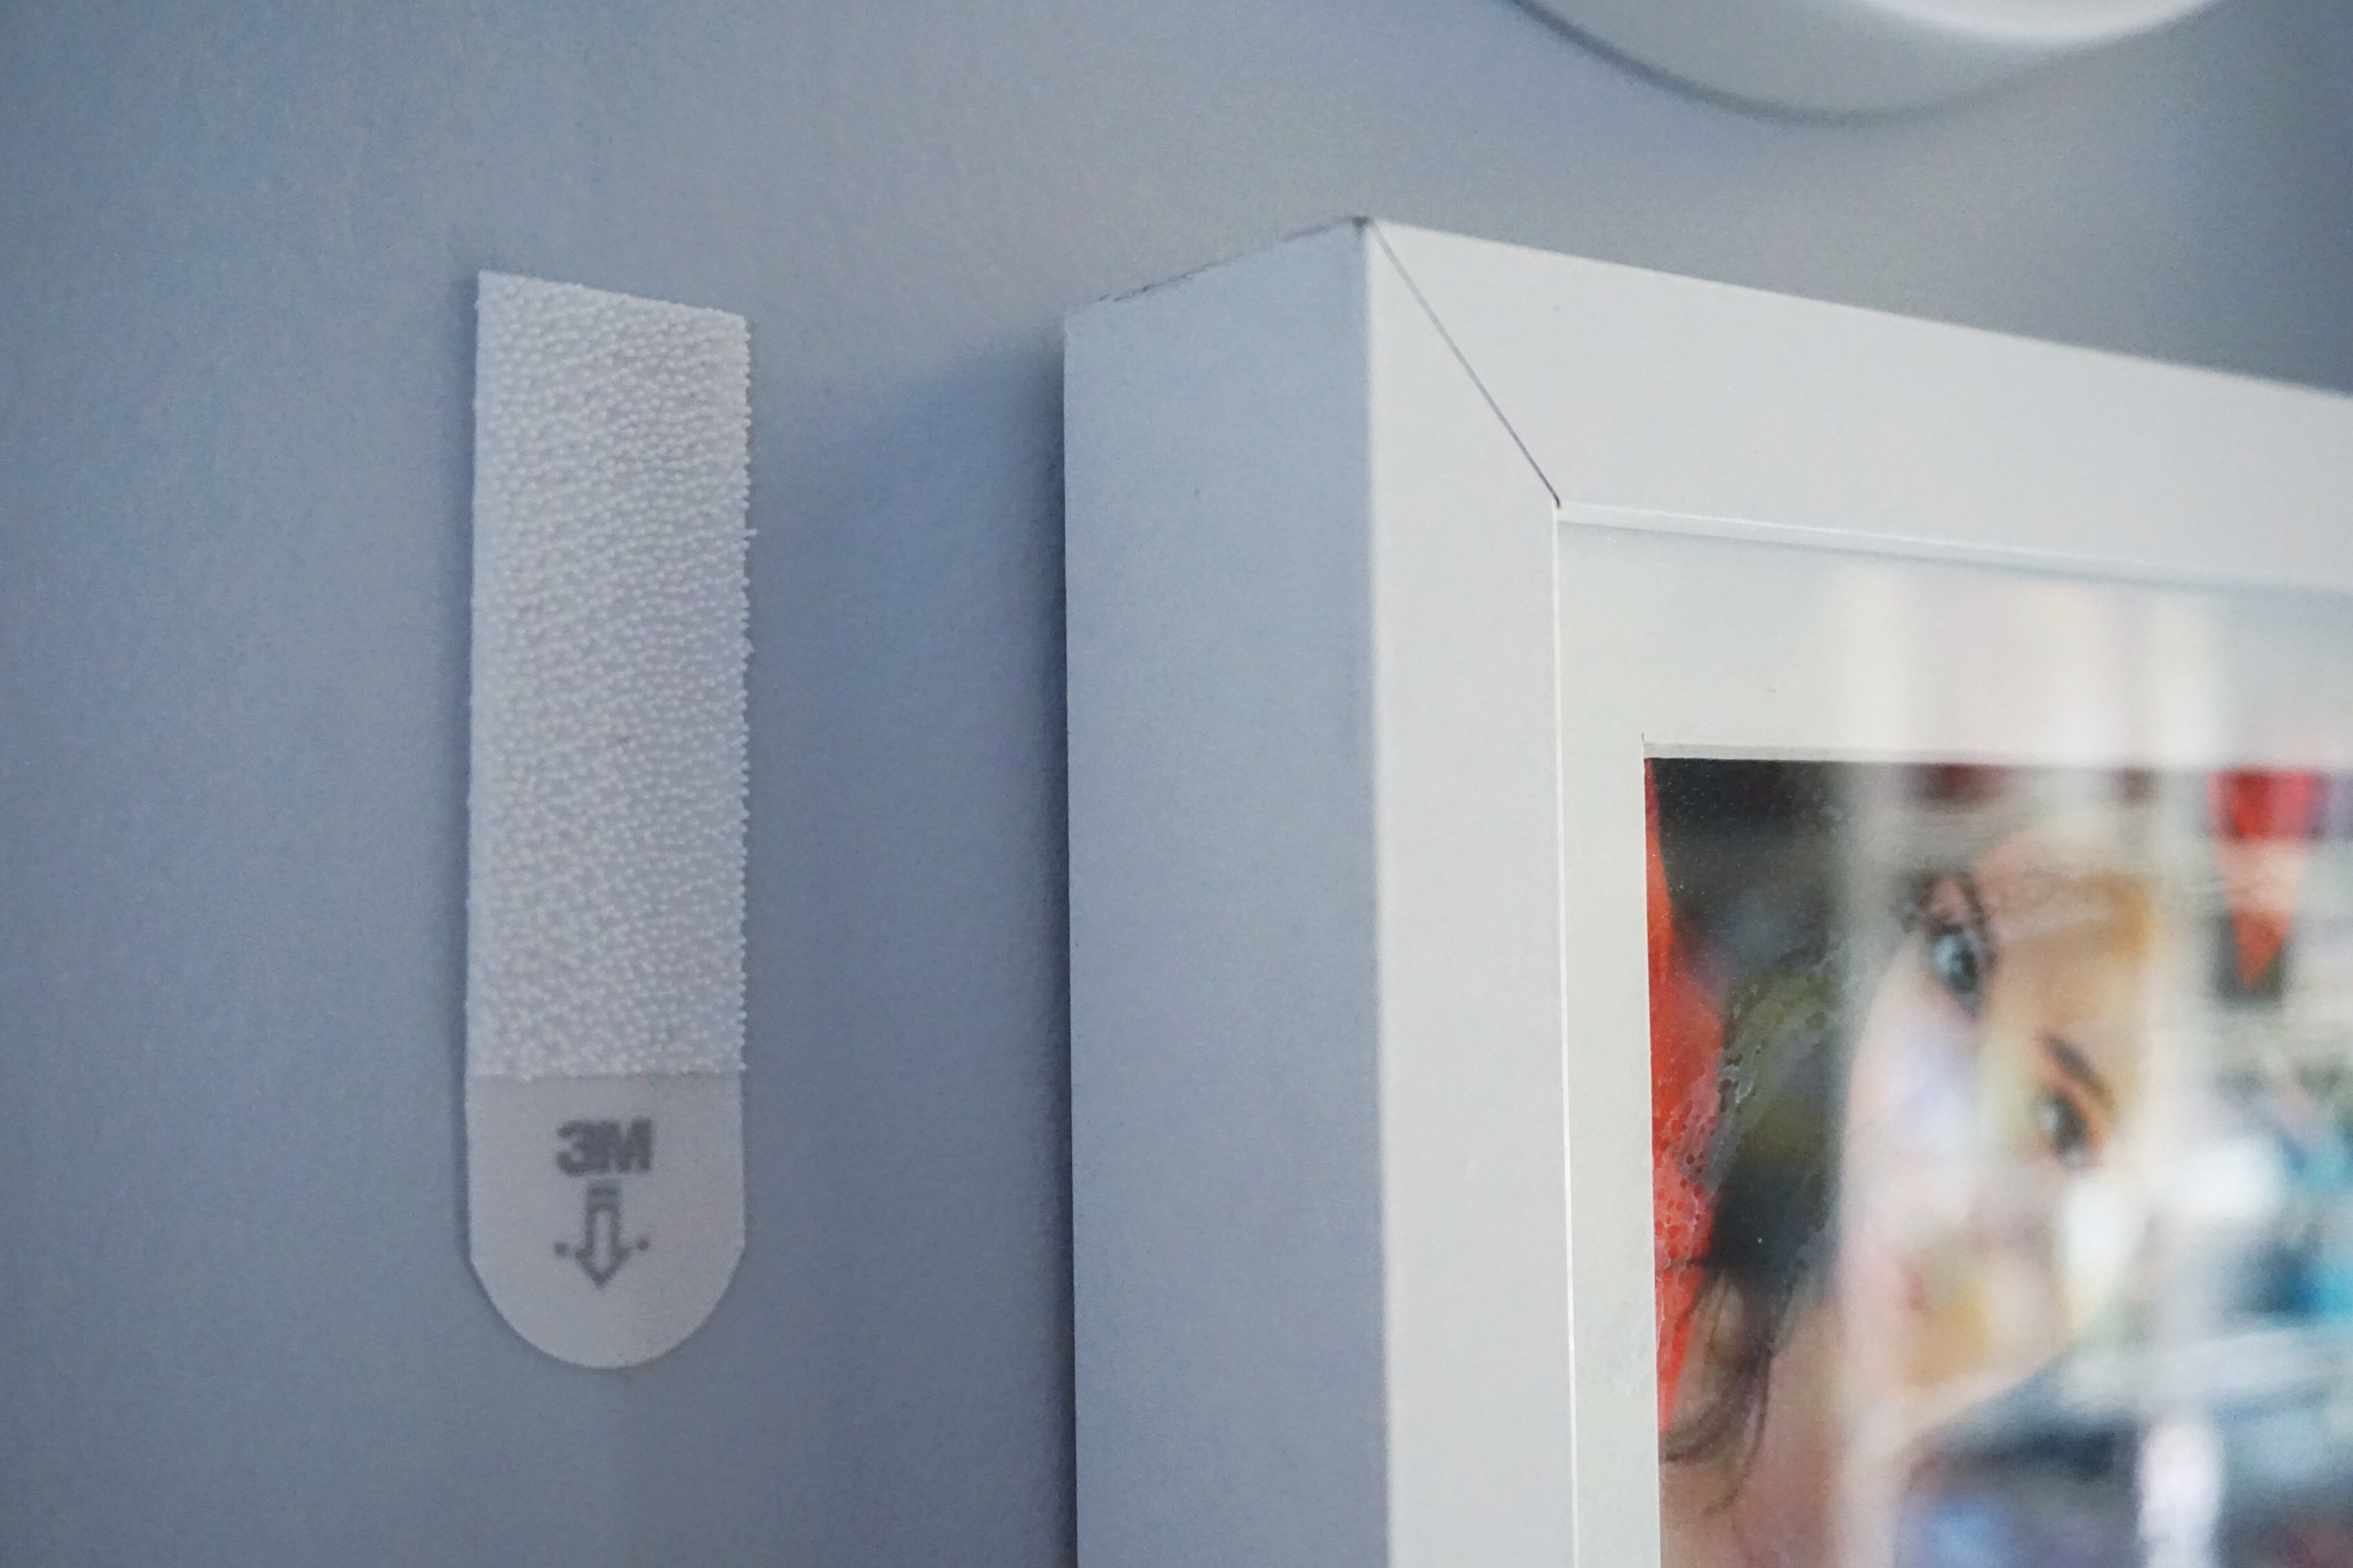
Command Strips – This size should do it.
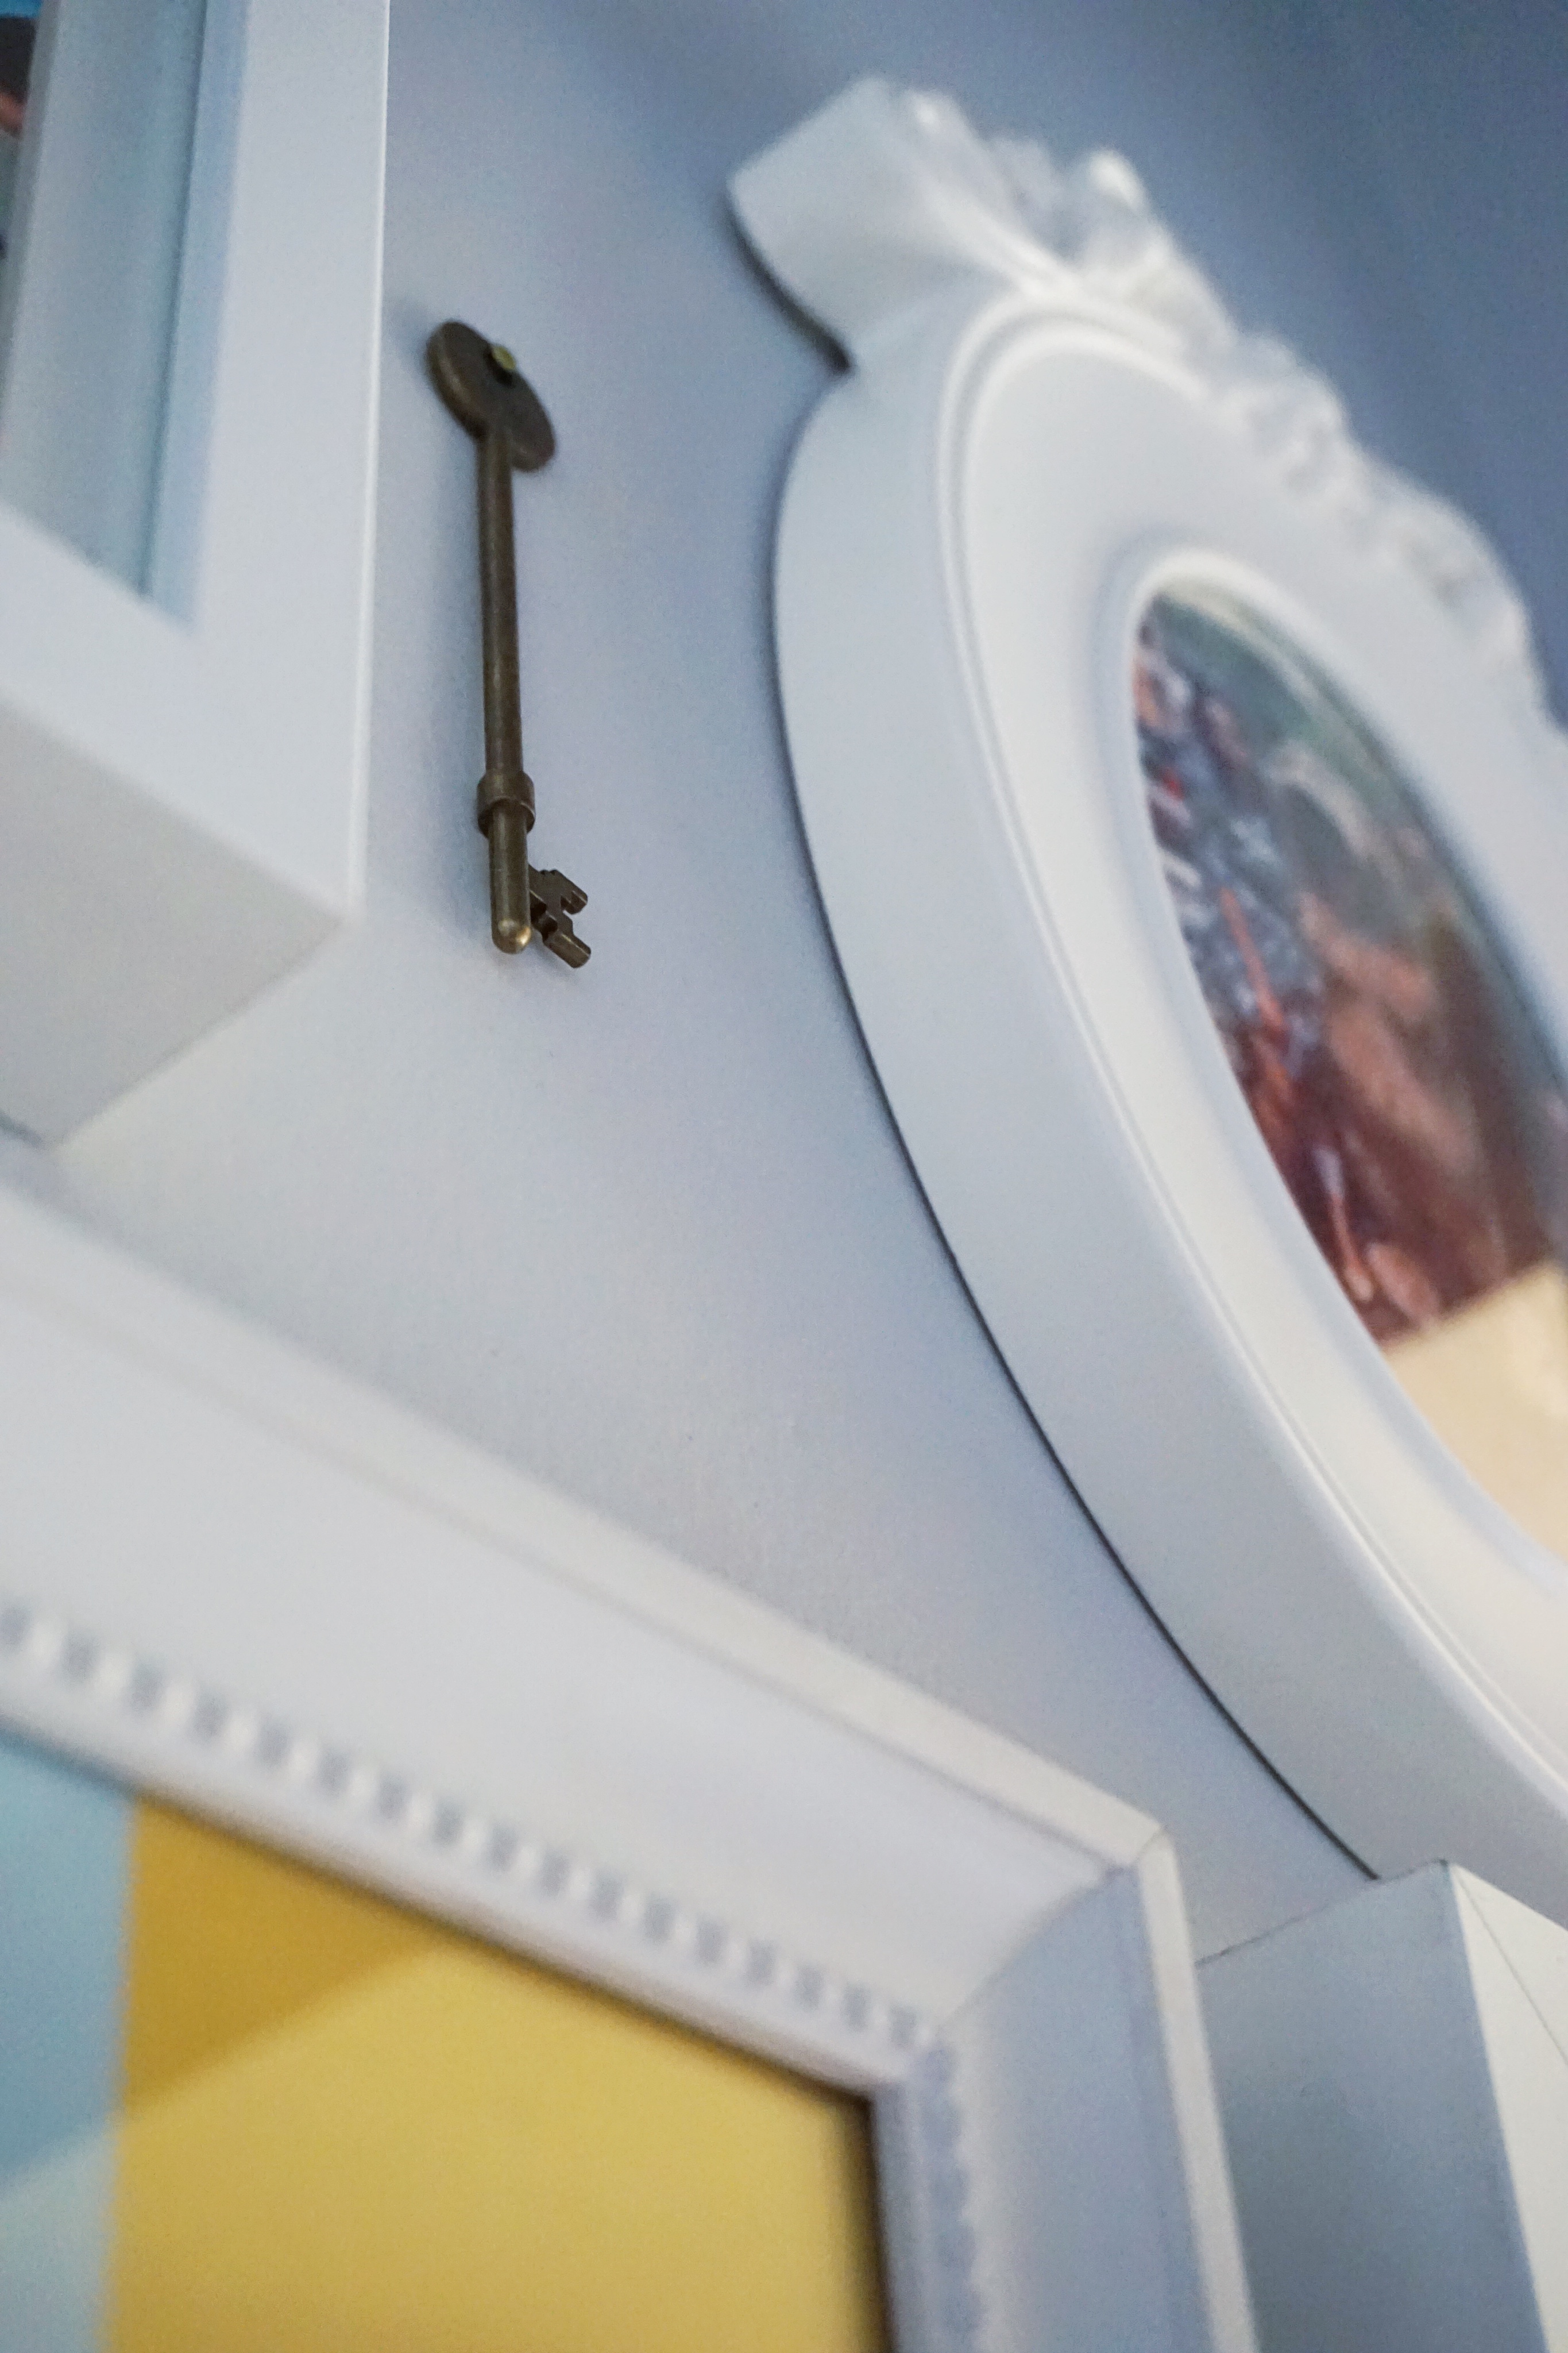
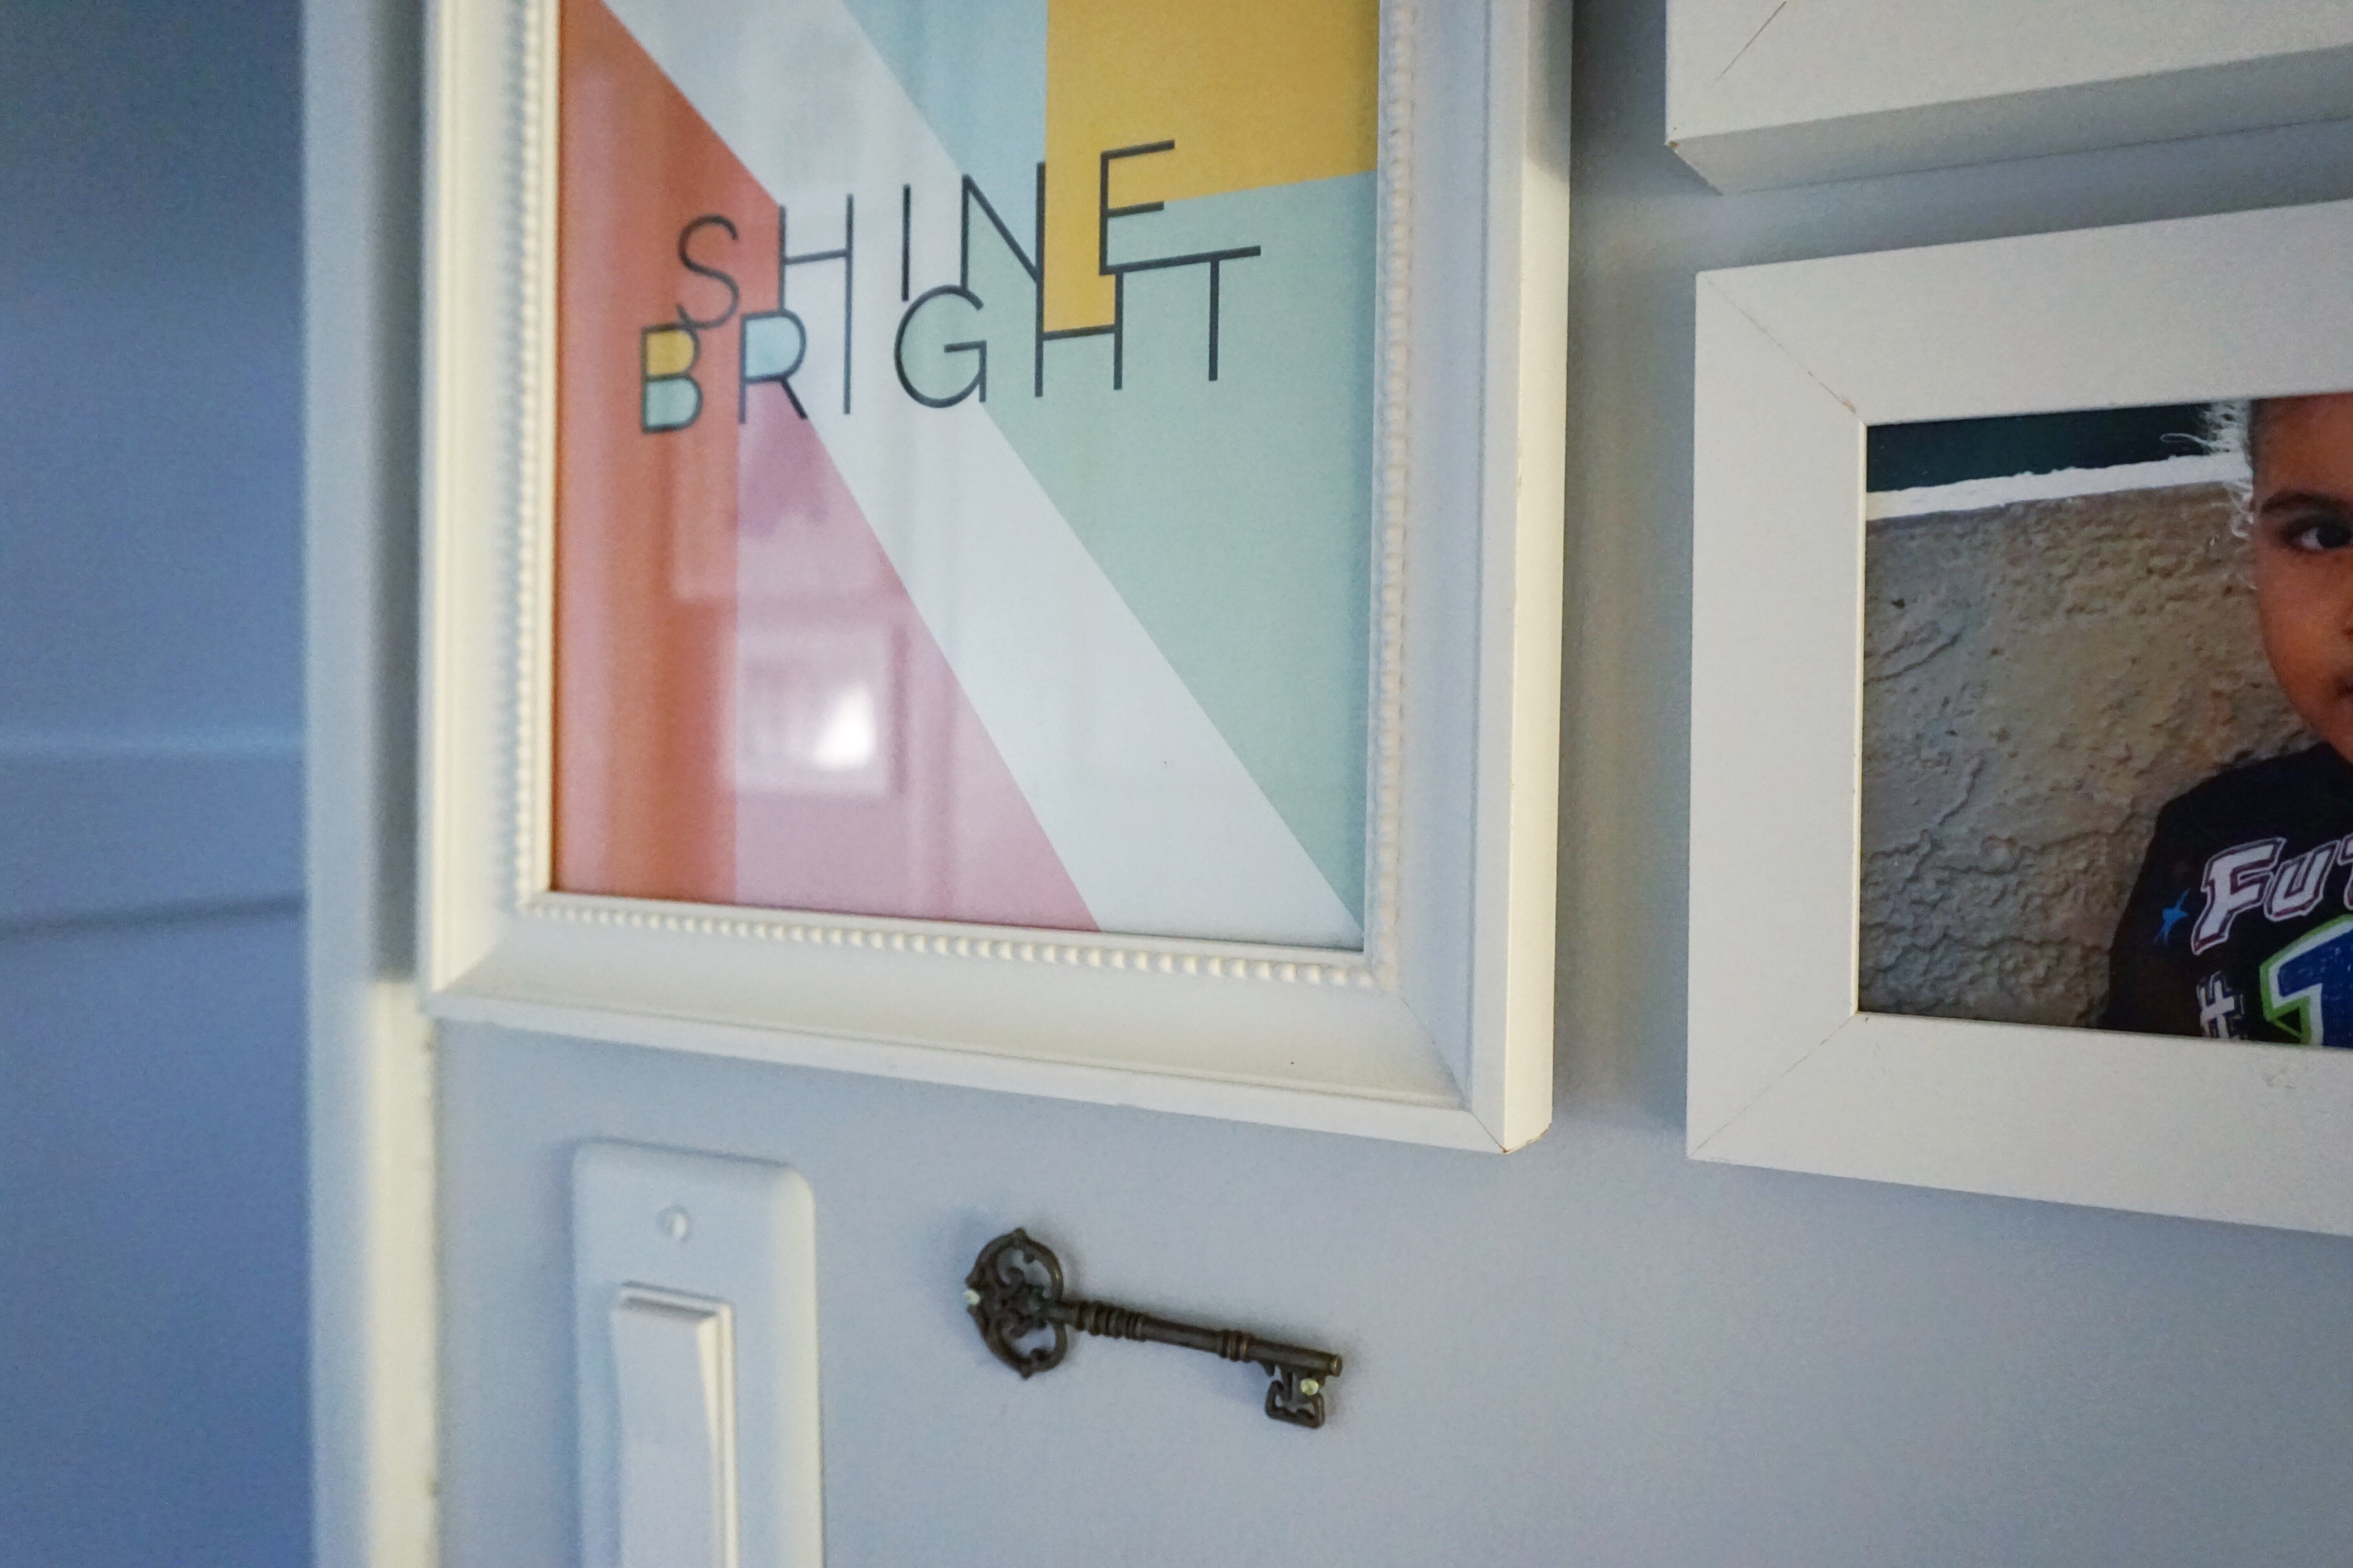
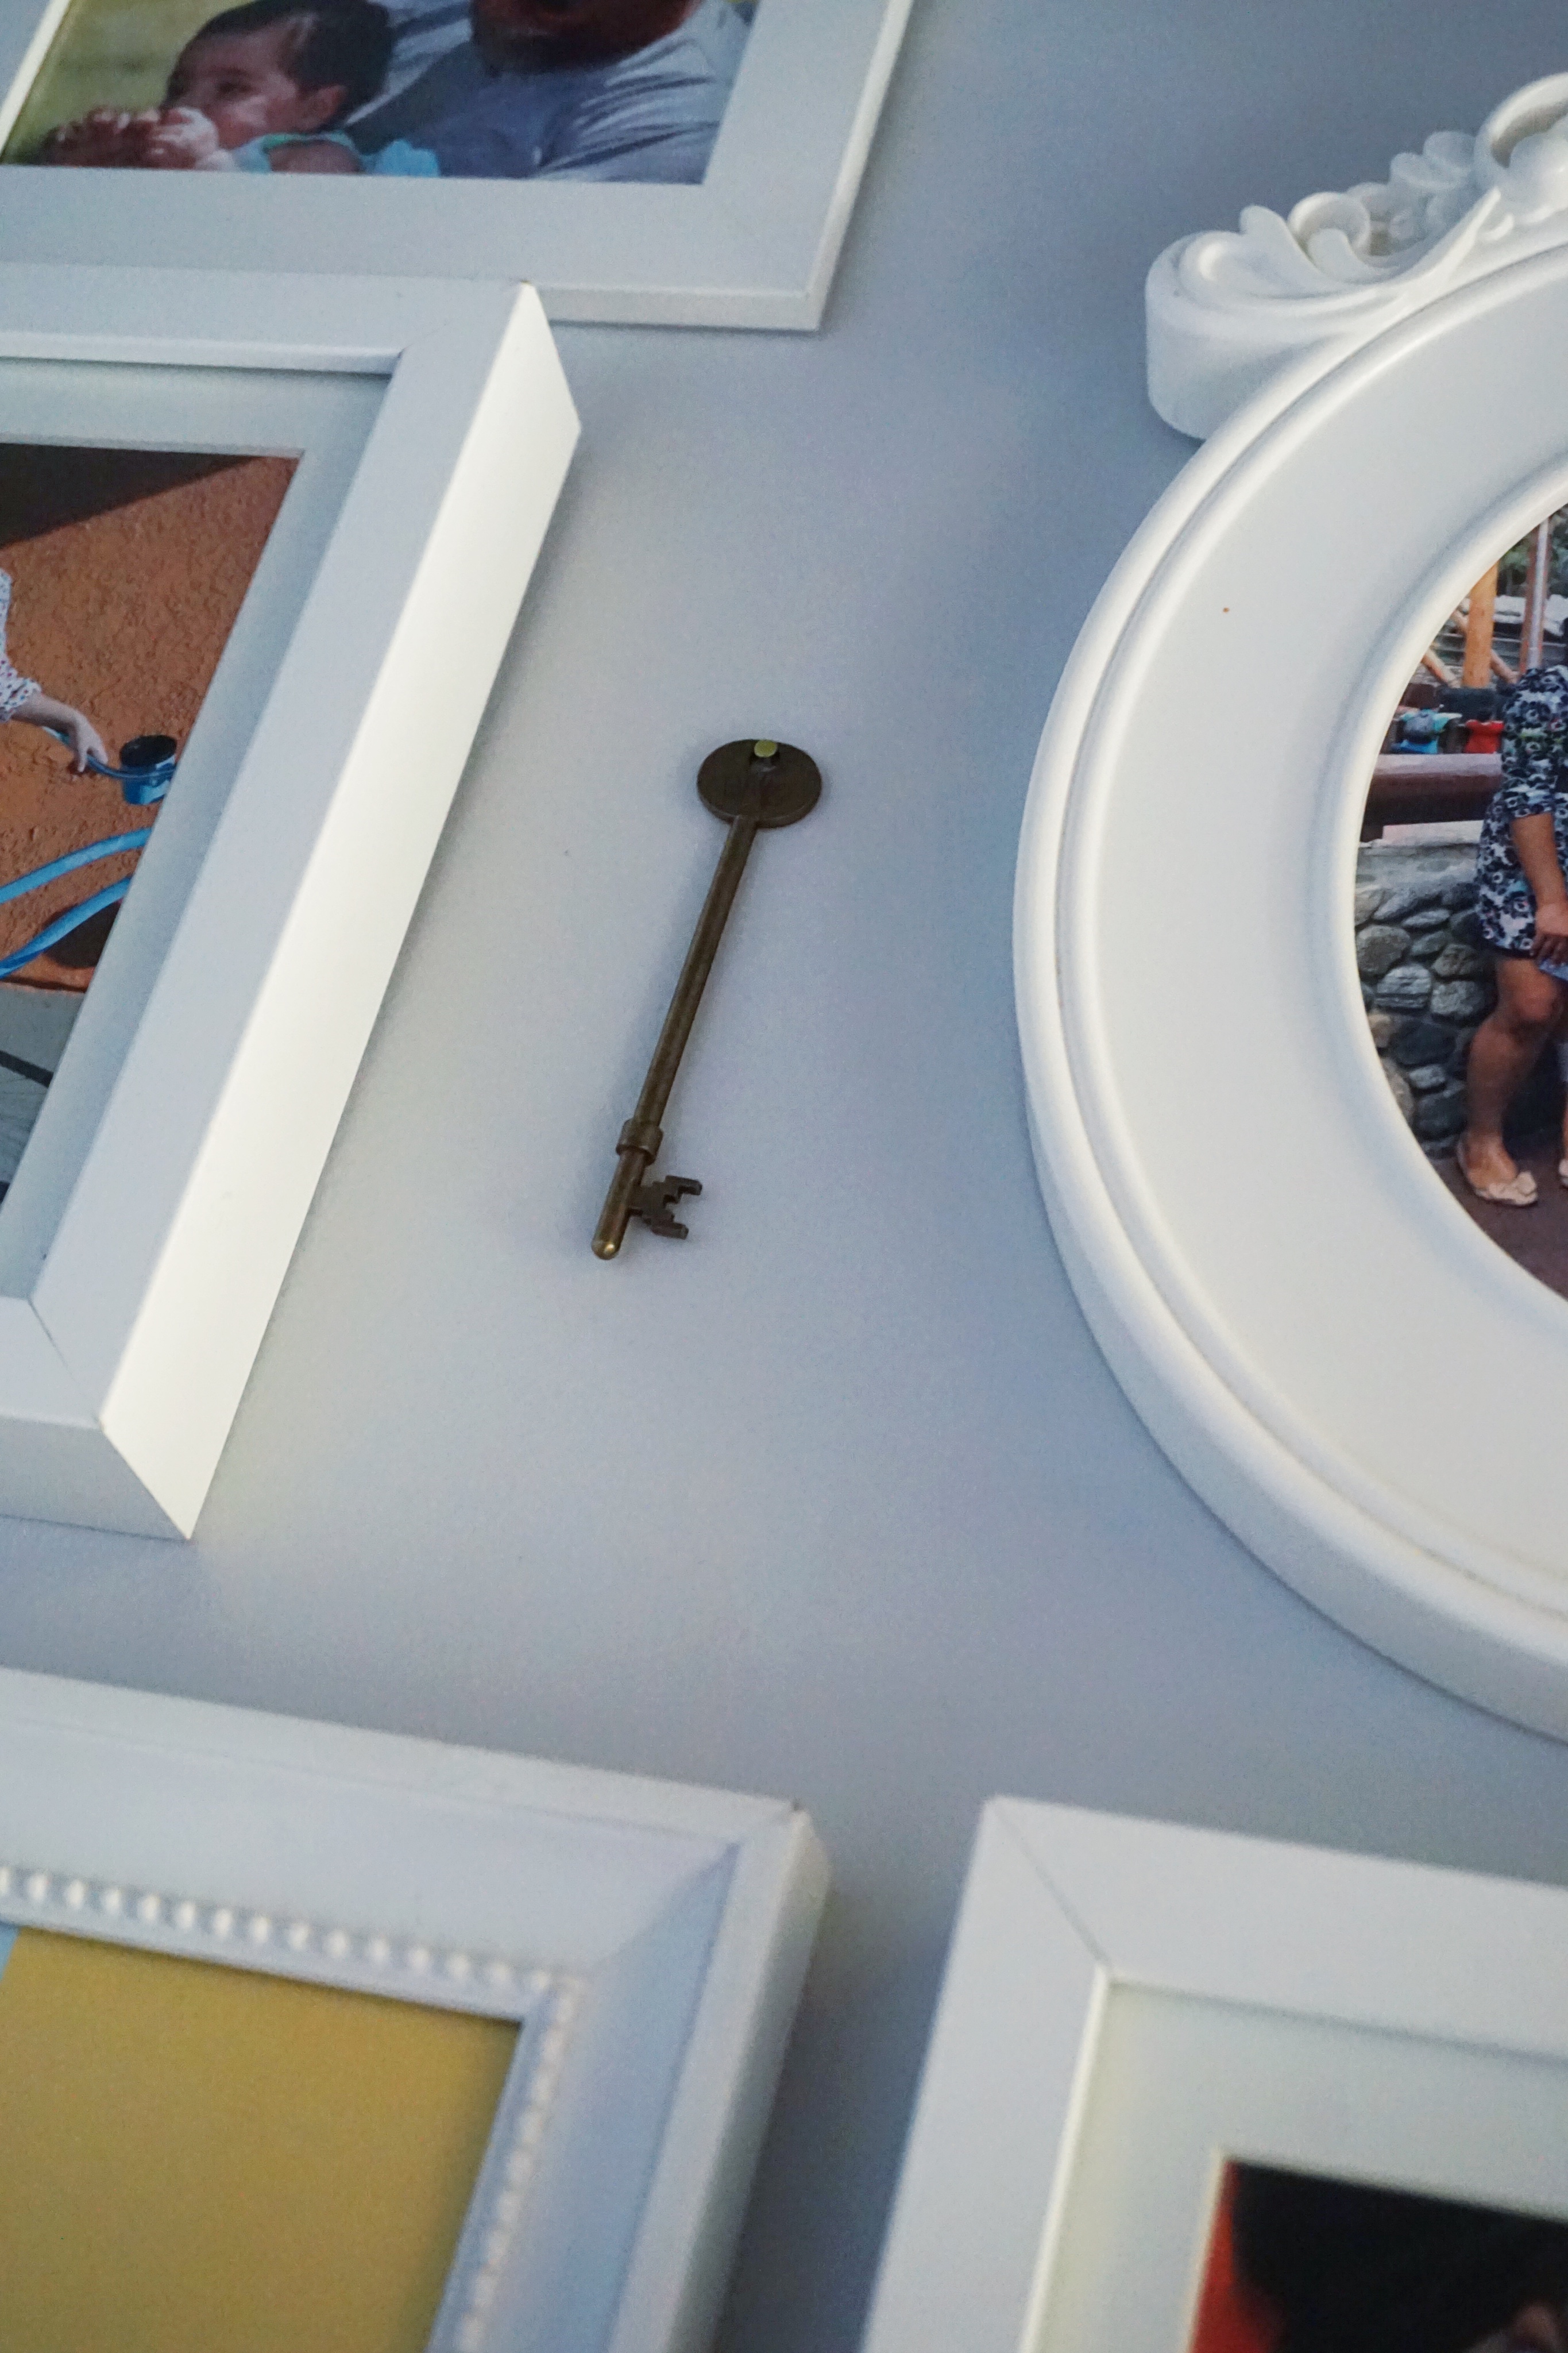
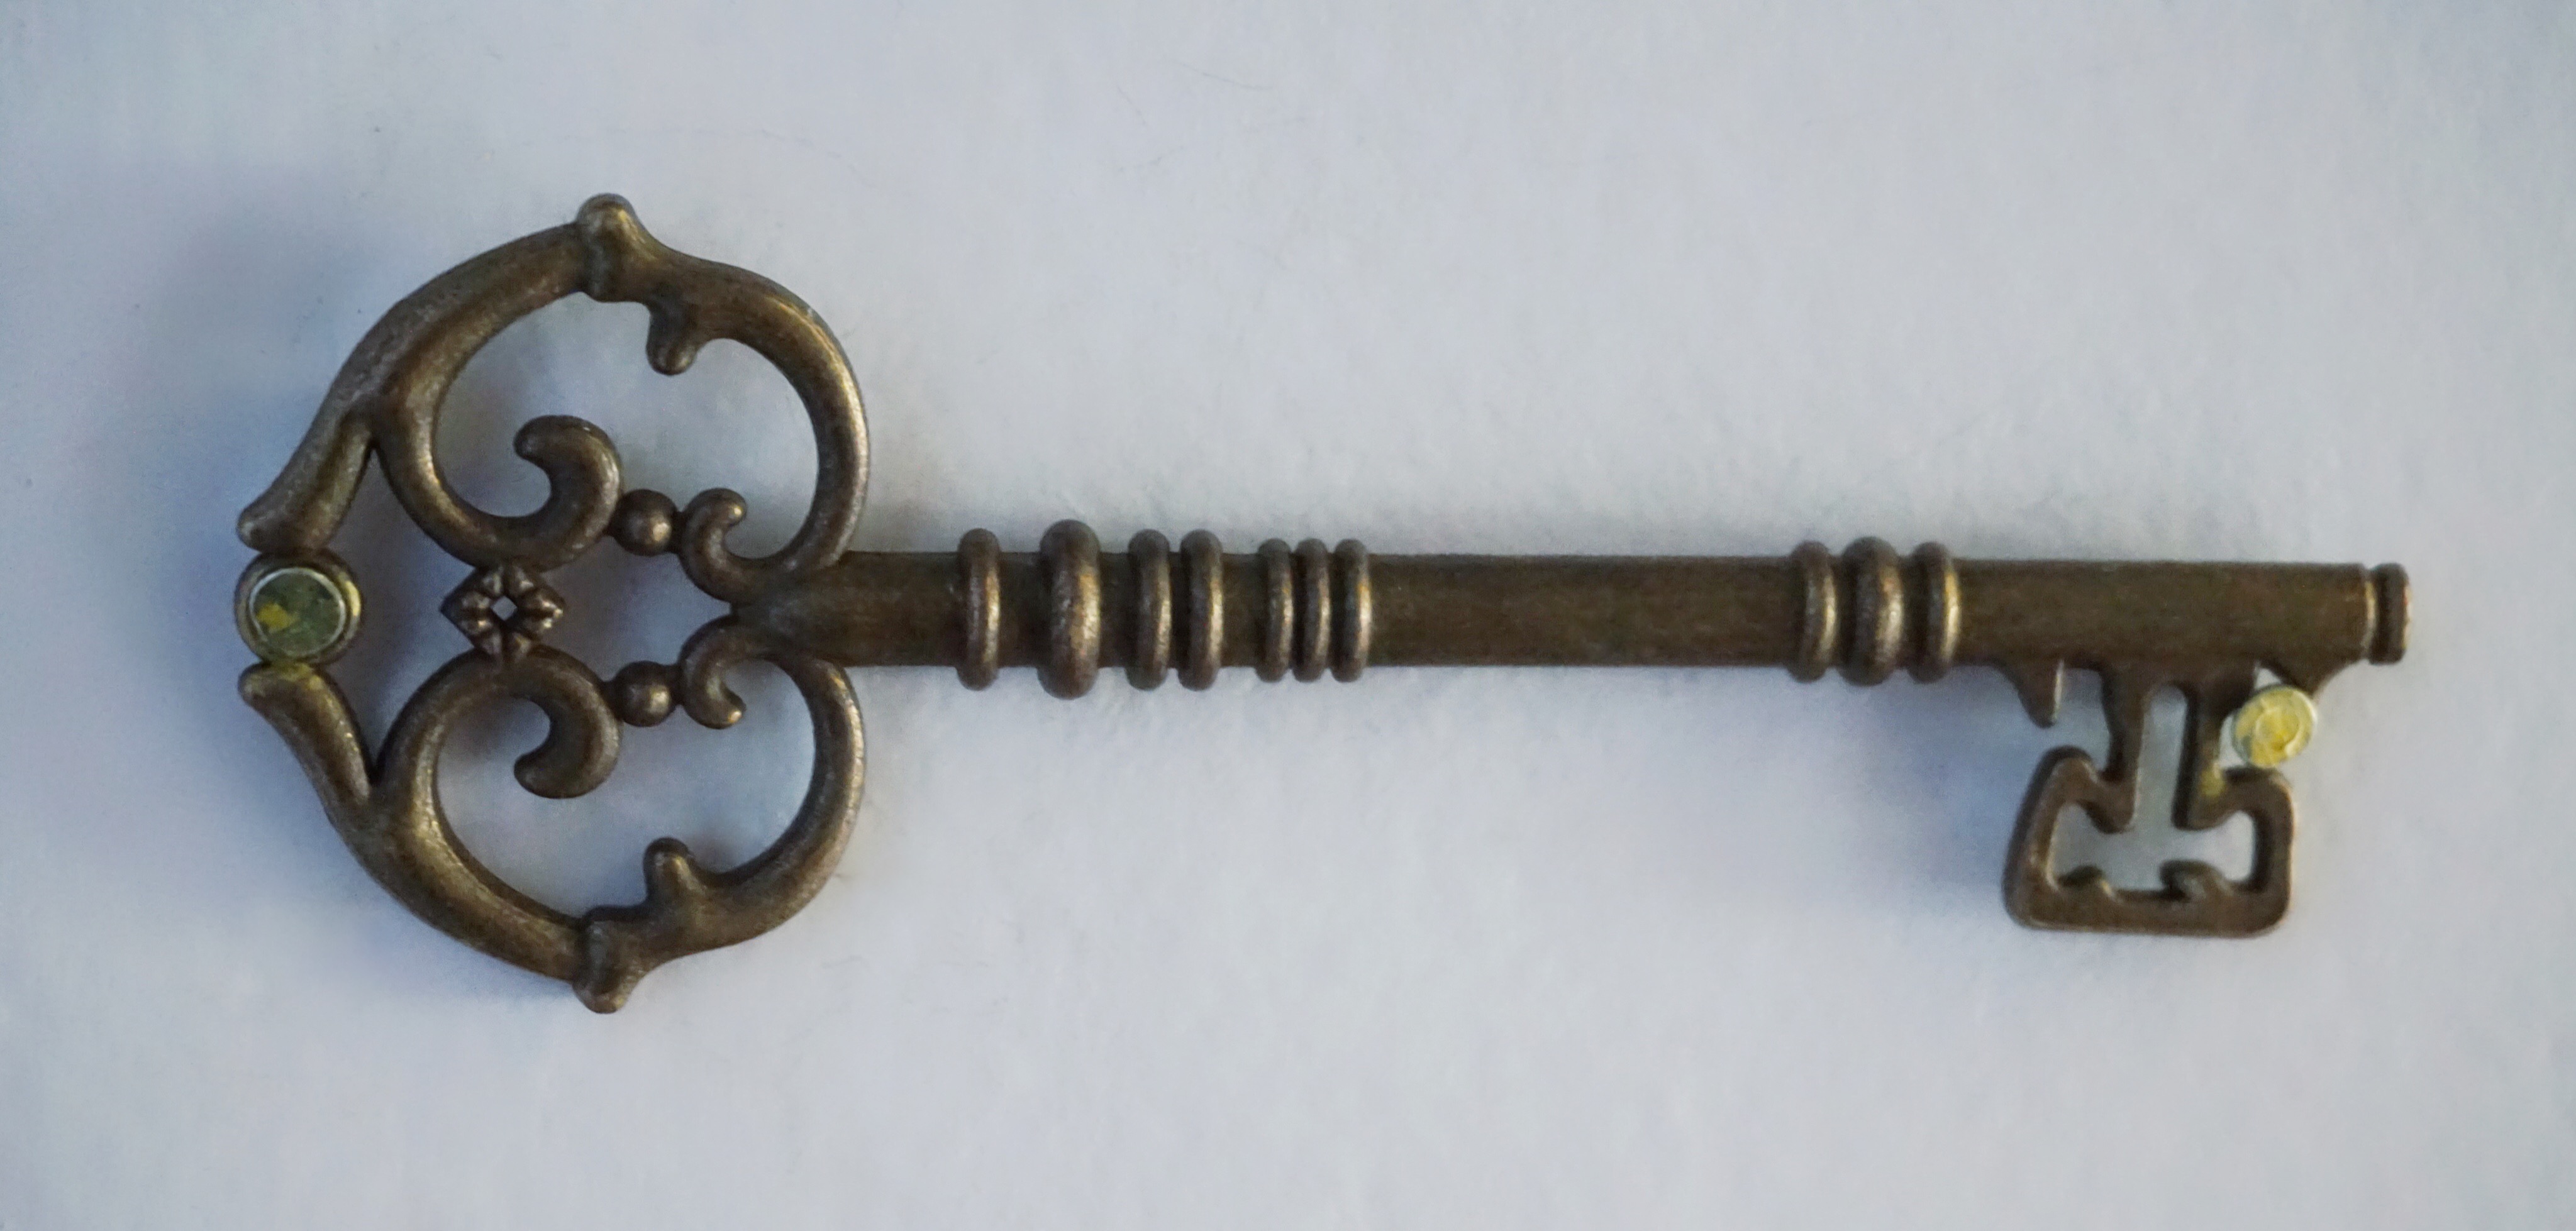
Decor Elements – I purchased these vintage keys via Etsy.
Hardware – If necessary, use small nails to mount anything (like the keys I used!) for which Command Strips won’t work.
HOW TO PLAN
Think About Existing Things
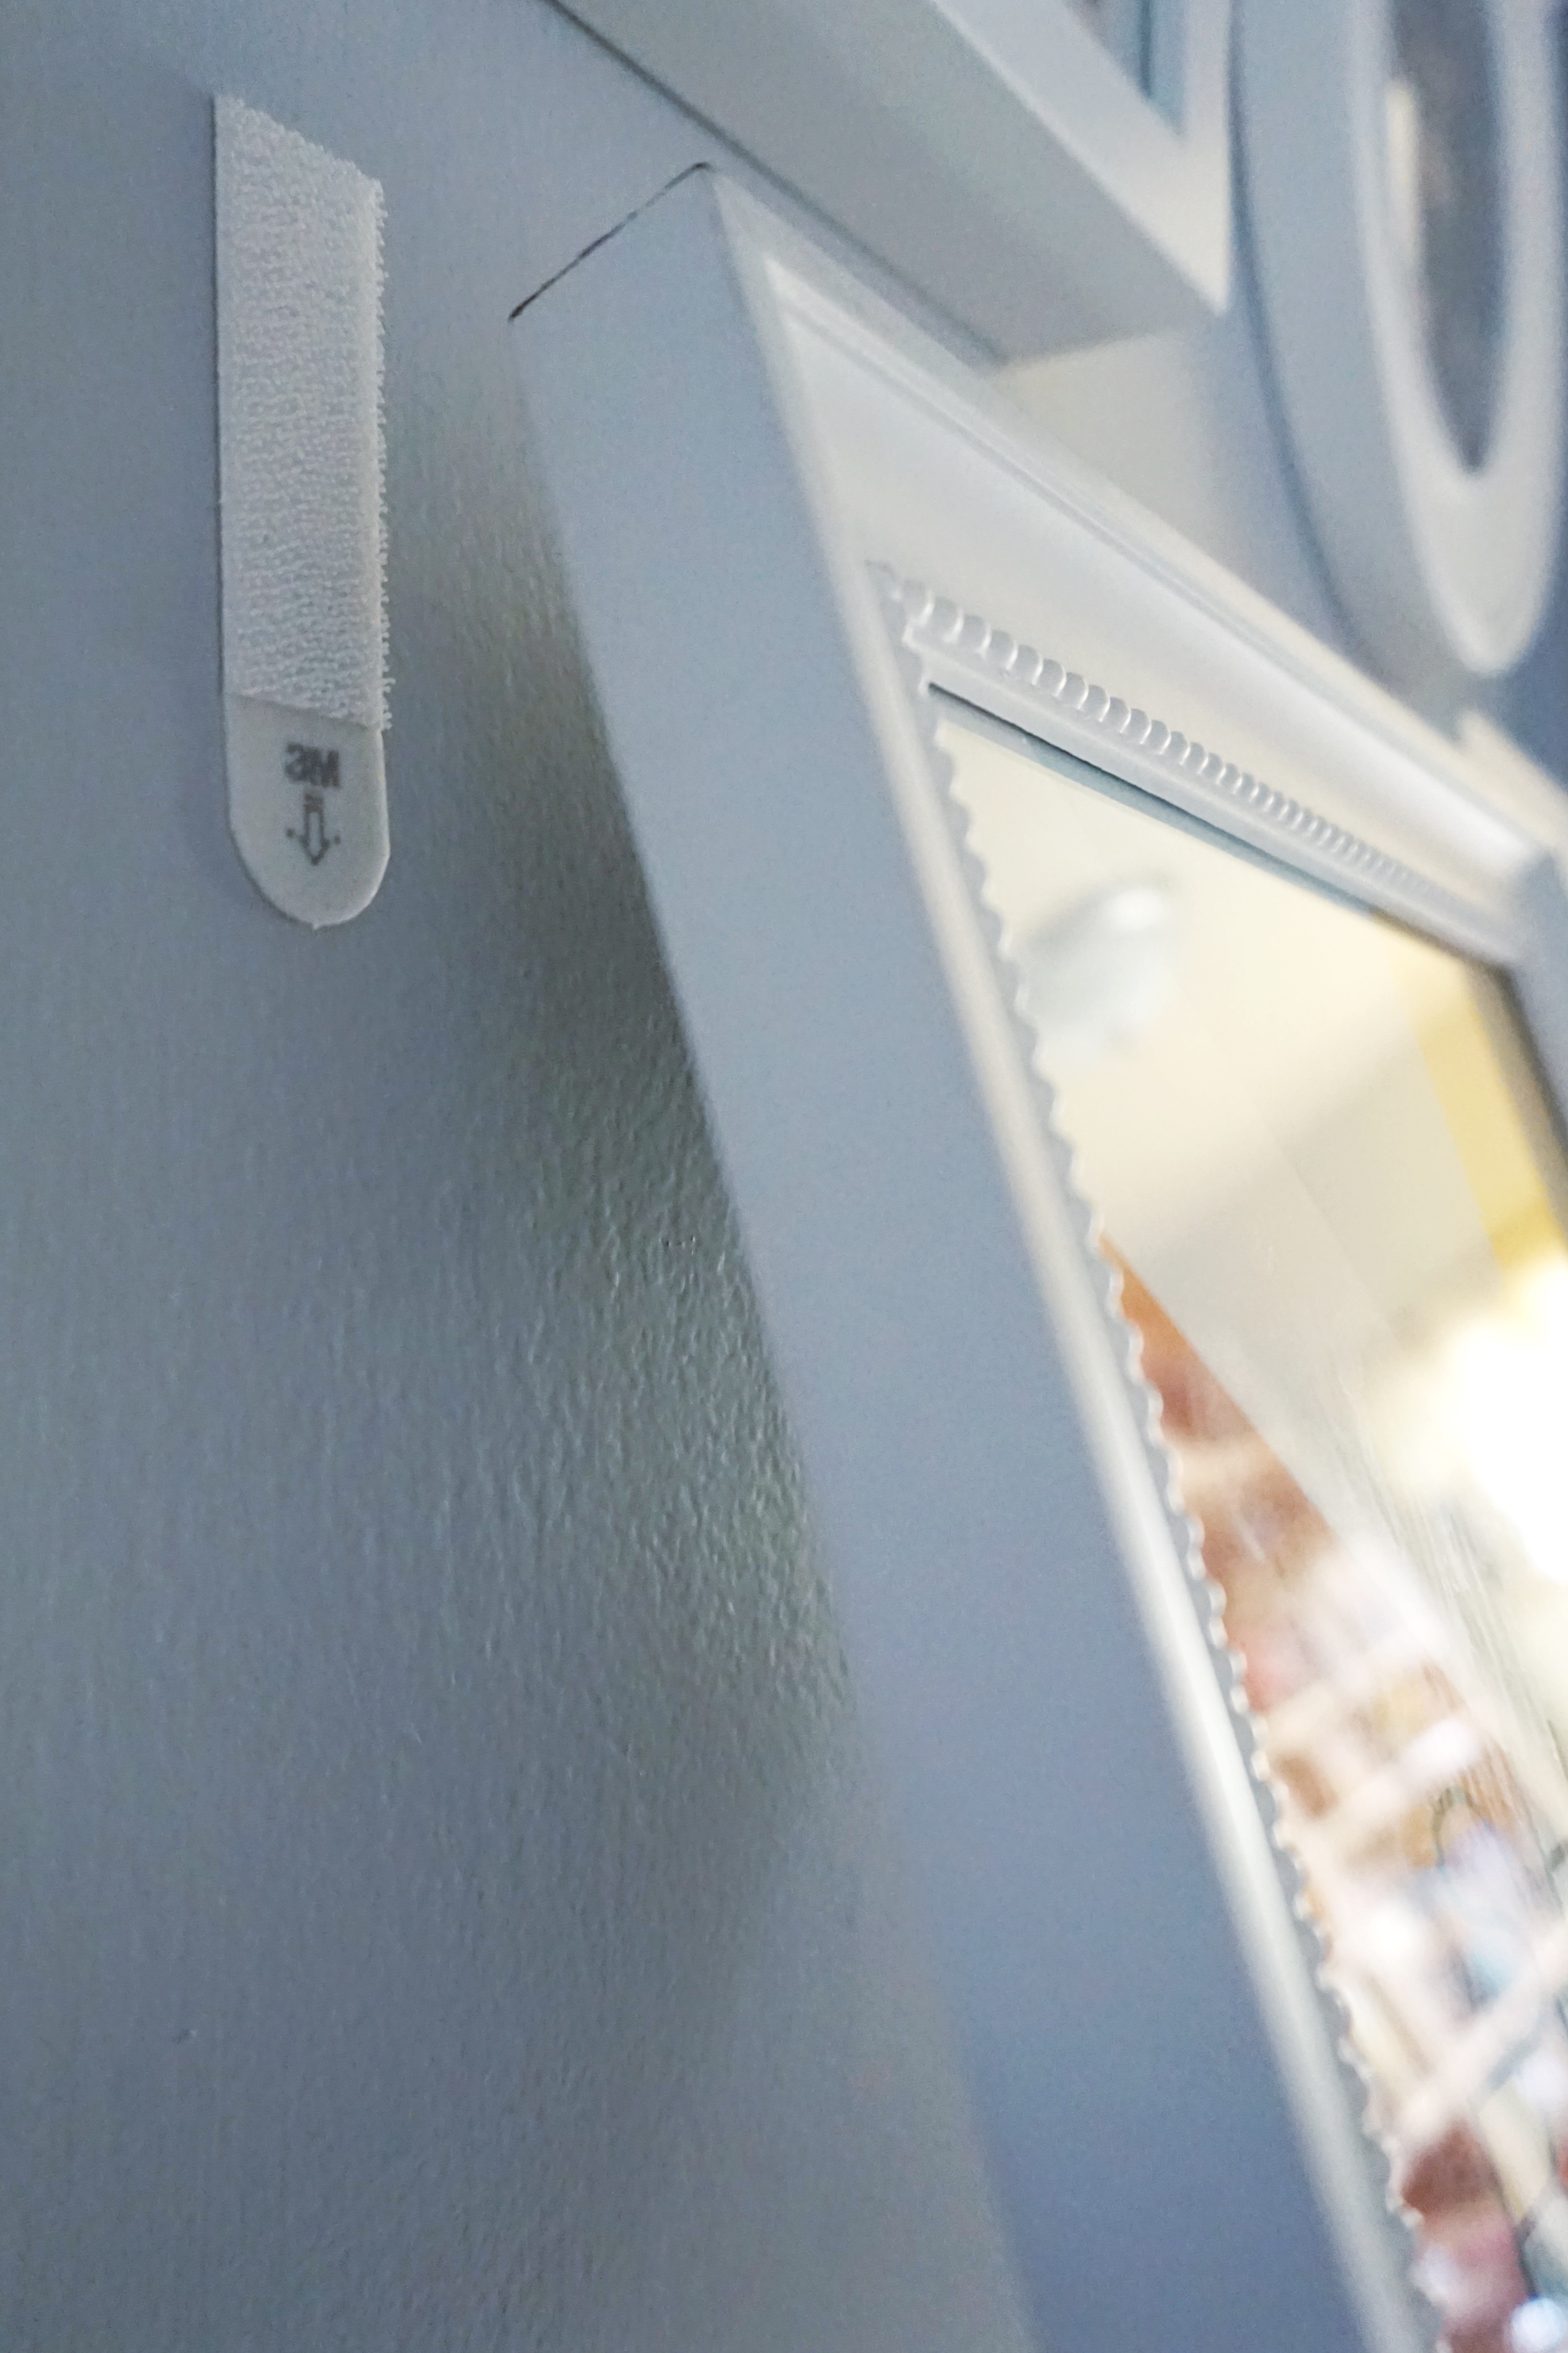
Take into account how your gallery wall will align with existing things like door frames, windows, light switches, etc. In our old apartment, I incorporated our thermostat into one of our gallery walls (using the same white frames above) and it really worked to minimize the device’s not-so-brand-new appearance. Whatever occupies your area, keep in mind how your gallery wall elements will work with everything that is on and around your wall as you continue to plan to keep your space looking cohesive.
Shoot for Even Spacing
When it comes to creating a great gallery wall, spacing is probably the thing that can make or break the entire project. During the measuring phase (coming up next!), aim to keep your frames equally distant from any surrounding objects (as discussed above) and other frames. You can certainly be super meticulous and measure everything out, but I find a millimeter or two doesn’t really make a difference to the overall appearance AND when you use Command Strips you can easily adjust anything that looks off or crooked.
Measure Your Space
Take measurements of the area you’re trying to fill then map out the space on the floor or a tabletop using your frames and decor. I usually take photos at this stage so I don’t forget where I’ve placed things so make sure to do that as well! Alternatively, if you’re not comfortable with simply eyeing everything before mounting to the wall, you can create mockups of your frames/decor out of packing or parchment paper, place them onto the wall with tape and rearrange until you’re happy with the placement. I don’t have a photo of this stage of the process as my gallery wall is already complete, but if any part of this is confusing, don’t hesitate to comment so I can clarify!!
WHAT TO DO
Start by adhering your Command Strips to the backs of all your frames (and decor items if needed). If you laid your gallery wall design out on the floor or table and are ok with judging what will go where based on photos, you can begin placing each element of your gallery wall onto the wall according to the Command Strip instructions. If you used the paper mockup method, remove one mockup at a time and replace with a frame or decor item, again following the instructions for the Command Strips. If any of your decor items require nailing in, be sure to use the smallest nails possible for the job because huge holes in the wall are just not cool!
And there you have it!! If you create your own gallery wall with help from this post I would LOVE to see the end result so go ahead and tweet me, message me on Snapchat or DM me on Instagram!! That’s all for now. As always, thank you SO much for reading! xx


Leave a Reply