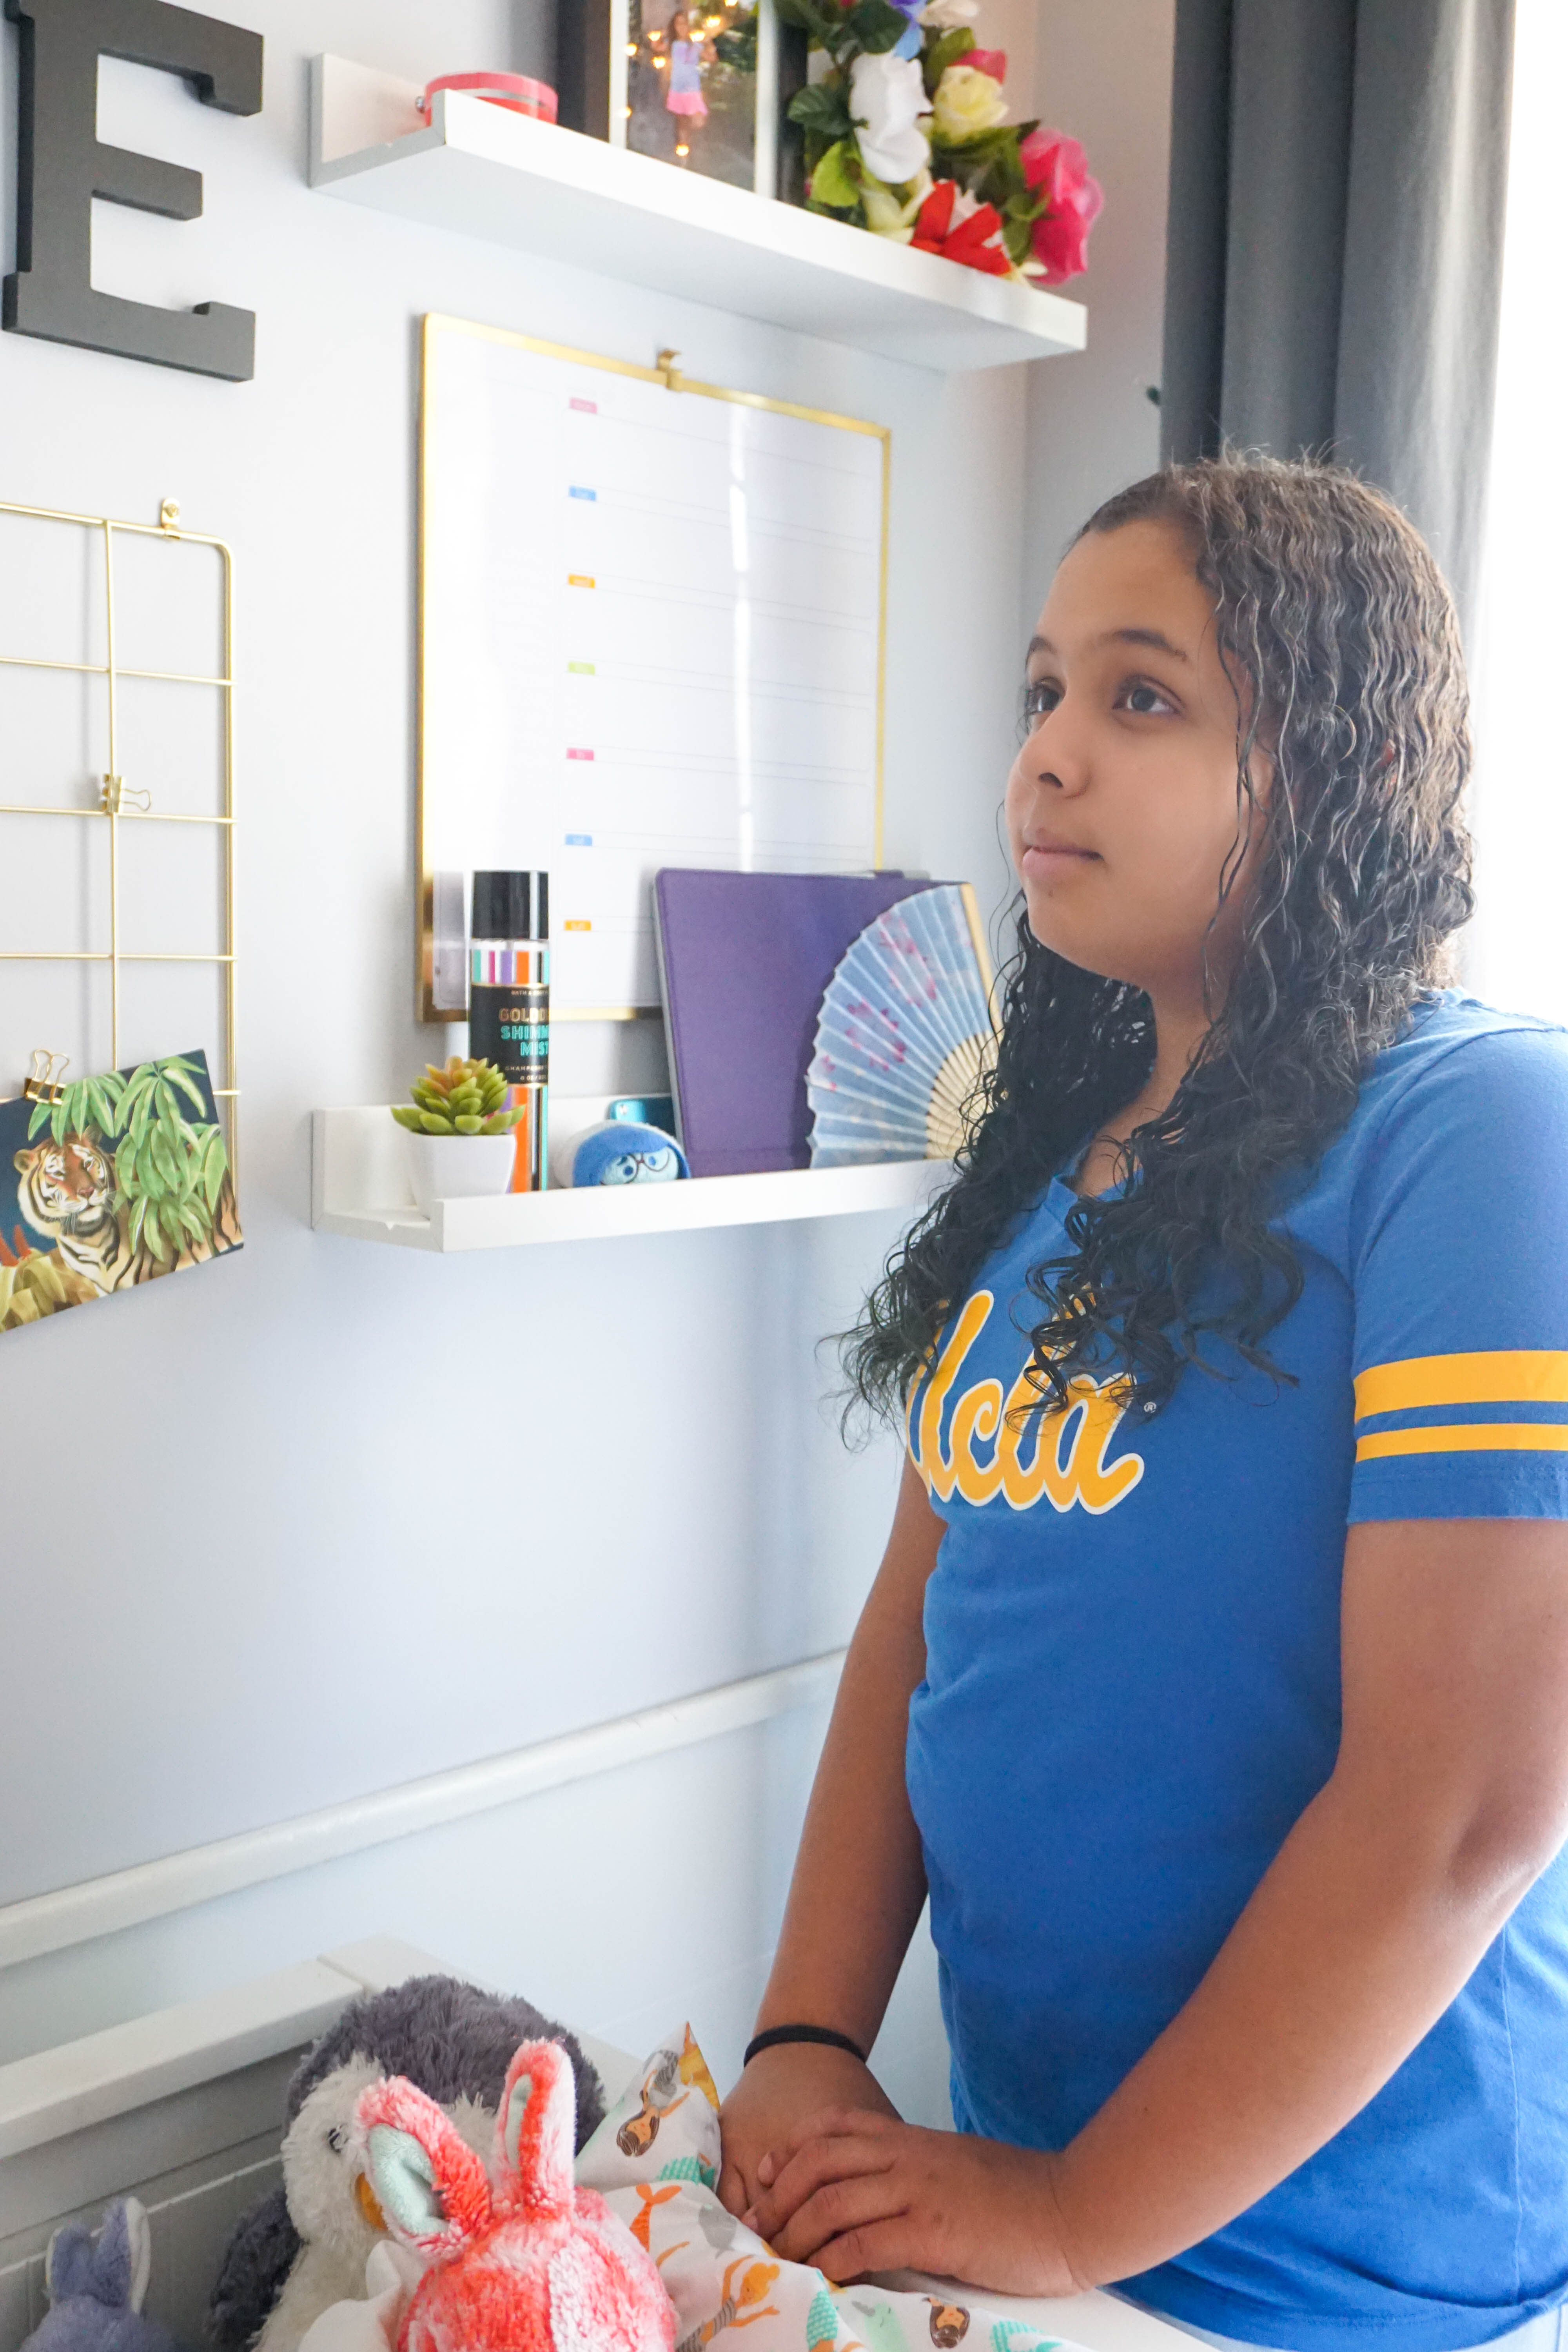
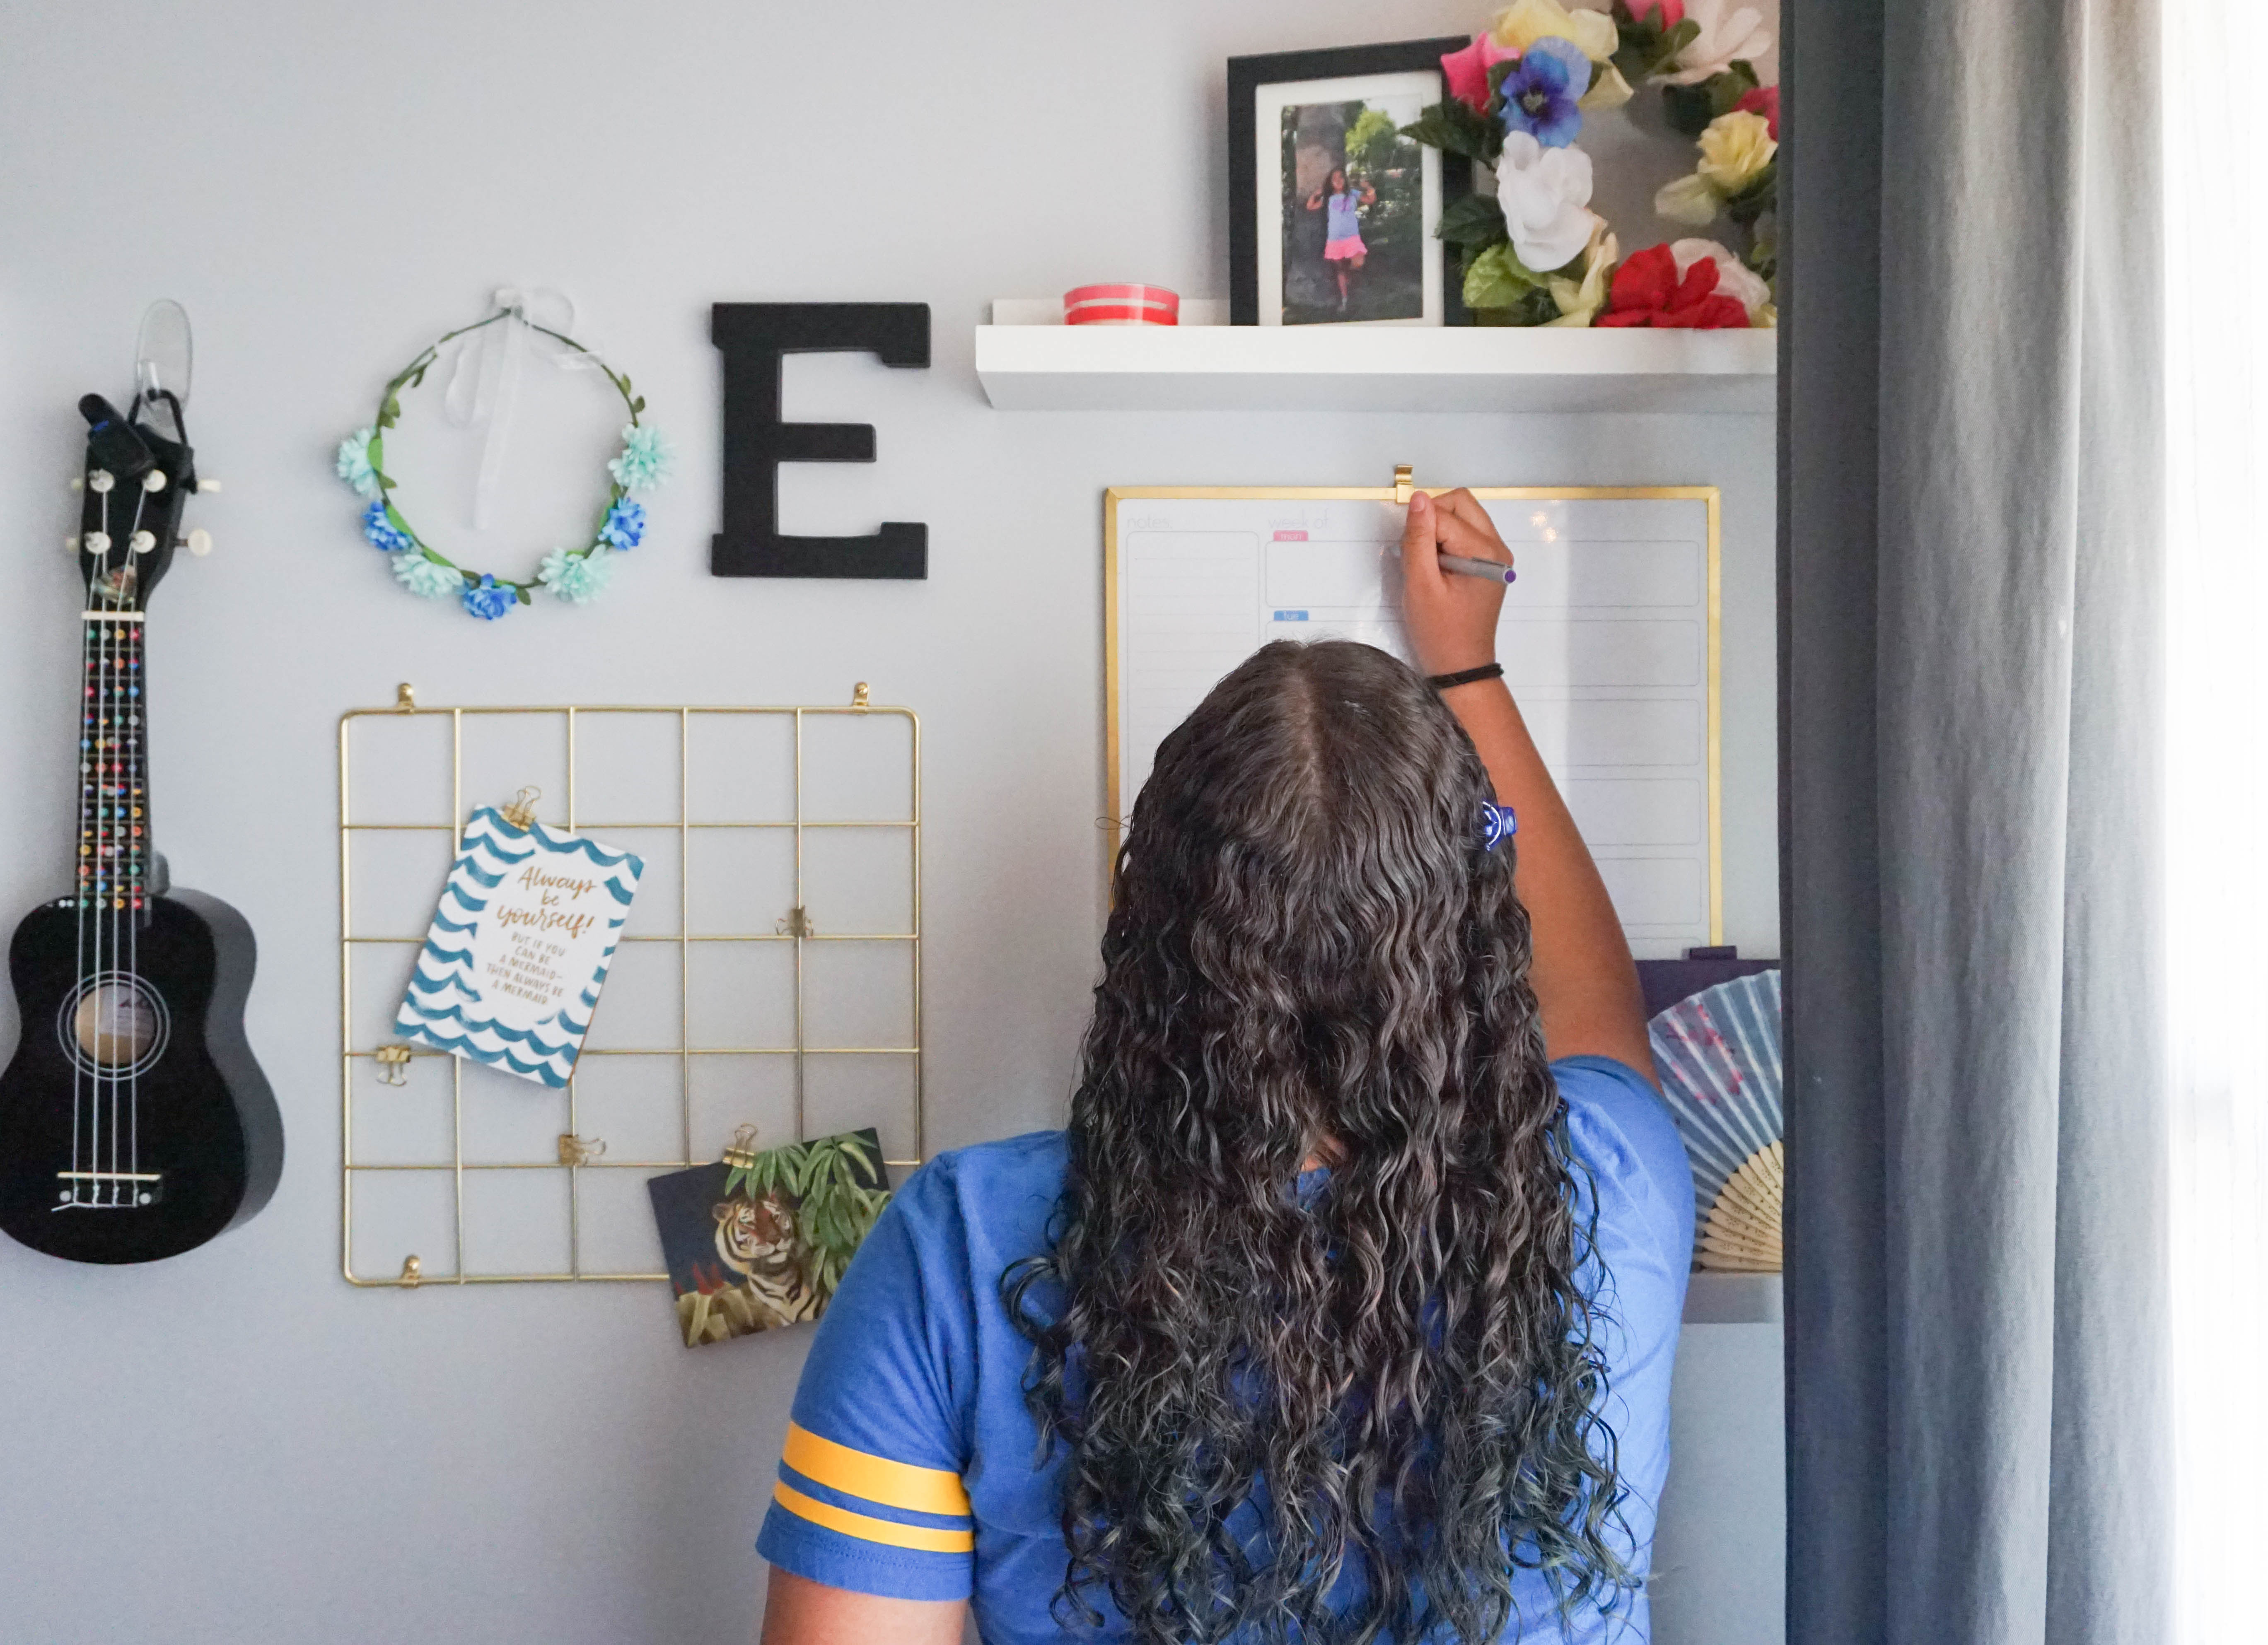
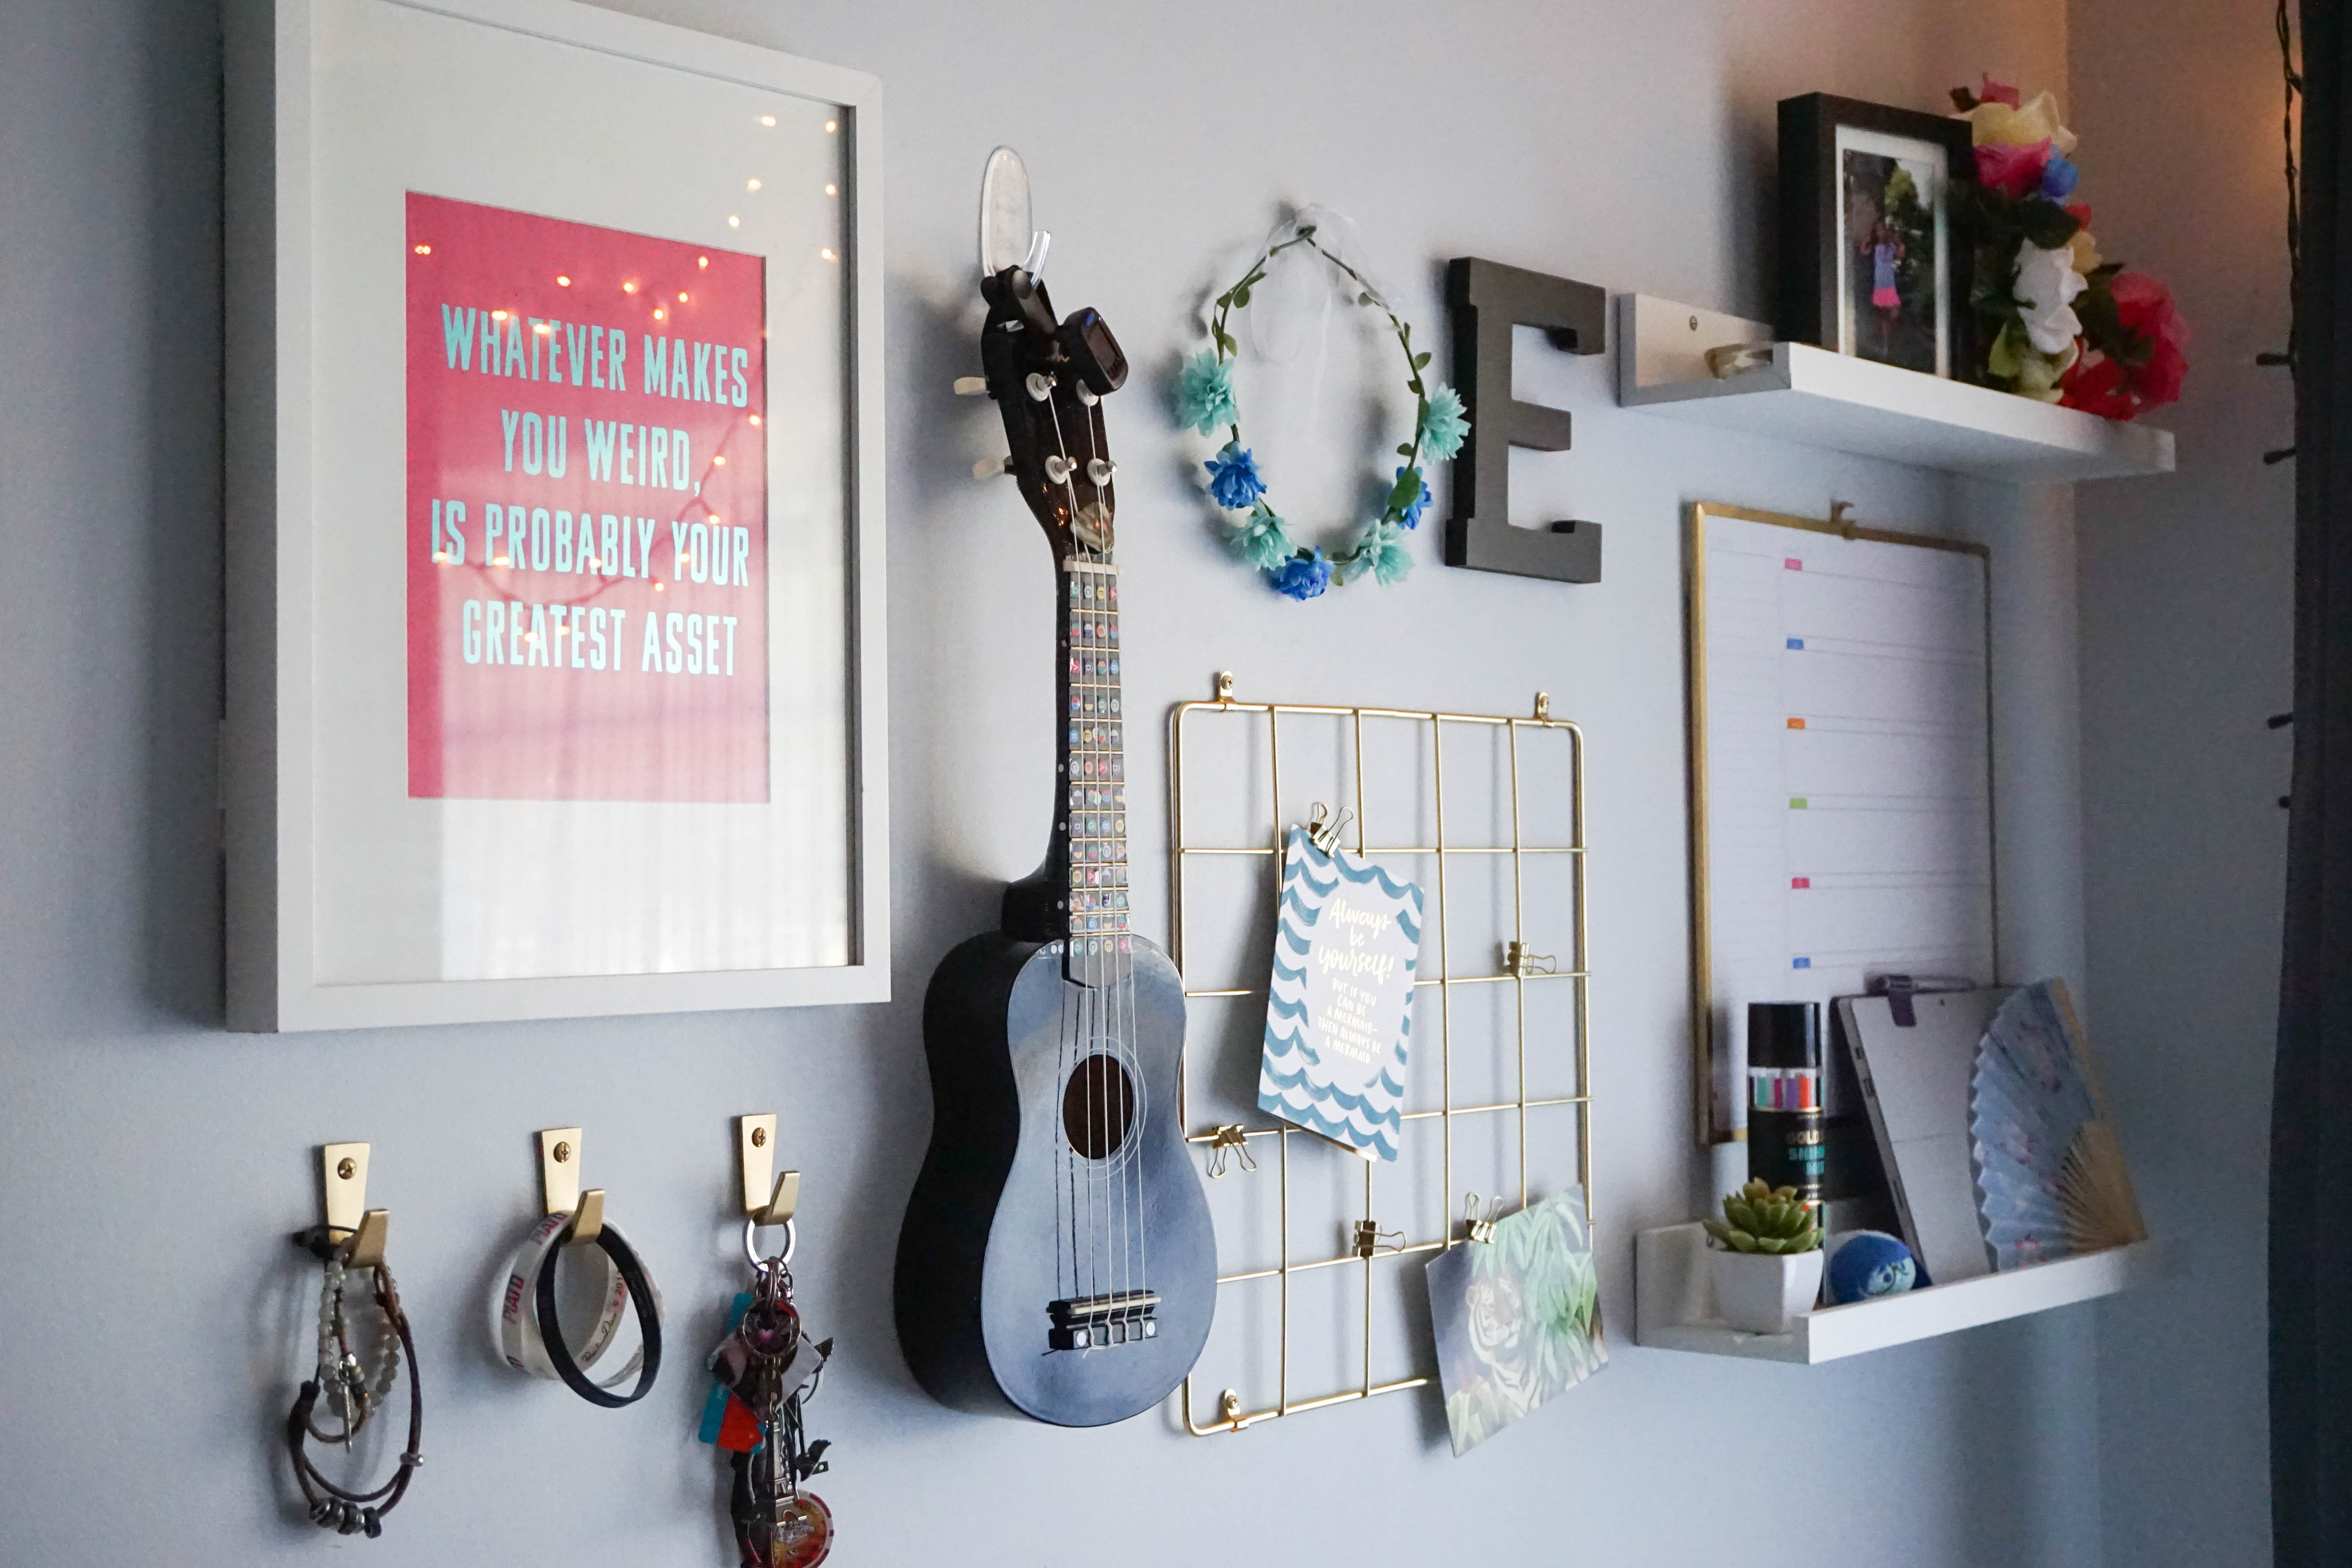
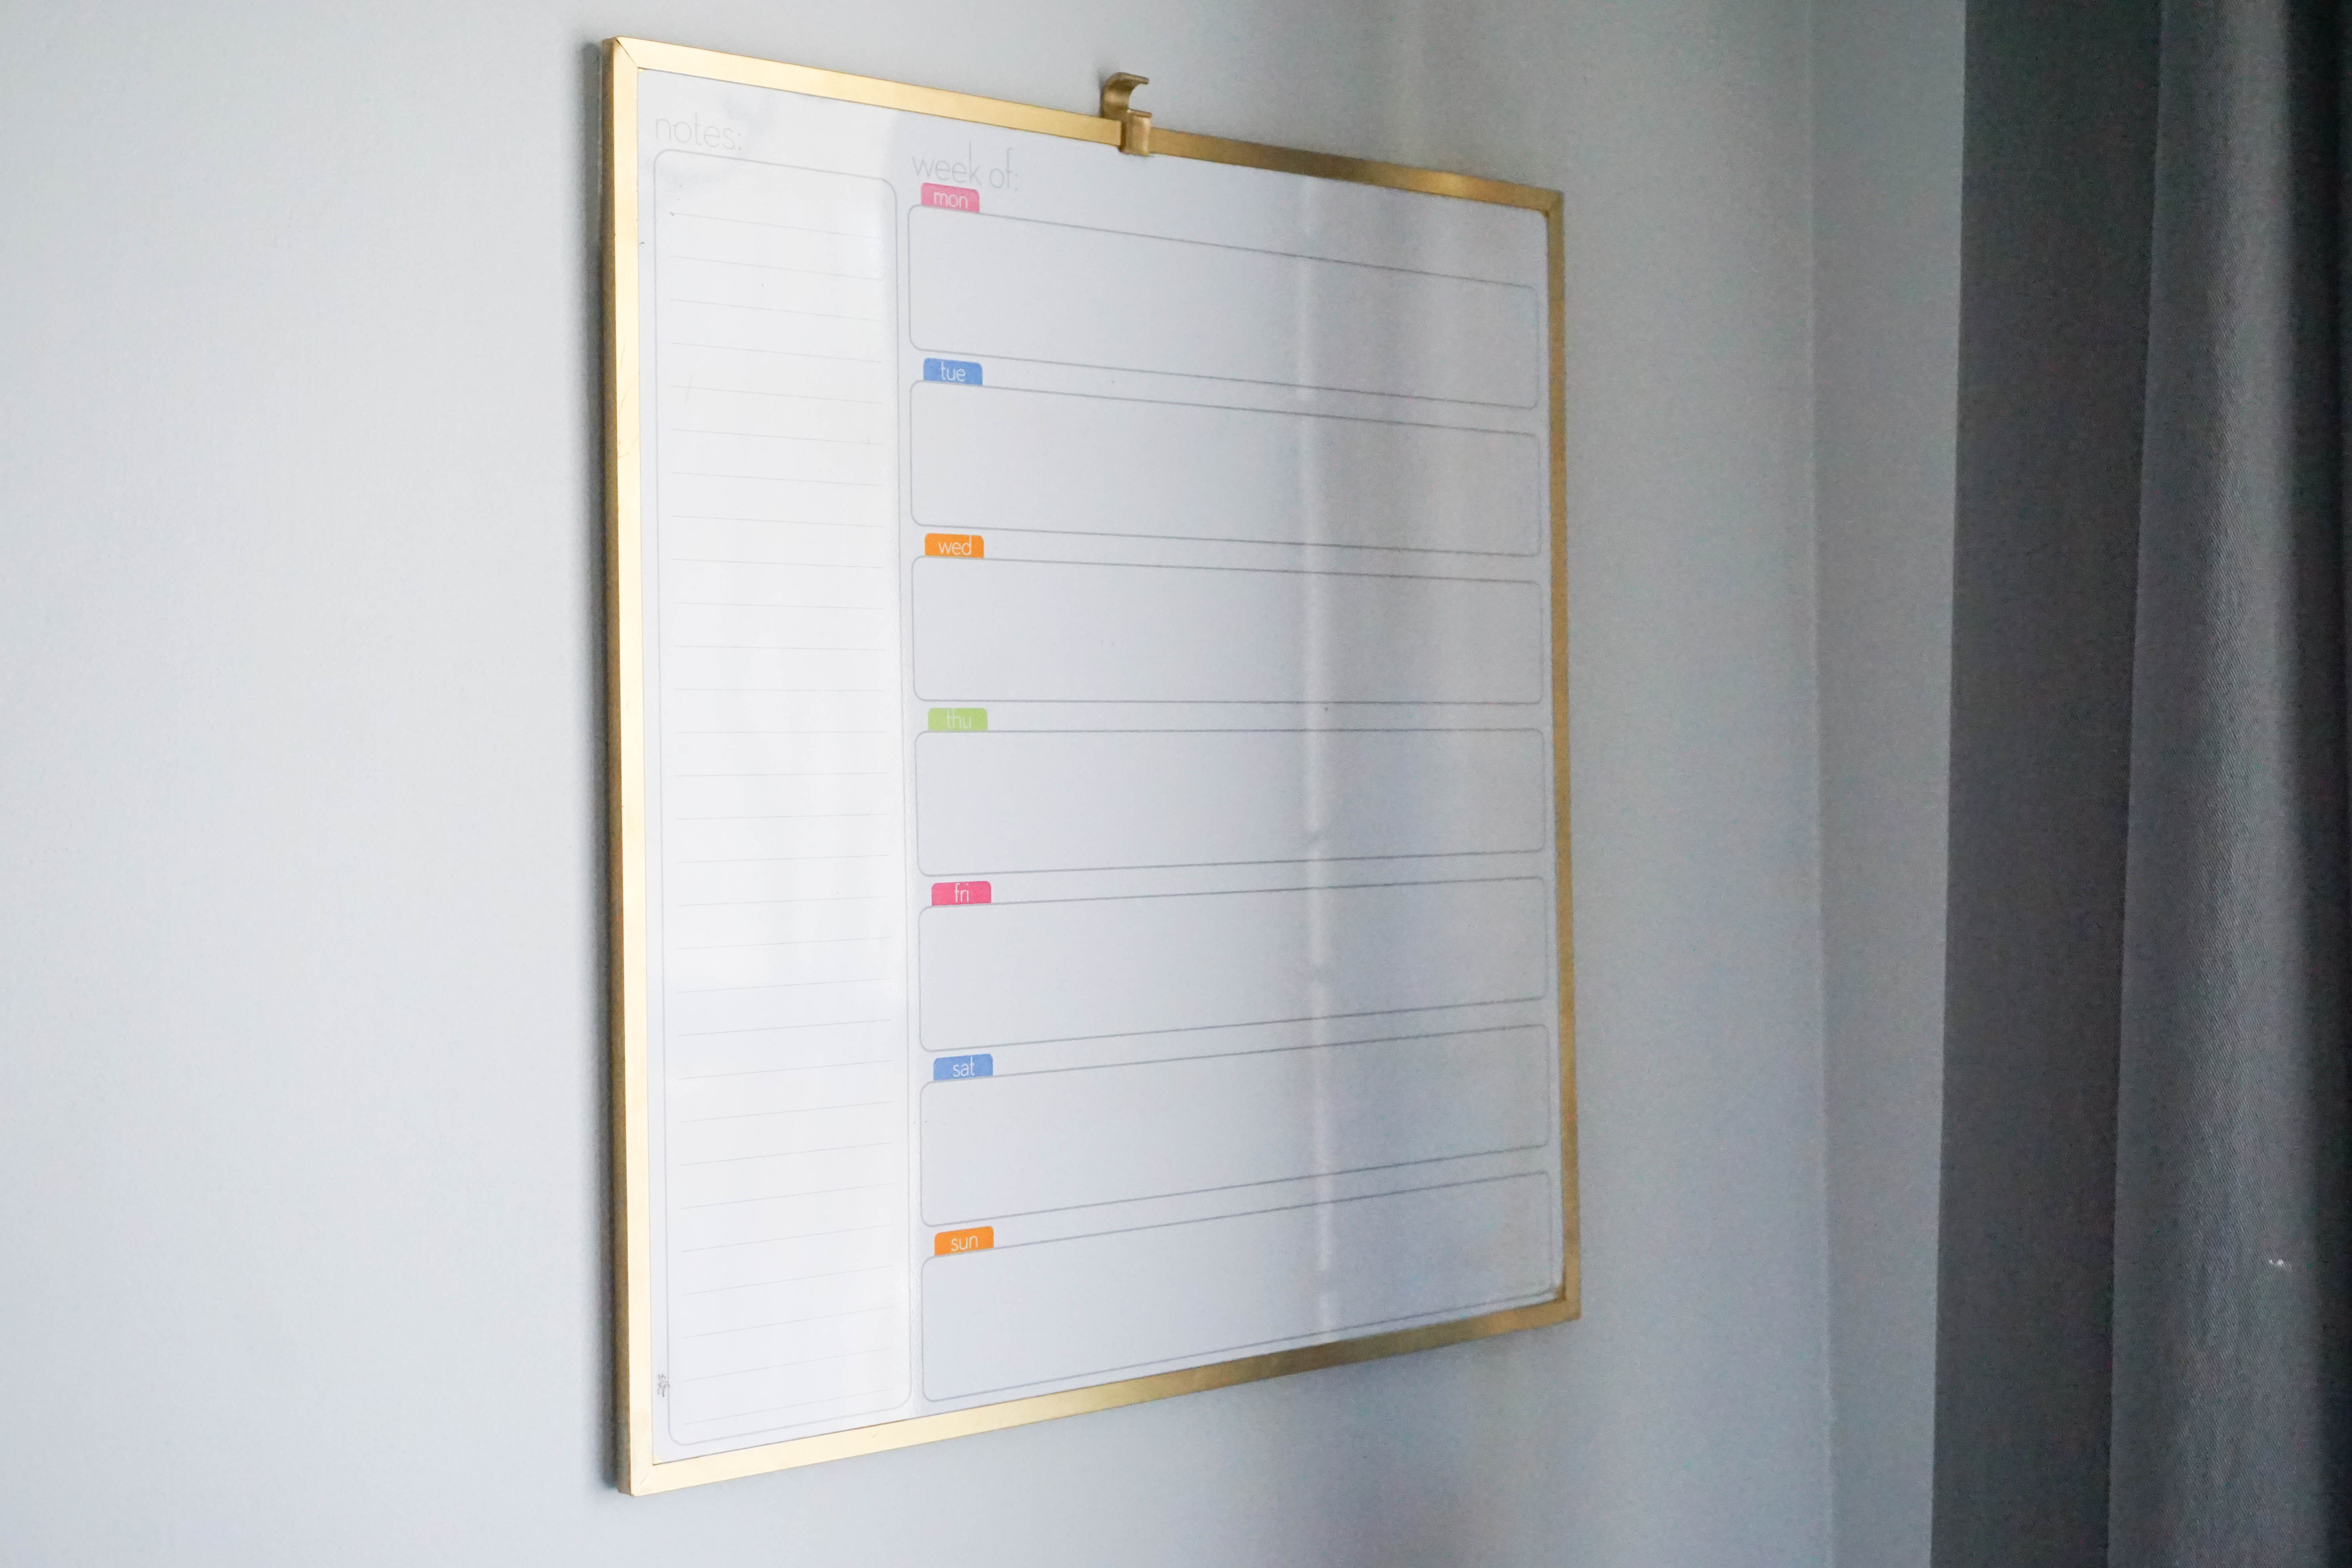
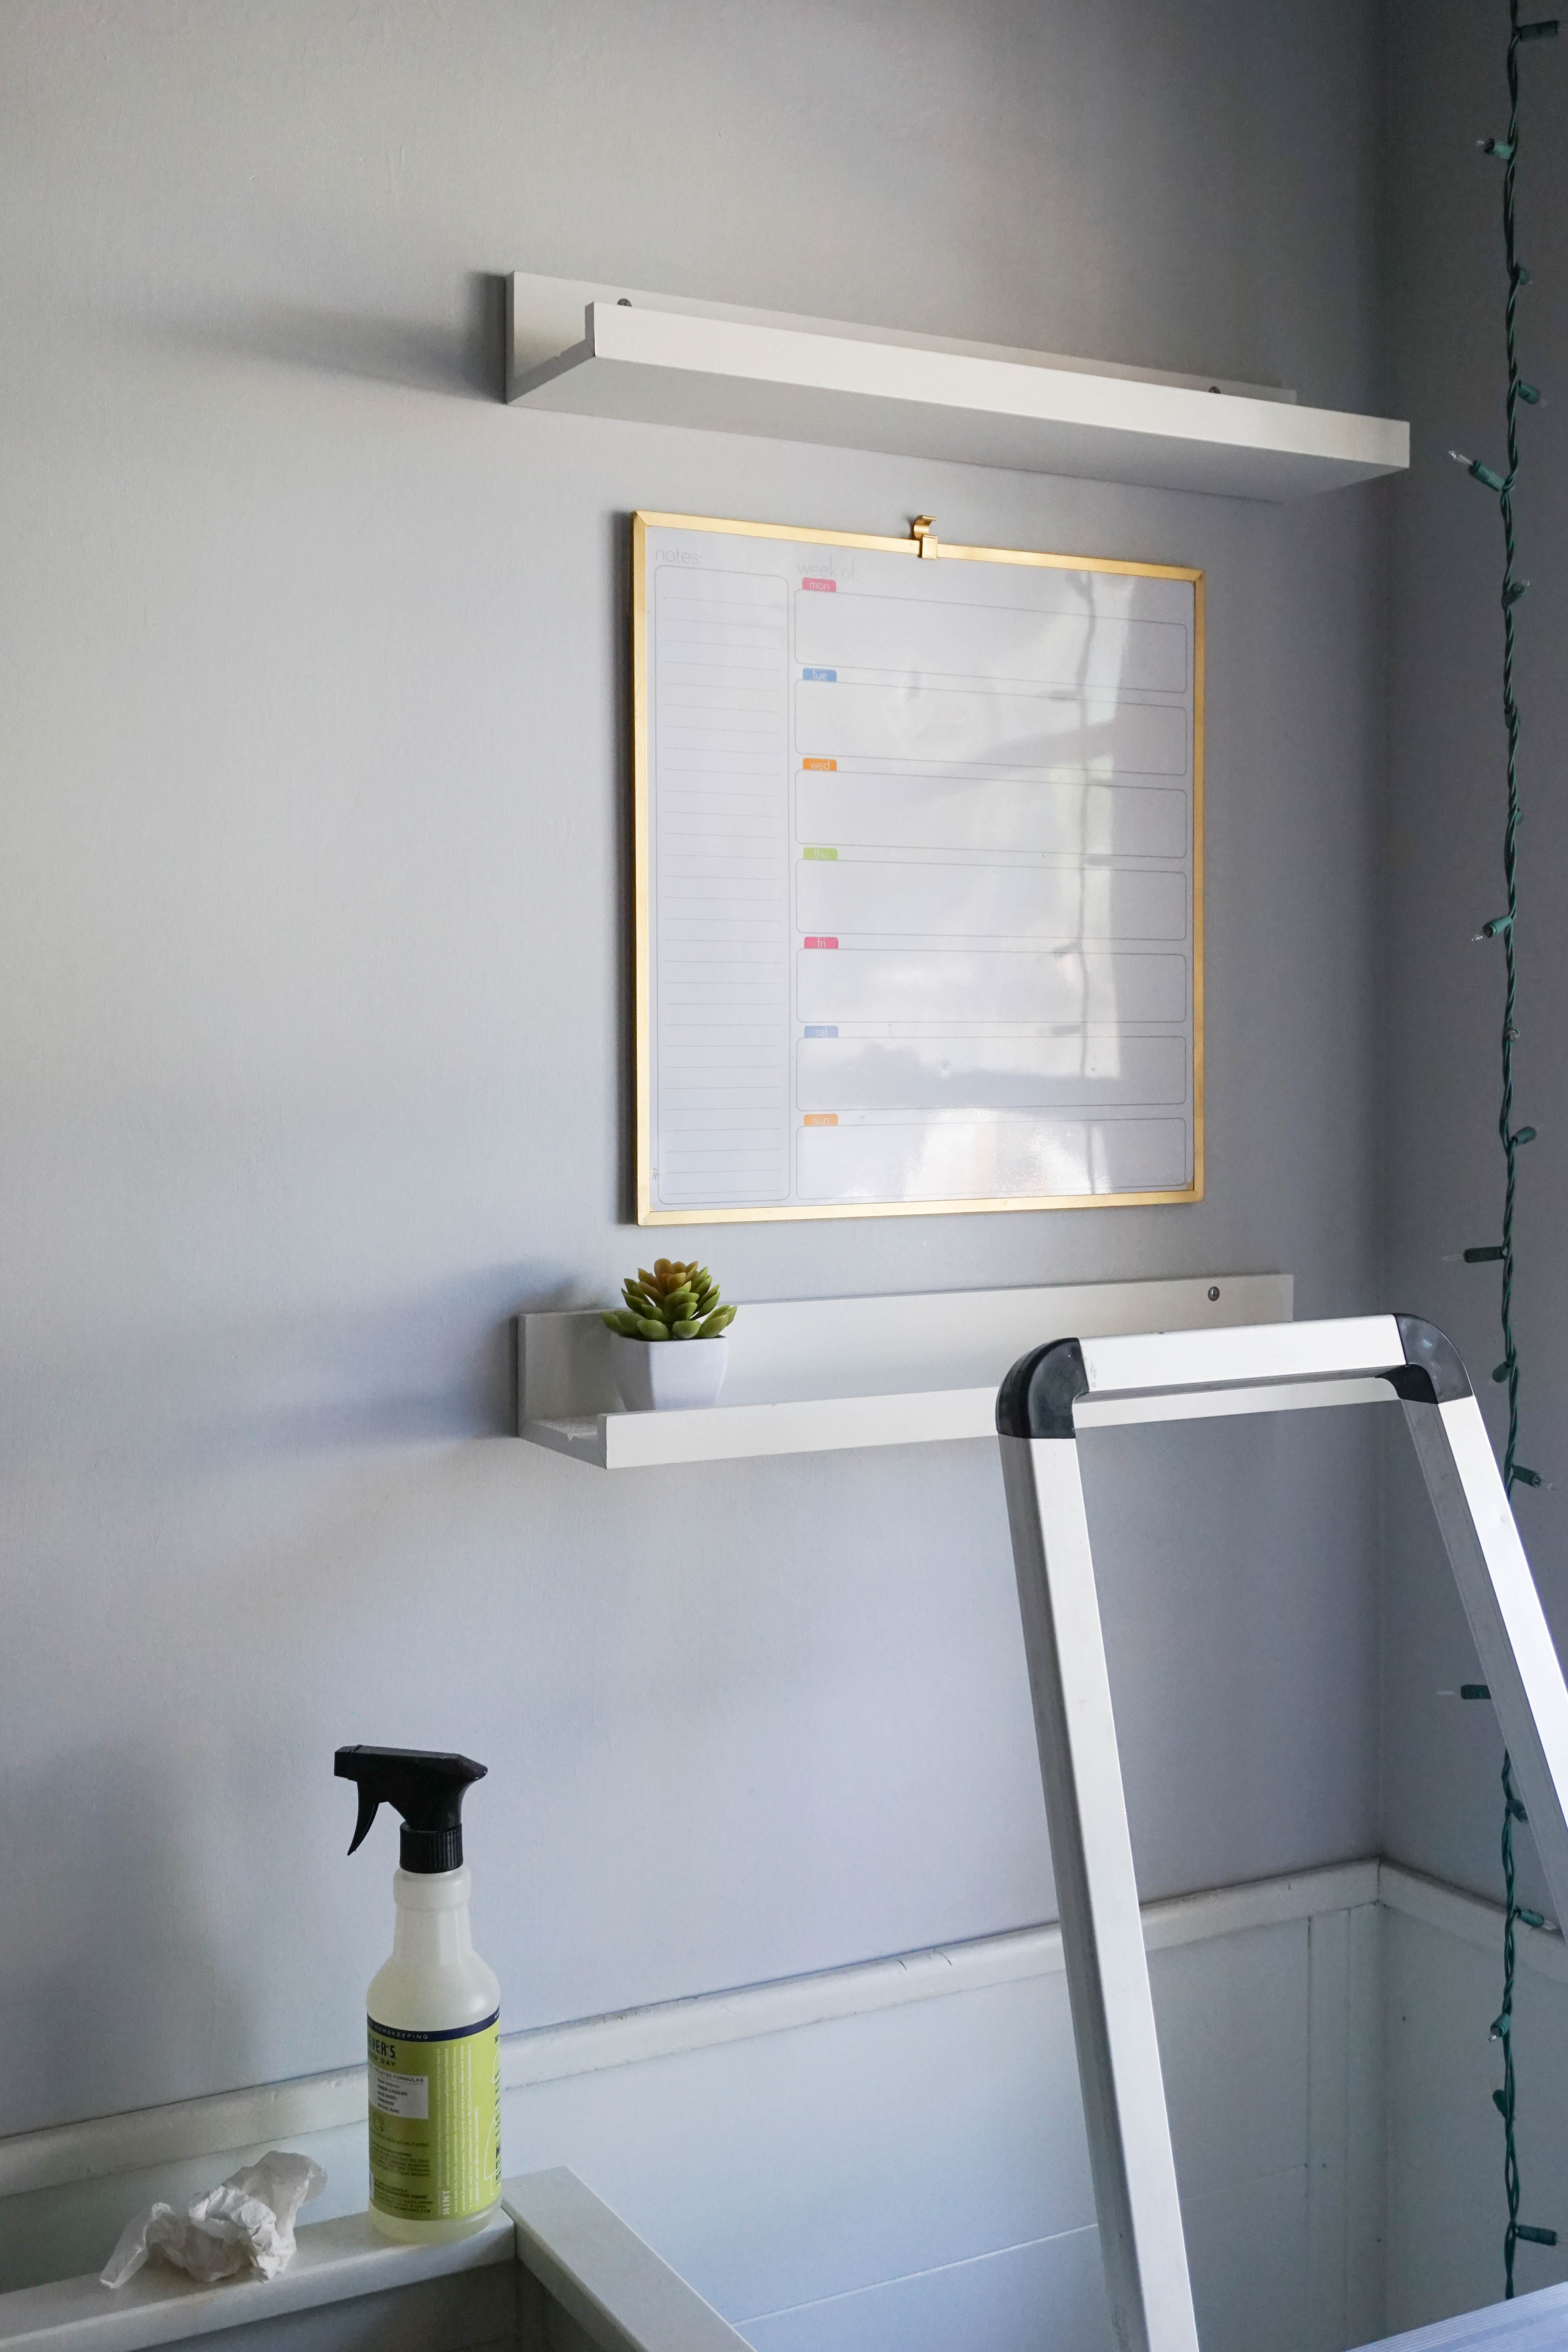
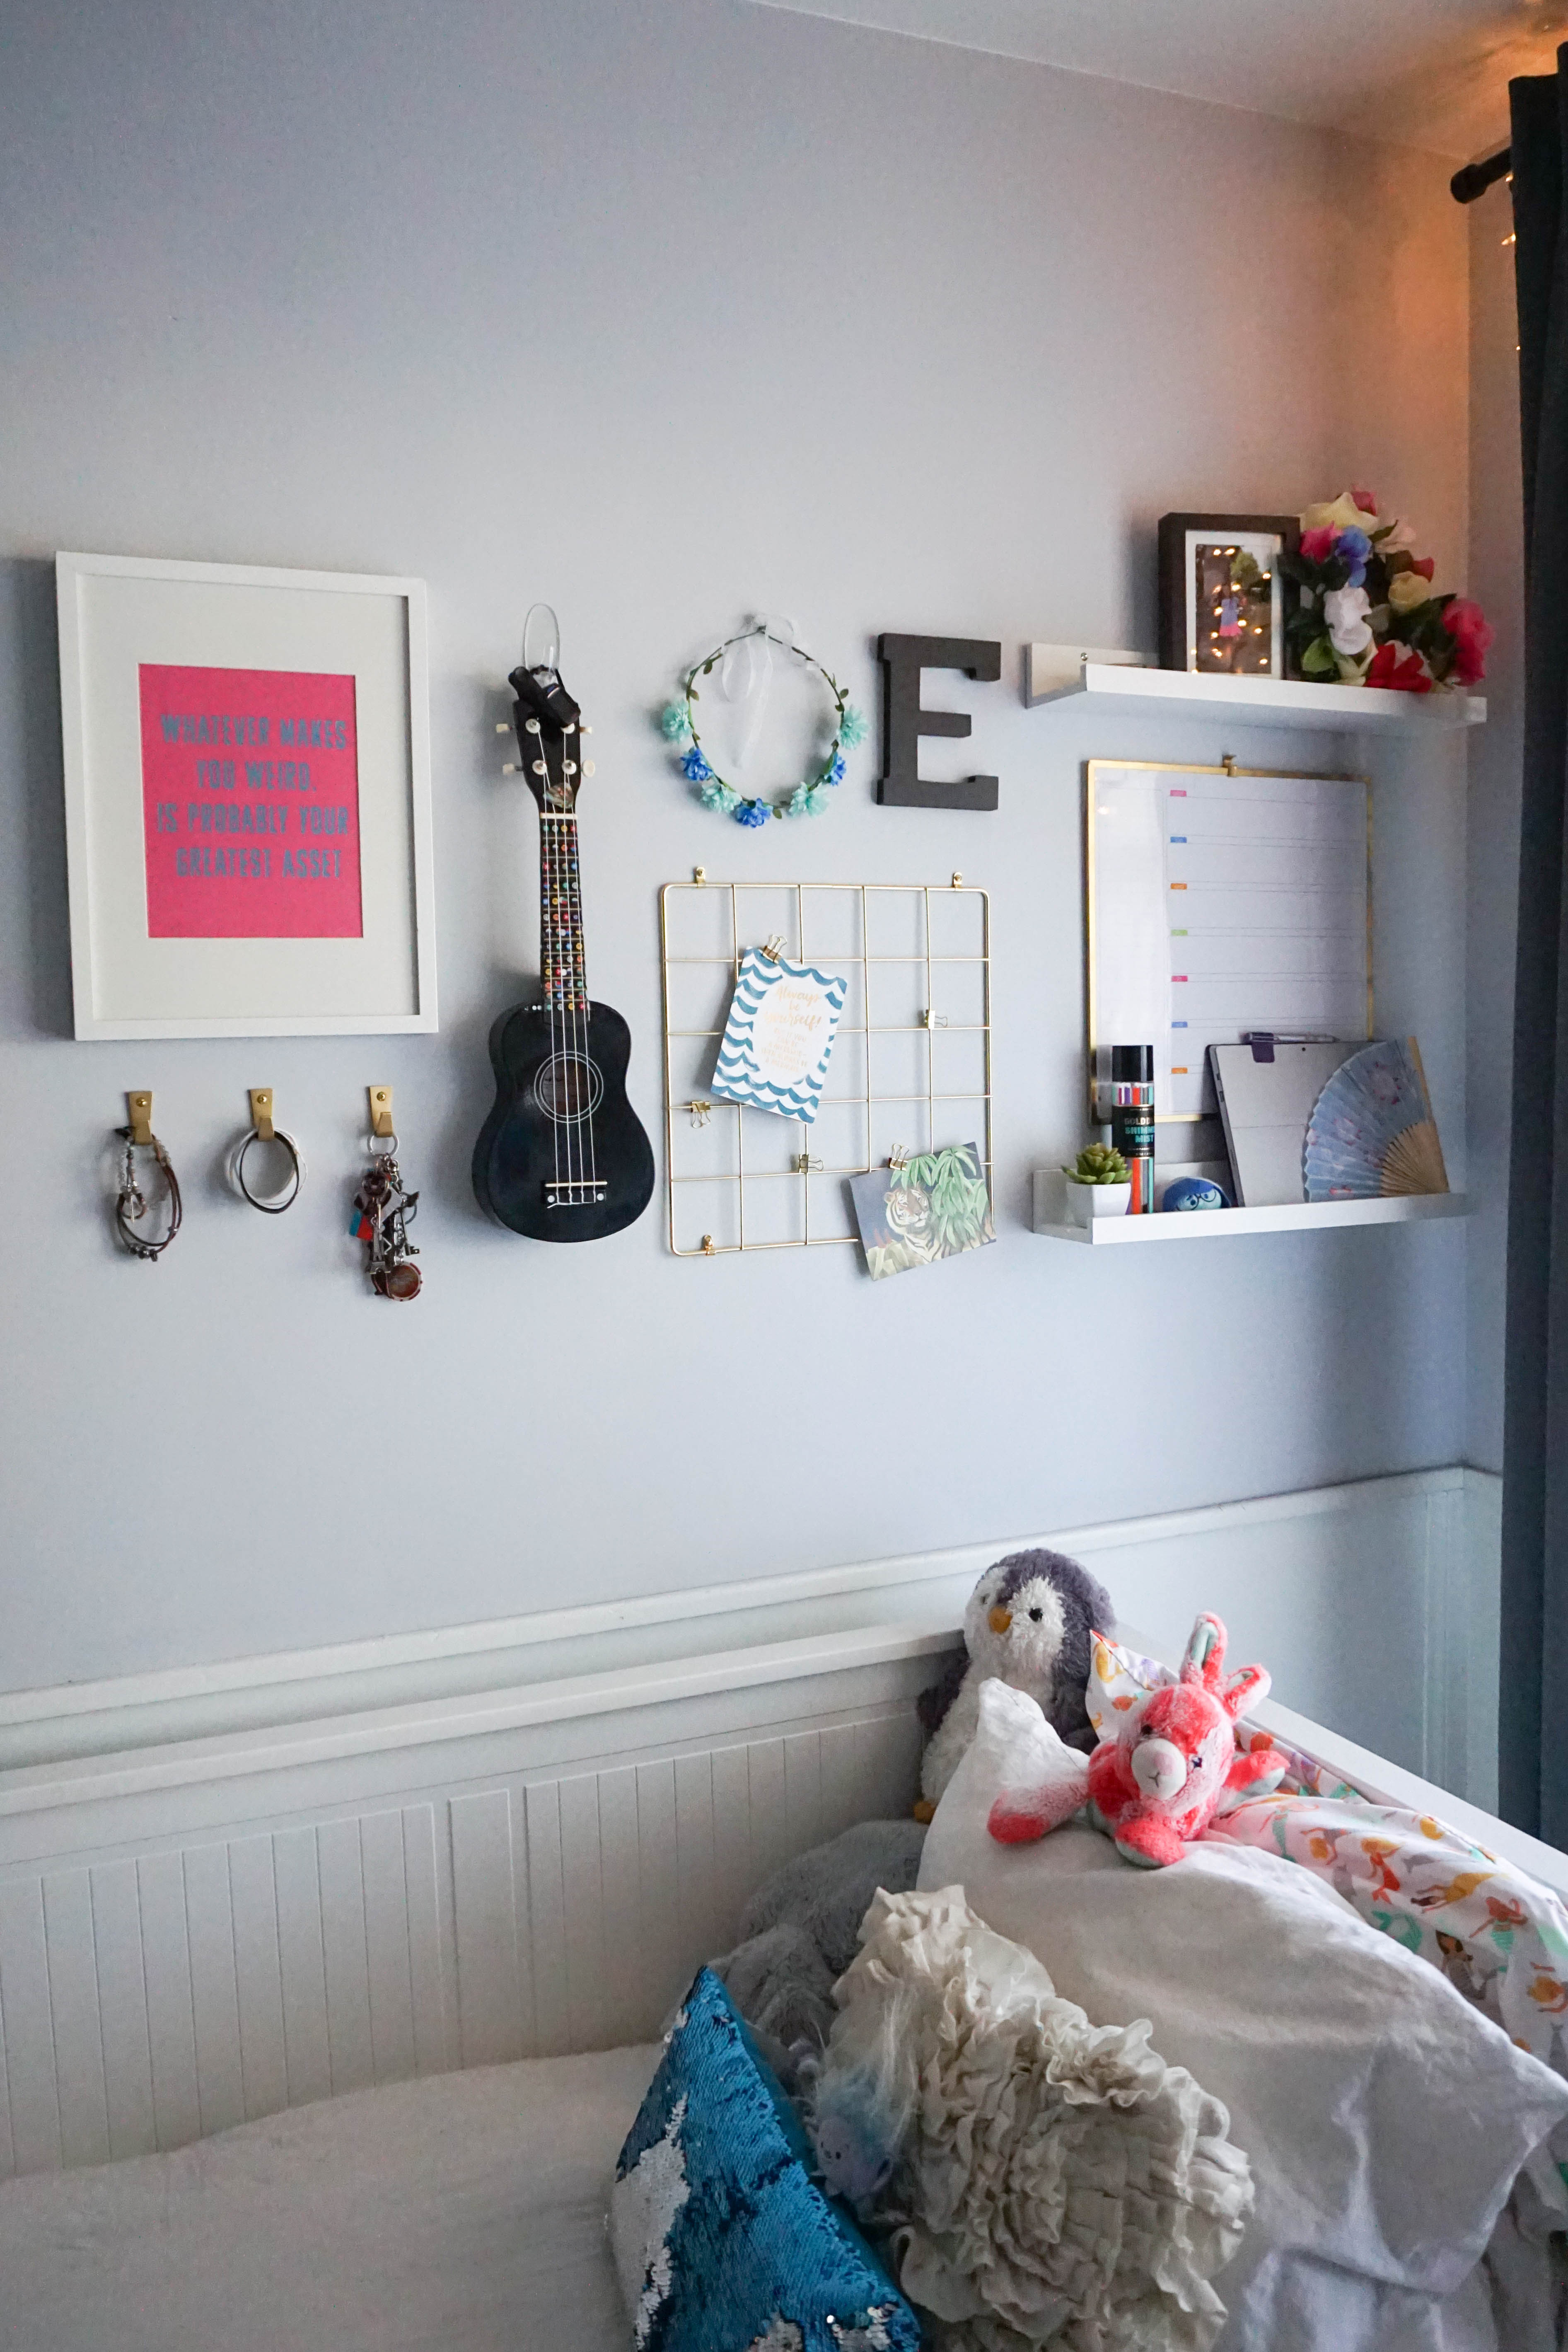
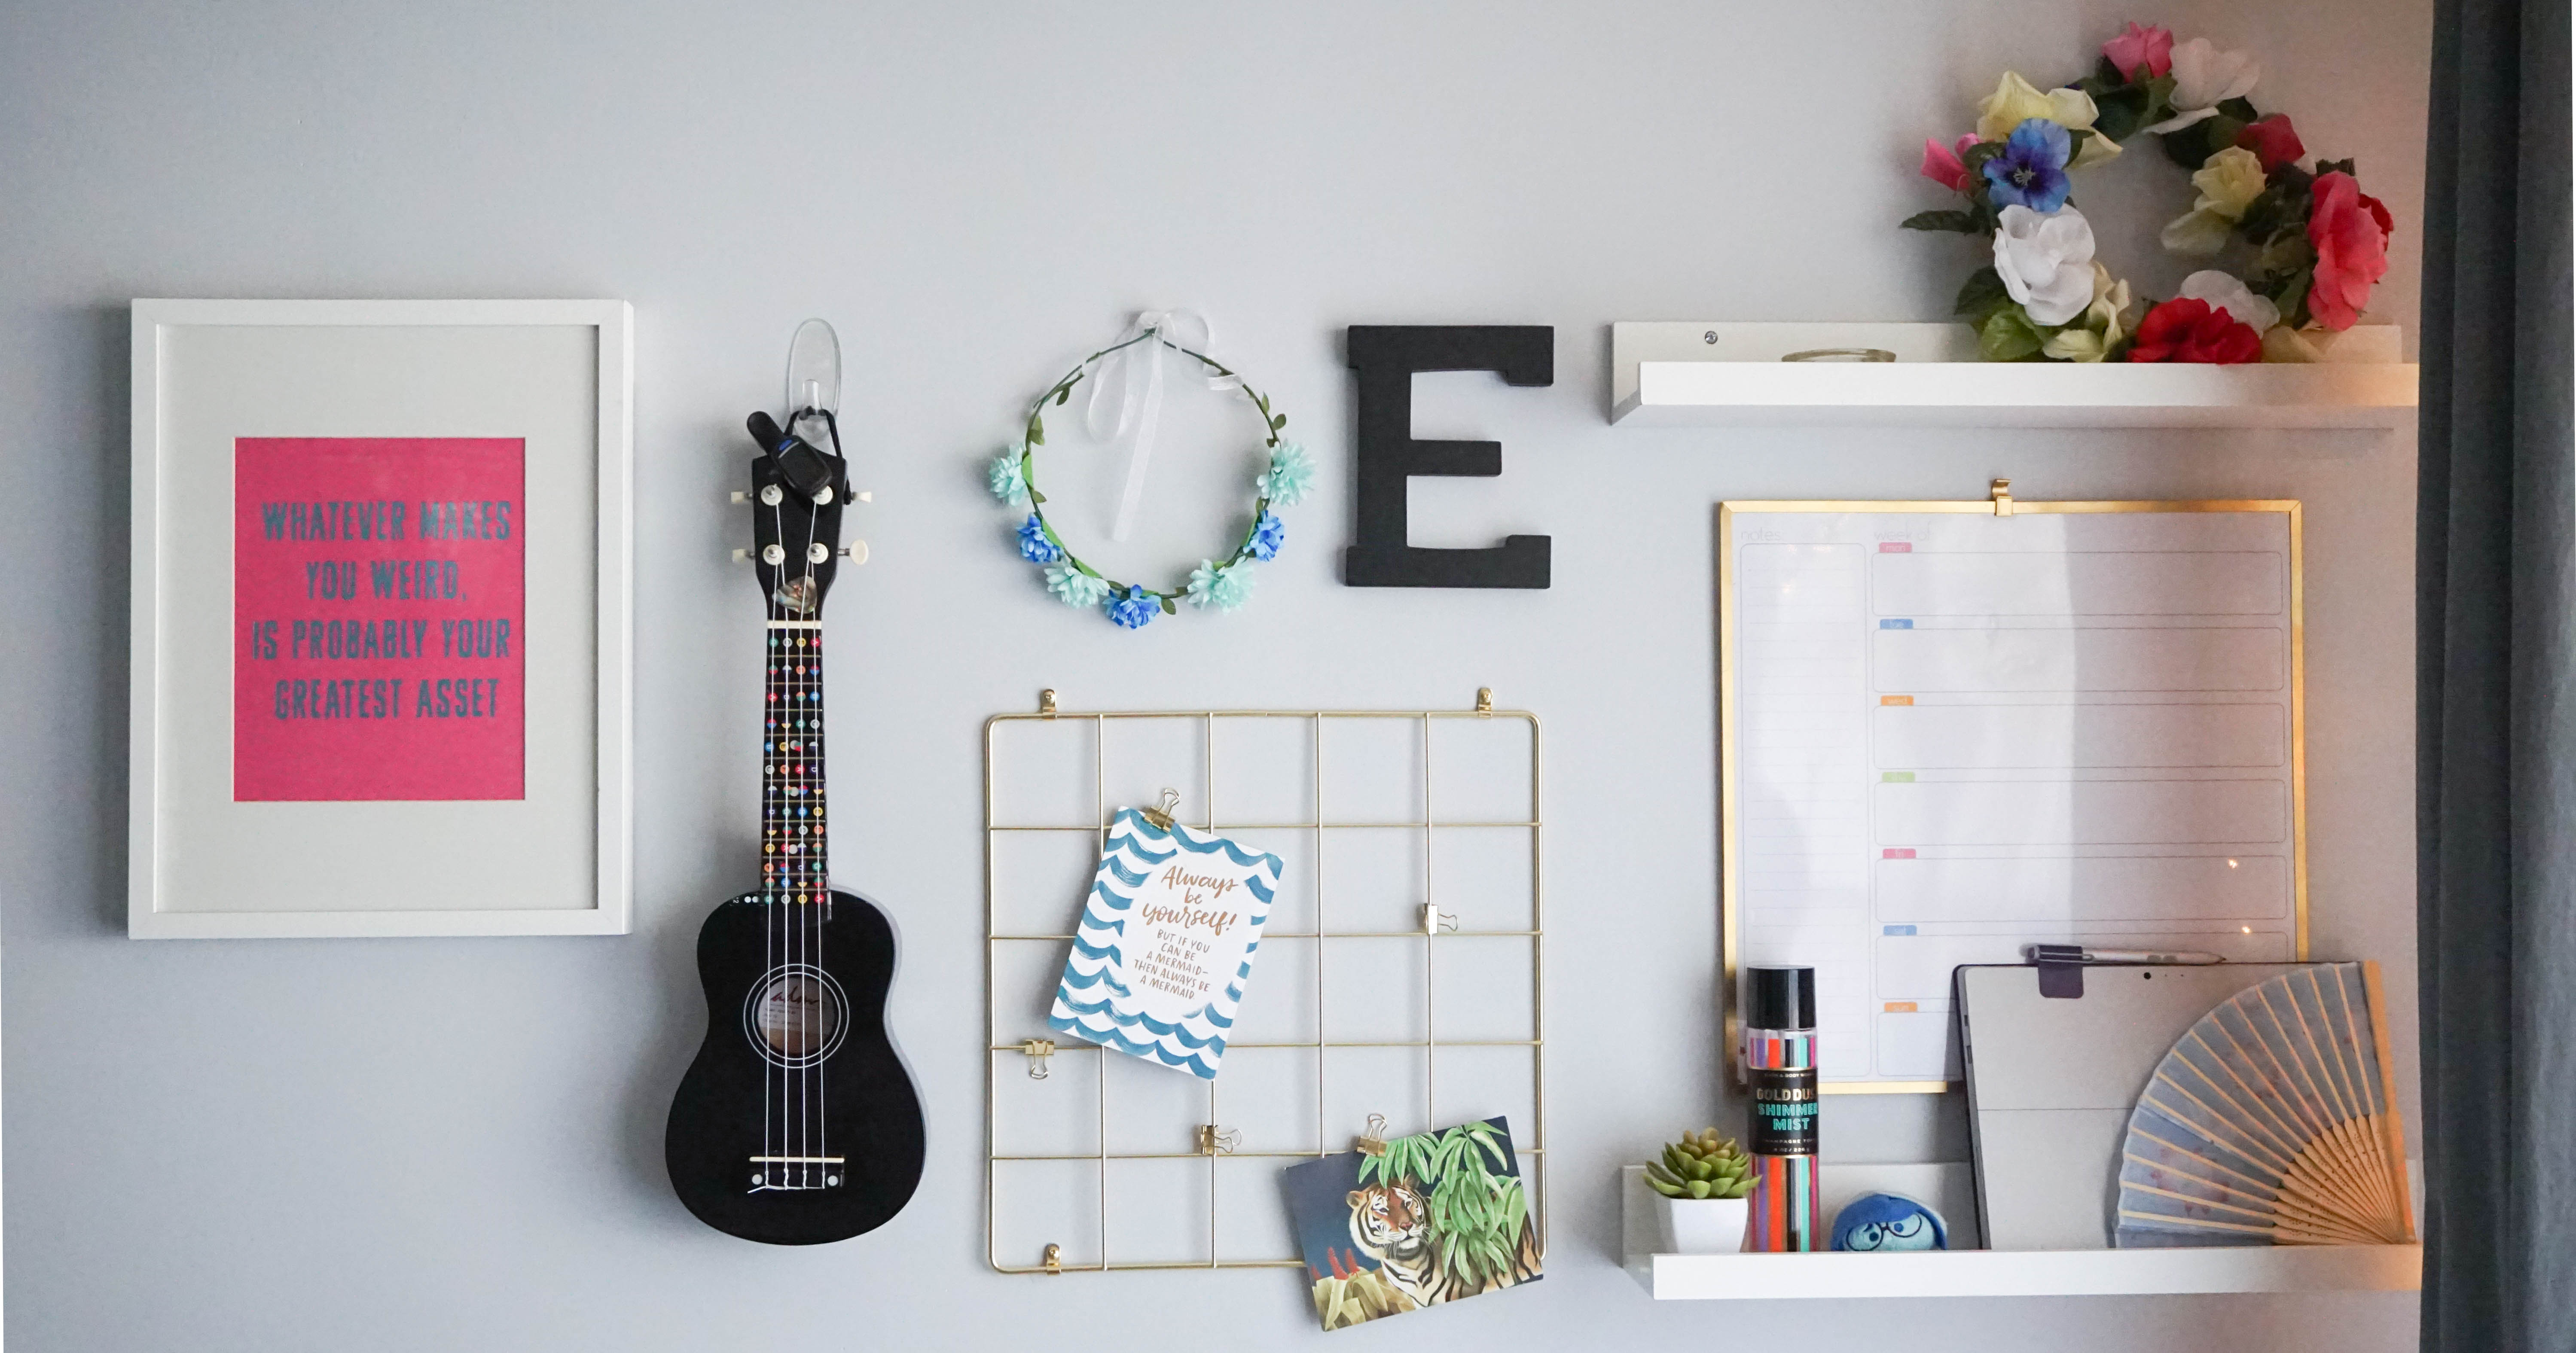
Since Ella is officially a high school freshman (insert so many tears here), organization is of the utmost importance (in my maternal mind) and keeping track of important dates (not just hang-outs with friends) and activities (not just football games) is critical to a successful year. That’s why I decided to create a command center for Ella that is super functional so she can schedule events like project due dates and exams and store things like her keys and school-issued electronic device. Of course, it also had to be aesthetically pleasing which is why I opted for clean lines and on-trend gold accents. What more could a girl want?! Well, a lot…
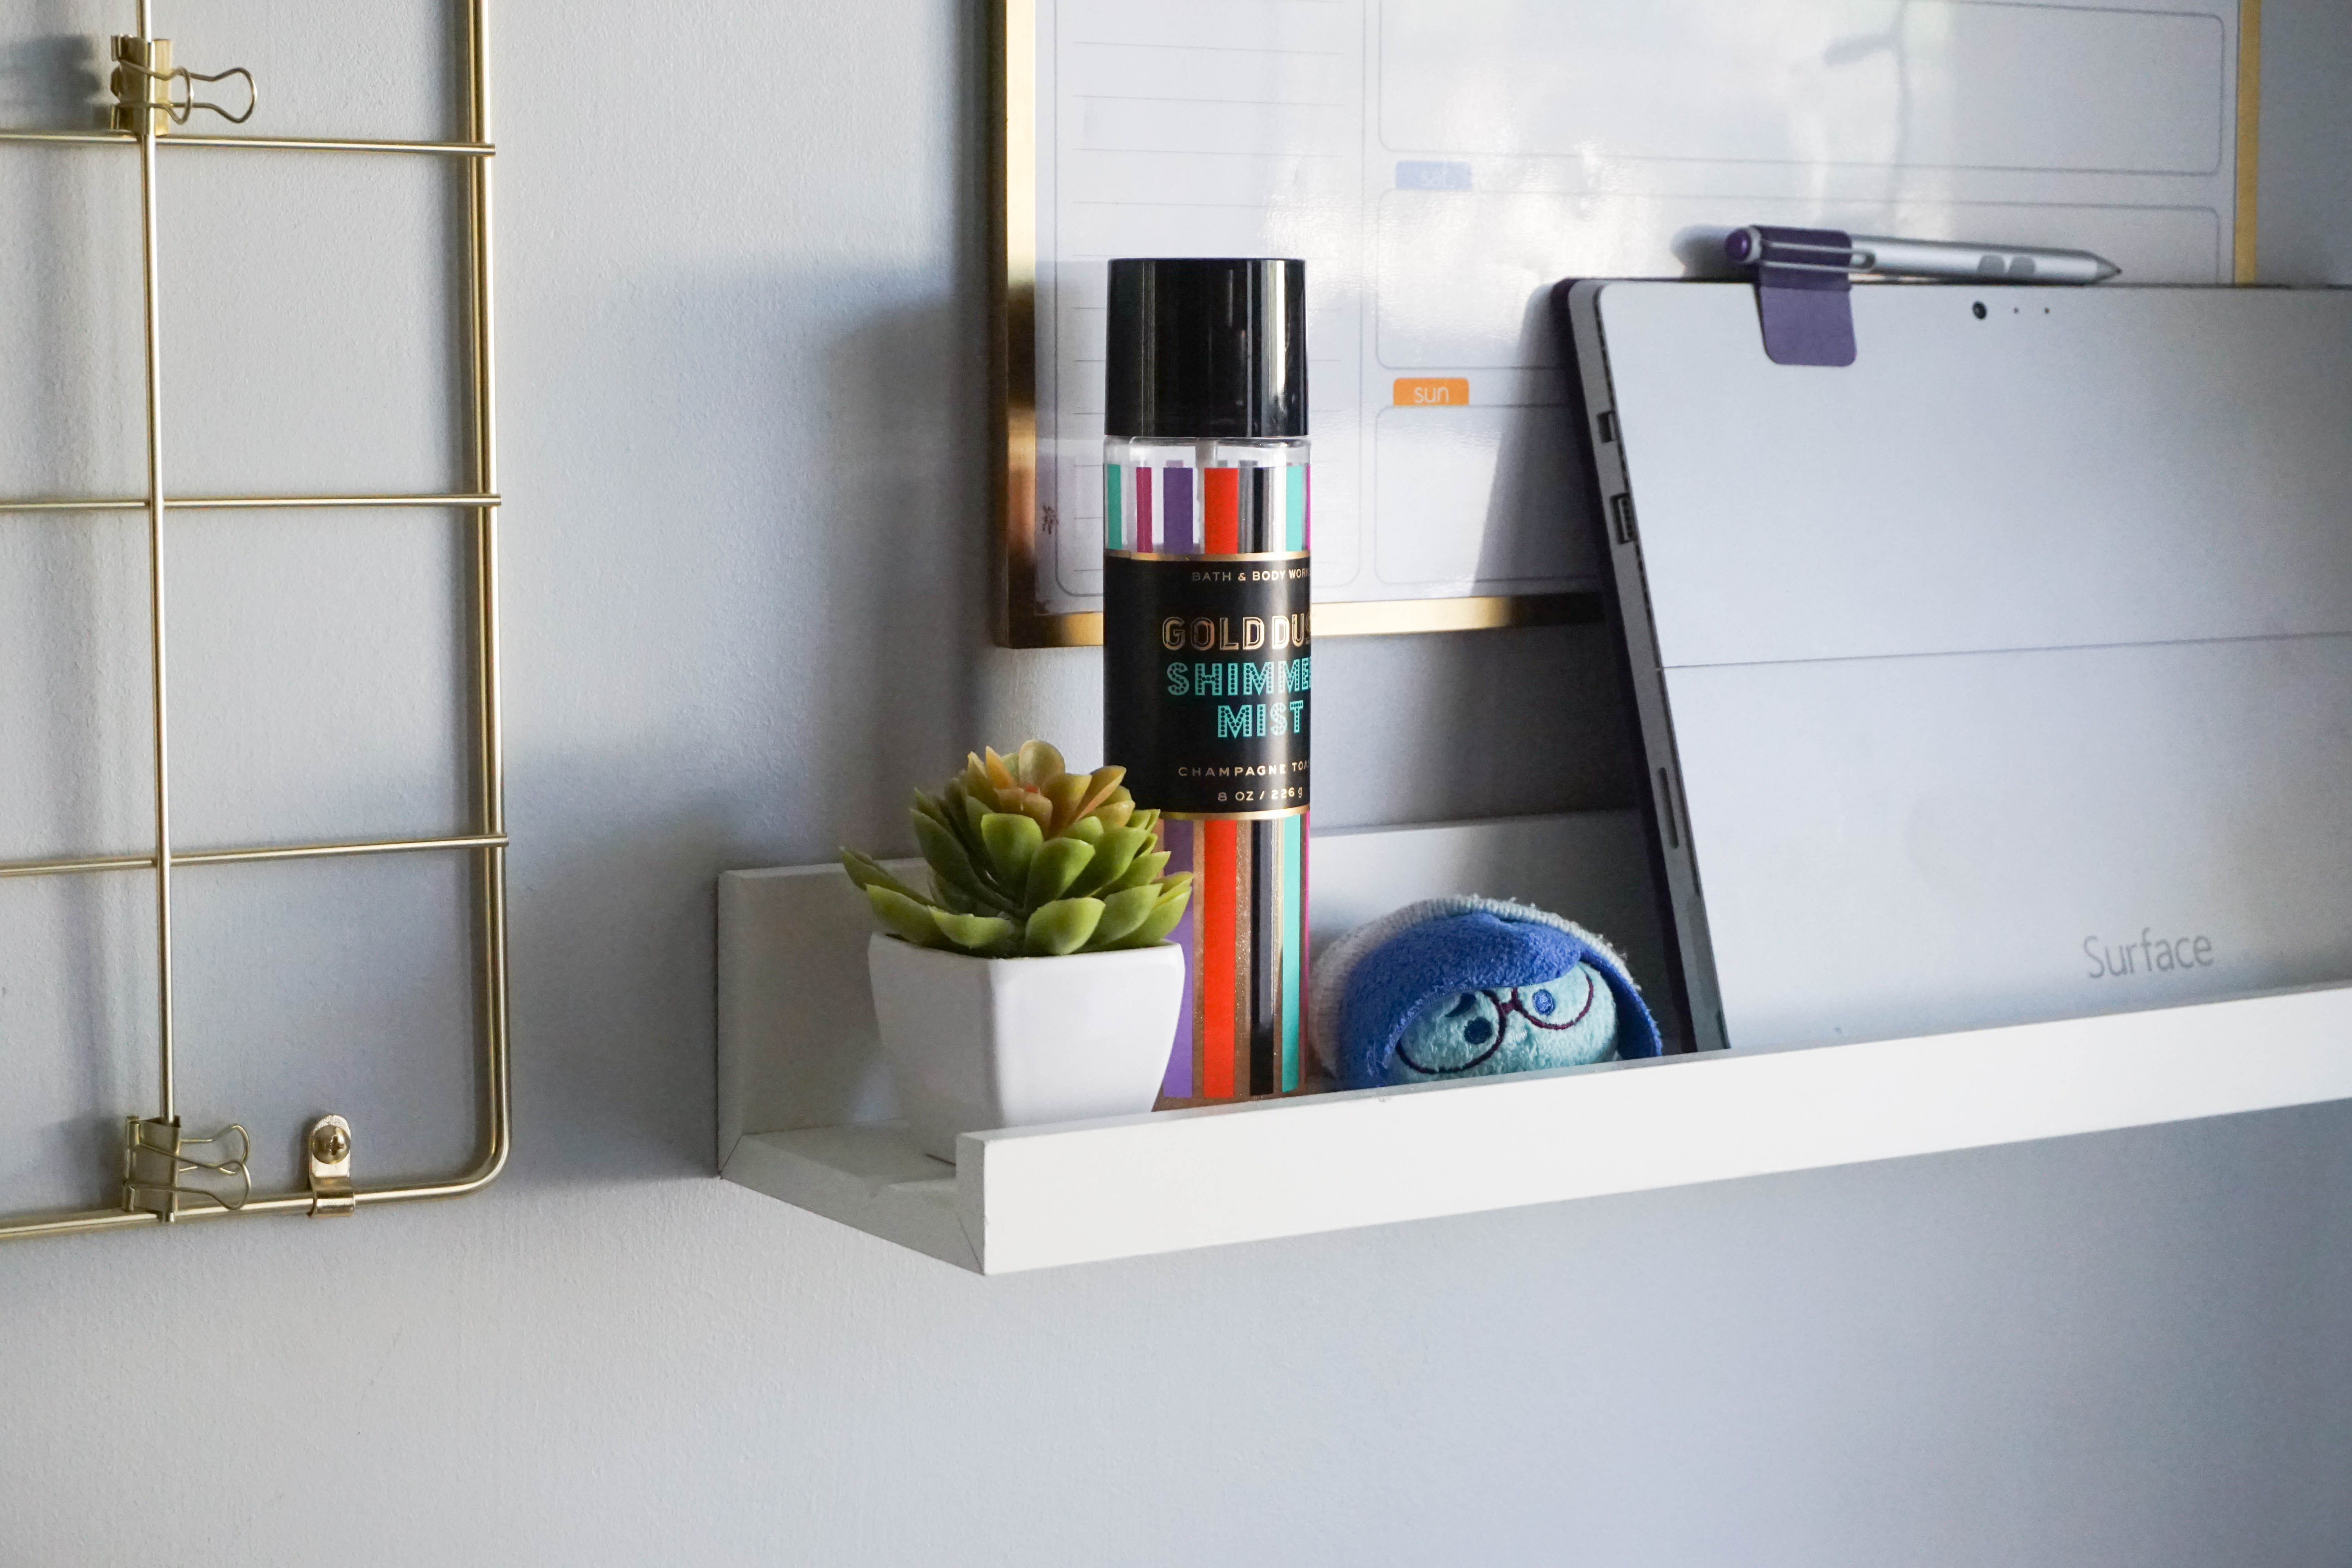
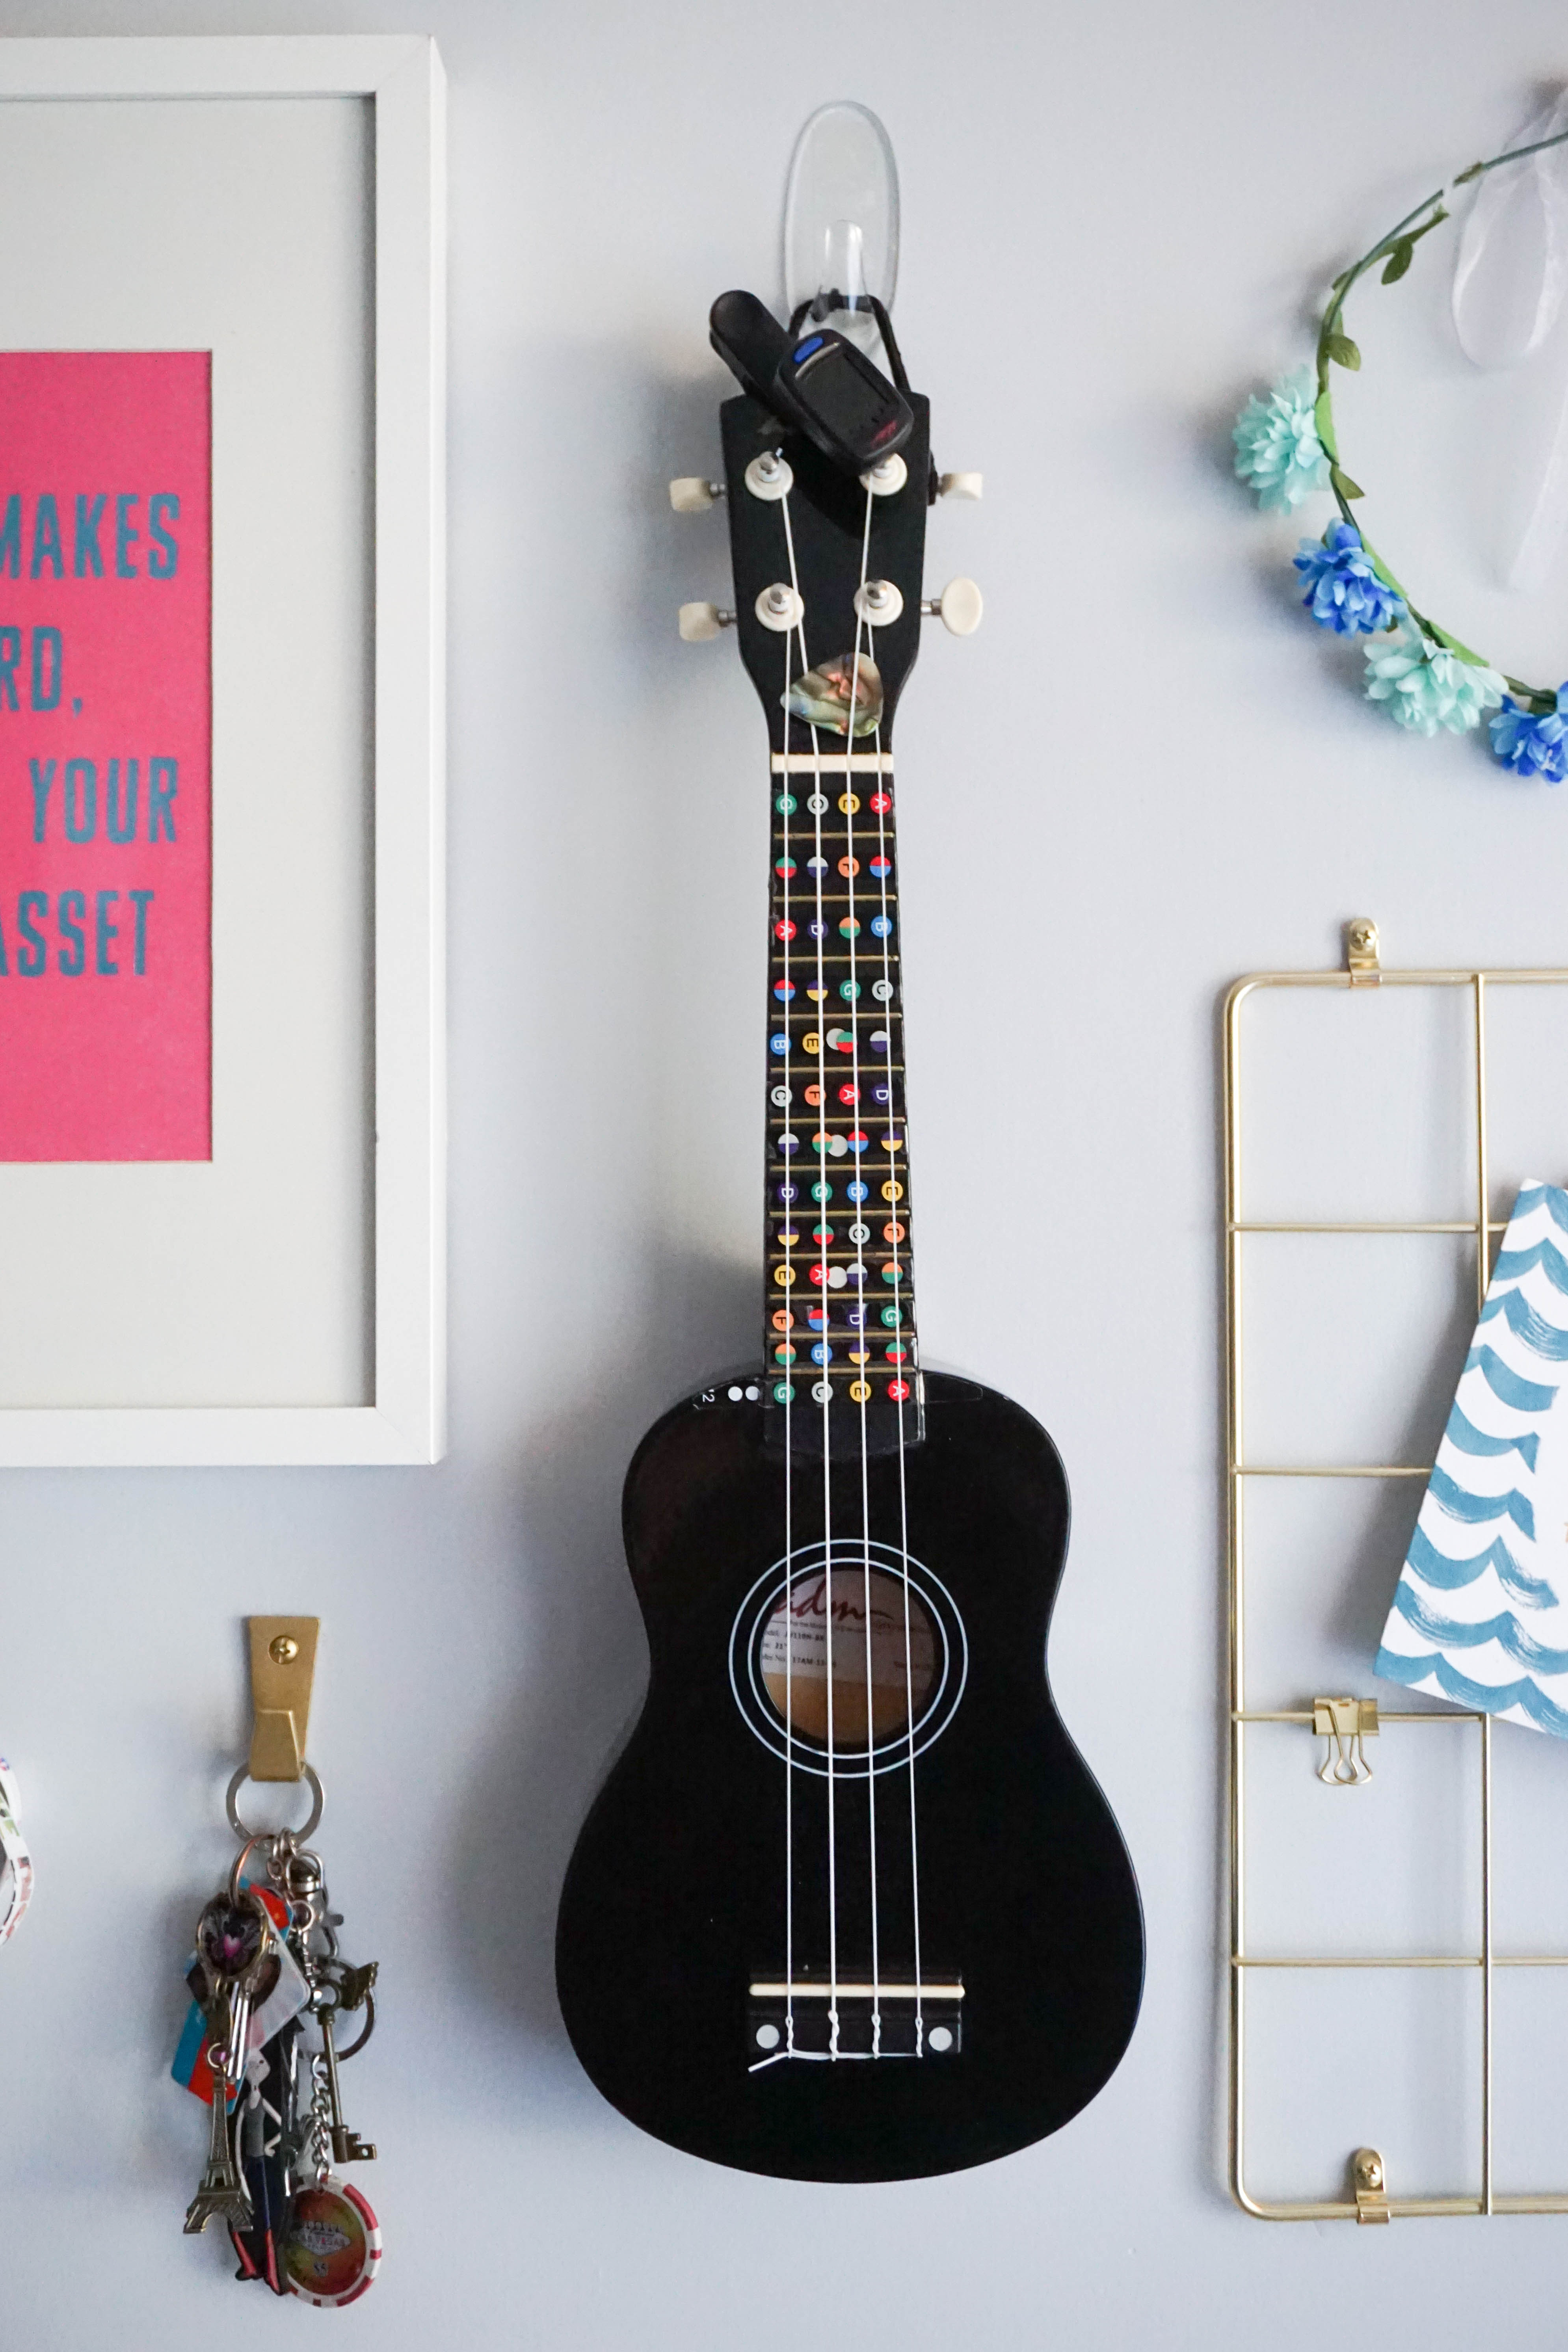
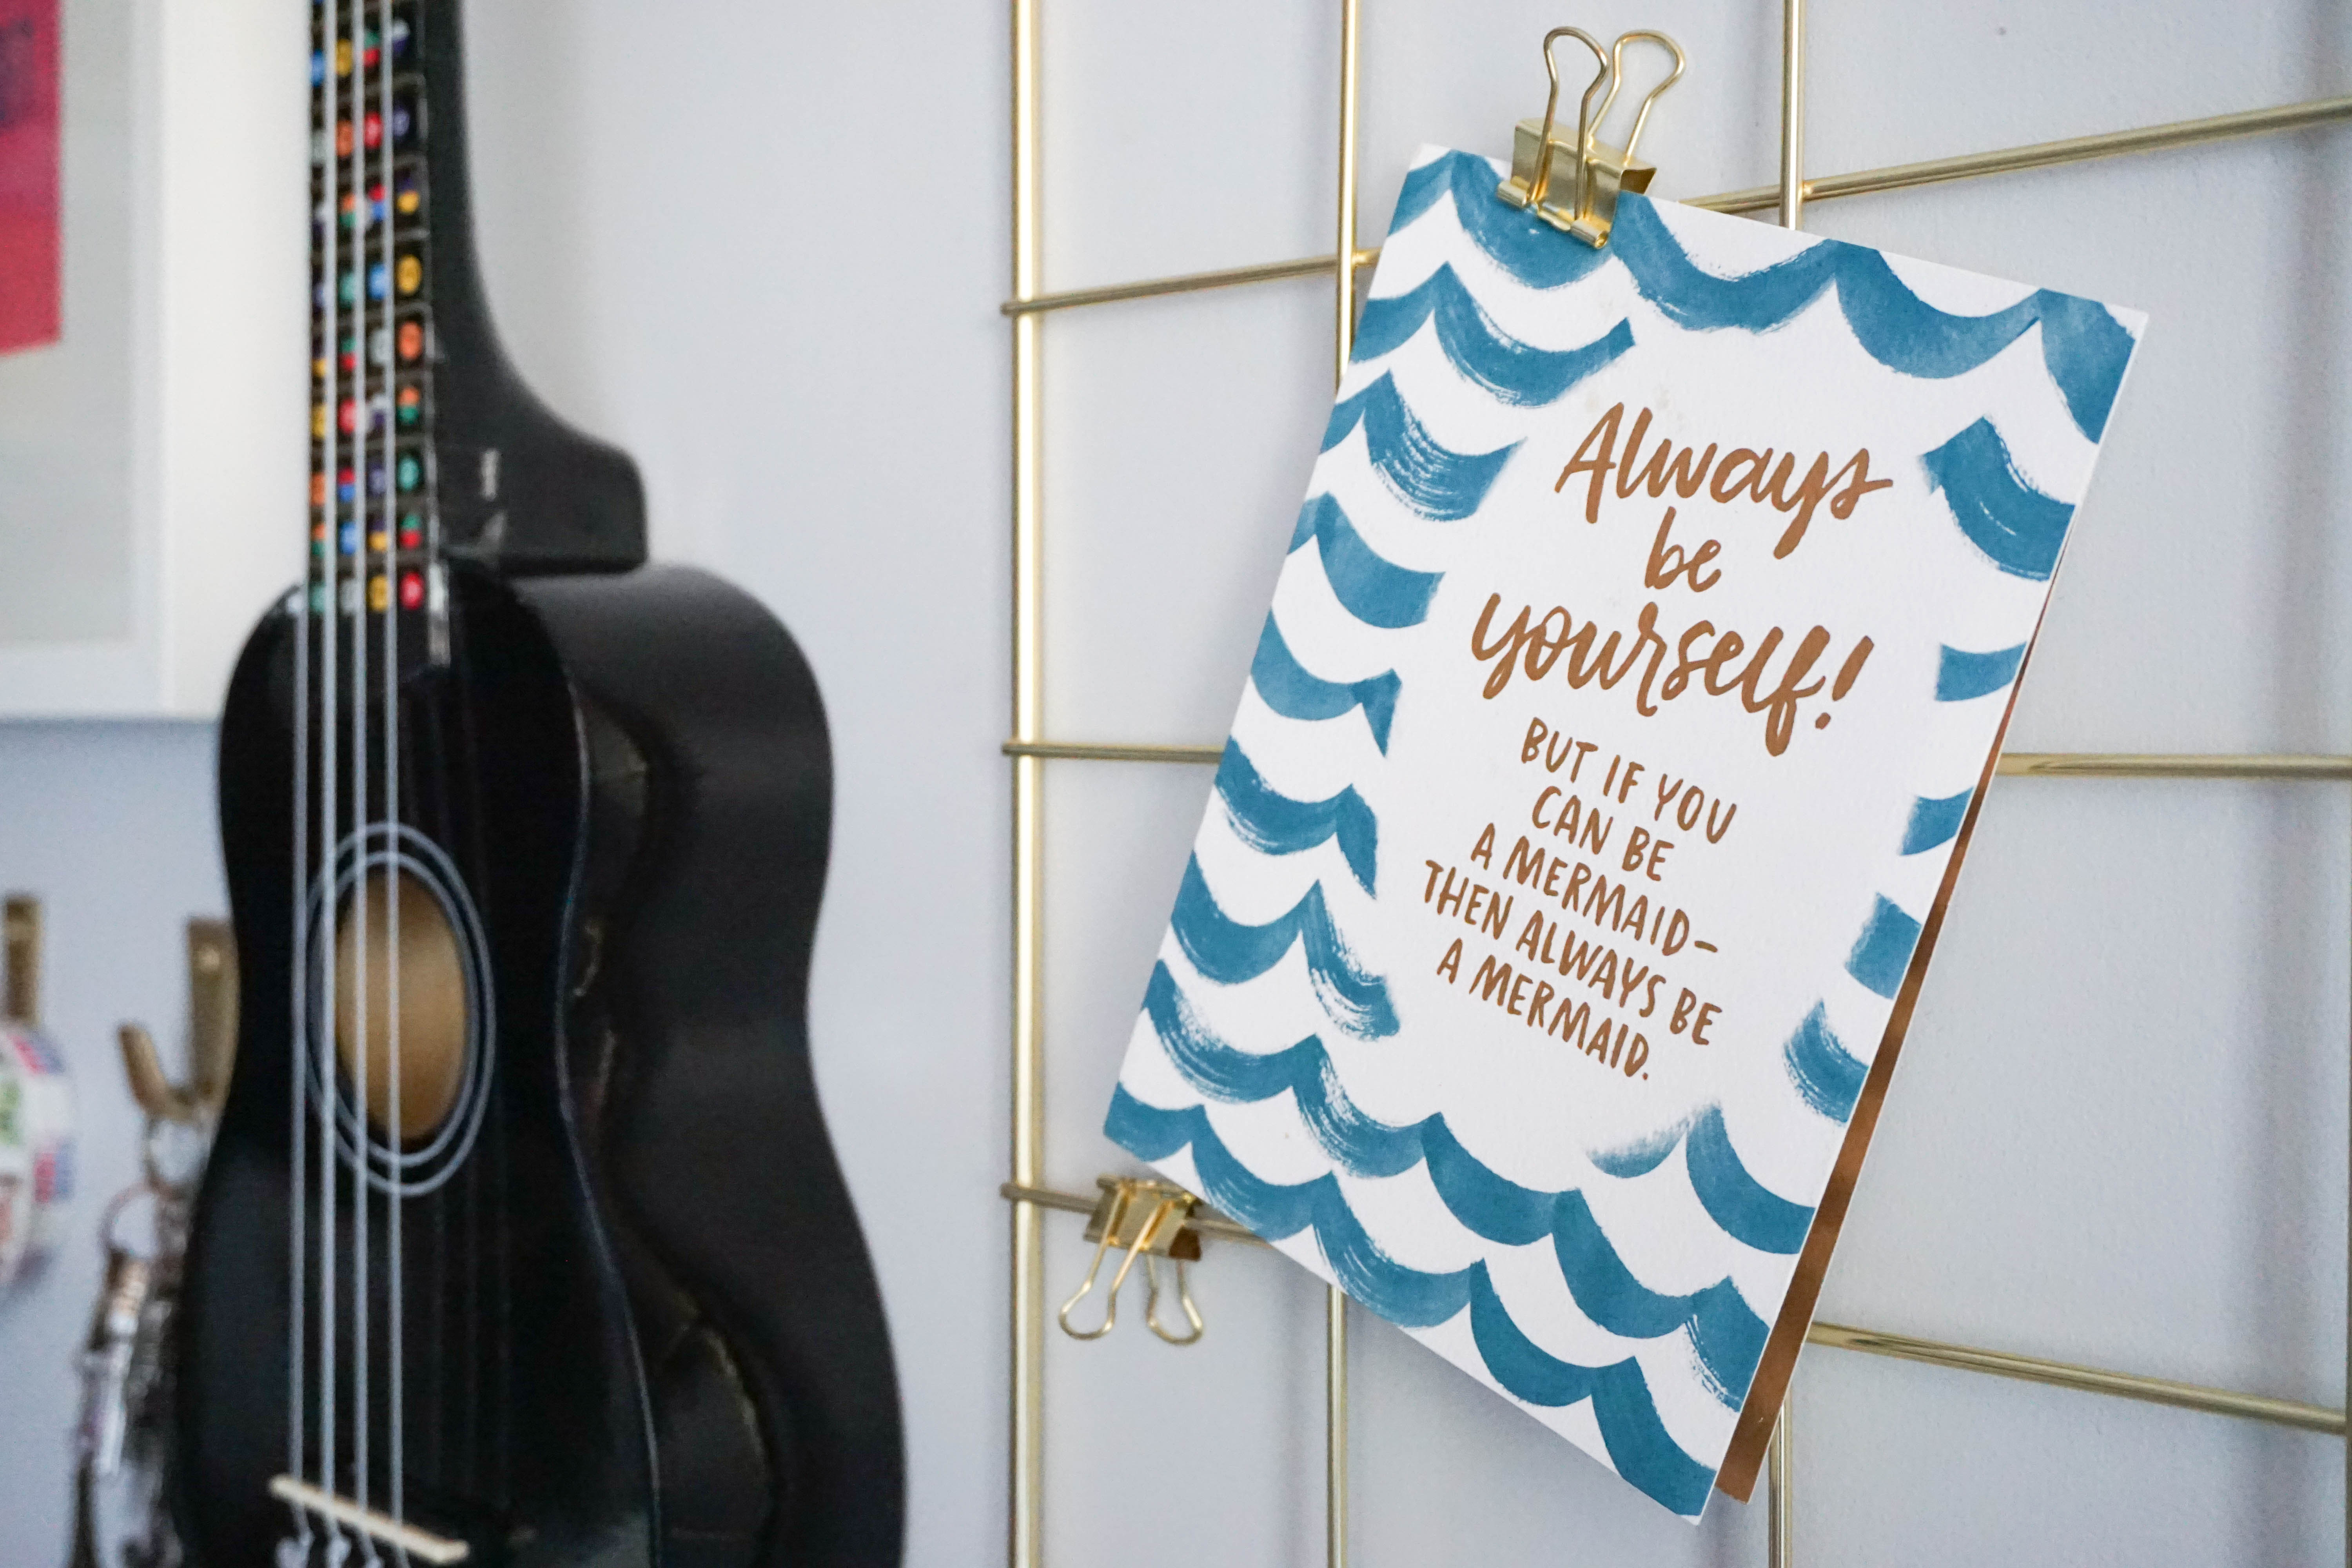
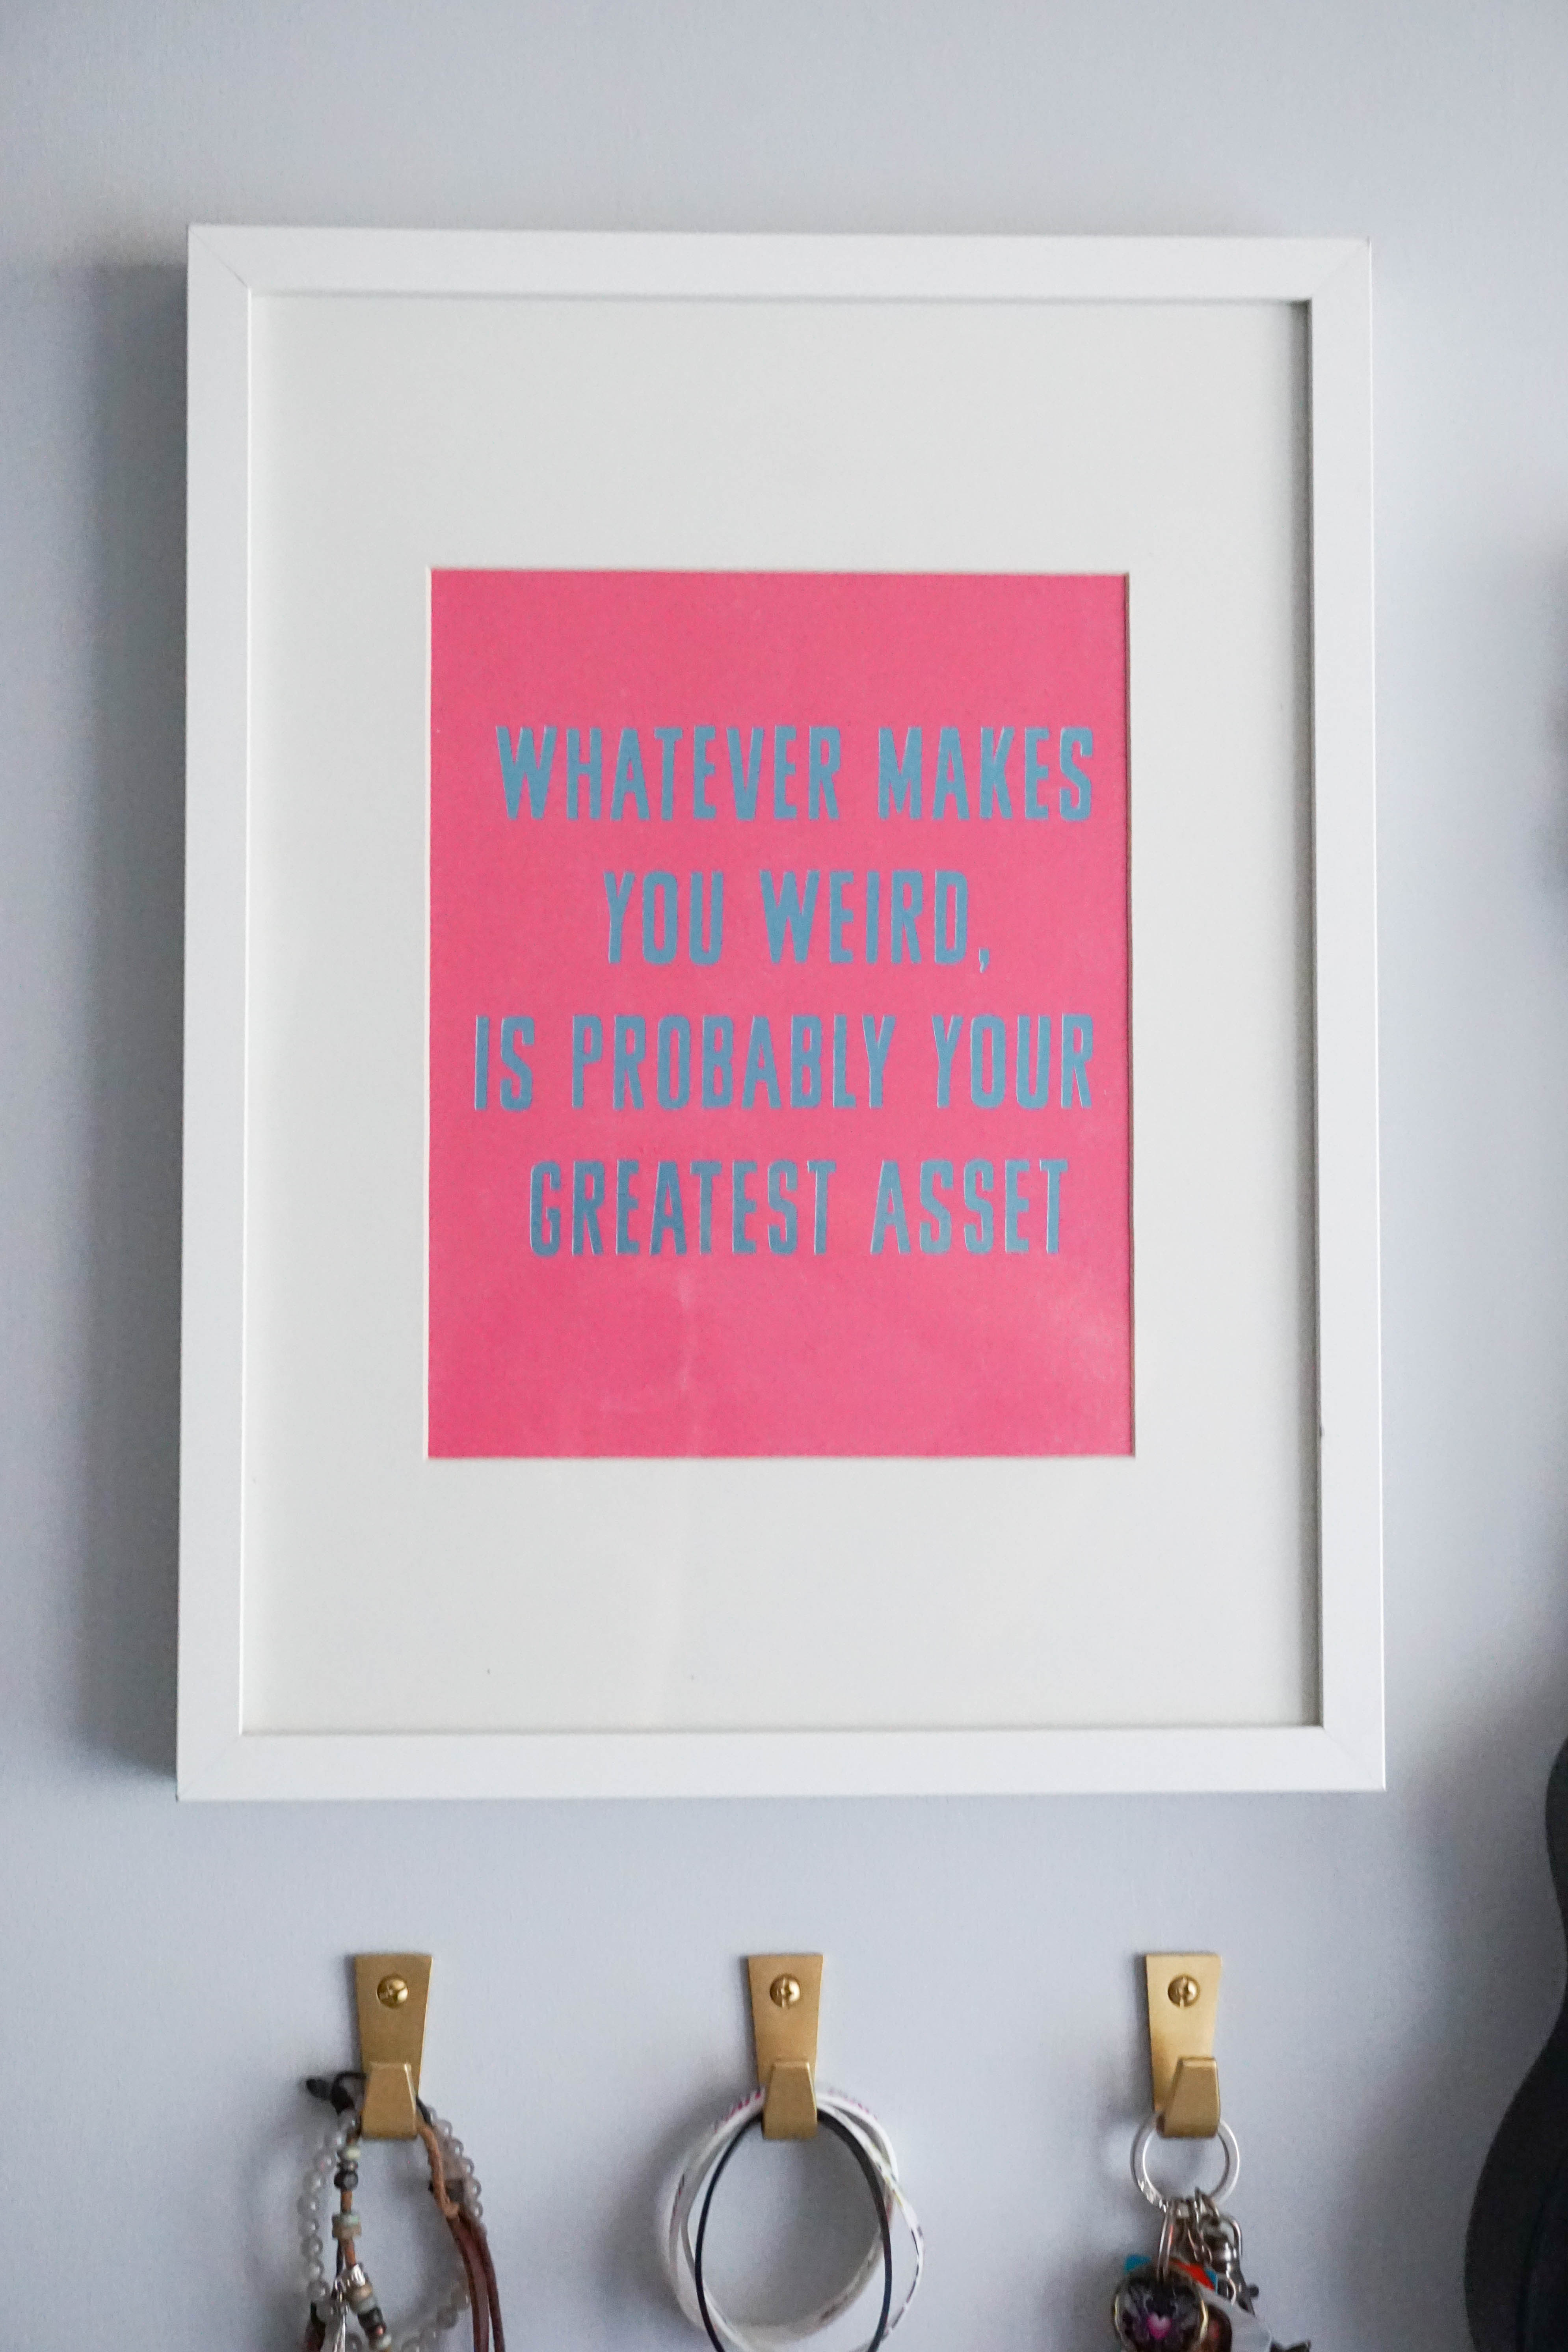
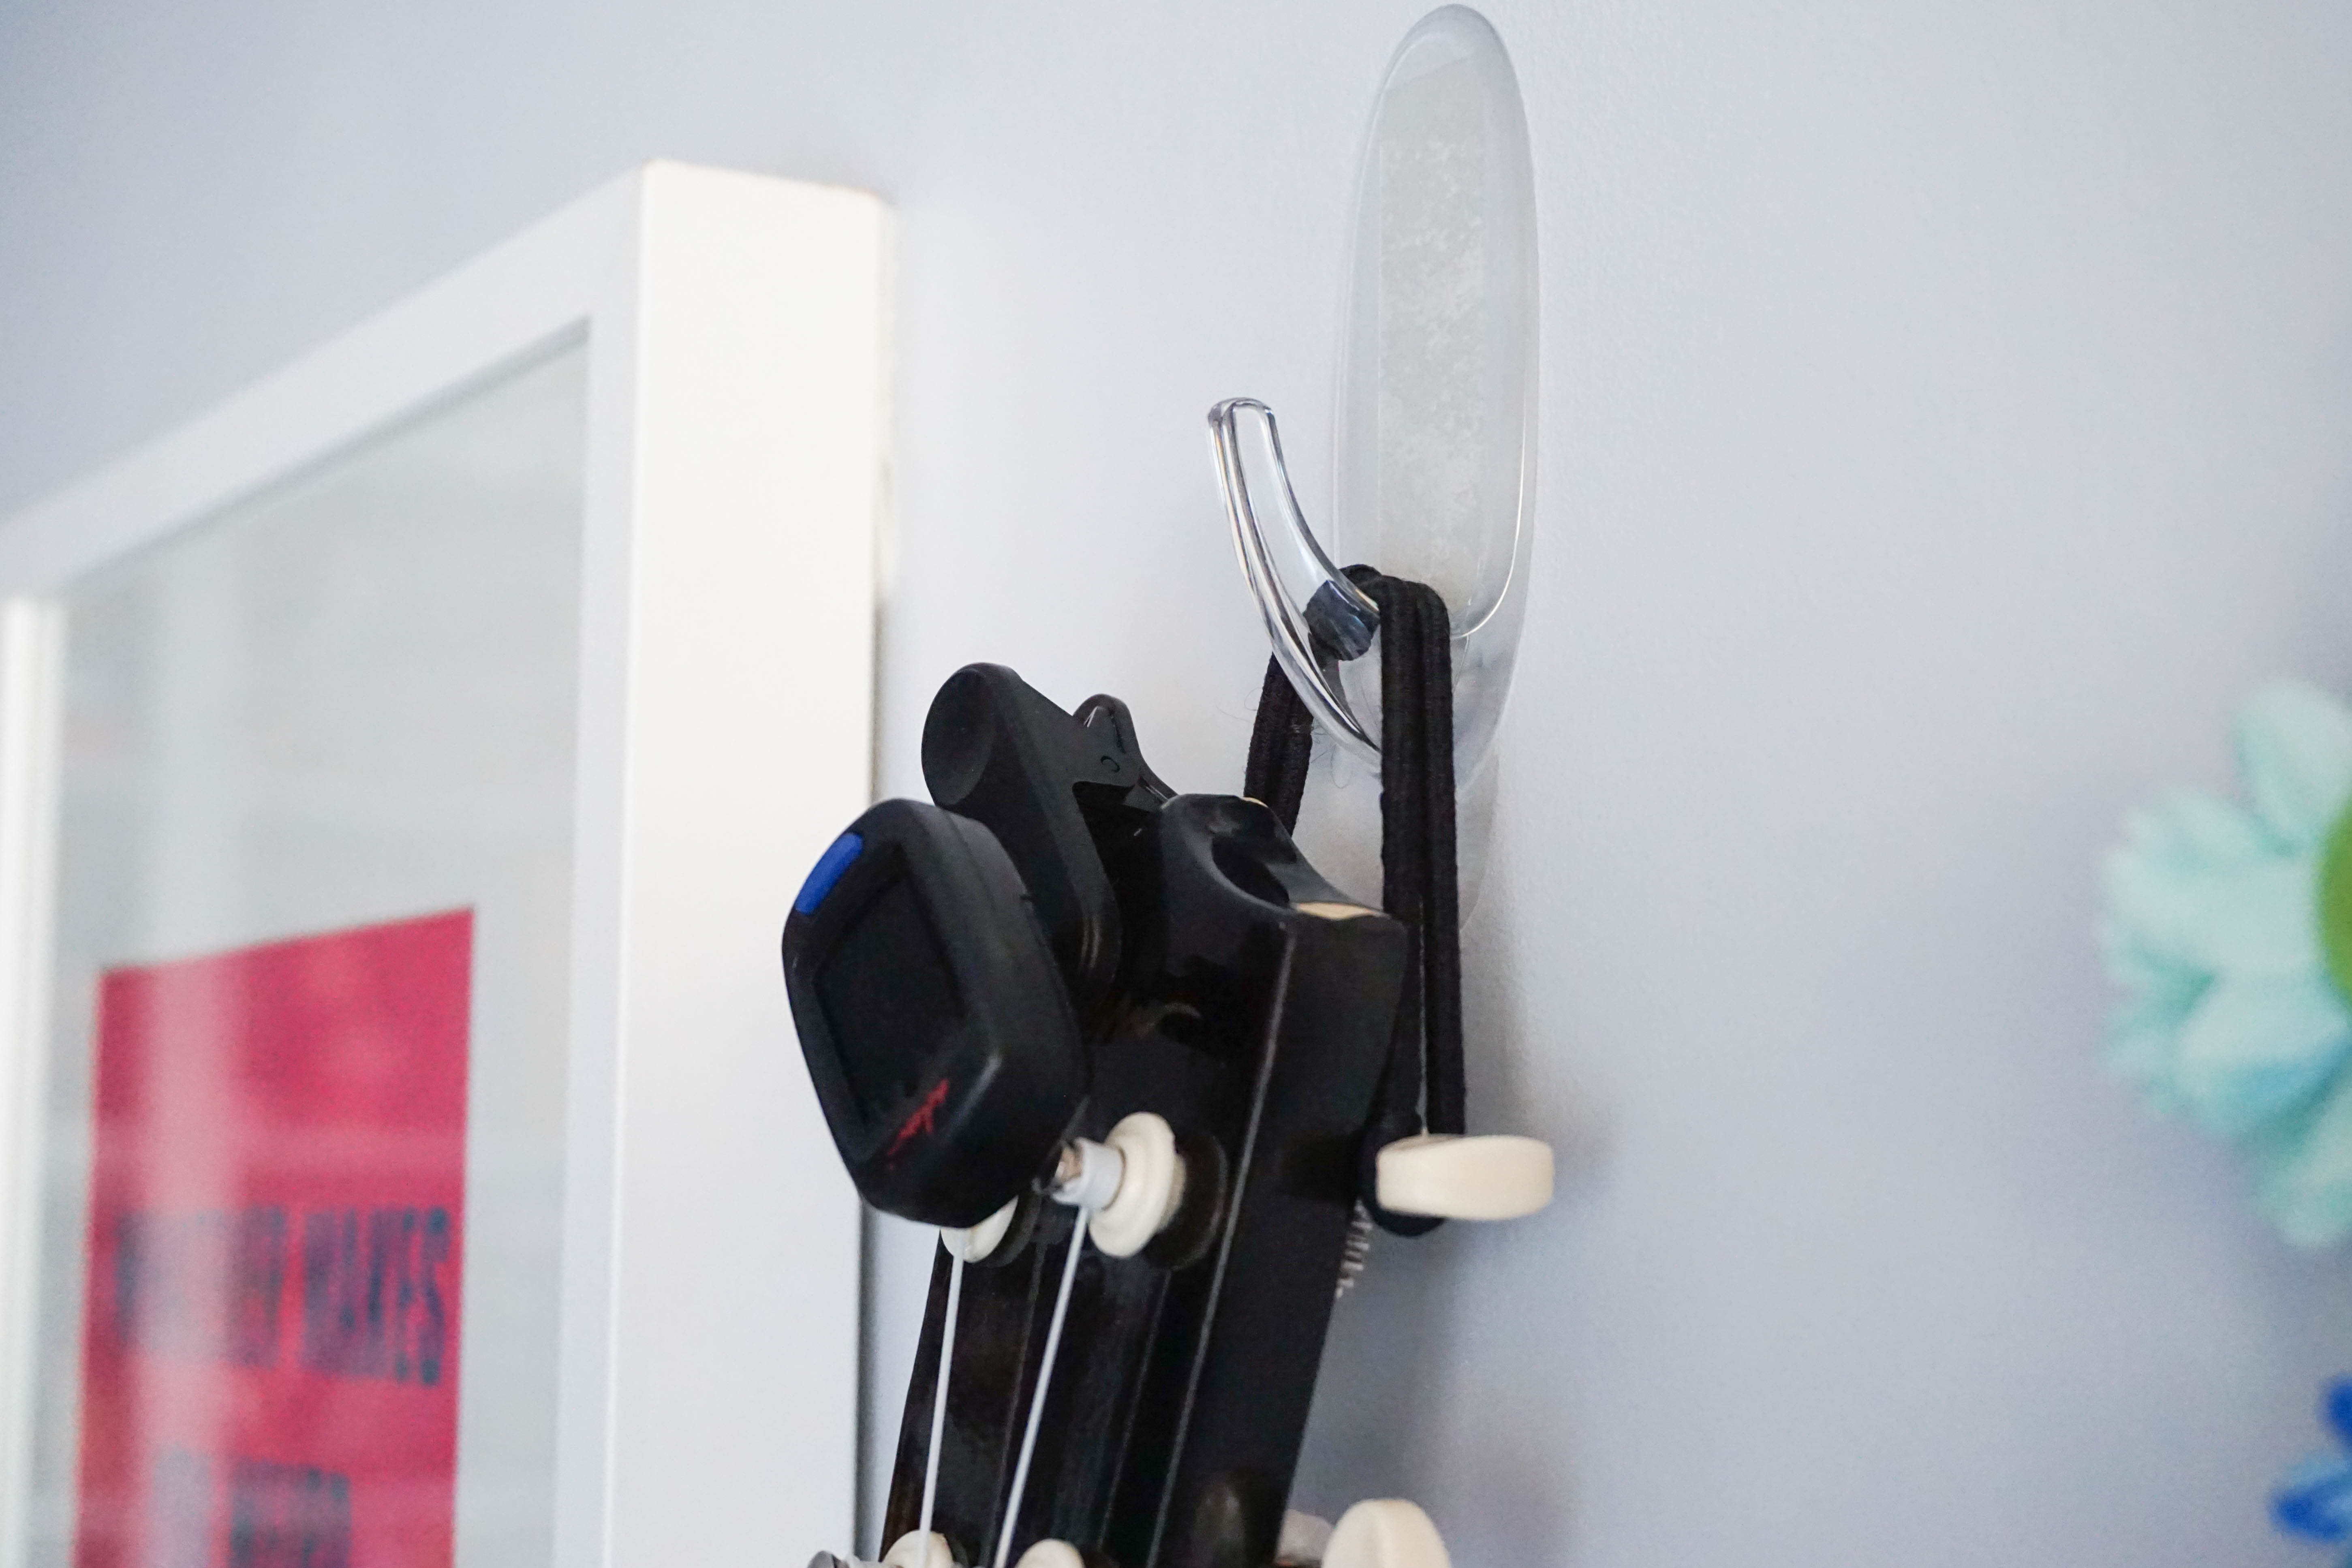
In addition to the no-frills-all-function stuff, teens need a place for fun and friends and – usually much to their parents’ dismay – self-expression. That means a spot for her beloved iPhone (should it ever leave her hand), her Panic at the Disco bracelets (that she almost never takes off), the ukulele she’s teaching herself to play (sometimes loudly) and any art and photos she wishes to display (it’s a lot of anime at the moment). And while I’d love to hover over her and make sure her space stays as organized as the photos above, I have to remind my inner mom-ologue that the teen version of myself had a disco ball in her room, a blacklight in her bathroom, that she DIY’d her own nose and belly button piercings and that current me oughta be extremely effing grateful for Ella in all her teenage glory and focus on DIYing better things like this command center for teens.
Below are the items I used and the steps I took to combine form with function and yea, some fun to create a command center on Ella’s wall which I hope inspires you to make one for your own teen or child or even yourself if you’re in need of some big organization (and a little self-expression) on a smaller scale than a traditional family-sized command center. Let’s get started, shall we?

ASSEMBLE SOME SUPPLIES
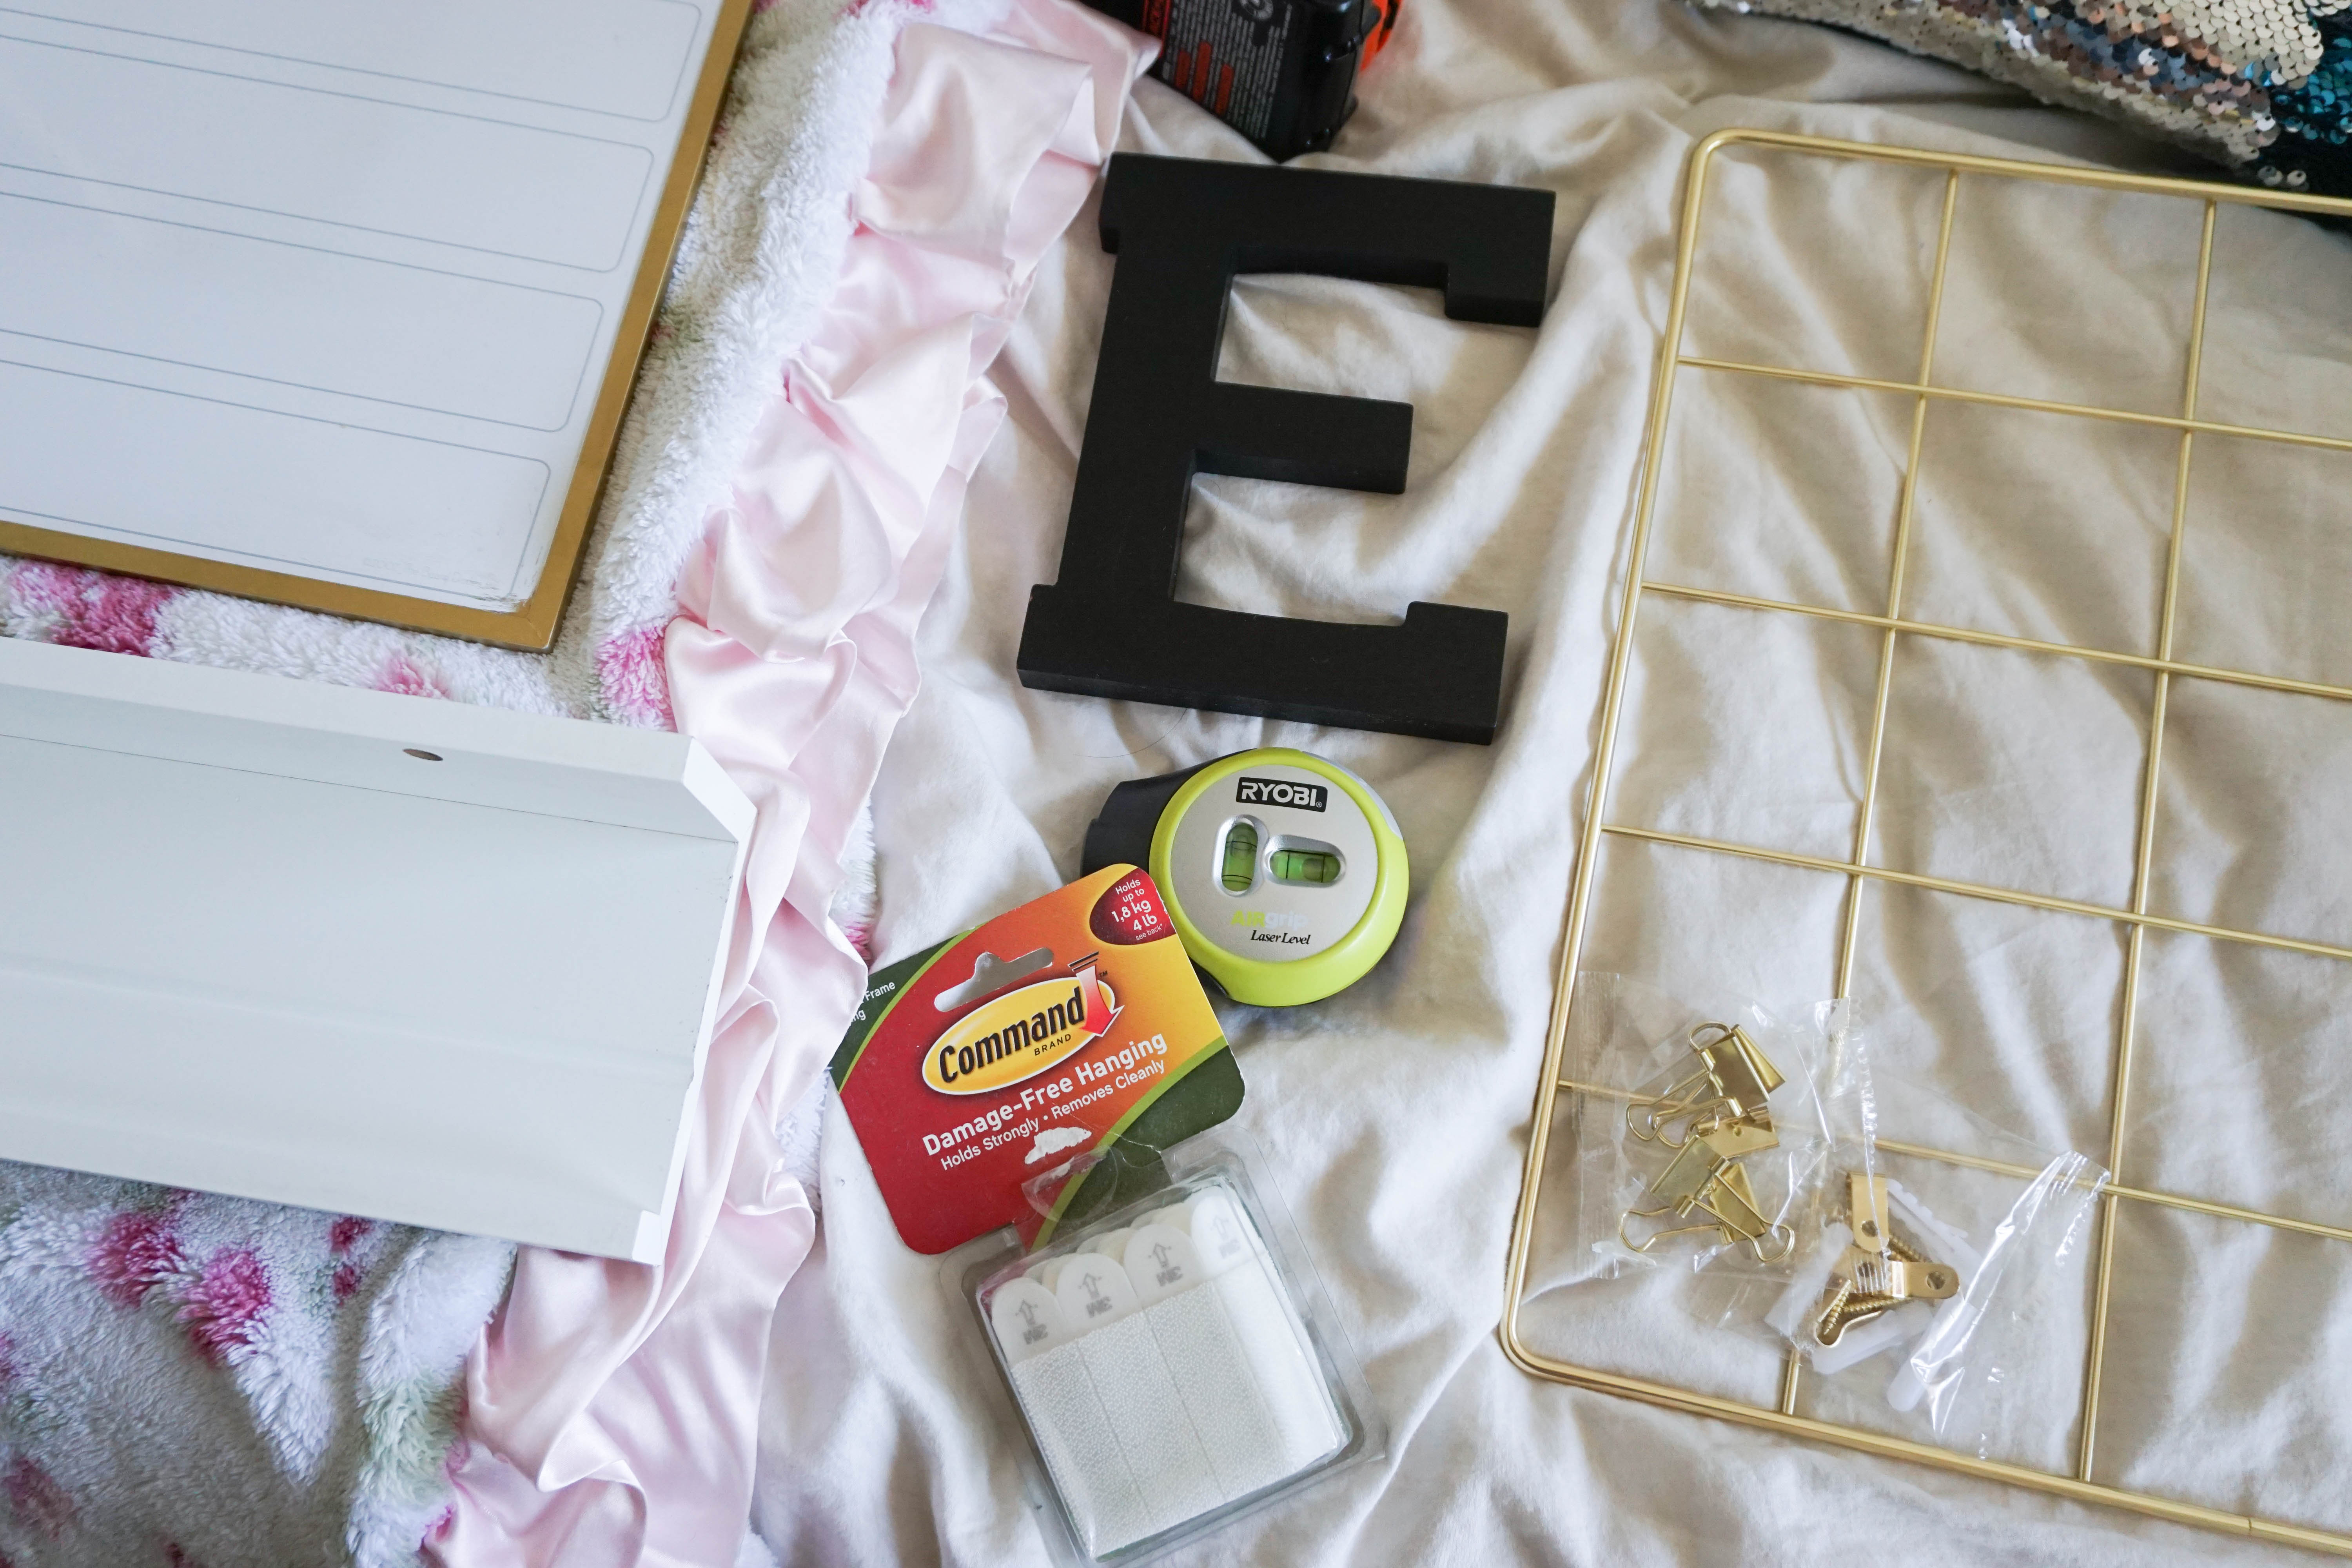
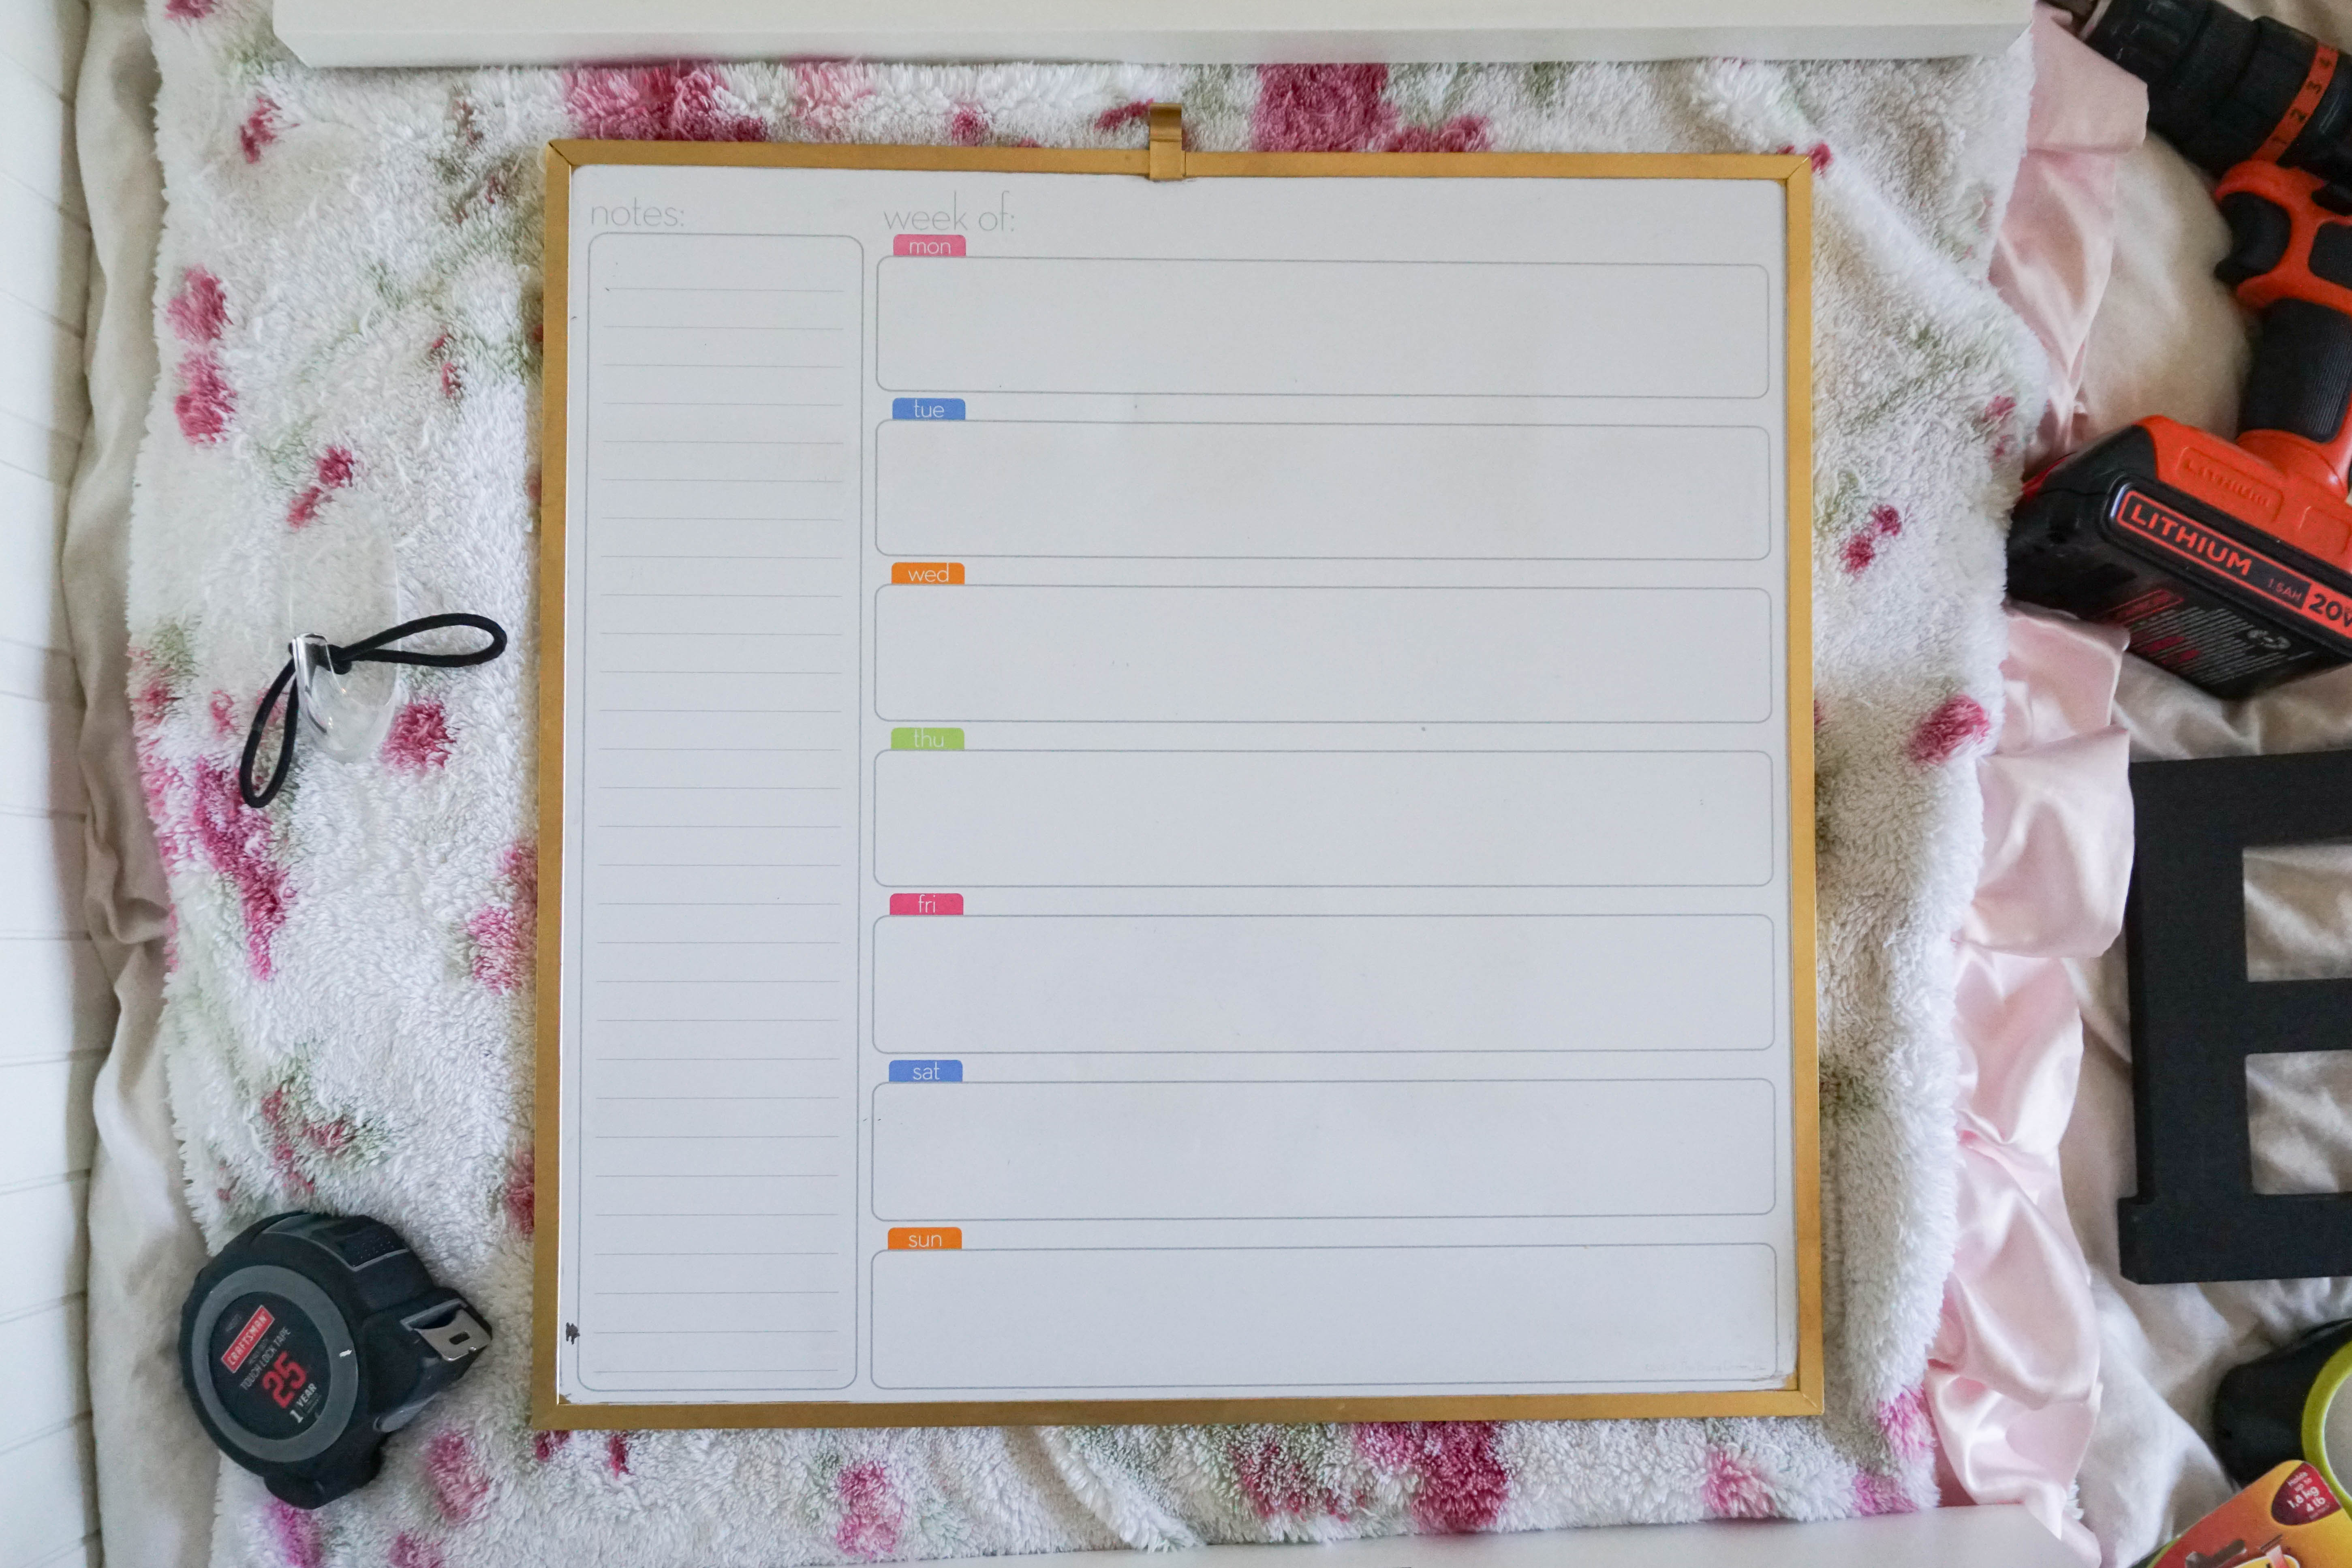
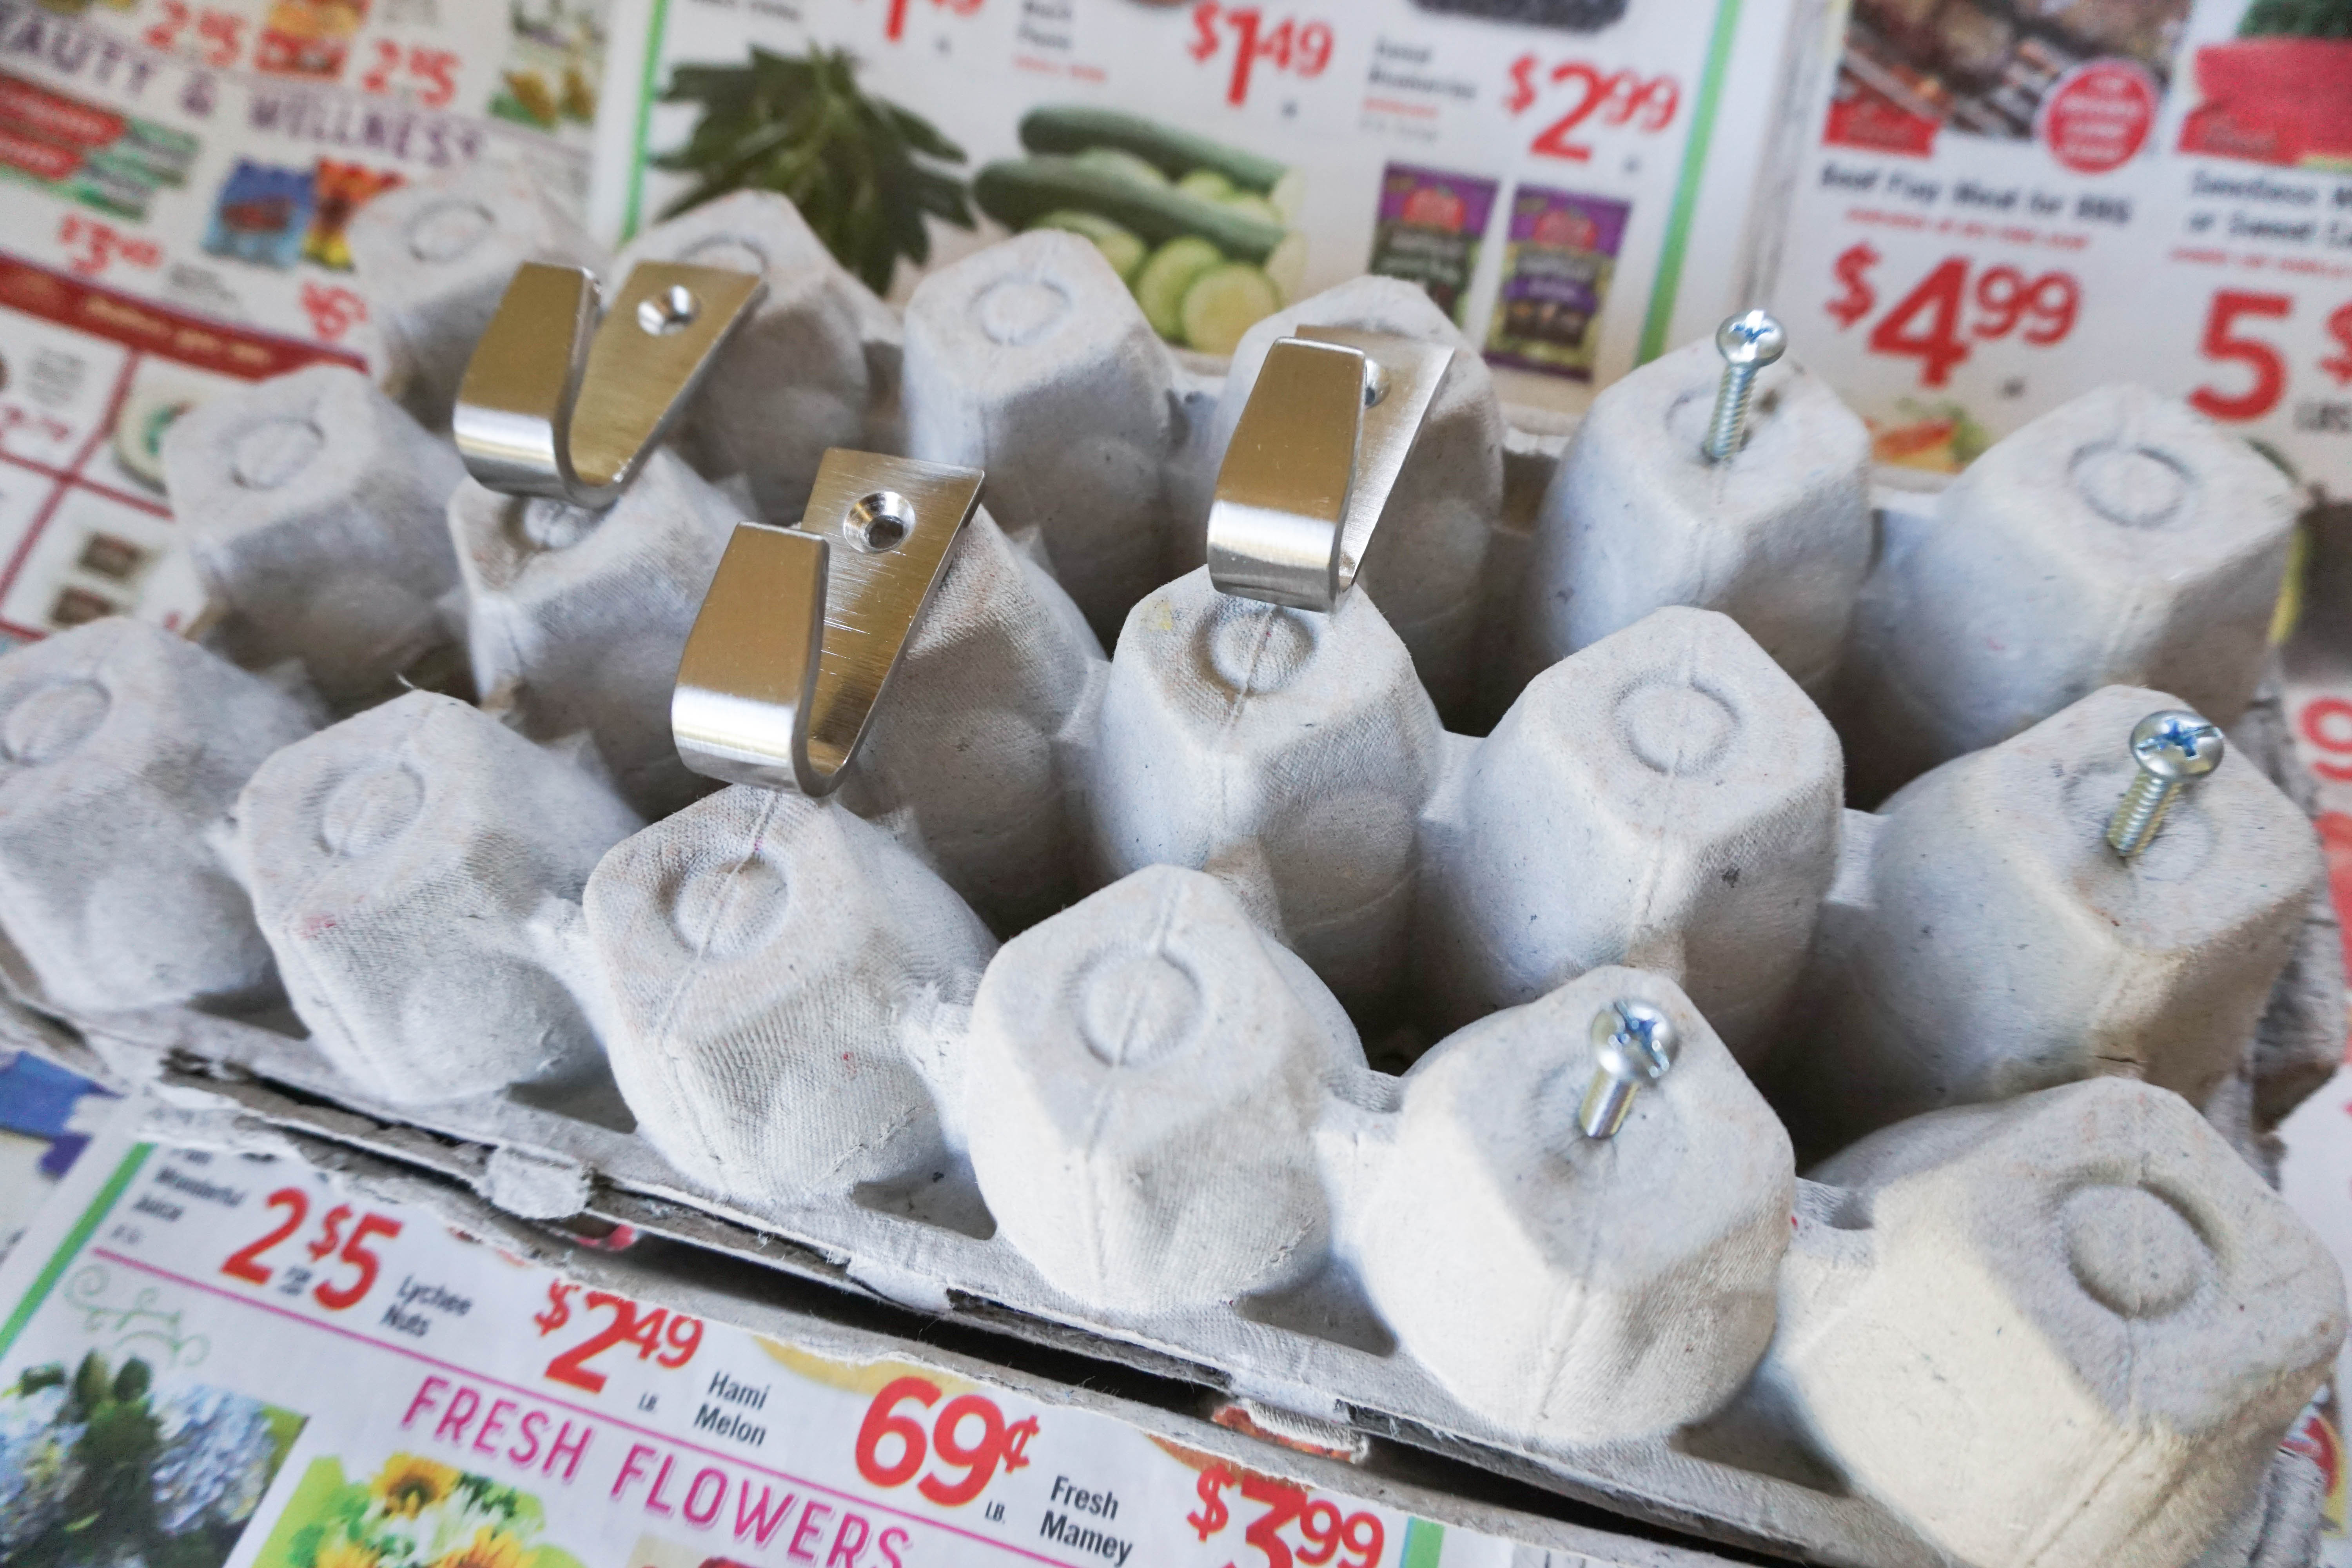
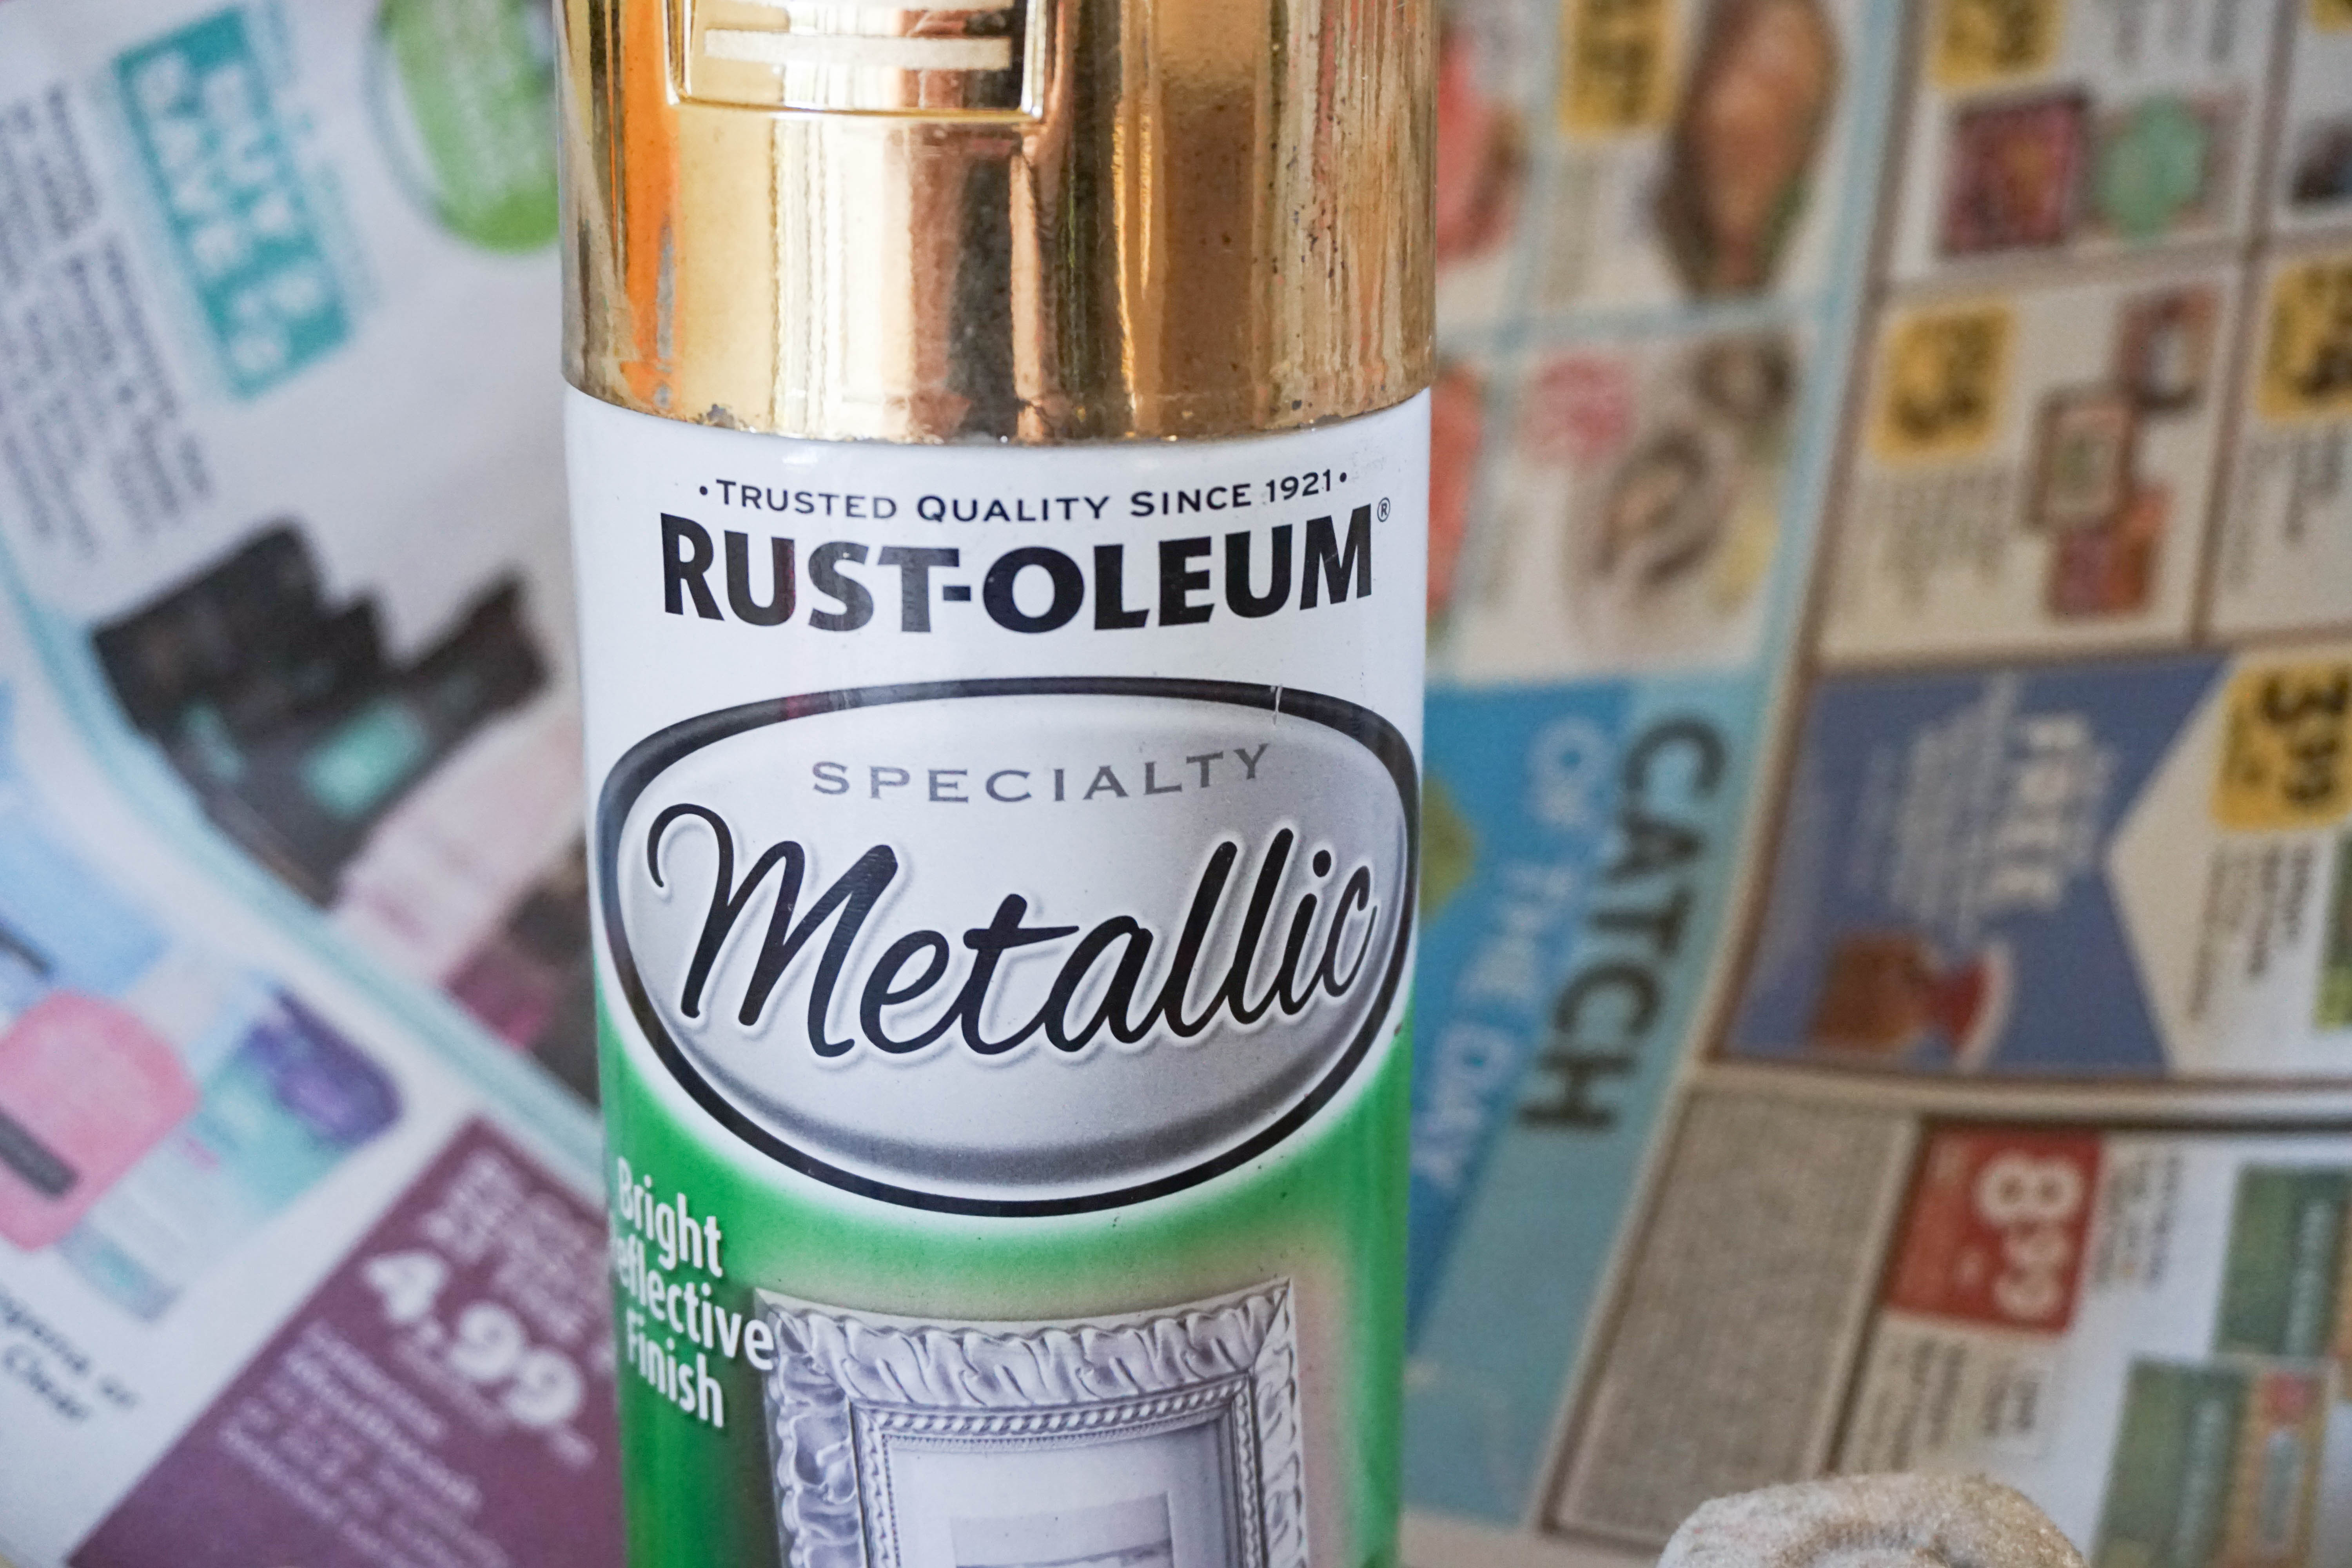
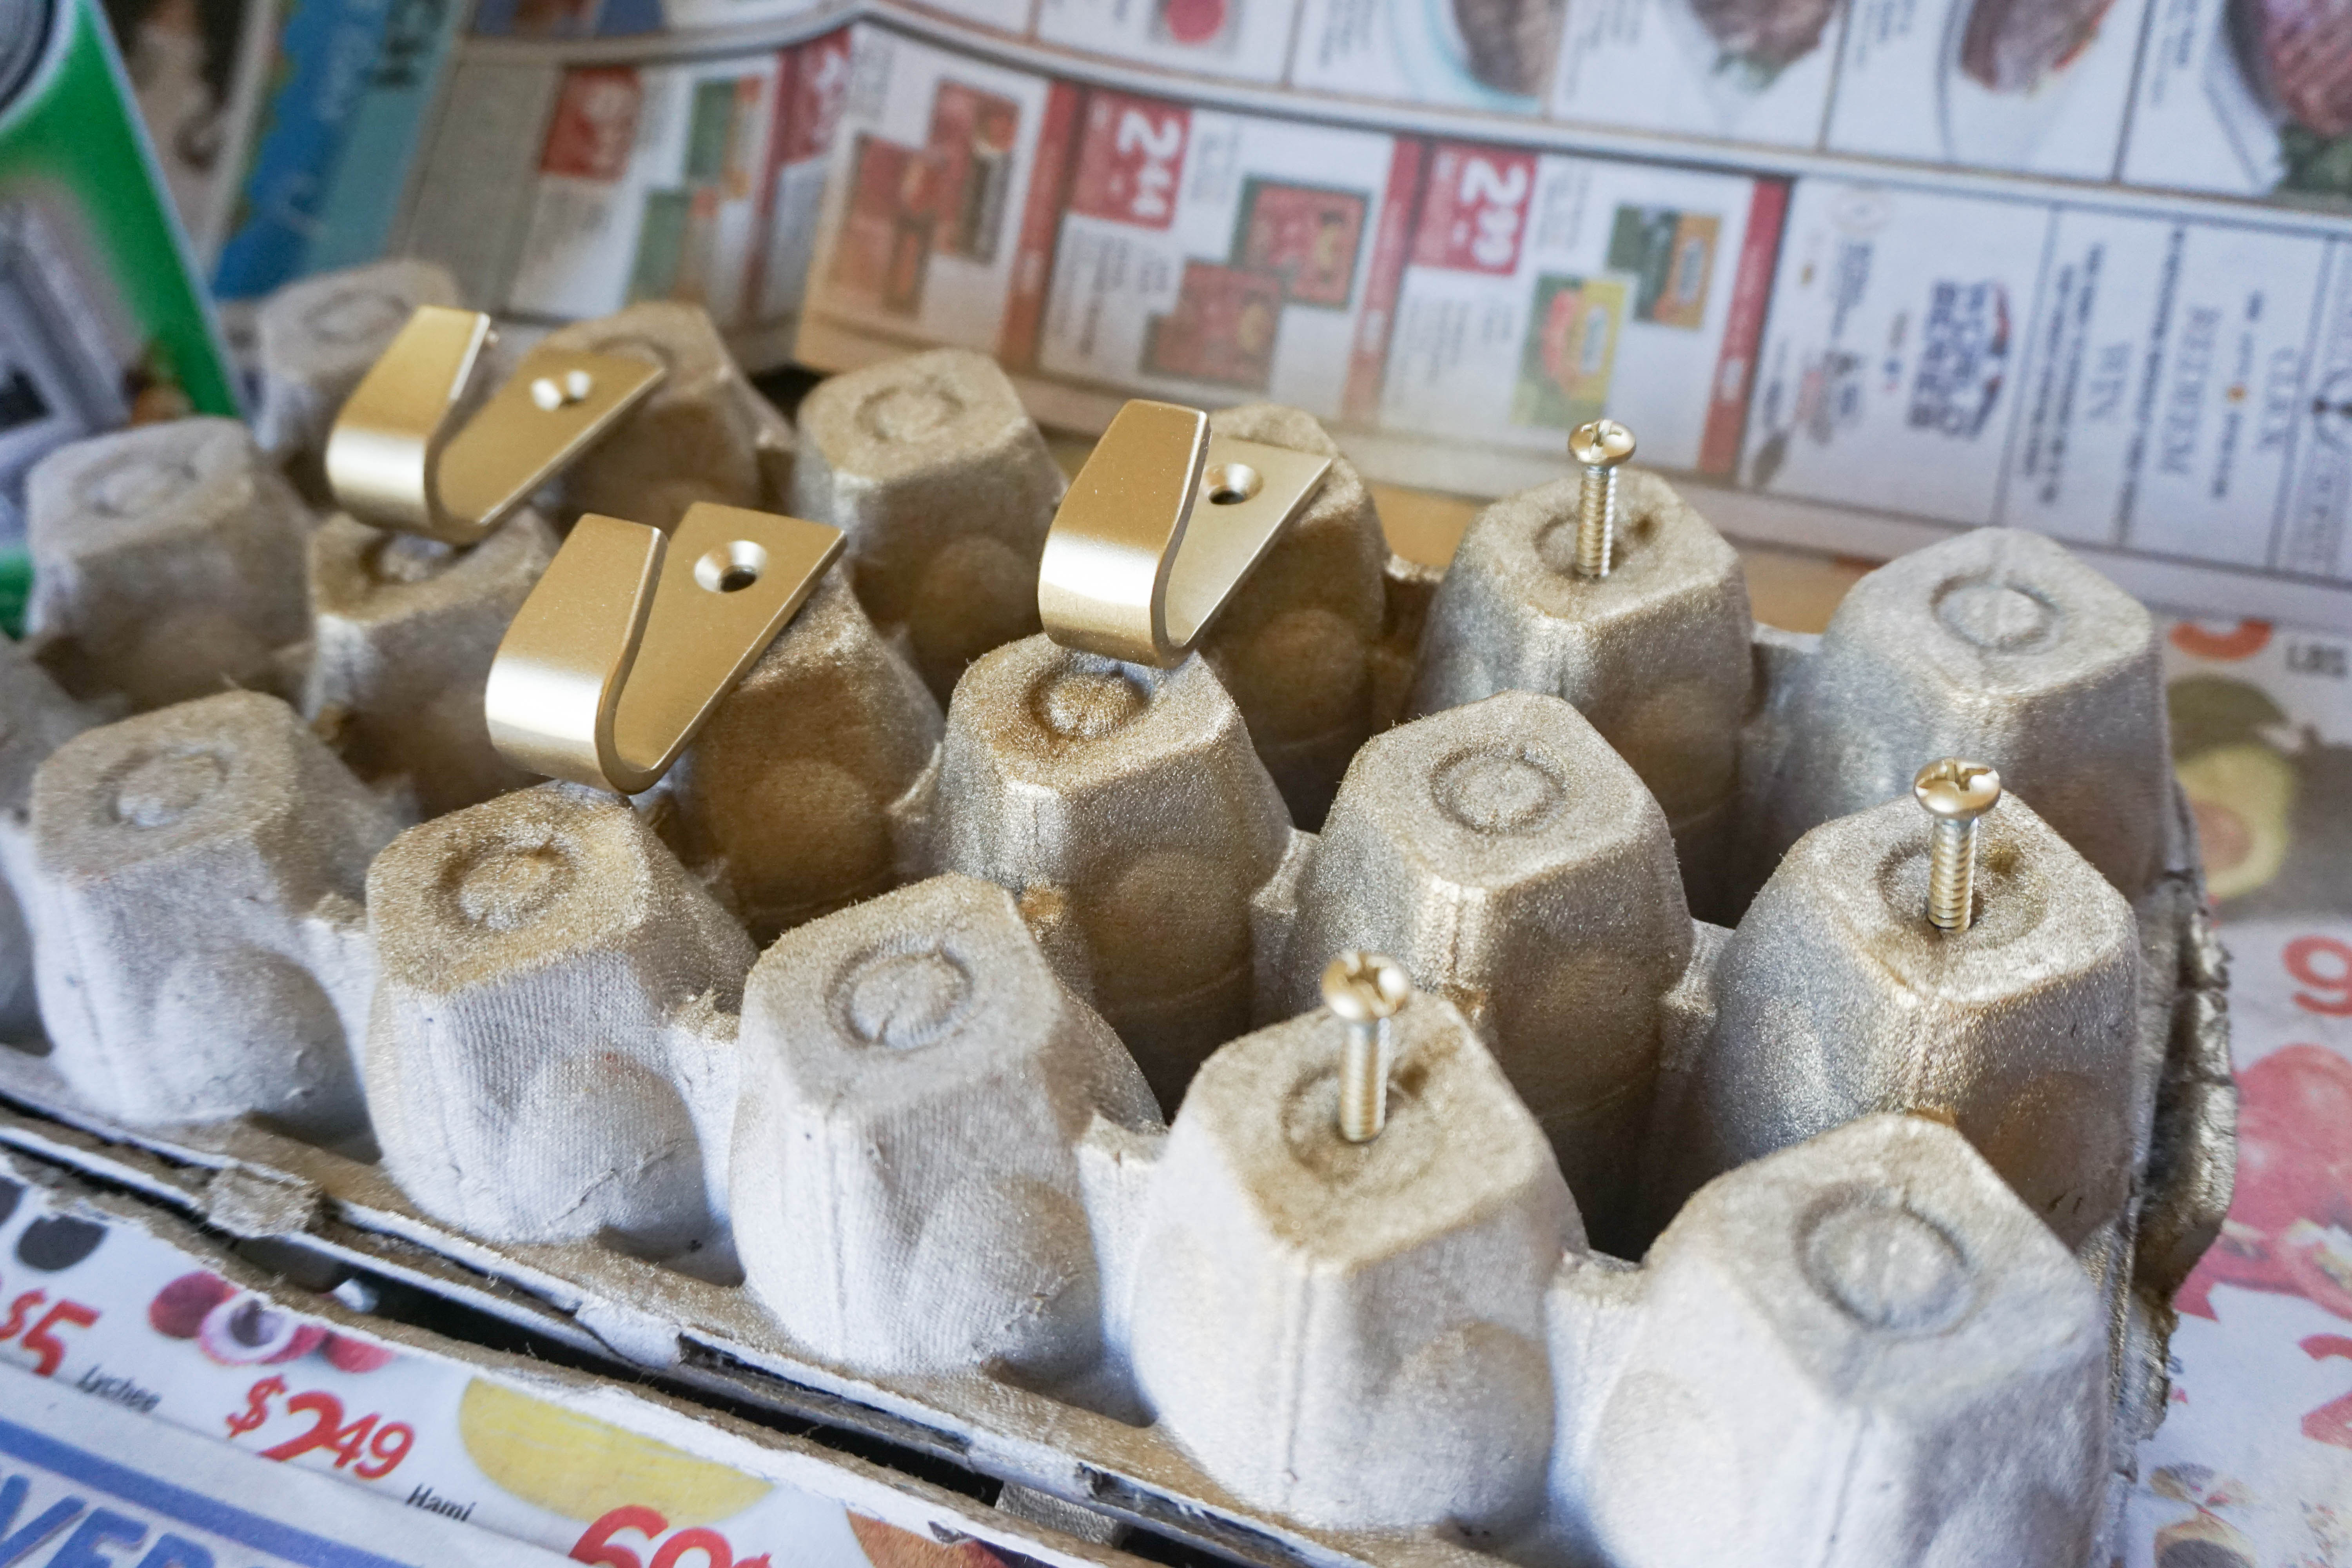
First, you’ll need to acquire all the elements of your command center. For Ella’s, I used the following items (or similar items to what’s linked below) but you can customize this list to your heart’s content to suit your individual child’s needs/wants as well as the space in which their command center will live. Fortunately, I had a lot of what I used already on hand like Ella’s dry-erase calendar and a few of the hooks which I only needed to spray paint gold to match the photo grid. Here’s the whole list…
Ikea Picture Ledges (used as shelves)
GET YOUR TOOLS TOGETHER
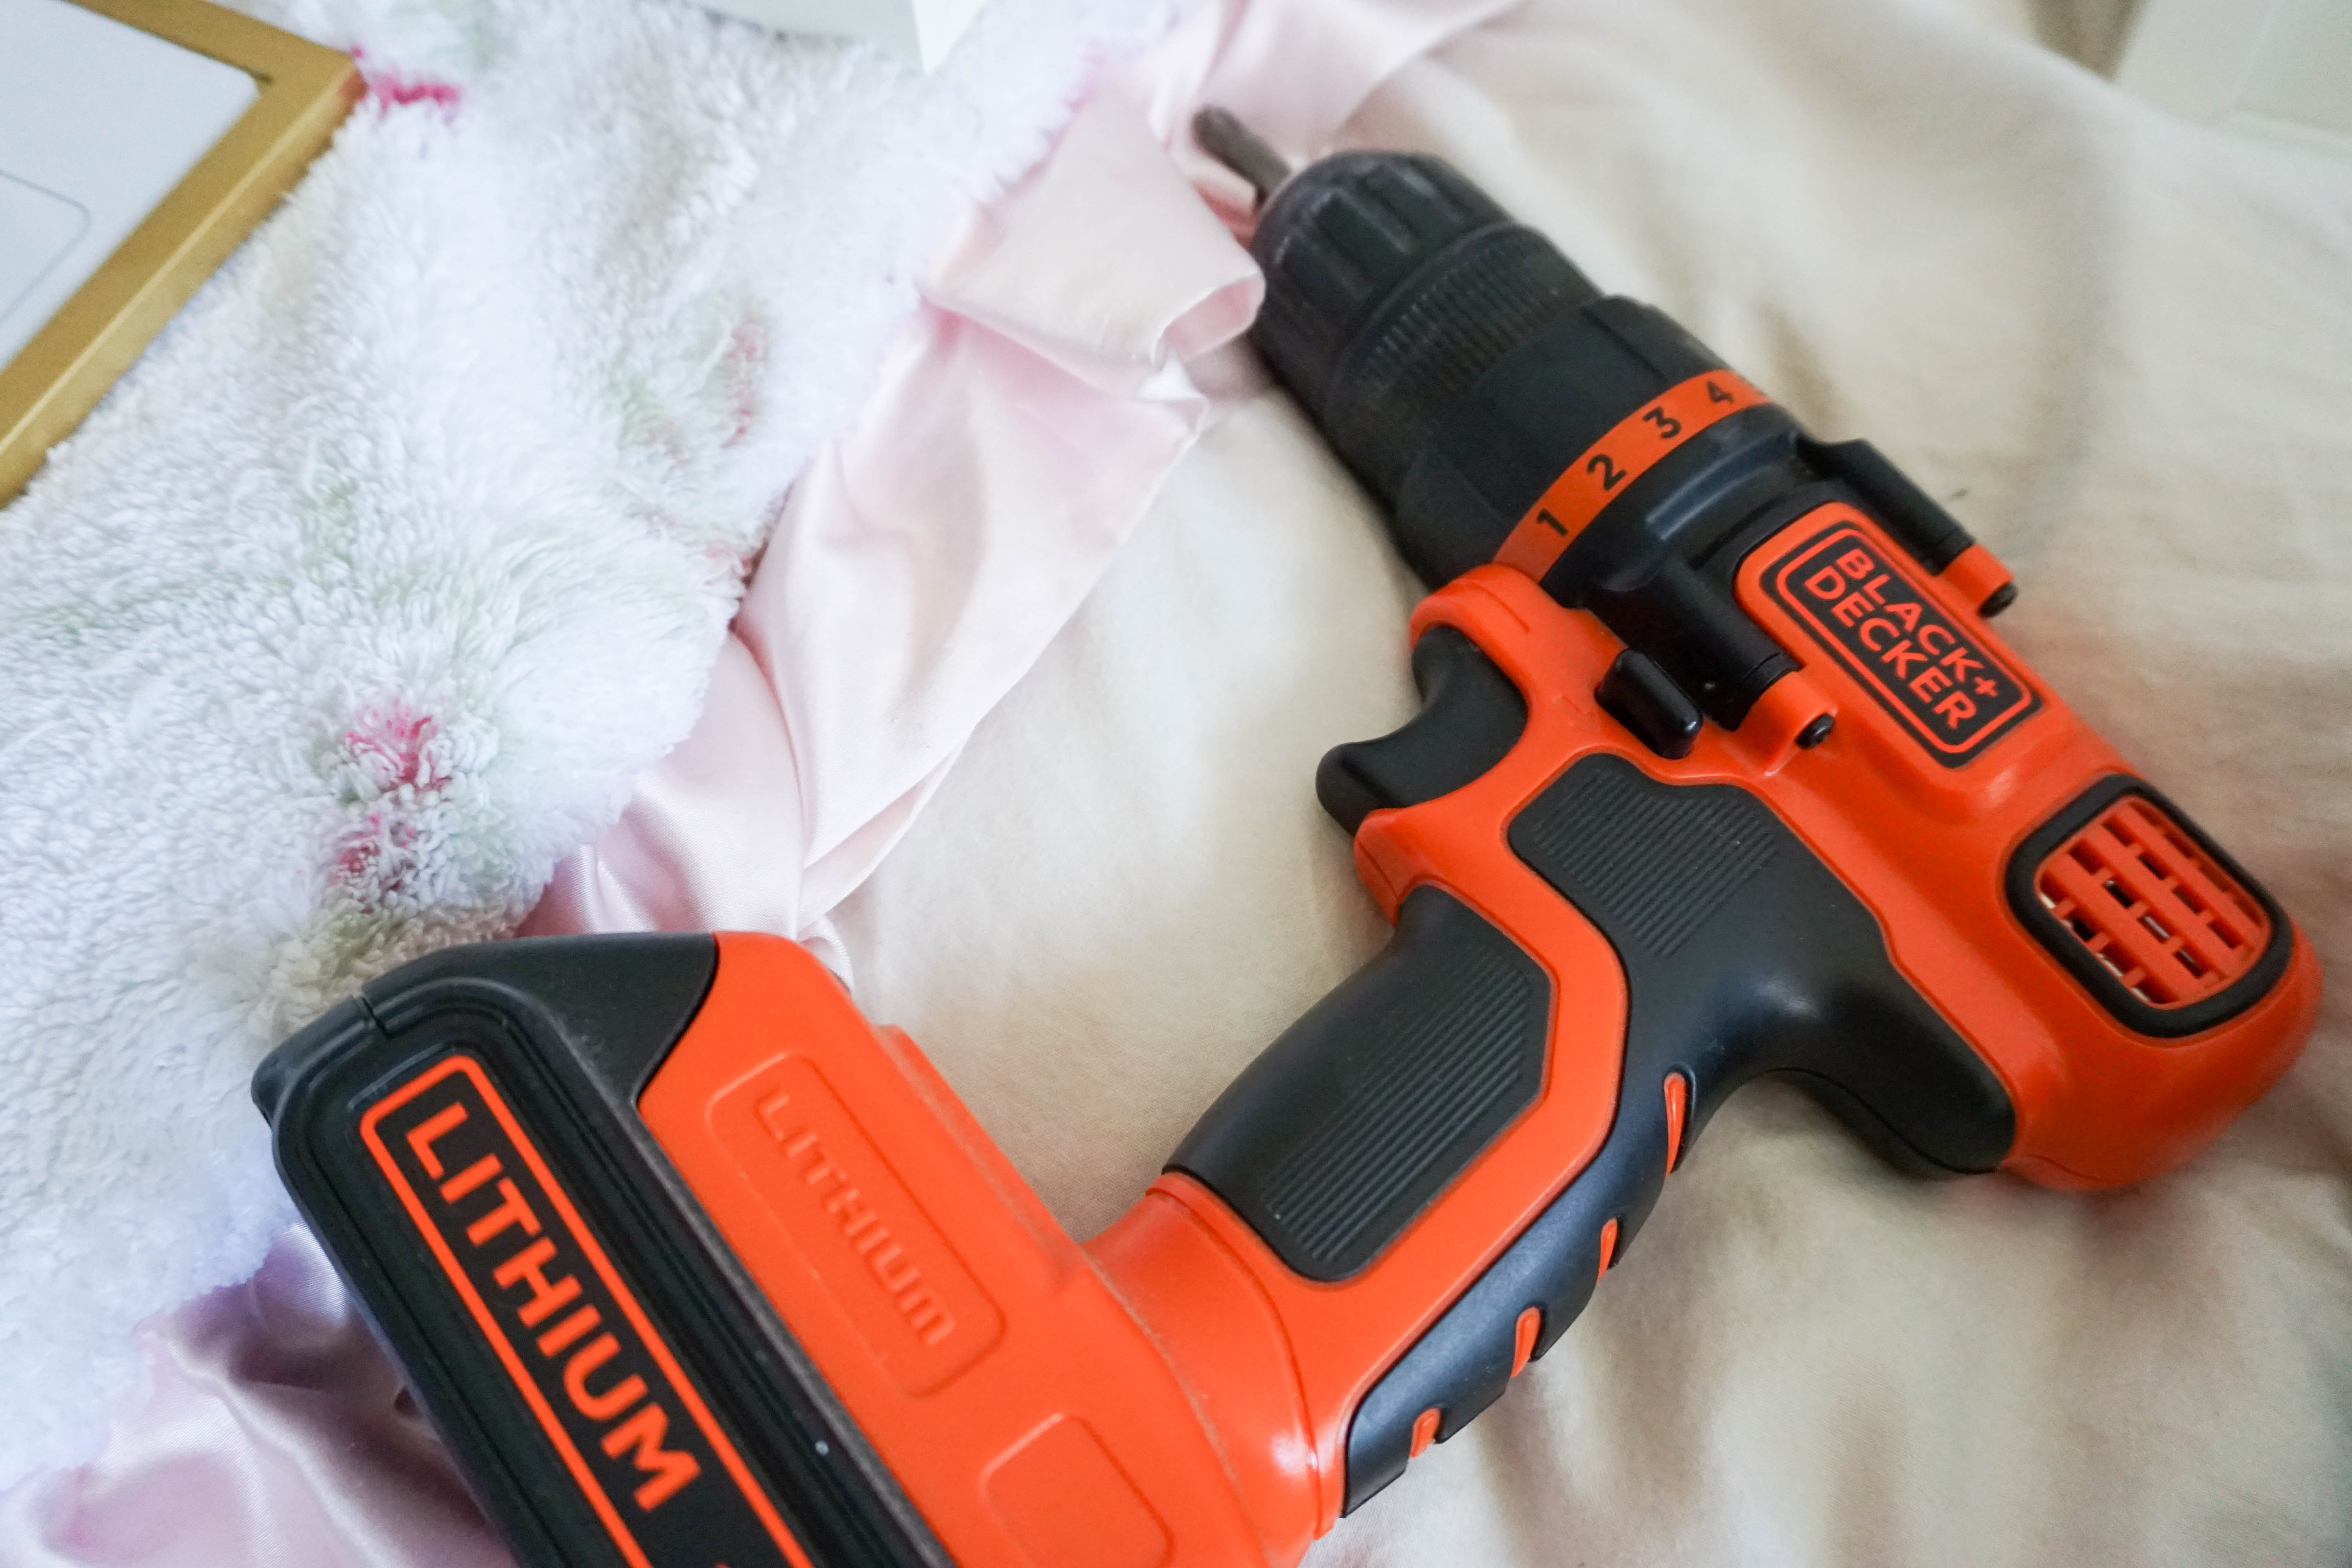
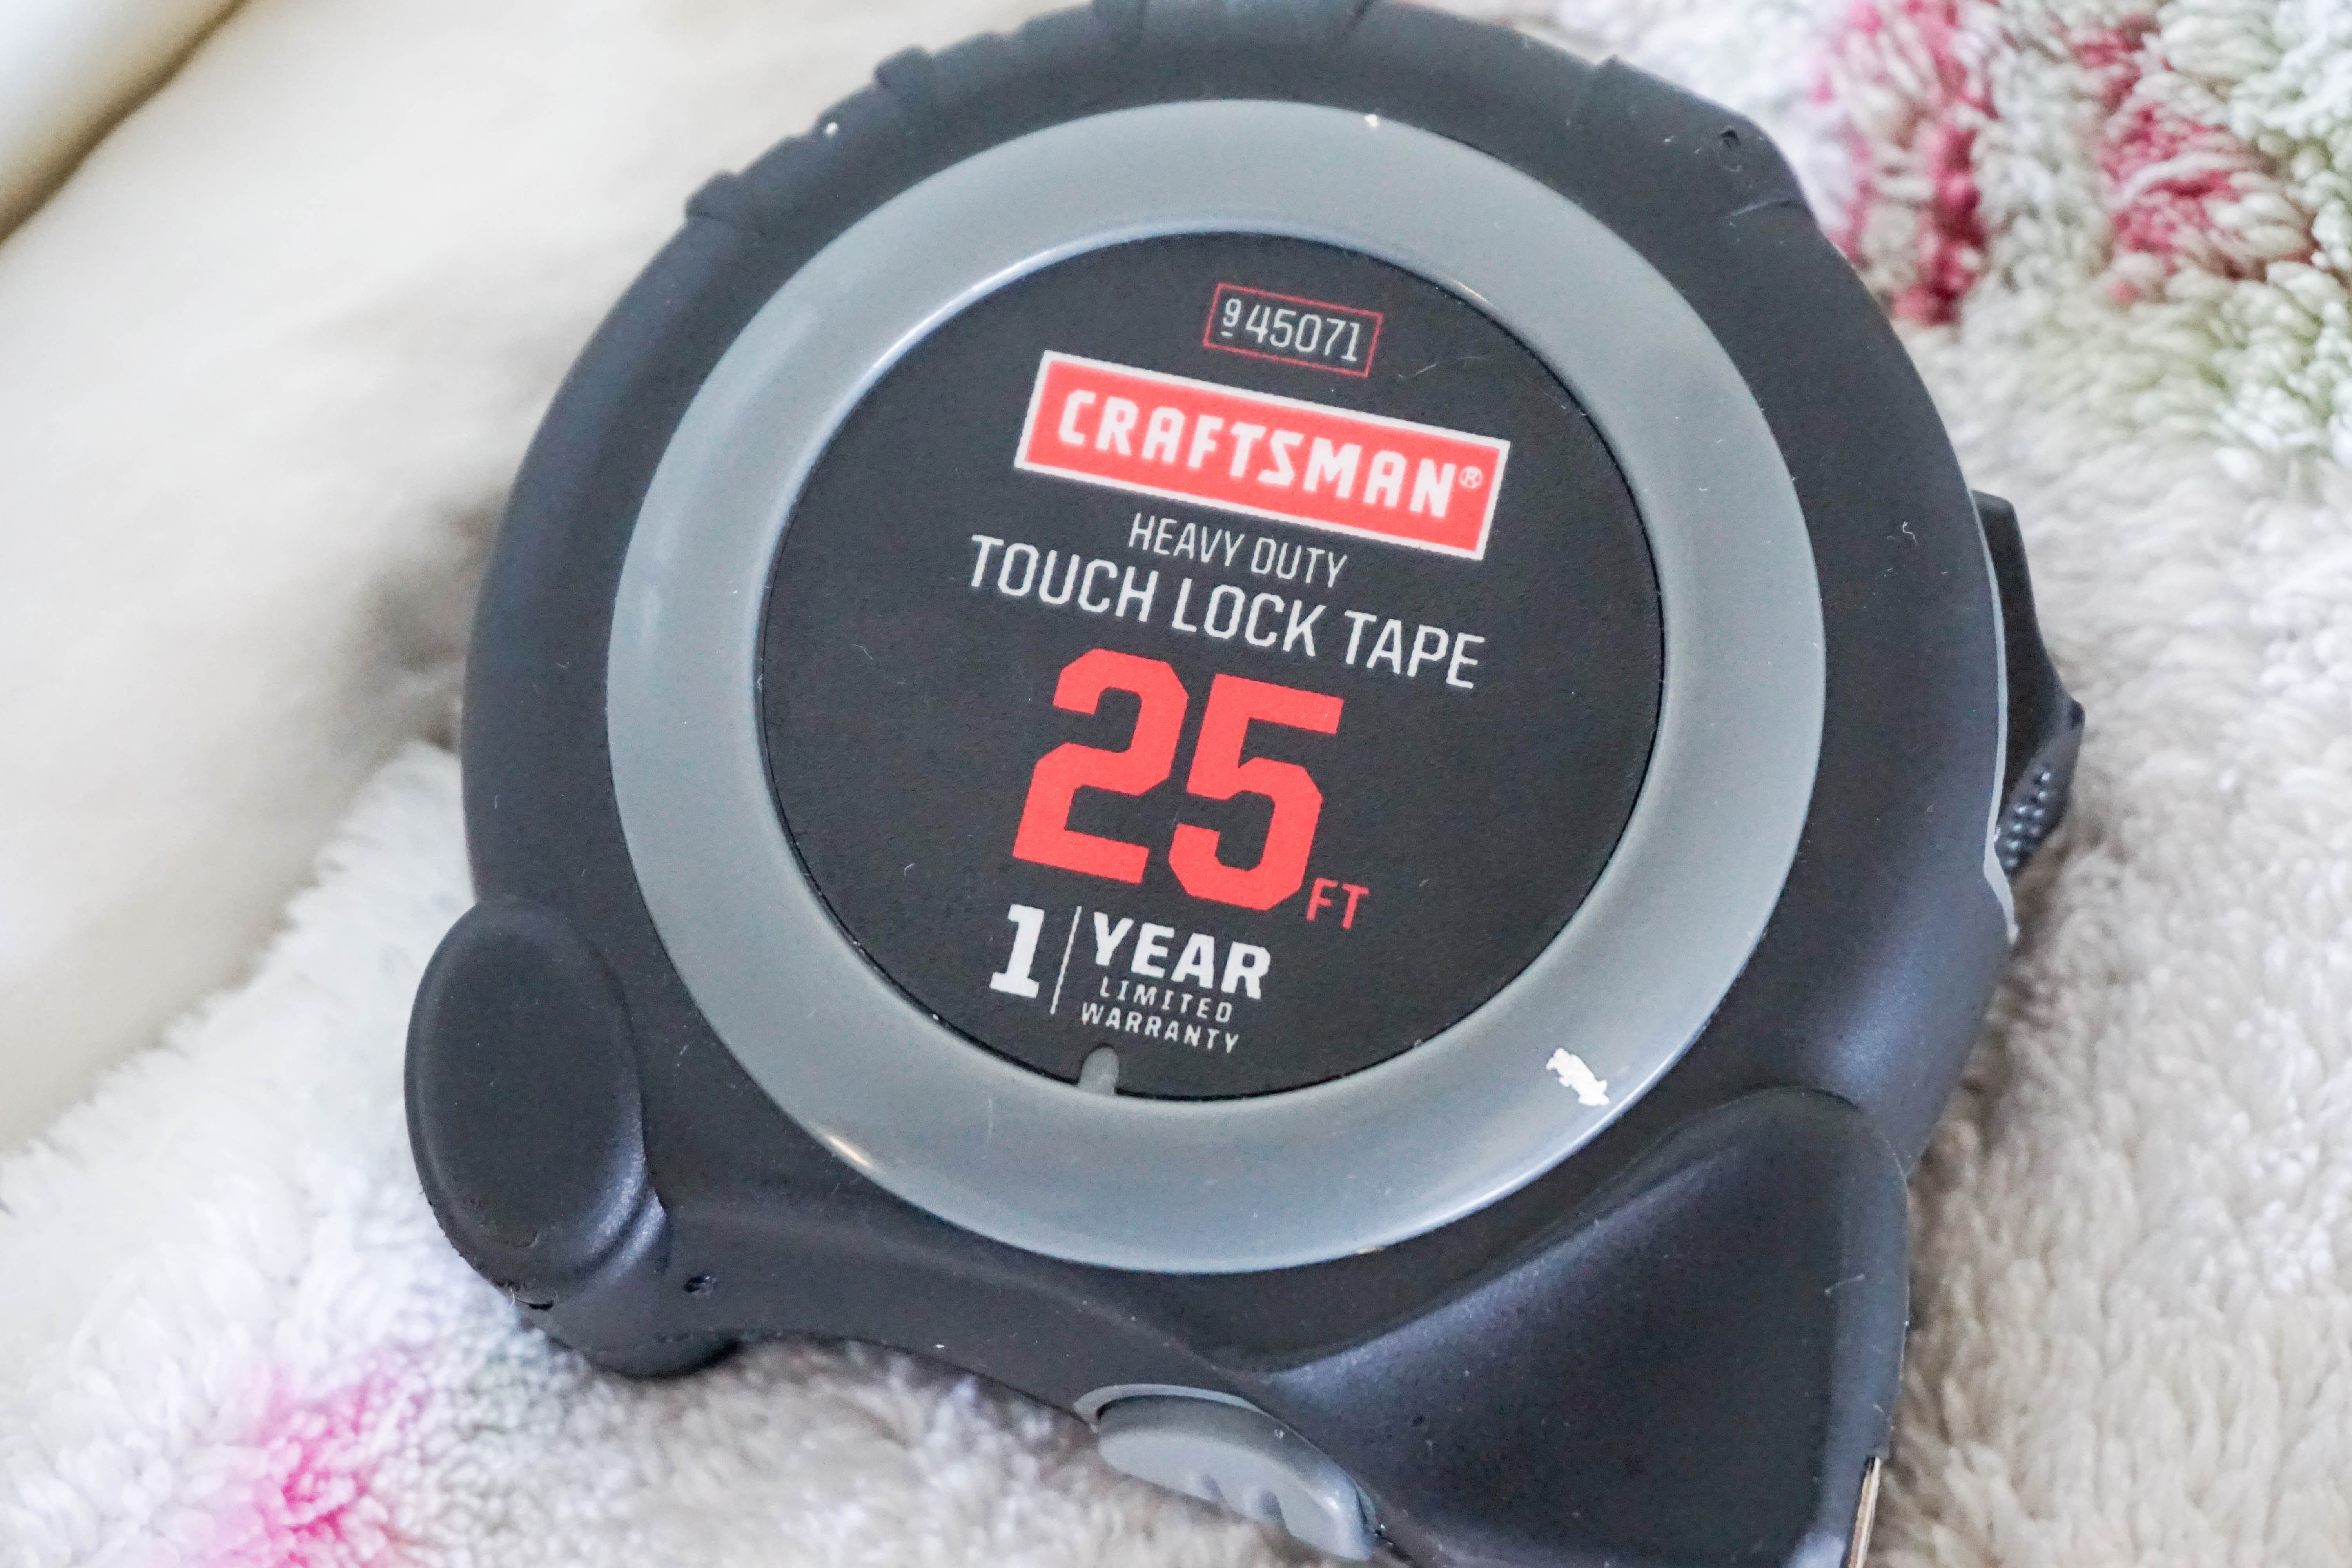
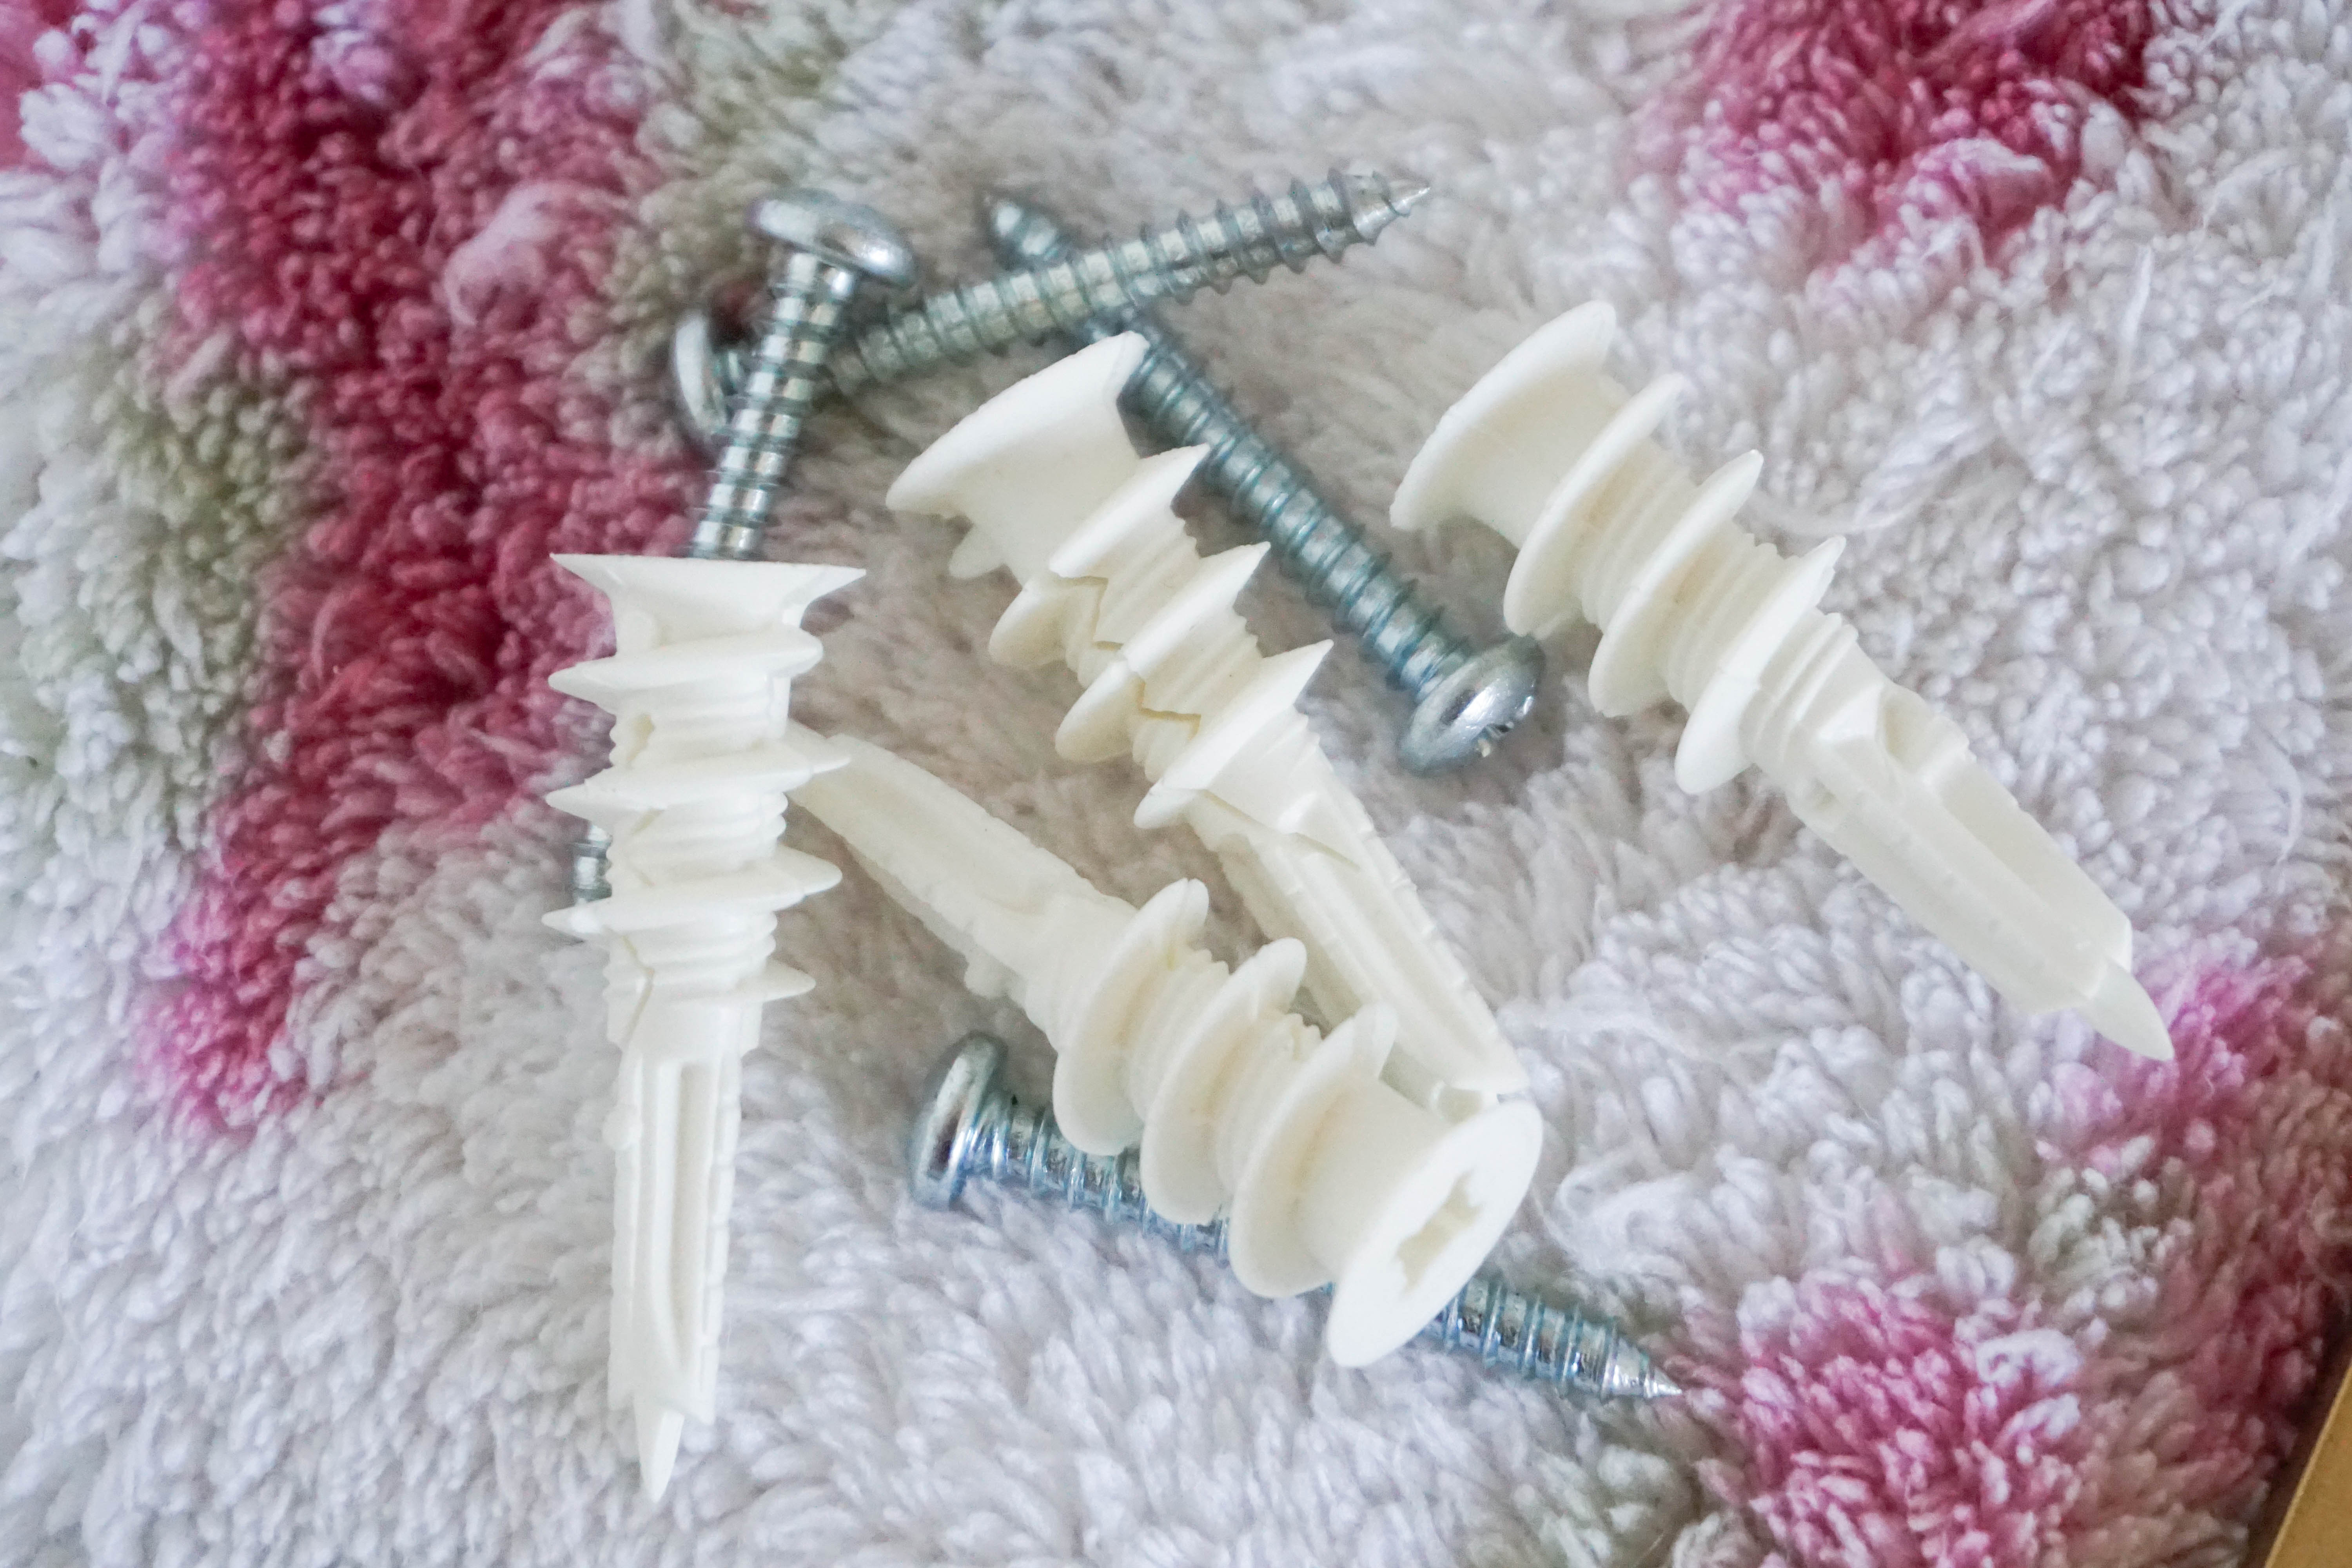
Next up, you’ll want to gather all the tools you’ll be using for this DIY. What you’ll need will vary depending on the items you’re attaching to the wall but this list should give you a general jumping off point – or an extremely specific jumping off point if you’re going based on what’s on Ella’s wall. Here are the tools I ended up using…
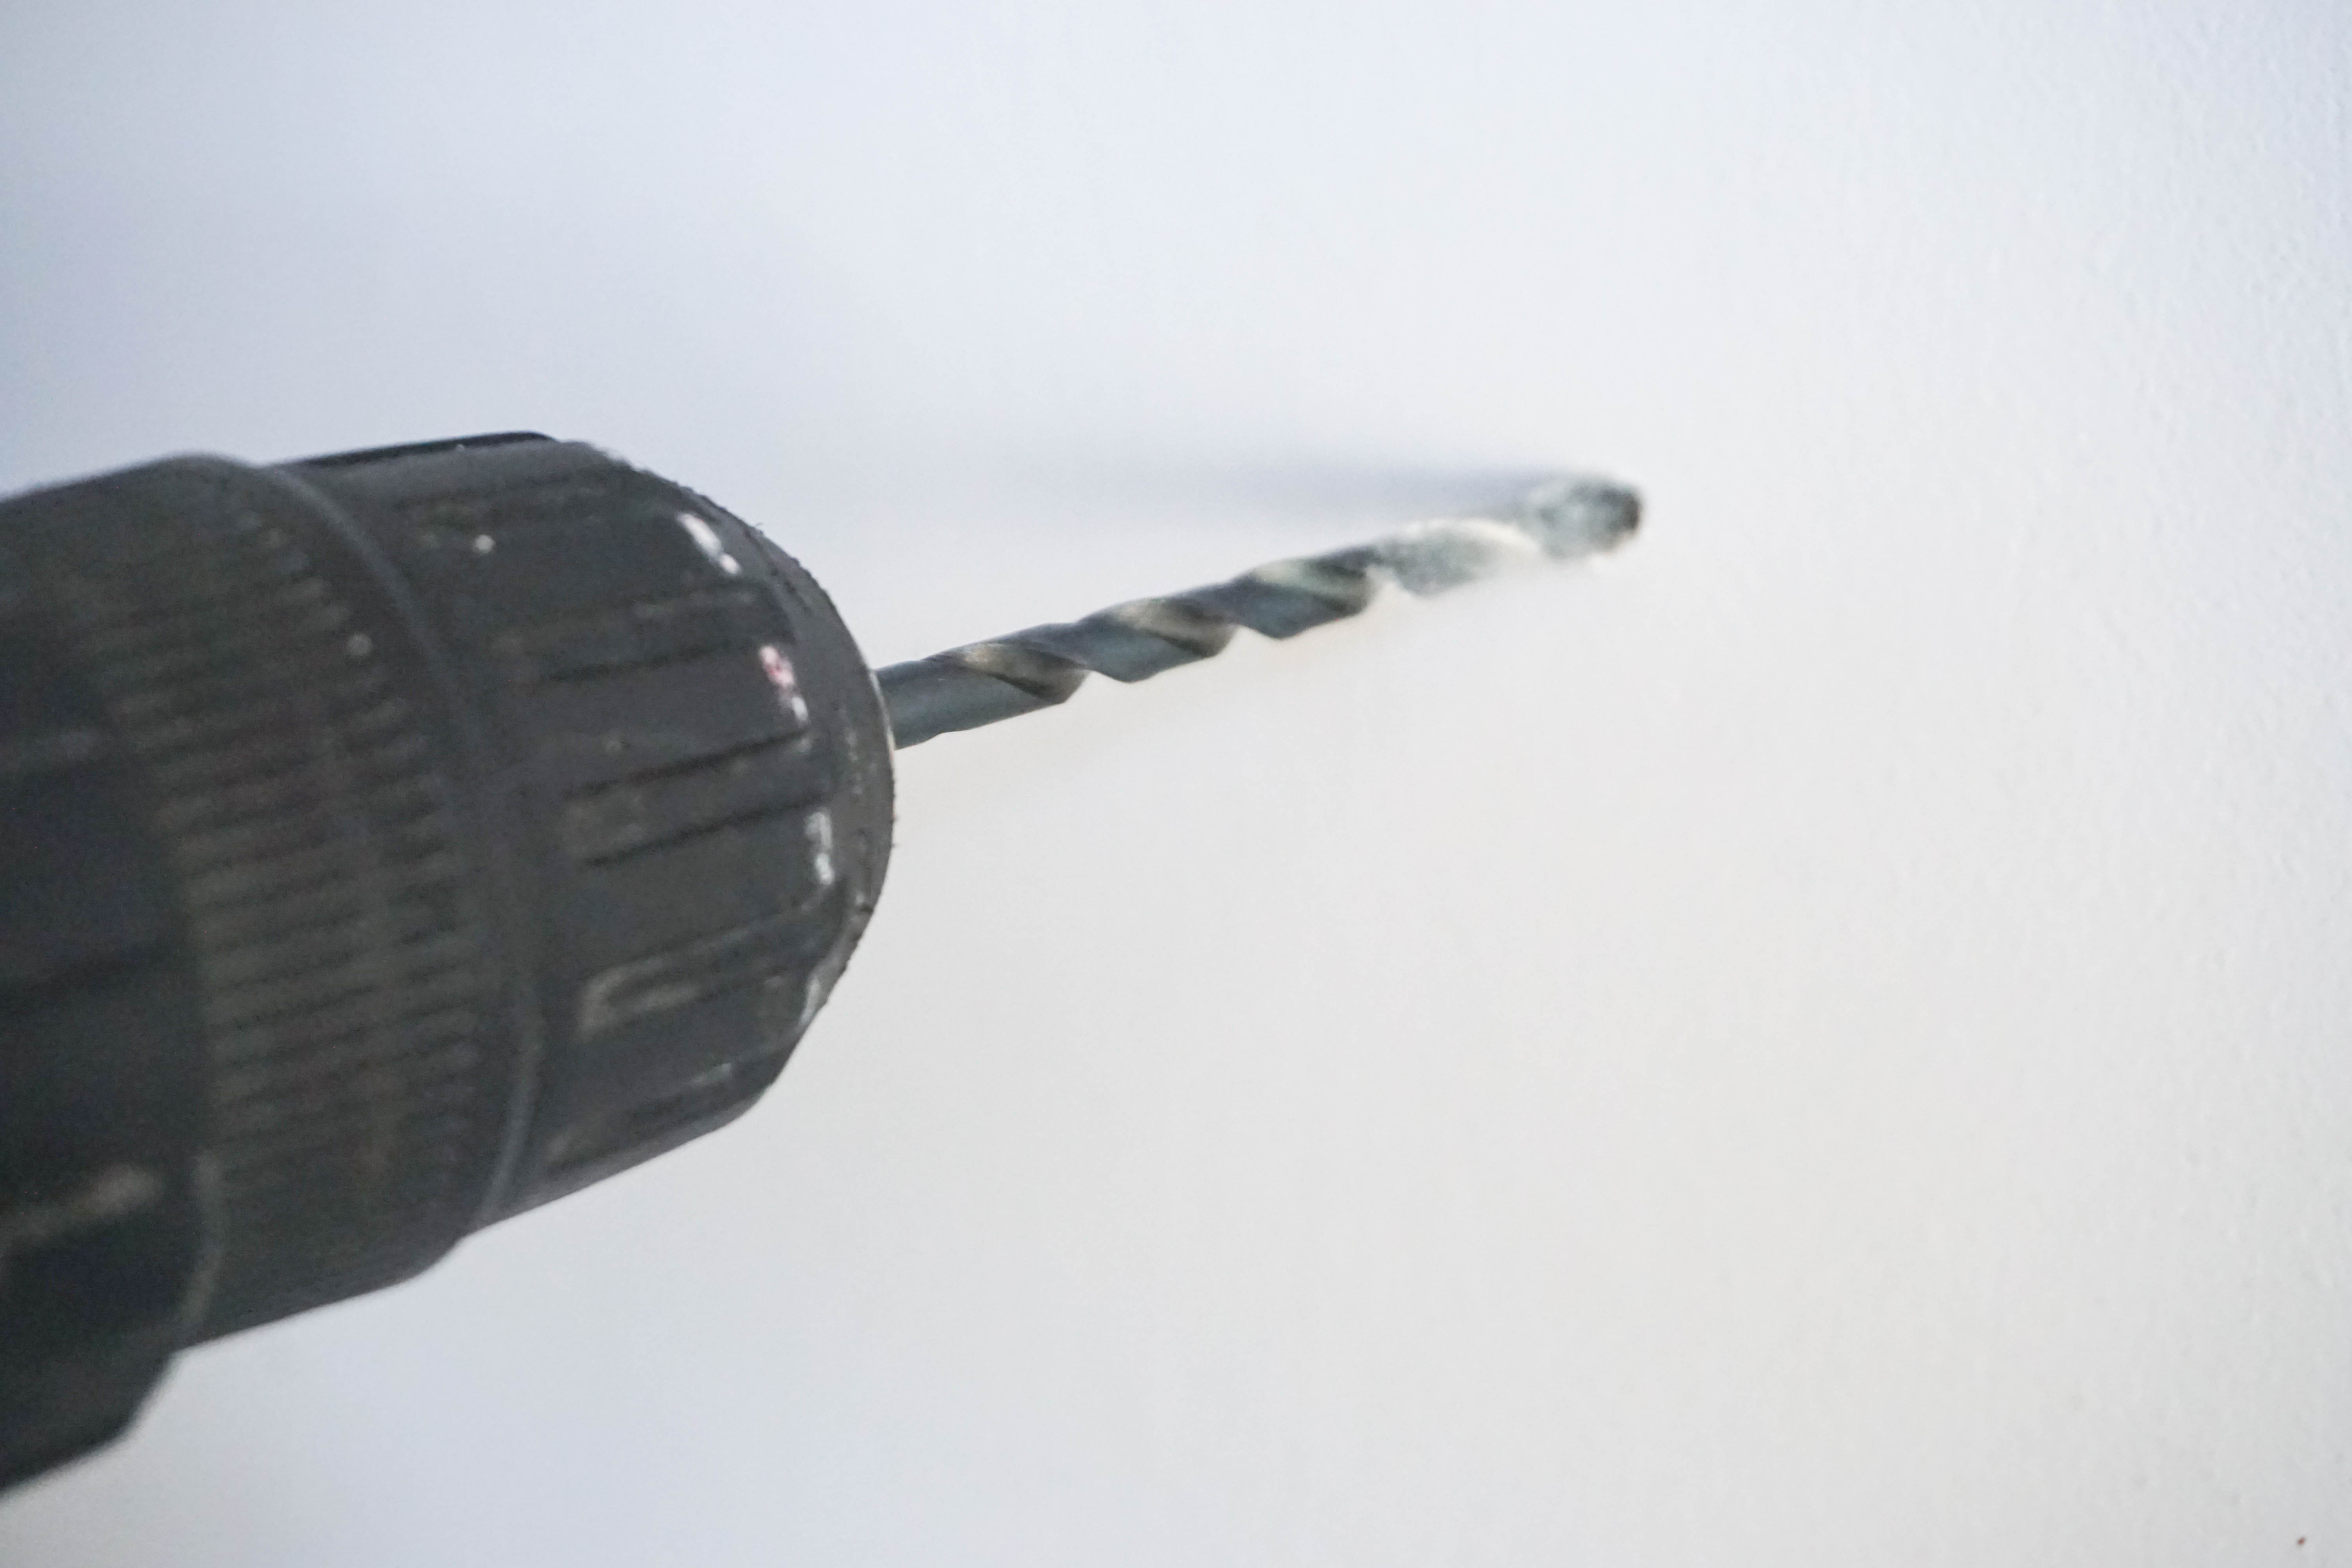
Drill + Bits
Screw Driver
Hammer
Small Nails
Screws
Stud Finder
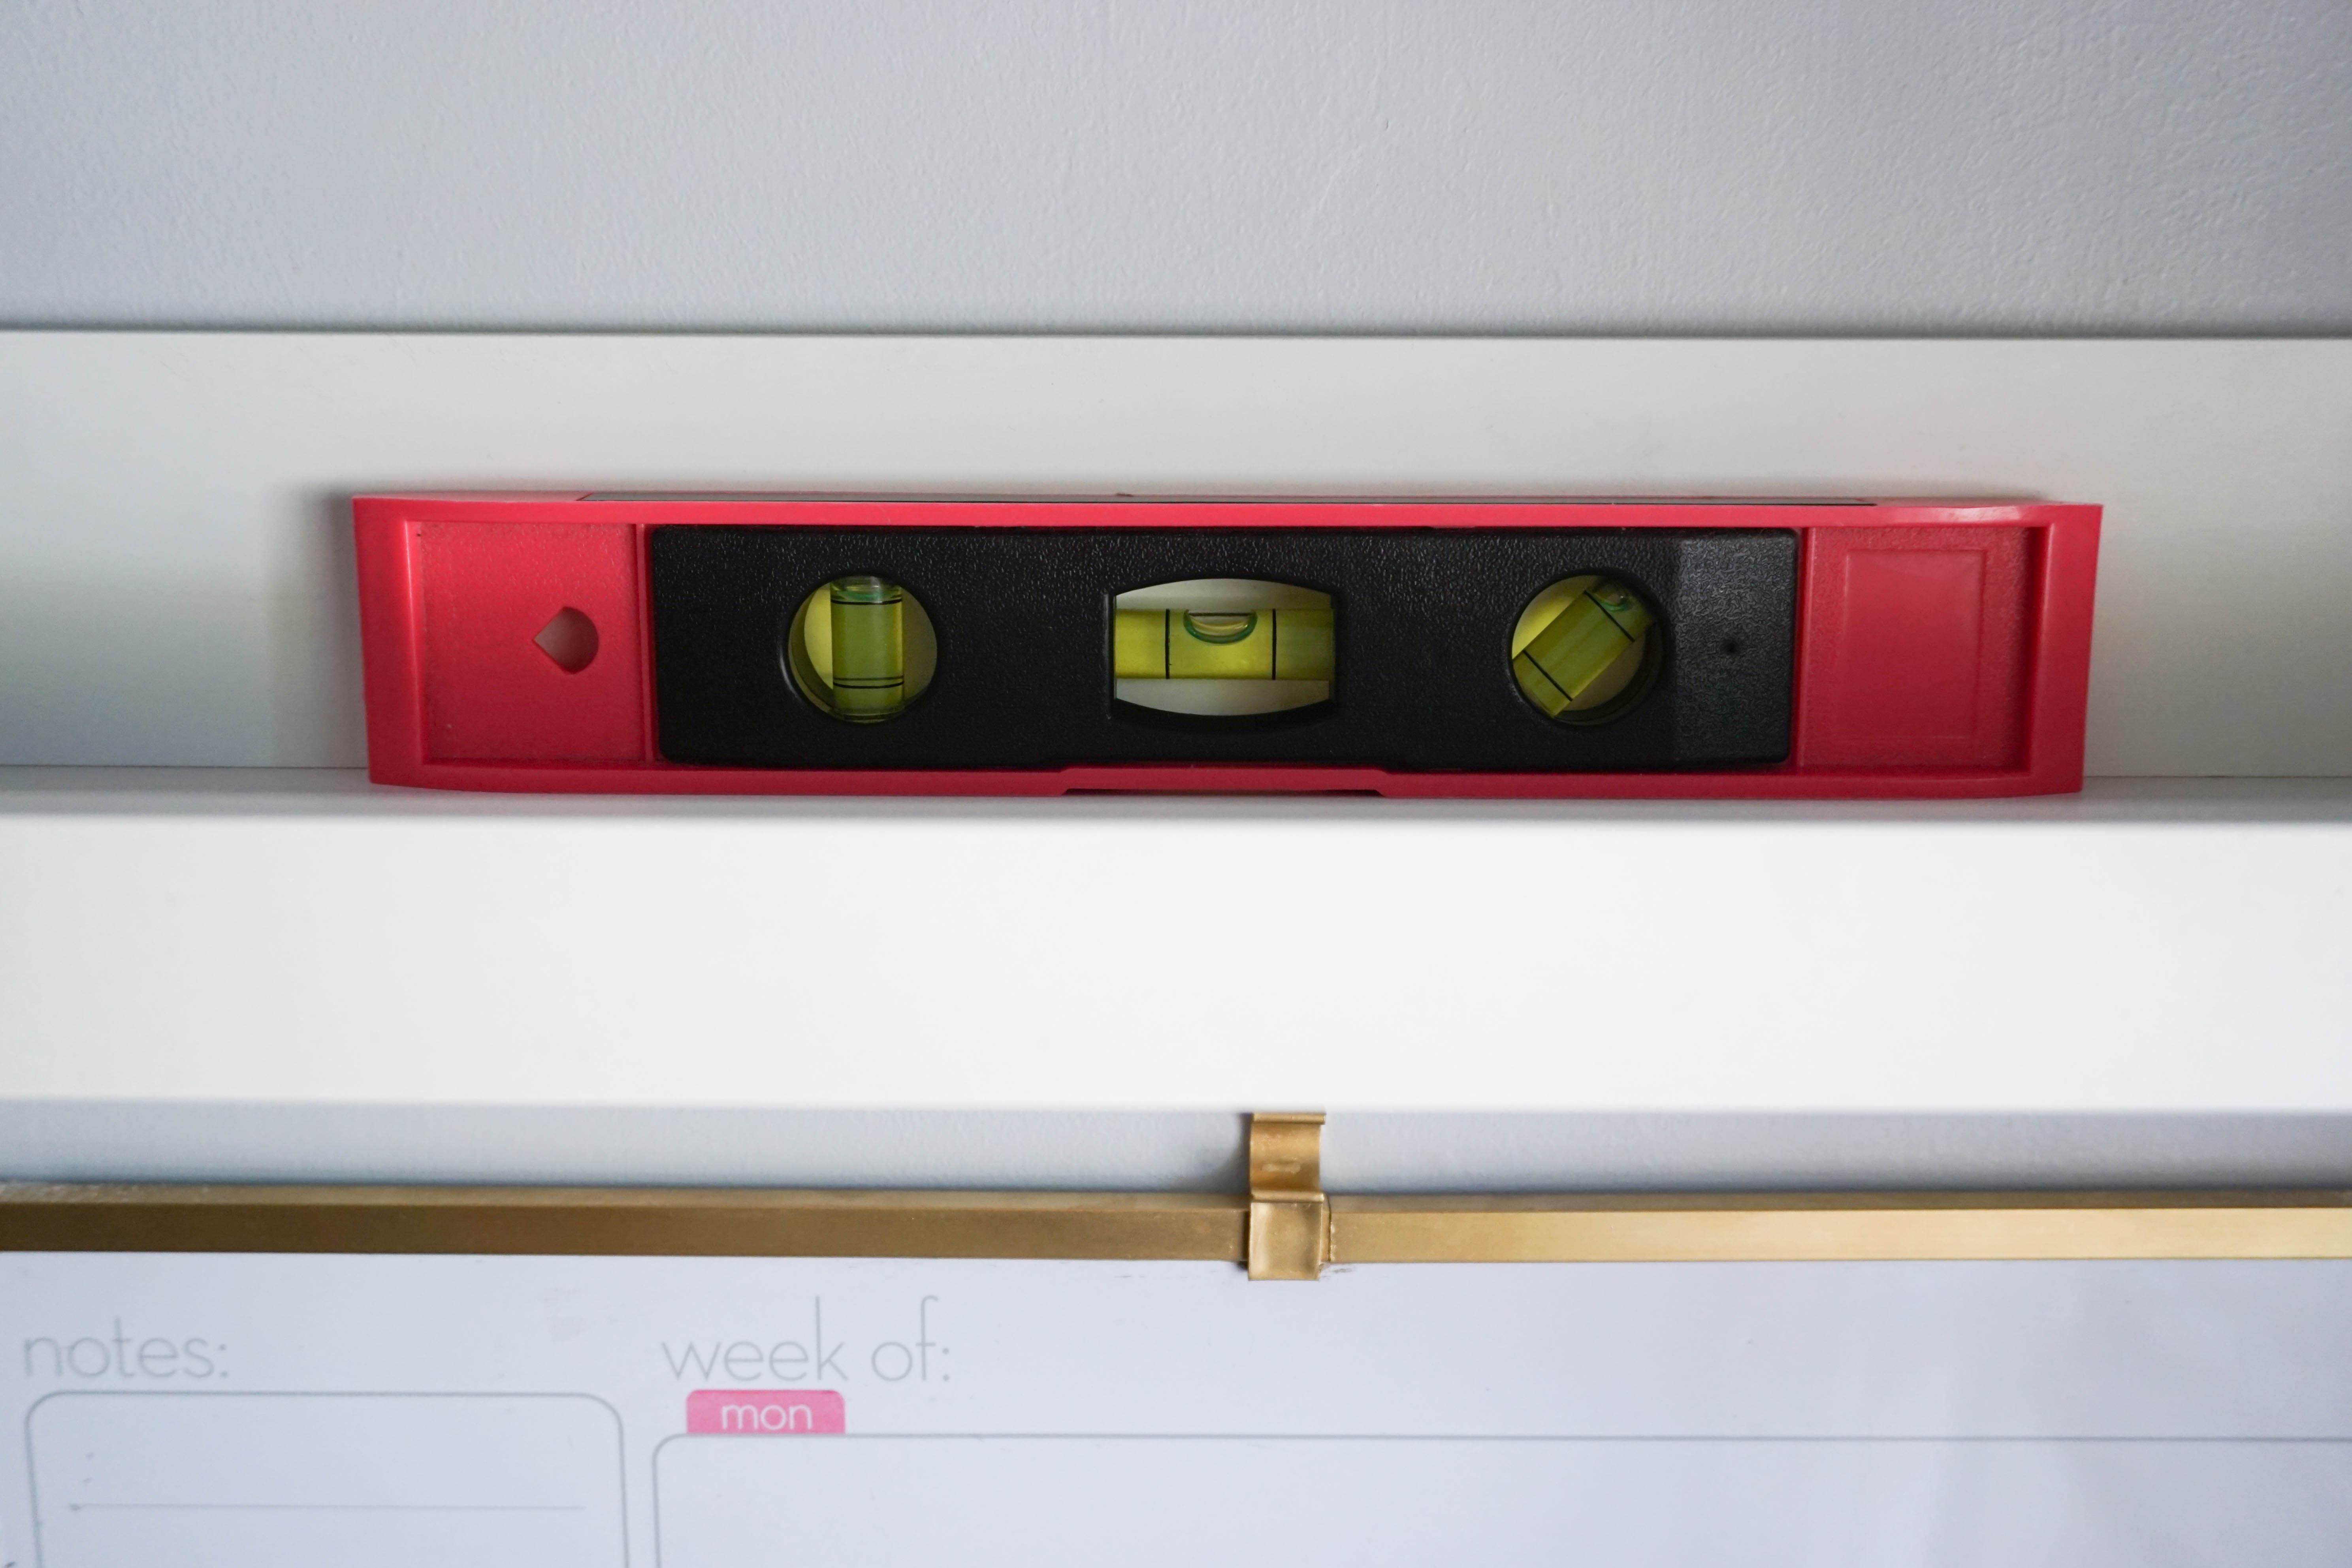
Level
Tape Measure
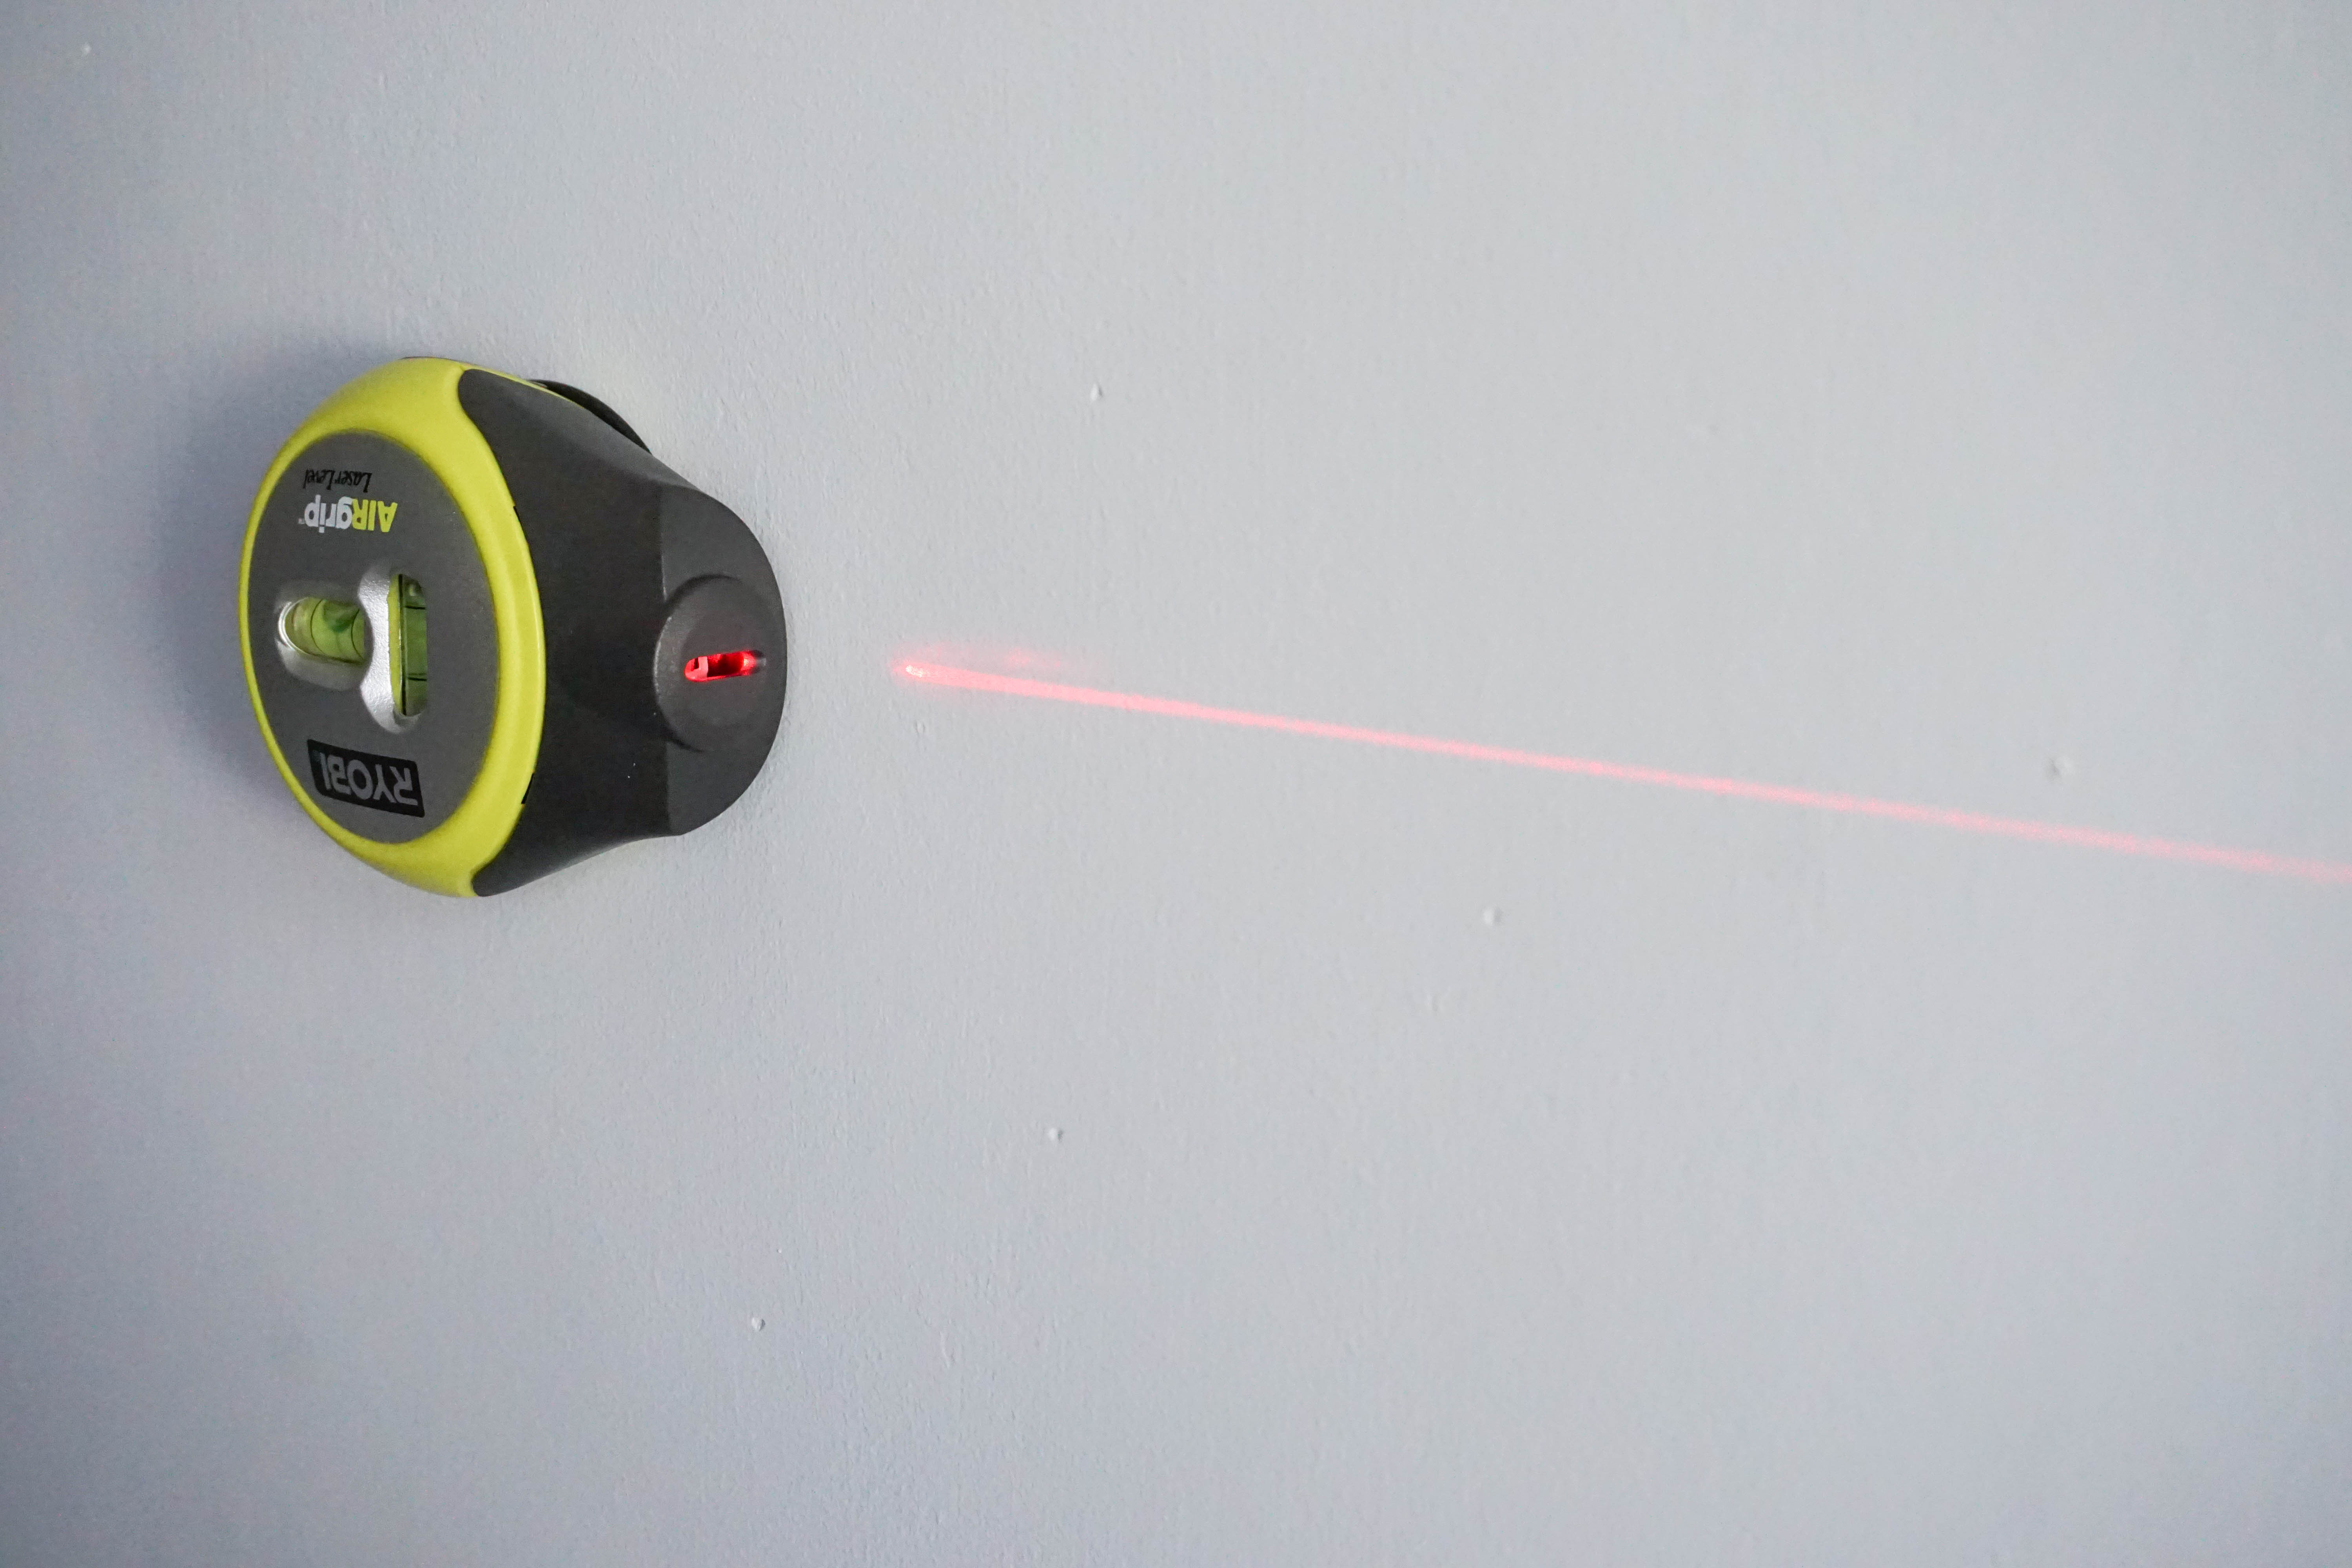
ASSESS YOUR SPACE
As the saying goes: Measure twice, cut once. On a flat surface – bed, floor, etc – start by laying everything out to get a feel for how to best arrange and space what you’ll be putting up on the wall. If it’s easier for visualization purposes, you can cut out paper mock-ups of all of your items and tape them to the wall, rearranging until you find the ideal configuration. It may also help to start with a specific piece based on functionality. For me, this was the dry-erase calendar as Ella would be writing on it and it would need to be in a comfortable position for her height which, btw, is higher than my own already. Ugh! Anyway, make sure your command center arrangement fits the space you’d like it to occupy, double-check that you’re happy with the placement and then you can move onto the final step!
CREATE THAT COMMAND CENTER
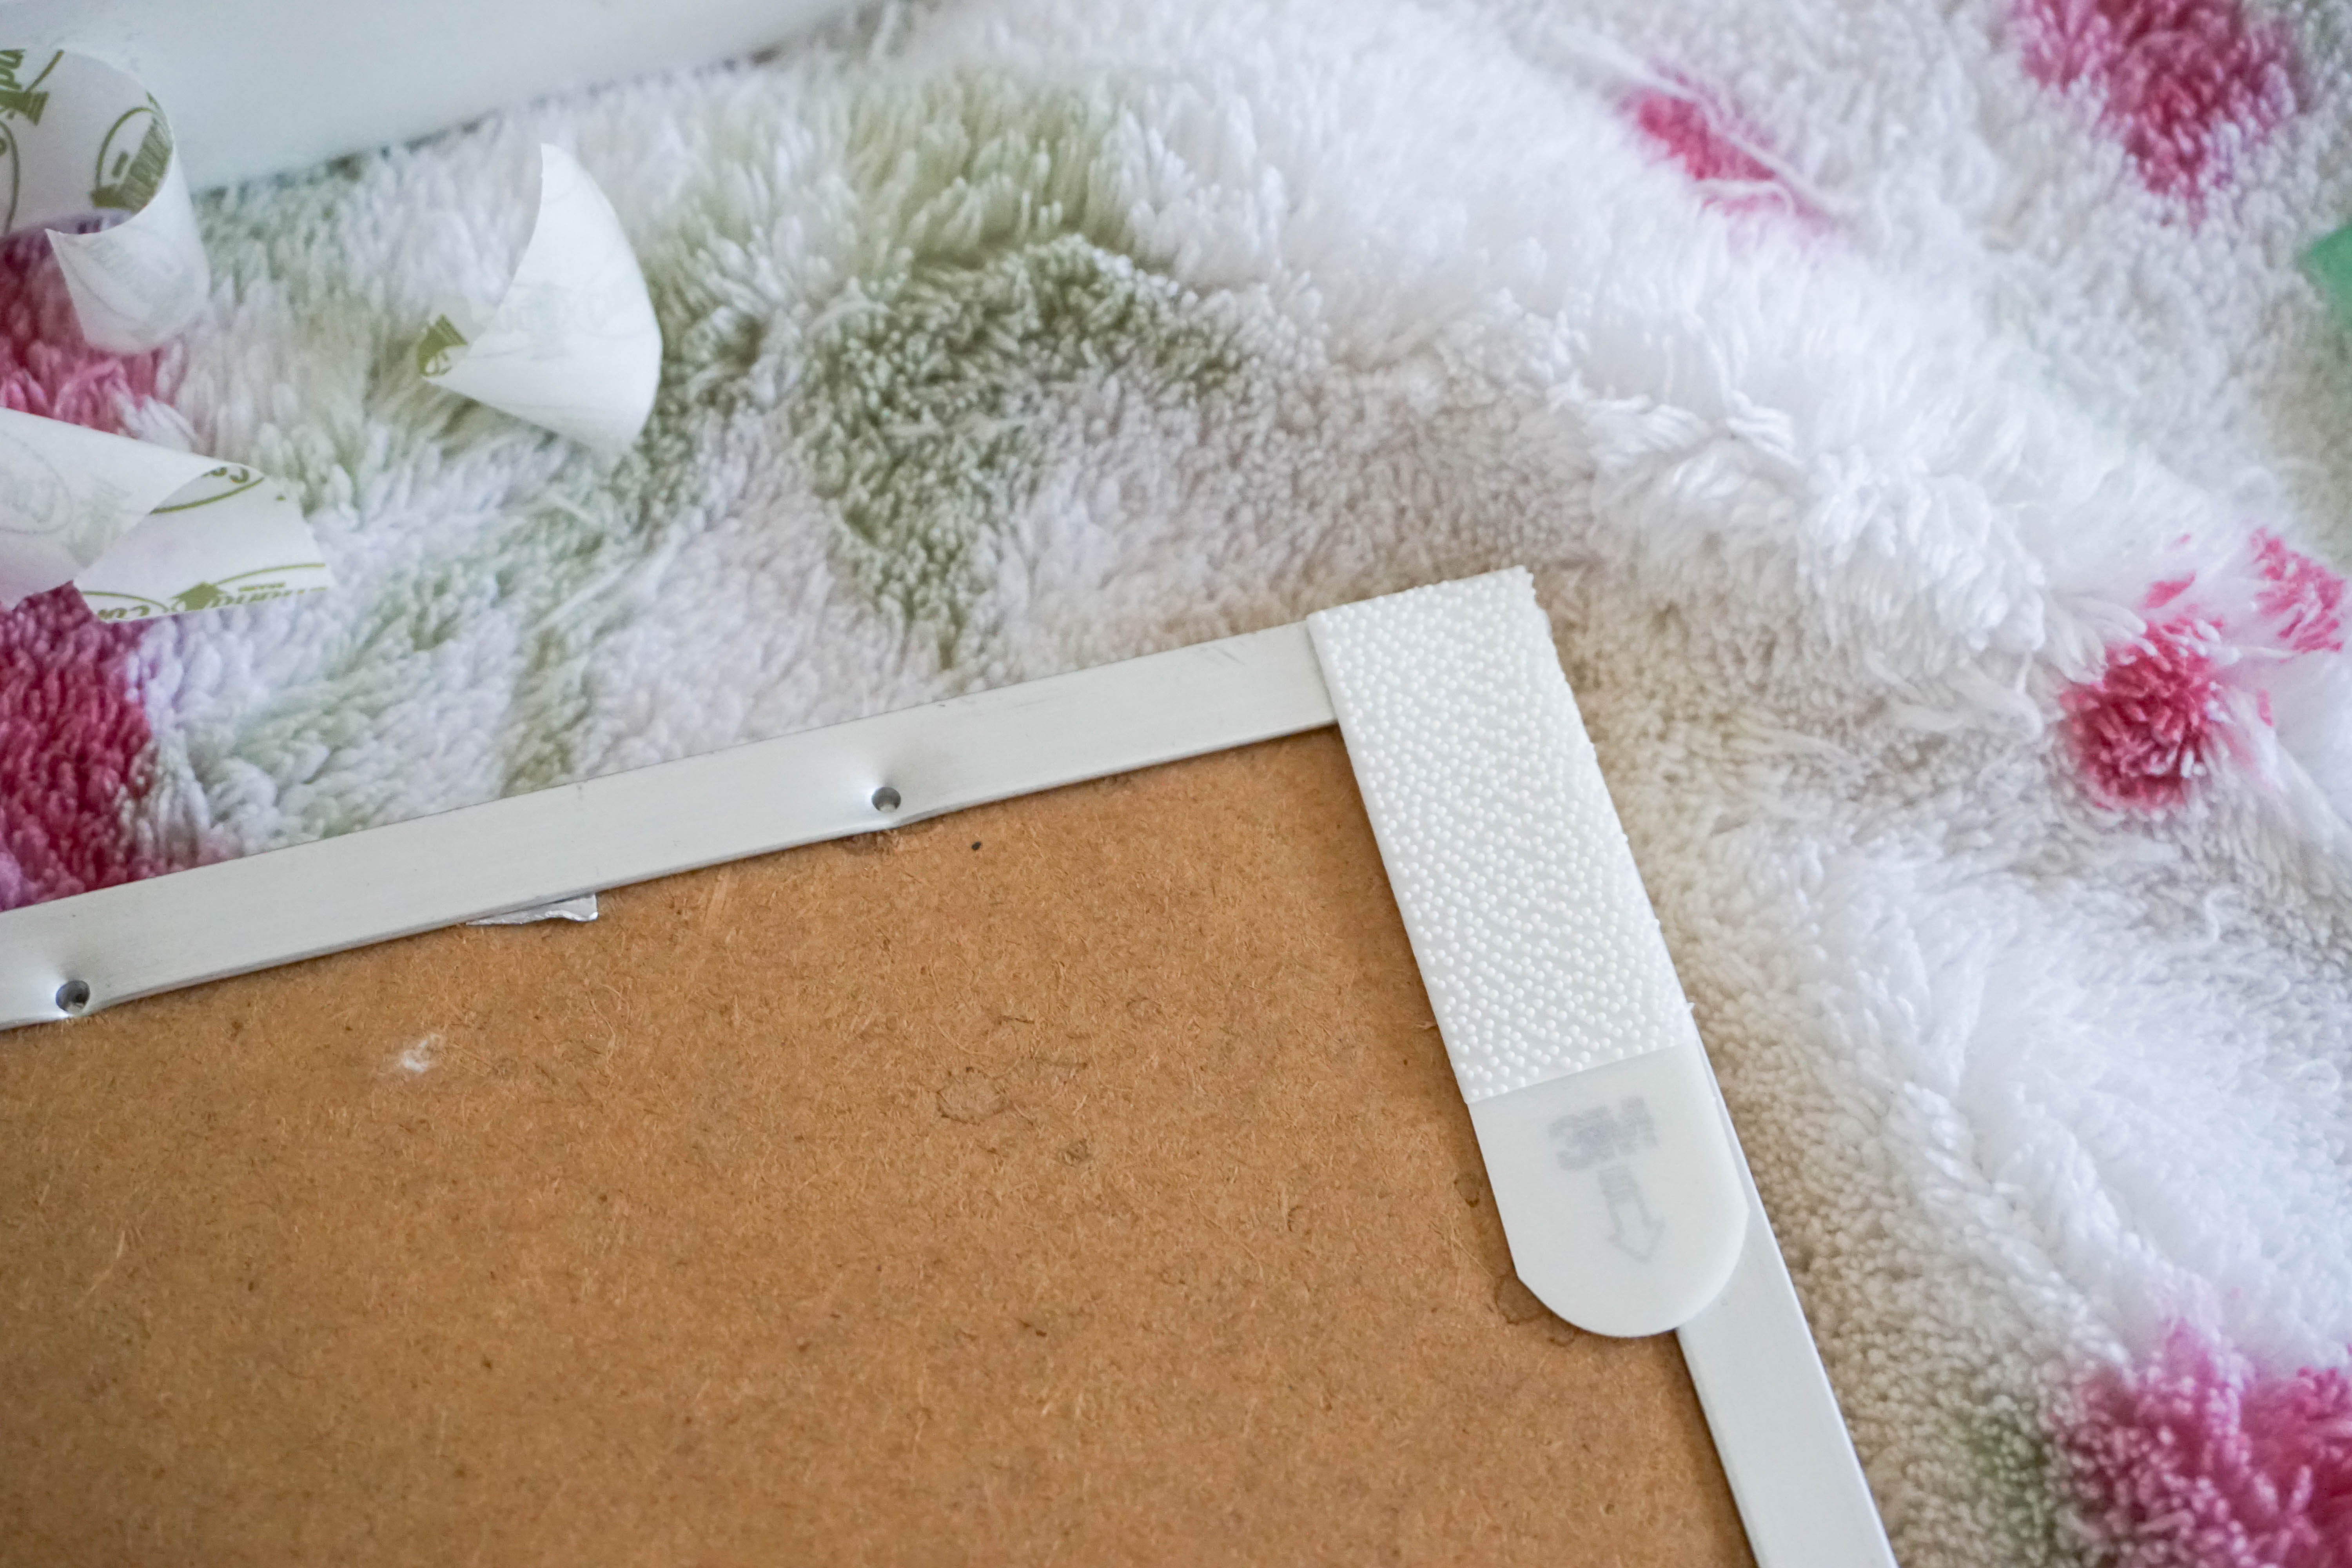
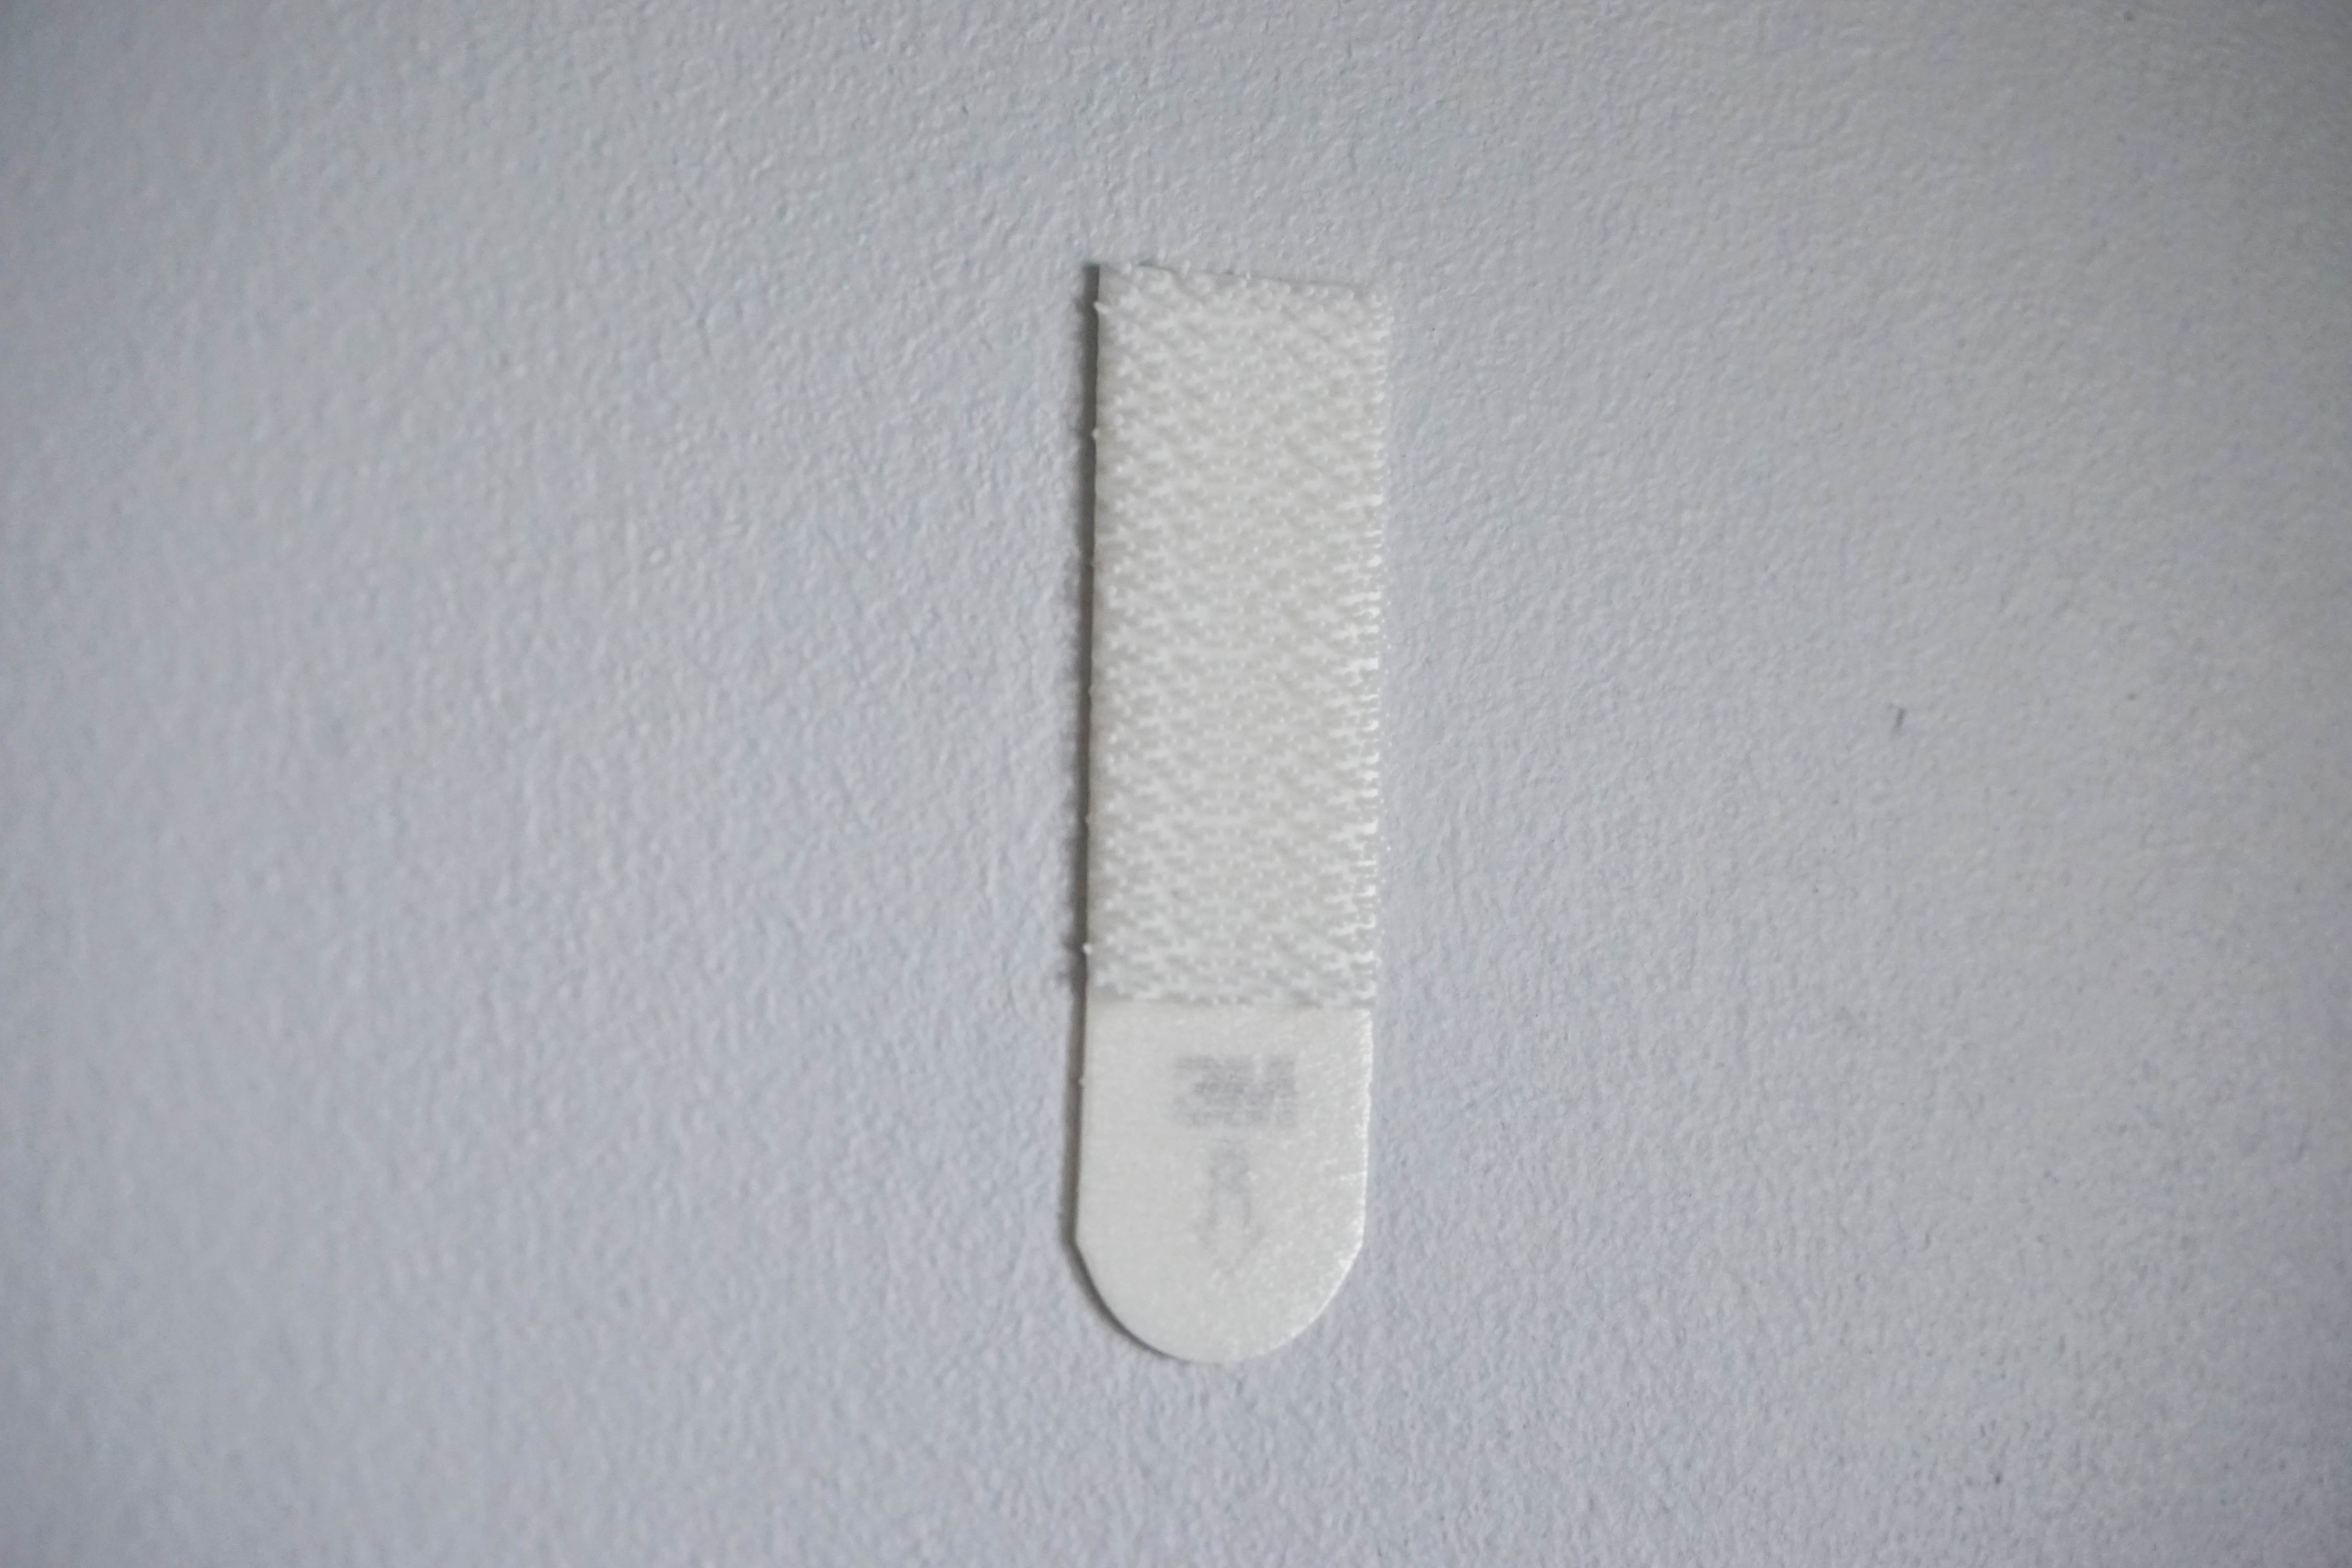
When you’re finished with all the prep, it’s time to bring it all together. Use the appropriate tools for the items you’re putting up and mount everything to the wall. A measuring tape, a level and a lot of patience are going to be your best friends if you’re not used to installing stuff around the house. Go slowly, be mindful of spacing and take little breaks in between mounting items to step back and make sure it all looks good along the way. When in doubt, shoot me a DM on Insta (because I’ll be happy to help!!) and remember that the worst case scenario is that you’ll have to putty and paint a few holes on the off chance that you mess it up. It’s no big deal and you totally got this!
I have one more artsy piece in mind to finalize Ella’s space (I’d tell you about it now but it’s a surprise for her that I don’t want to spoil!) so keep an eye on my Insta stories in the weeks/months to come! For now, make sure to let me know how you like this teen-friendly command center and, if you create one of your own, I’d love to see/hear how it turns out! xx
P.S. You can find more DIYs and home-related projects and posts (including this chalkboard wall DIY) by clicking here!


Leave a Reply